
Introducció
This manual provides detailed instructions for the installation, operation, and maintenance of your DB DRIVE A3 2250.5 Okur Series A3 Class AB 1000 Watt 5-Channel Amplificador. Llegiu atentament aquest manual abans d'intentar la instal·lació o el funcionament per garantir un ús correcte i evitar danys a la unitat o al sistema d'àudio del vostre vehicle.
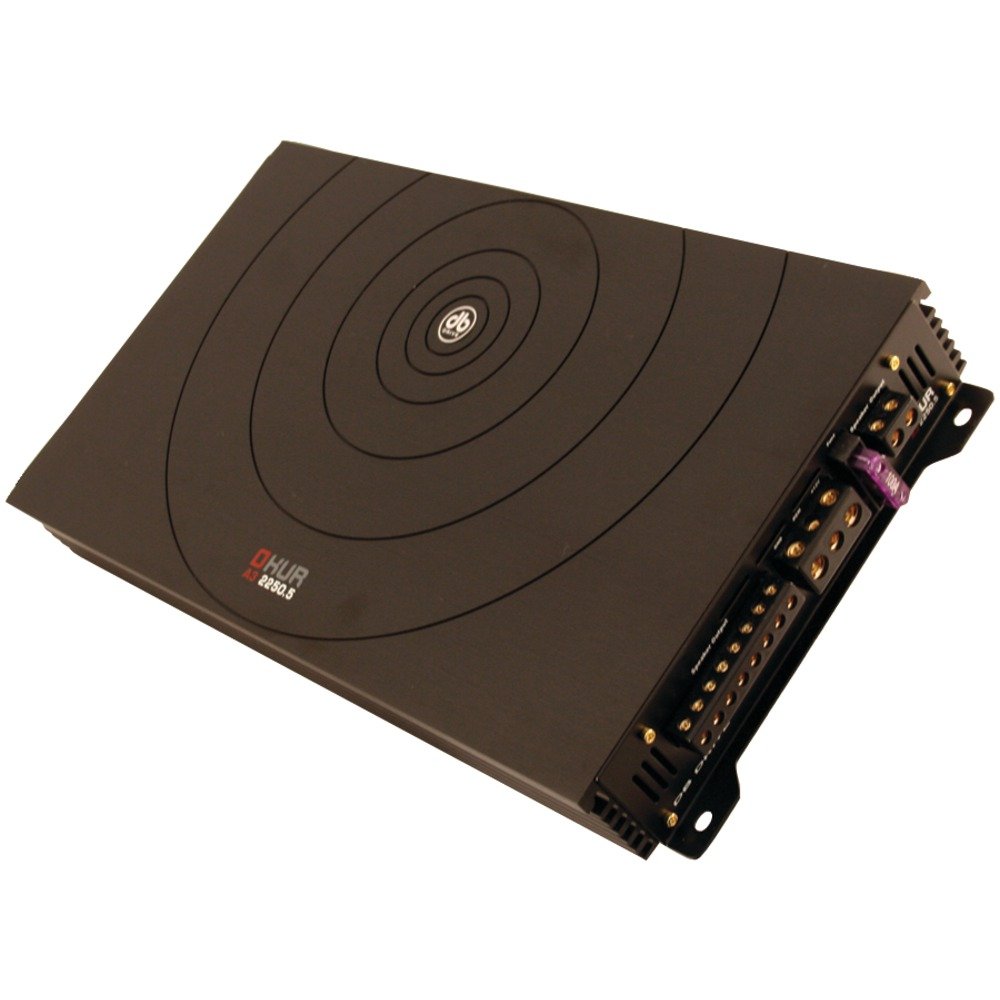
Image: DB DRIVE A3 2250.5 Okur Series A3 Class AB 1000 Watt 5-Channel Amplifier. This image shows the amplifier's top view, highlighting its compact design and branding.
Informació de seguretat
Observeu sempre les següents precaucions de seguretat per evitar lesions o danys:
- Disconnect the vehicle's battery negative terminal before making any power connections.
- Ensure all wiring is properly routed and secured to prevent pinching or short circuits.
- Utilitzeu un cablejat del calibre adequat per a les connexions d'alimentació i de terra, tal com s'especifica a la secció d'instal·lació.
- Instal·leu el ampl'escalfador en un lloc que permeti una ventilació adequada per evitar el sobreescalfament.
- Eviteu instal·lar el fitxer amplifier in areas exposed to moisture or excessive vibration.
- Consulteu un instal·lador professional d'àudio per a cotxes si no teniu cap dubte sobre alguna part del procés d'instal·lació.
Configuració i instal·lació
1. Desembalatge i inspecció
Traieu amb cura amplifier from its packaging. Inspect the unit for any signs of damage that may have occurred during shipping. Contact your dealer immediately if any damage is found.
2. Muntatge del Ampmés viu
Choose a mounting location that is dry, well-ventilated, and secure. Common locations include under a seat, in the trunk, or behind a panel. Ensure there is sufficient airflow around the amplifier's heatsink.
- Mark the mounting holes using the amplifier as a template.
- Drill pilot holes if necessary, being careful not to damage any vehicle components.
- Assegureu-vos el amplificador utilitzant els cargols de muntatge proporcionats.
3. Connexions de cablejat
Proper wiring is crucial for performance and safety. Refer to the following guidelines:
- Potència (BATT+): Connect a heavy-gauge wire (e.g., 4 AWG or 8 AWG depending on total power) directly from the positive terminal of the vehicle's battery. Install an inline fuse holder within 18 inches (45 cm) of the battery.
- Terra (GND): Connect a heavy-gauge wire of the same size as the power wire to a clean, unpainted metal surface of the vehicle's chassis. Ensure a solid, low-resistance connection.
- Control remot (REM): Connect a smaller gauge wire (e.g., 18 AWG) from the amplifier's remote terminal to the remote output of your head unit. This turns the ampencendre i apagar el lificador amb la unitat principal.
- Entrades RCAConnecteu els cables RCA des del pre-emissor de la unitat principalamp sortides al amplifier's RCA input jacks. Ensure correct channel matching (Front L/R, Rear L/R, Sub).
- Sortides d'altaveus: Connect speaker wires from the amplifier's speaker terminals to your speakers. Observe correct polarity (+ to + and - to -). This is a 5-channel amplifier, typically 4 channels for full-range speakers and 1 channel for a subwoofer.
4. Gain, Crossover, and Bass Boost Settings
These settings allow you to fine-tune the amplifier's output to match your audio system and preferences.
- Obteniu el control: Adjust the gain to match the output voltage of your head unit. Start with the gain at minimum, then slowly increase it until you hear distortion, then back off slightly. This is not a volume control.
- Crossover (LPF/HPF):
- Filtre de pas baix (LPF): For the subwoofer channel, set the LPF to allow only low frequencies to pass (e.g., 80-120 Hz).
- Filtre de pas alt (HPF): For the full-range channels, set the HPF to block low frequencies from reaching your main speakers (e.g., 80-100 Hz) to prevent distortion and improve sound clarity.
- Bass Boost: Use the bass boost sparingly. Excessive bass boost can lead to distortion and speaker damage. Adjust to taste, ensuring sound remains clear.
Instruccions de funcionament
Un cop instal·lat i configurat, el amplifier will power on automatically with your head unit via the remote turn-on wire. Adjust volume and tone controls primarily from your head unit. The amplifier's settings (gain, crossover) are set during installation and generally do not require frequent adjustment.
Manteniment
The DB DRIVE A3 2250.5 amplifier requires minimal maintenance.
- Neteja: Periodically wipe the ampNetegeu l'exterior del purificador amb un drap suau i sec per eliminar la pols. No utilitzeu productes químics agressius ni netejadors abrasius.
- Inspecció: Occasionally check all wiring connections to ensure they are secure and free from corrosion. Ensure the amplifier's ventilation fins are not obstructed.
Resolució de problemes
Si teniu problemes amb el vostre amplifier, consulteu els següents problemes i solucions habituals:
| Problema | Causa possible | Solució |
|---|---|---|
| Sense alimentació / Ampel lifier no s'encén |
|
|
| Sense sortida de so |
|
|
| So distorsionat |
|
|
| Ampsobreescalfament del lificador (mode de protecció) |
|
|
Especificacions
| Característica | Detall |
|---|---|
| Número de model | A3 2250.5 |
| Potència màxima de sortida | 1000 watts |
| Canals | 5-Channel (4 stereo, 1 mono for subwoofer) |
| AmpClasse lifier | Classe AB |
| Components | Audiophile Grade |
| Dimensions (L x A x A) | 53.59 x 30.48 x 10.92 cm |
| Pes | 6.53 kg |
| Gestió de la calor | DRIVESINK (Okur Series A3 feature) |
Garantia i Suport
DB Drive products are designed for reliability and performance. This product is covered by a limited warranty. Please refer to the warranty card included with your product or visit the official DB Drive weblloc web per obtenir informació detallada sobre els termes i condicions de la garantia.
For technical support, service, or warranty claims, please contact your authorized DB Drive dealer or visit the DB Drive official weblloc web amb informació de contacte i recursos de suport.