
1. Introducció
This manual provides essential information for the safe and efficient operation of your Technaxx Wireless CarPlay & Android Car Monitor TX-361. Please read this manual thoroughly before using the device and retain it for future reference. The TX-361 is designed to integrate modern smartphone connectivity, including Apple CarPlay and Android Auto, into your vehicle without requiring a complex car radio replacement. It also features an integrated DAB digital radio for enhanced audio experience.
2. Informació de seguretat
- Feu servir sempre el dispositiu de manera responsable i d'acord amb les normes de trànsit locals. Conduir amb distracció pot provocar accidents.
- No intenteu desmuntar ni modificar el dispositiu. Això pot anul·lar la garantia i plantejar riscos per a la seguretat.
- Mantingueu el dispositiu allunyat de temperatures extremes, llum solar directa i humitat.
- Assegureu-vos que el dispositiu estigui ben muntat i que no us obstrueixi view o interferir amb els controls del vehicle.
- Feu servir només el cable d'alimentació i els accessoris proporcionats.
- If the device malfunctions, disconnect it from the power source and contact customer support.
3. Contingut del paquet
Verifiqueu que tots els elements que s'enumeren a continuació s'inclouen al vostre paquet:
- DAB 7-inch CarPlay with Touch Screen TX-361
- Power Supply (USB-A to USB-C, 1.5m cable)
- AUX Cable (1m)
- Antena DAB
- Holder (Mounting Bracket)
- Manual d'usuari
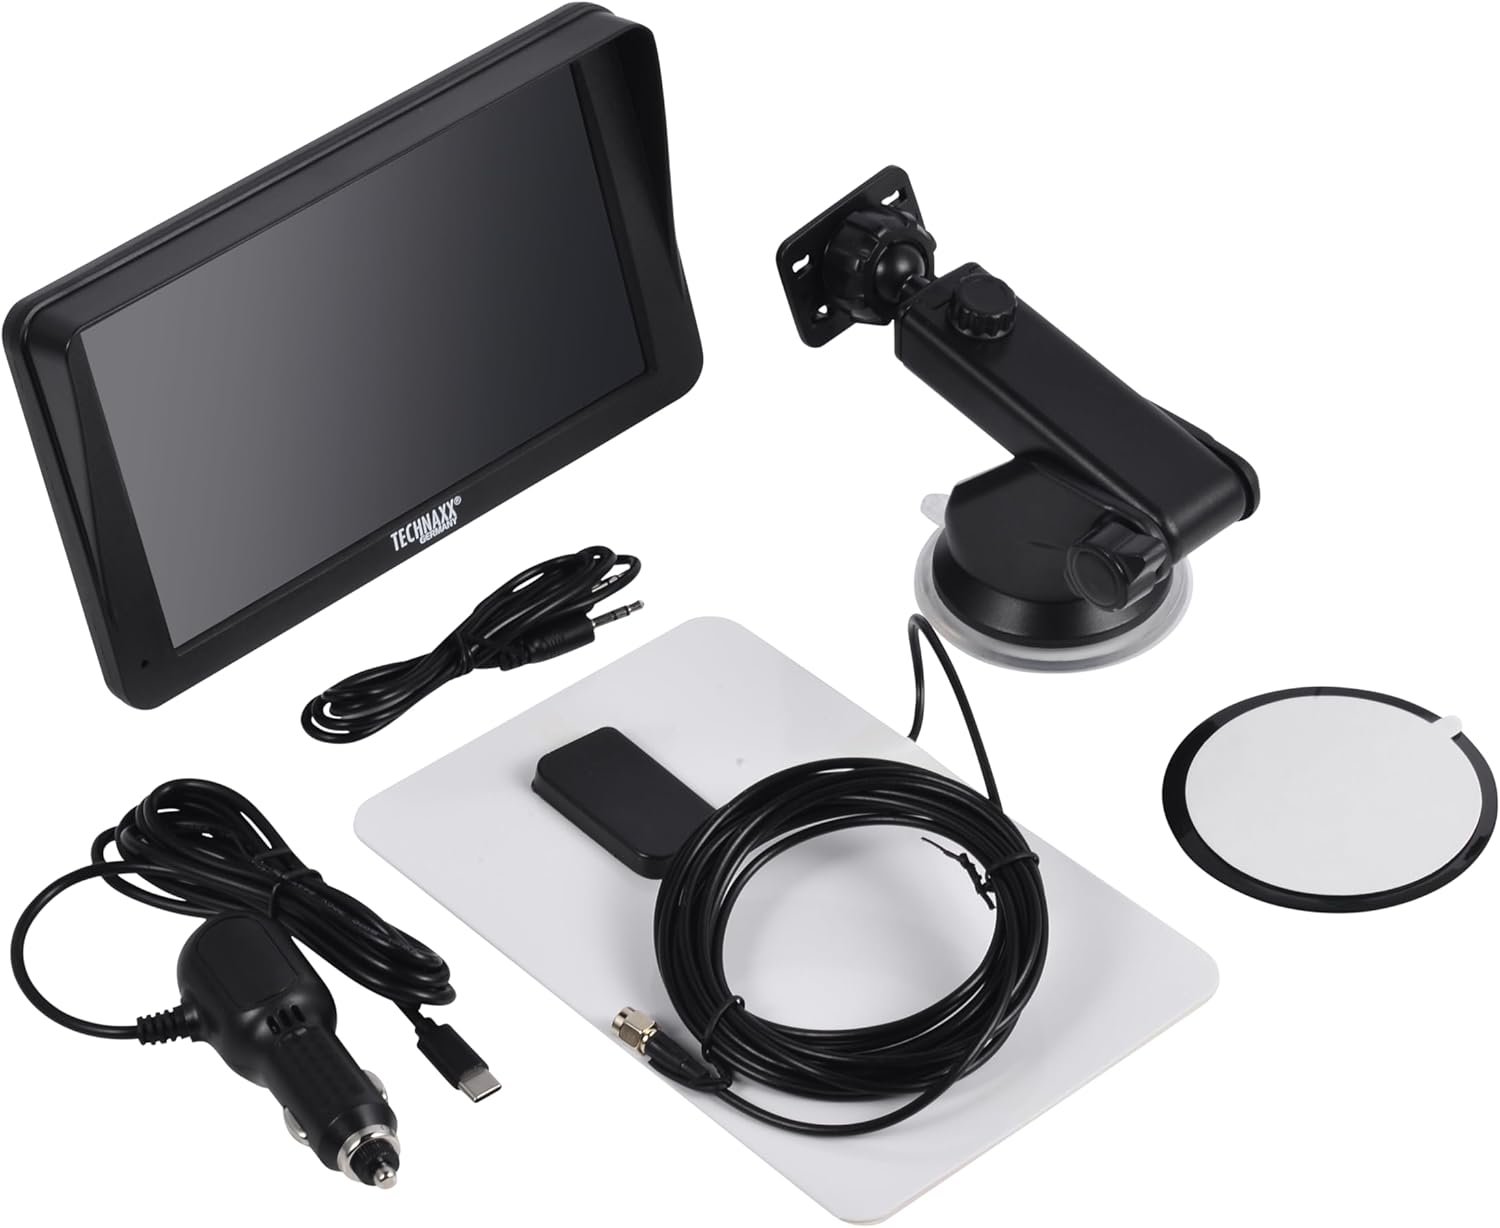
Image: All components included in the Technaxx TX-361 package, neatly laid out.
4. Producte acabatview
Familiarize yourself with the main components of your TX-361 monitor.
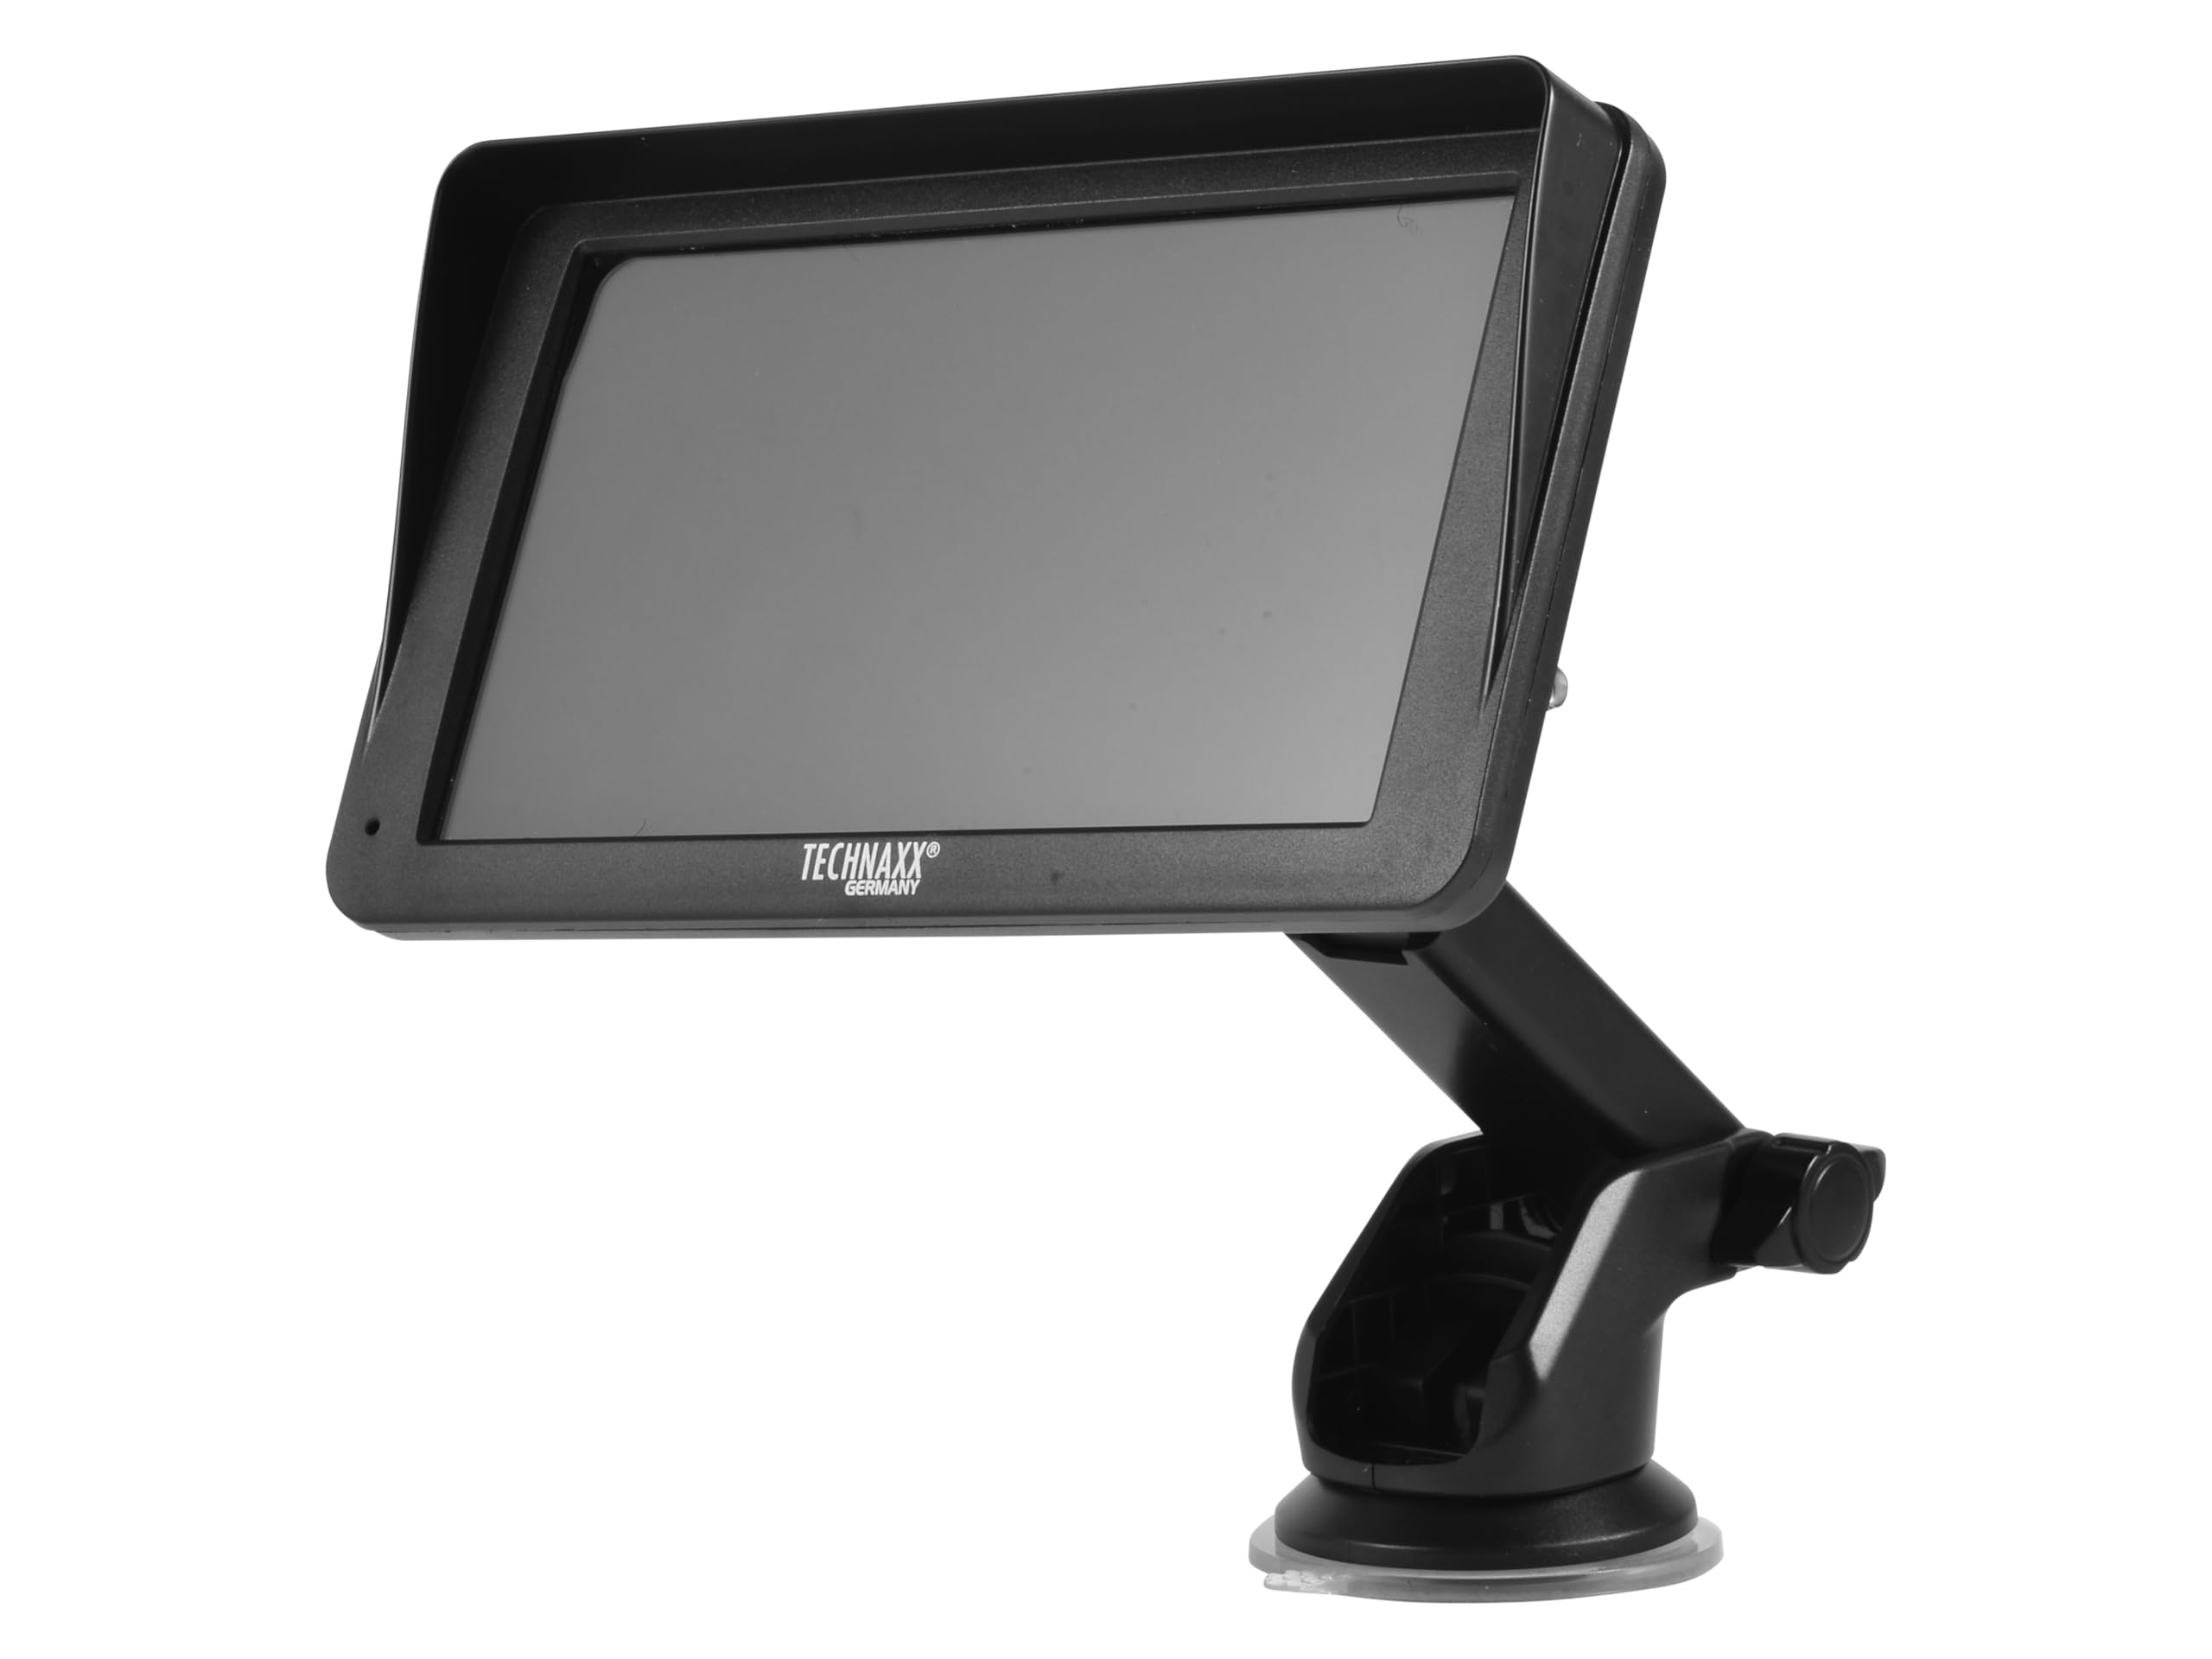
Imatge: Frontal view of the TX-361 monitor with its 7-inch display and 'TECHN AXX GERMANY' branding, attached to the adjustable mounting stand.

Imatge: Part posterior view of the TX-361 monitor, highlighting the ventilation grilles and the attachment point for the mounting bracket.

Imatge: Detallada view of the right side of the TX-361 monitor, showing the power button, reset button, USB-C power input, AUX output, and USB-A port.
4.1. Components del dispositiu
- Pantalla tàctil capacitiva de 7 polzades: Main display for all functions.
- Botó d'encesa: Located on the top right side.
- Botó de restabliment: Small pinhole button for system reset.
- Port USB-C: Per a l'entrada de potència.
- Sortida AUX: 3.5mm jack for wired audio transmission.
- Port USB-A: For media playback or charging external devices.
- DAB Antenna Input: Connector for the external DAB antenna.
- Altaveu integrat: Per a la reproducció directa d'àudio.
5. Configuració
5.1. Muntatge del dispositiu
The TX-361 can be mounted on your vehicle's windscreen or dashboard using the provided holder.
- Attach the monitor to the mounting bracket.
- For Windscreen Mounting: Clean the desired area on the windscreen. Press the suction cup firmly against the glass and engage the lever to secure it.
- For Dashboard Mounting: Clean the desired area on the dashboard. If necessary, use the adhesive disc provided for a more secure attachment point for the suction cup. Press the suction cup firmly and engage the lever.
- Ajusteu l'angle del monitor per a una òptima viewsense obstaculitzar la conducció view.

Image: The TX-361 monitor securely mounted on a car dashboard, showing its position relative to the driver's view.

Image: The TX-361 monitor mounted on a car windscreen, demonstrating an alternative placement option.
5.2. Connexió d'alimentació
- Connect the USB-C end of the power cable to the USB-C port on the monitor.
- Plug the USB-A end of the power cable into the provided 12V/24V cigarette lighter adapter.
- Insert the cigarette lighter adapter into your vehicle's 12V/24V power socket. The device will power on automatically or can be turned on using the power button.
5.3. DAB Antenna Connection
For optimal DAB radio reception, connect the included DAB antenna:
- Connect the DAB antenna cable to the dedicated DAB antenna input on the monitor.
- Mount the DAB antenna on your windscreen or another suitable location, ensuring it has clear line of sight for best signal reception.
6. Instruccions de funcionament
6.1. Encès / apagat
- Encès: The device typically powers on automatically when connected to the vehicle's power. If not, press and hold the power button on the top right side.
- Apagar: Press and hold the power button until the device shuts down. A short press will turn the screen off/on.
6.2. Initial Setup and Smartphone Connection
The TX-361 supports wireless Apple CarPlay and Android Auto via Wi-Fi and Bluetooth 5.0.
- Assegureu-vos que el Wi-Fi i el Bluetooth del vostre telèfon intel·ligent estiguin activats.
- On the TX-361 monitor, navigate to the CarPlay or Android Auto section.
- The monitor will display a Bluetooth name. On your smartphone, search for and connect to this Bluetooth device.
- Once connected via Bluetooth, the device will prompt you to enable Wi-Fi for CarPlay/Android Auto functionality. Confirm the connection on your phone.
- After successful pairing, Apple CarPlay or Android Auto will launch automatically on the monitor.
6.3. Funcionament de la pantalla tàctil
The 7-inch capacitive touchscreen allows for intuitive control:
- Toca: Select items or confirm actions.
- Llisca: Navegar per menús o llistes.
- Pessiga per fer zoom: (Where supported, e.g., in navigation apps) Adjust map zoom levels.
6.4. DAB Digital Radio
To use the integrated DAB digital radio:
- Ensure the DAB antenna is properly connected.
- From the main menu, select the 'DAB Radio' option.
- The device will automatically scan for available DAB stations.
- Select your desired station from the list.
6.5. Ràdio FM
For traditional FM radio reception:
- From the main menu, select the 'FM Radio' option.
- Feu servir els controls en pantalla per cercar emissores o sintonitzar manualment una freqüència.
6.6. Opcions de sortida d'àudio
The TX-361 offers several ways to transmit audio to your vehicle's sound system:
- Altaveu integrat: Audio will play directly from the monitor's built-in speaker.
- Cable AUX: Connect the provided 3.5mm AUX cable from the monitor's AUX output to your car's AUX input. Select 'AUX' as the input source on your car radio.
- Transmissió FM: Select an unused FM frequency on the TX-361 and tune your car radio to the same frequency. Audio will be transmitted wirelessly to your car's speakers.
7. Manteniment
- Neteja: Use a soft, dry cloth to clean the screen and exterior of the device. Do not use abrasive cleaners or solvents.
- Emmagatzematge: Si guardeu el dispositiu durant un període prolongat, desconnecteu-lo de l'alimentació i guardeu-lo en un lloc fresc i sec.
- Actualitzacions de programari: Reviseu periòdicament el fabricant weblloc web per a qualsevol actualització de firmware disponible per garantir un rendiment òptim.
8. Solució De Problemes
| Problema | Possible solució |
|---|---|
| El dispositiu no s'encén. |
|
| No es pot connectar a CarPlay/Android Auto. |
|
| Poor DAB/FM radio reception. |
|
| Sense sortida d'àudio. |
|
9. Especificacions
| Característica | Especificació |
|---|---|
| Número de model | 5361 |
| Mostra | Pantalla tàctil capacitiva de 7 polzades |
| Tecnologia de connectivitat | Wi-Fi (Dual-band 2.4 / 5 GHz), Bluetooth 5.0 |
| Característiques especials | Wireless CarPlay & Android Auto, DAB Digital Radio, FM Radio, Touchscreen Display |
| Interval de freqüència DAB | Band III: 174-240 MHz |
| Sortida d'àudio | AUX, FM Transmission, Integrated Speaker |
| Font d'alimentació | 12V/24V via Cigarette Lighter |
| Dimensions del producte (P x A x A) | 18.8D x 10.8W x 3.5H centímetres |
| Pes de l'article | 0.58 lliures (aprox. 263 grams) |
10. Garantia i Suport
Technaxx products are covered by a manufacturer's warranty. For detailed warranty information, please refer to the warranty card included with your product or visit the official Technaxx website. For technical support, troubleshooting assistance, or service inquiries, please contact Technaxx customer support through their official channels.
You can often find additional resources, FAQs, and contact information on the Technaxx official weblloc.


