1. Introducció
Thank you for choosing the Bosch VeroBar 100 Automatic Espresso Machine. This manual provides essential information for the safe and efficient operation, maintenance, and troubleshooting of your appliance. Please read these instructions carefully before first use and keep them for future reference.
The Bosch VeroBar 100 is designed to prepare a variety of coffee beverages, including espresso and milk-based drinks, with ease and consistency.
2. Informació de seguretat
Observeu sempre les següents precaucions de seguretat per evitar lesions o danys a l'aparell:
- Llegiu totes les instruccions abans d’utilitzar l’aparell.
- No submergiu l'aparell, el cable o l'endoll en aigua o altres líquids.
- Assegureu-vos que el voltagEl volum indicat a l'aparell coincideix amb la xarxa elèctrica localtage.
- Mantenir l'aparell fora de l'abast dels nens.
- No feu servir l'aparell amb un cable o un endoll danyats.
- Desconnecteu sempre l'aparell abans de netejar-lo o quan no l'utilitzeu.
- Use only original Bosch spare parts and accessories.
- Hot surfaces: Avoid contact with hot parts of the machine, such as the brewing unit or steam nozzle, during and immediately after operation.
3. Components del producte
Familiarize yourself with the main parts of your Bosch VeroBar 100 espresso machine:
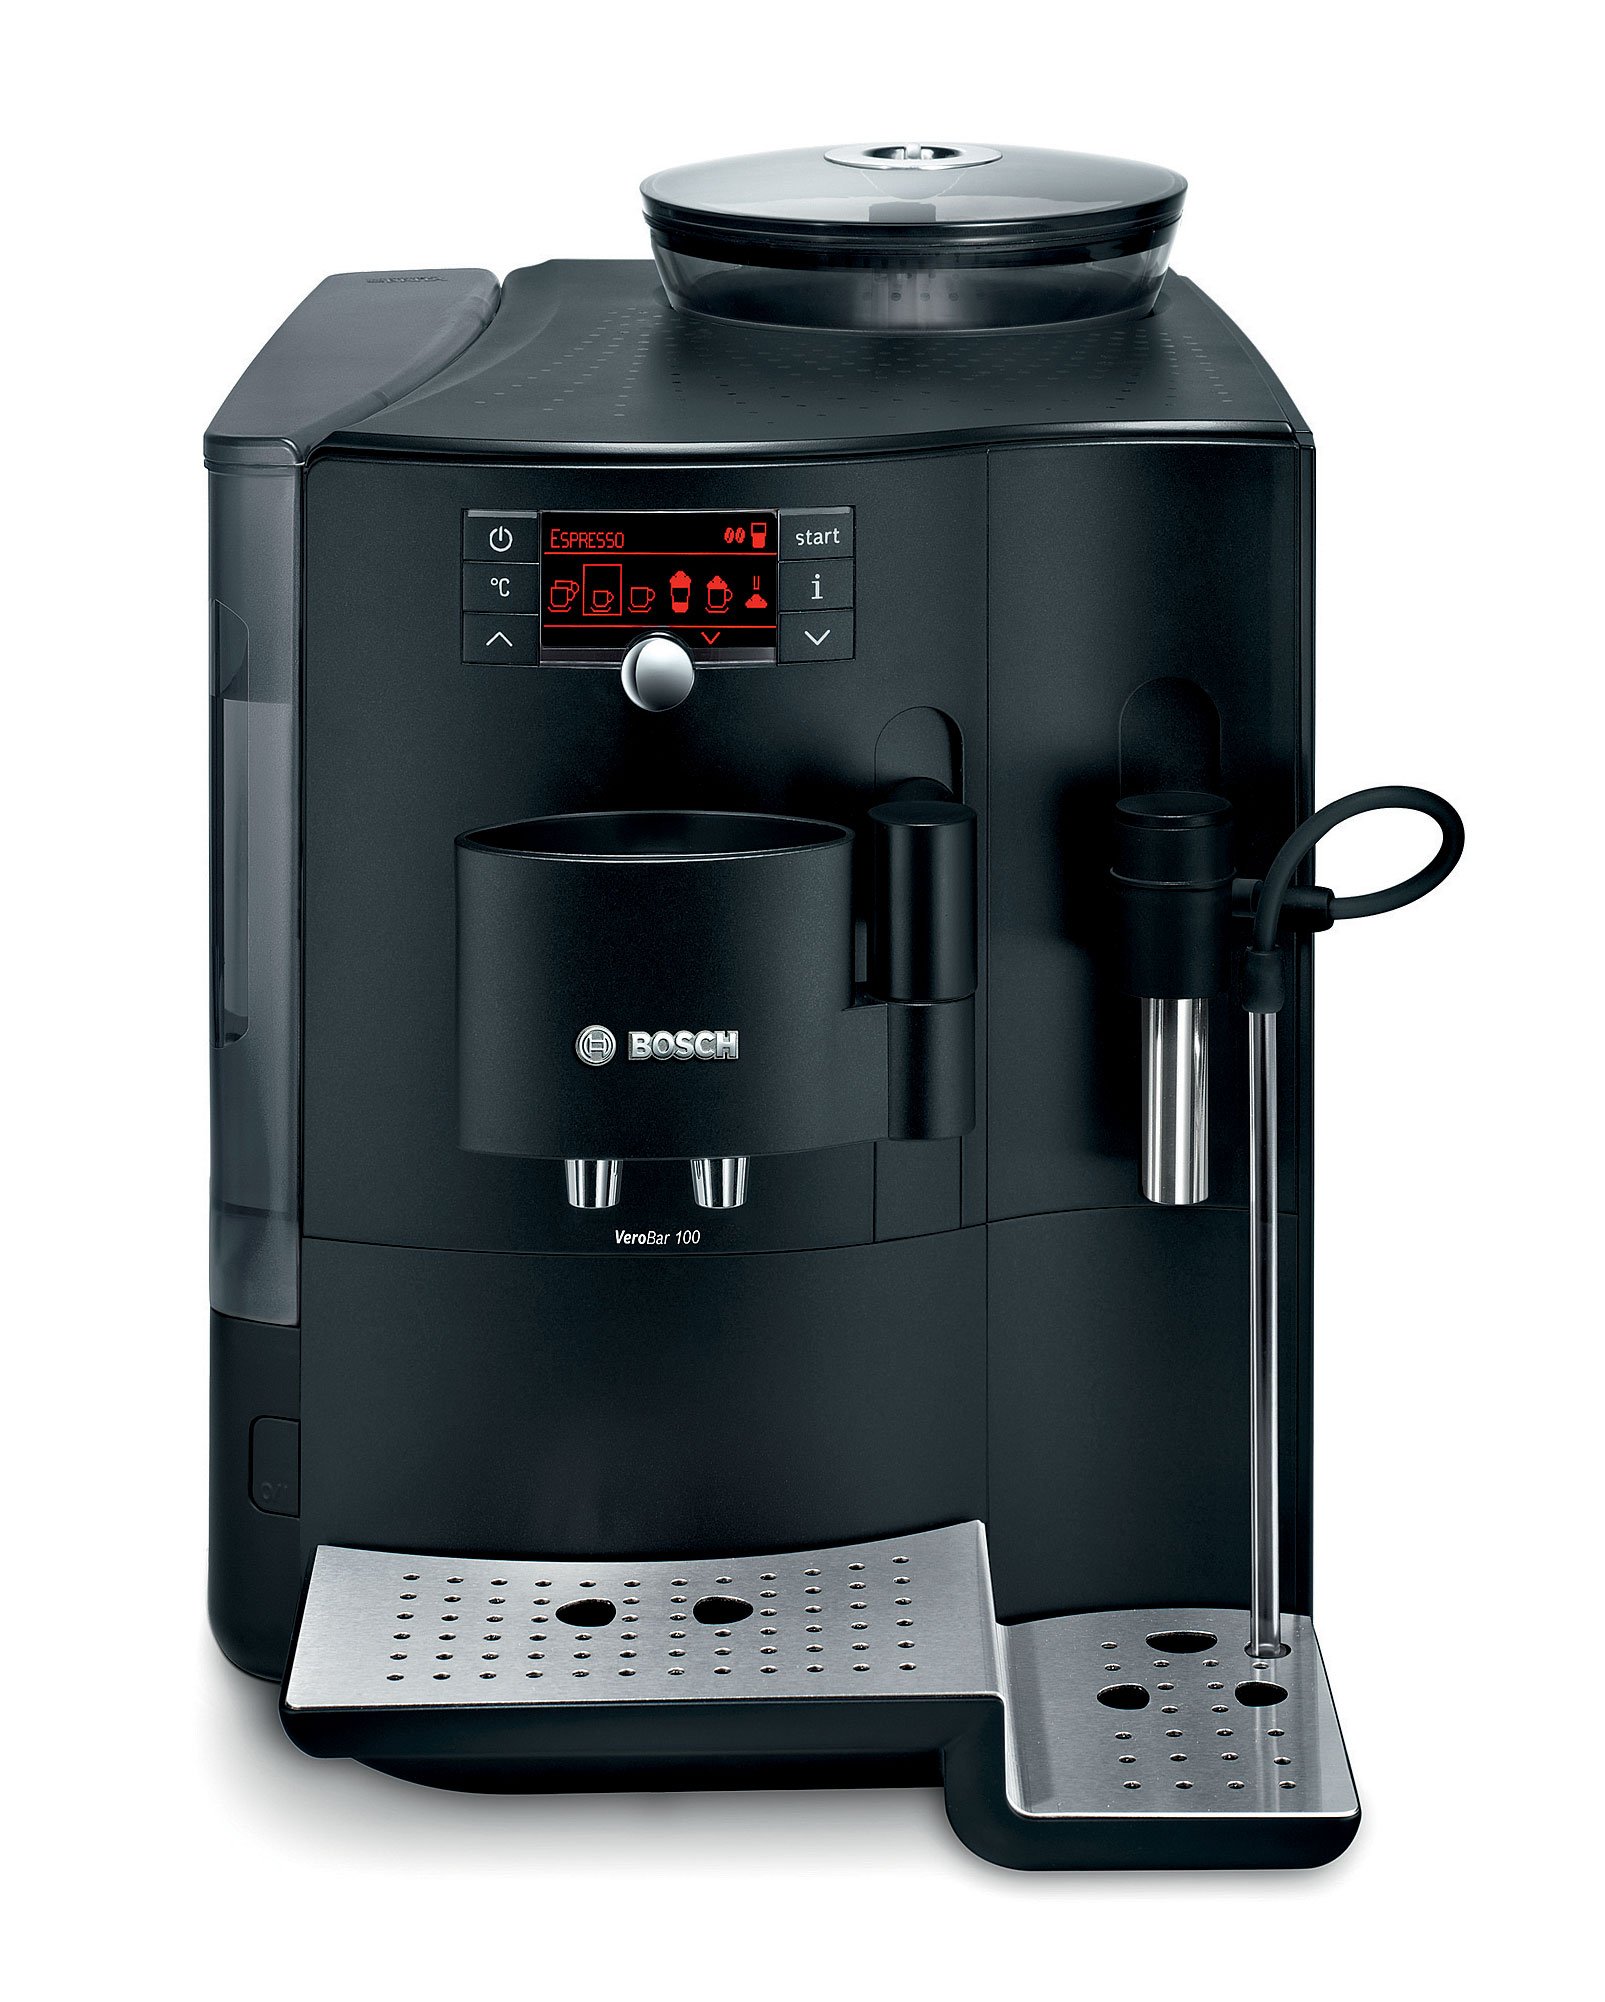
Figura 1: Davant view of the Bosch VeroBar 100 Automatic Espresso Machine, showing the main display, coffee spouts, and milk frother attachment.

Figura 2: Close-up of the control panel, featuring power button, temperature setting, and beverage selection icons.
- Tauler de control: Features buttons and a display for selecting beverages, adjusting settings, and indicating status.
- Embassament d'aigua: Removable container for fresh water, located on the side or back of the machine. (Capacity: 2.1 liters)
- Contenidor de mongetes: Situat a la part superior, per a grans de cafè sencers.
- Compartiment de cafè mòlt: Per a cafè premolt.
- Grup de cervesa: The internal unit where coffee is brewed.
- Safata de degoteig: Removable tray to collect excess water and coffee drips.
- Broquets de cafè: Adjustable spouts for dispensing coffee.
- Escumador de llet: Attachment for frothing milk for specialty beverages.
- Emmagatzematge de cables: Integrated storage for the power cable.
4. Configuració
- Desembalatge: Carefully remove the machine from its packaging. Retain packaging for future transport.
- Col·locació: Col·loqueu la màquina sobre una superfície estable i plana, allunyada de fonts de calor i de la llum solar directa. Assegureu-vos que hi hagi una ventilació adequada.
- Neteja inicial: Netegeu l'exterior amb un anunciamp cloth. Wash the water reservoir, drip tray, and milk frother components with warm soapy water and rinse thoroughly.
- Omplir el dipòsit d'aigua: Remove the water reservoir, fill it with fresh, cold tap water up to the MAX mark, and reinsert it securely.
- Omplir el recipient de mongetes: Open the lid of the bean container and fill it with whole coffee beans. Close the lid.
- Connexió d'alimentació: Connecteu el cable d'alimentació a una presa elèctrica amb connexió a terra.
- Cicle de primer ús: Follow the on-screen instructions for the initial rinse cycle. This primes the system and cleans internal components.

Figura 3: A dalt view of the espresso machine showing the transparent lid of the bean container filled with whole coffee beans.
5. Instruccions de funcionament
5.1 Preparació bàsica del cafè
- Activar: Press the power button on the control panel. The machine will perform a short rinse cycle.
- Selecciona una beguda: Use the control panel to select your desired coffee beverage (e.g., Espresso, Coffee Crema).
- Ajustar la configuració (opcional): You can adjust coffee strength and volume using the intuitive controls.
- Col·loca la copa: Position a cup under the coffee spouts.
- Comença a fer cervesa: Premeu el botó d'inici. La màquina moldrà els grans i us prepararà el cafè.
5.2 Ús de cafè premolt
- Compartiment obert: Obriu el compartiment del cafè mòlt.
- Afegiu cafè: Add one level scoop of pre-ground coffee into the compartment. Do not overfill.
- Select Pre-Ground Function: Select the pre-ground coffee option on the control panel.
- Cervesa: Place a cup and press start.

Figura 4: A measuring spoon adding ground coffee into the dedicated compartment on the machine.
5.3 Escuma de llet
- Connecteu l'escumador de llet: Connect the milk frother tube to the machine and immerse the other end into a container of cold milk.
- Selecciona una beguda amb llet: Choose a milk-based beverage (e.g., Latte Macchiato, Cappuccino) or the milk frothing function.
- Inici: Press the start button. The machine will automatically froth and dispense milk, then brew coffee if a combined beverage was selected.
6. Manteniment i Neteja
Una neteja regular garanteix un rendiment òptim i allarga la vida útil de la teva màquina d'espresso.
6.1 Neteja diària
- Empty Drip Tray and Coffee Grounds Container: Empty and rinse these components daily.
- Espumador de llet net: After each use, rinse the milk frother components thoroughly to prevent milk residue buildup.
- Netejar l'exterior: Utilitzeu un suau, damp drap per netejar l'exterior de la màquina.
6.2 Cleaning the Brew Group
The brew group should be cleaned regularly, typically weekly or as indicated by the machine.
- Turn Off Machine: Assegureu-vos que la màquina estigui apagada i desconnectada.
- Remove Brew Group: Open the service door and carefully remove the brew group by pressing the release button and pulling it out.
- Esbandida: Rinse the brew group thoroughly under running lukewarm water until all coffee residues are removed. Do not use detergent.
- Dry and Reinsert: Allow the brew group to air dry completely before reinserting it into the machine. Ensure it clicks into place.

Figura 5: A hand removing the brew group from the side compartment of the espresso machine for cleaning.
6.3 Descalcificació
The machine will prompt you when descaling is required. Use a suitable descaling solution recommended by Bosch and follow the on-screen instructions or the detailed steps in the full manual.
7. Solució De Problemes
This section addresses common issues you might encounter. For more complex problems, refer to the full product manual or contact customer support.
| Problema | Causa possible | Solució |
|---|---|---|
| La màquina no s'encén. | Sense font d'alimentació. | Check if the power cord is securely plugged into the machine and the wall outlet. Check the circuit breaker. |
| "Water level too low" message appears. | Water reservoir is empty or not correctly inserted. | Refill the water reservoir and ensure it is properly seated. |
| El cafè no es prepara. | No coffee beans, brew group not inserted correctly, or system needs priming. | Fill bean container. Reinsert brew group. Perform a rinse cycle to prime the system. |
| L'escumador de llet no produeix escuma. | Milk frother is clogged or not properly assembled. | Clean the milk frother components thoroughly. Ensure all parts are correctly assembled. Use cold milk. |
| Machine is unusually loud. | Air in the system or foreign object in grinder. | Run a rinse cycle. If noise persists, contact customer service. Do not attempt to remove foreign objects from the grinder yourself. |
8. Especificacions
- Número de model: TES70159DE
- Marca: Bosch
- Potència (Wattage): 1700 watts
- Capacitat del dipòsit d'aigua: 2.1 litres
- Dimensions del producte: 38.51 x 30 x 45.29 cm
- Pes: 9.07 g (Note: This weight seems unusually low for an espresso machine, please verify with product packaging if possible.)
- Color: Negre
- Funcions especials: Milk frother, Water filter (optional/accessory)
- Entrada de la interfície humana: Botons
9. Garantia i Suport
Per obtenir informació sobre la garantia, consulteu la targeta de garantia inclosa amb el producte o visiteu el lloc web oficial de Bosch. weblloc web. Conserveu el comprovant de compra per a reclamacions de garantia.
If you require technical assistance or have questions not covered in this manual, please contact Bosch customer support. Contact details can typically be found on the Bosch weblloc o a l'embalatge del producte.