1. Introducció
Gràcies per la compraasing the DBPOWER RD-806 HD Home Theater Projector. This manual provides essential information for setting up, operating, and maintaining your projector. Please read these instructions carefully before use to ensure optimal performance and longevity of your device. Keep this manual for future reference.
2. Producte acabatview
The DBPOWER RD-806 is a high-definition home theater projector designed for a versatile viewing experience. It features a native resolution of 1280x800, supporting 1080P input, and offers 2800 lumens brightness for clear images. Its LED lamp has an impressive lifespan of 50,000 hours. The projector includes multiple input options and built-in speakers, making it suitable for movies, gaming, and presentations.
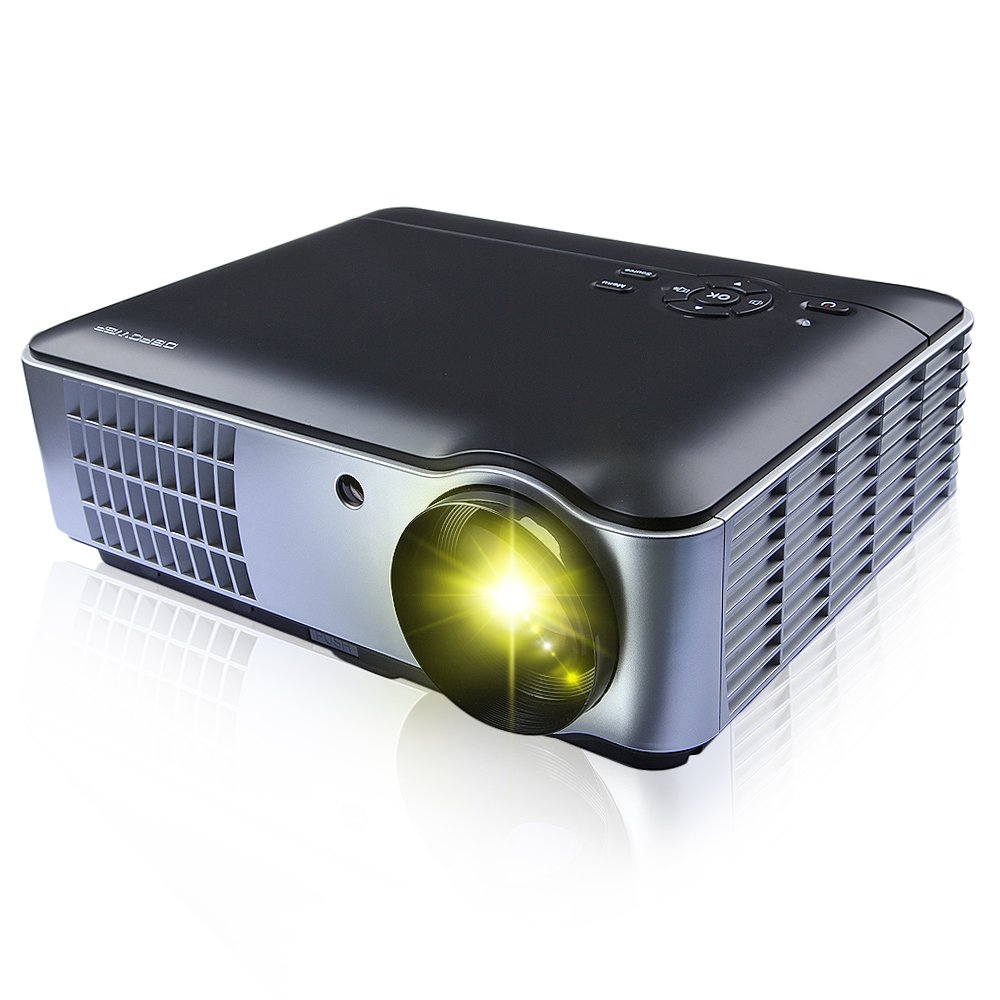
Figura 2.1: Front, side, and bottom view of the DBPOWER RD-806 projector, showing its dimensions (33.6cm length, 26.3cm width, 11.8cm height) and the included remote control.
3. Contingut del paquet
Si us plau, comproveu que tots els articles estiguin presents i en bon estat en desempaquetar-los:
- 1 x DBPOWER RD-806 Projector
- 1 x comandament a distància
- 1 x cable VGA
- Cable 1 x AV
- 1 x cable d'alimentació
- 1 x Coberta de la lent
- 1 x Manual d'usuari (aquest document)
4. Configuració
4.1 Col·locació
Position the projector on a stable, flat surface or mount it to the ceiling. Ensure there is adequate ventilation around the projector to prevent overheating. The projection distance should be between 1.85 and 5.8 meters for an optimal screen size of 50 to 200 inches.

Figura 4.1: The projector can be placed on a table or mounted to the ceiling using a compatible bracket.
4.2 Connexió d'alimentació
- Connecteu el cable d'alimentació al port d'entrada d'alimentació del projector.
- Plug the other end of the power cord into a standard AC 110-240V, 50/60Hz electrical outlet.
4.3 Connexió de dispositius
The RD-806 projector offers multiple input options for various devices:

Figura 4.2: Rear panel connections including USB, AV, VGA, HDMI, and power input.
- HDMI: Connect Blu-ray players, gaming consoles, laptops, or streaming devices using an HDMI cable to either HDMI1 or HDMI2 port.
- USB: Insert a USB flash drive into USB1 or USB2 port to play multimedia files directament.
- VGA: Connect a computer or laptop using a VGA cable to the VGA port.
- DE: Use the provided AV cable to connect older devices like DVD players or VCRs to the AV input.
- Component/TV: Additional input options are available for specific devices.
5. Instruccions de funcionament
5.1 Engegada/apagada
- Press the power button on the projector or the remote control to turn the unit on. The power indicator light will illuminate.
- To turn off, press the power button again. Allow the projector to cool down before unplugging it.
5.2 Ajust del focus
To achieve a clear image, adjust the focus ring located around the projector lens.

Figura 5.1: Rotate the lens ring to adjust image focus.
5.3 Correcció Keystone
If the projected image appears trapezoidal (wider at the top or bottom), use the keystone correction dial to adjust the image geometry. This corrects the distortion when the projector is not perfectly perpendicular to the screen.
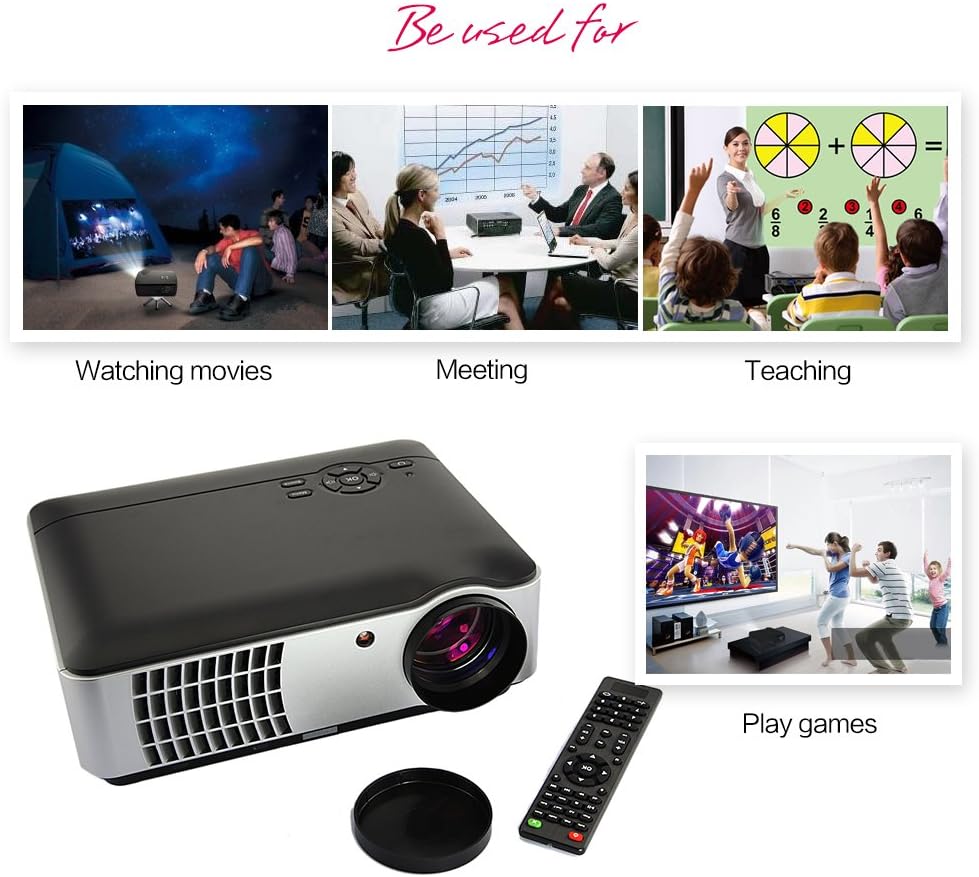
Figura 5.2: Adjust the keystone dial to correct image distortion.
5.4 Selecció de la font d'entrada
After connecting your devices, select the appropriate input source using the projector's control panel or the remote control.

Figura 5.3: Projector control panel. Use the 'Source' button to cycle through input options.
- Press the 'Source' button on the control panel or remote.
- Navigate through the input options (HDMI1, HDMI2, USB1, USB2, AV, VGA, TV) using the arrow keys.
- Premeu "D'acord" o "Enter" per confirmar la selecció.
5.5 Ús del control remot
The included remote control allows for convenient operation of the projector from a distance. It provides access to power, menu, source selection, volume, and navigation functions.
6. Manteniment
Un manteniment adequat garanteix la longevitat i el rendiment del vostre projector.
- Neteja de la lent: Use a soft, lint-free cloth specifically designed for optical lenses. Do not use abrasive cleaners or cloths that could scratch the lens.
- Neteja del cos del projector: Wipe the exterior with a soft, dry cloth. For stubborn dirt, a slightly damp cloth can be used, followed by a dry cloth. Avoid using harsh chemicals.
- Ventilació: Ensure the projector's ventilation openings are clear of dust and obstructions to prevent overheating.
- Lamp Vida: The LED light source has an estimated lifespan of 50,000 hours, requiring no regular lamp replacement under normal use.
7. Solució De Problemes
Si teniu problemes amb el projector, consulteu els problemes i solucions més comuns següents:
- Sense energia:
- Comproveu si el cable d'alimentació està connectat correctament tant al projector com a la presa de corrent.
- Assegureu-vos que la presa de corrent funcioni.
- Sense imatge:
- Verifiqueu que s'ha seleccionat la font d'entrada correcta (per exemple, HDMI1, USB).
- Comproveu el cable de connexió entre el projector i el dispositiu font.
- Assegureu-vos que el dispositiu font estigui encès i emeti un senyal.
- Imatge borrosa:
- Ajusteu l'anell de focus de la lent del projector.
- Assegureu-vos que la distància de projecció estigui dins del rang recomanat (1.85-5.8 m).
- Imatge trapezoïdal:
- Adjust the keystone correction dial on the projector.
- Sense so:
- Comproveu la configuració de volum tant al projector com al dispositiu font.
- Ensure audio cables are correctly connected if using external speakers.
8. Especificacions
| Característica | Especificació |
|---|---|
| Model | RD-806 |
| Sistema de projecció | Single 5.8-inch LCD |
| Resolució nativa | 1280 x 800 (supports 1080P) |
| Brillantor | 2800 lúmens |
| Relació de contrast | 1500:1 |
| Mètode de projecció | Front / Rear / Hanging Cast |
| Lent de projecció | Enfocament manual |
| Relació d'aspecte | 16:9 / 4:3 |
| Altaveu incorporat | 5W x 2 |
| Distància de projecció | 1.85 - 5.8 metres |
| Font de llum | LED 150W |
| Vida de la font de llum | 50,000 hores |
| Mida de projecció | 50 - 200 polzades |
| Correcció de pedra clau | ± 15 graus |
| Nivell de soroll | <25 dB |
| Font d'alimentació | CA 110-240V / 50-60Hz |
| Ports d'entrada | HDMI1, HDMI2, USB1, USB2, Video, Computer (VGA), Component, TV |
| Dimensions del producte | 33.6 x 26.3 x 11.8 cm |
| Pes del producte | 4.15 kg |
9. Garantia i Suport
The DBPOWER RD-806 projector comes with a standard manufacturer's warranty. Please refer to the warranty card included in your package for specific terms and conditions. For technical support, troubleshooting assistance beyond this manual, or warranty claims, please contact DBPOWER customer service through their official weblloc web o el venedor on es va comprar el producte.