1. Introducció
This manual provides detailed instructions for the installation, operation, and maintenance of your Corsair Carbide Series SPEC-03 ATX Mid Tower Gaming Case. Please read this manual thoroughly before beginning installation to ensure proper setup and to maximize the performance and longevity of your system.
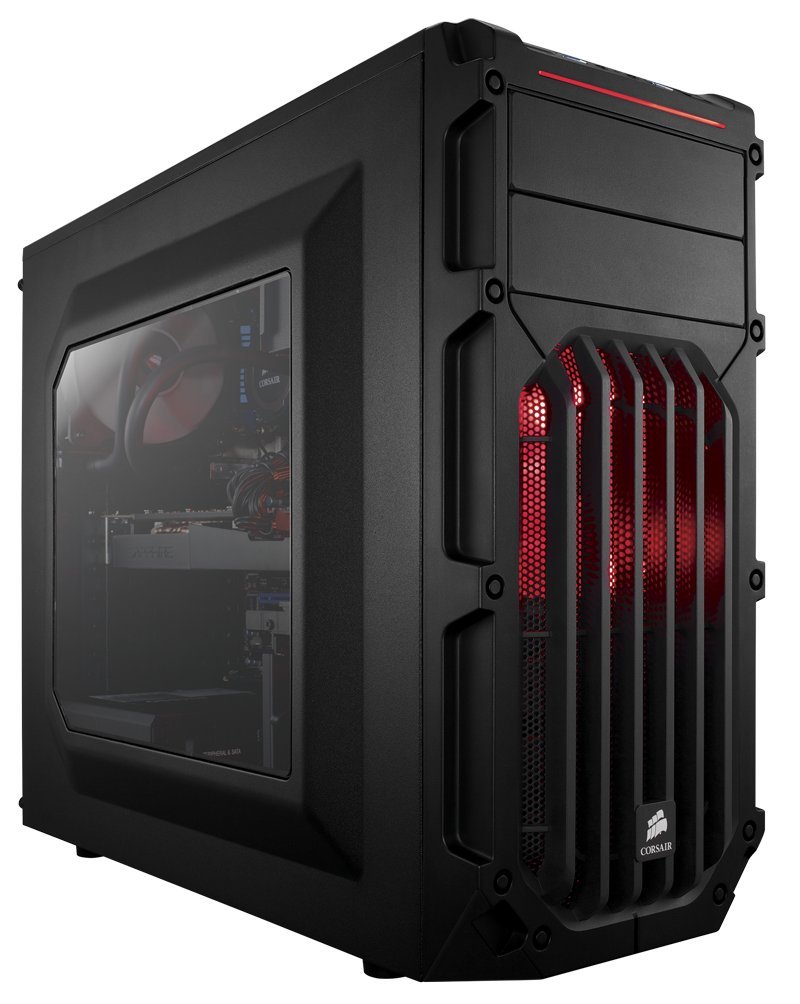
Figura 1: Frontal view of the Corsair Carbide Series SPEC-03 case, showcasing the red LED fan and front panel I/O ports.
2. Configuració i instal·lació
The Corsair Carbide Series SPEC-03 case is designed for straightforward component installation. Ensure you have all necessary tools and components before proceeding.
2.1 Preparació del cas
- Traieu els panells laterals: Unscrew the thumbscrews on the rear of the case for both side panels. Slide the panels backward and lift them off.
- Caixa d'accessoris: Locate the accessory box inside the case, which contains screws, cable ties, and other small parts.
2.2 Instal·lació de la placa base
- Instal·leu l'escut d'E/S: Enganxa el protector d'E/S de la placa base a l'obertura de la part posterior de la carcassa.
- Posició de la placa base: Carefully align your ATX motherboard with the pre-installed standoffs. Ensure the I/O ports align with the shield.
- Placa base segura: Feu servir els cargols proporcionats per fixar la placa base als separadors.

Figure 2: Internal layout showing a motherboard, CPU cooler, and graphics card installed, highlighting the spacious interior for components.
2.3 Drive Installation (Tool-Free)
- Unitats de 3.5": The case supports up to three 3.5" drives. Gently flex the drive tray, insert the drive, and release the tray to secure it. Slide the tray into an available 3.5" bay until it clicks into place.
- Unitats de 2.5": The case supports up to two 2.5" drives. These can be installed in the 3.5" drive trays using the provided screws, or in dedicated 2.5" bays if available.
- Unitats de 5.25": For optical drives or other 5.25" devices, remove the front panel bay cover. Slide the drive into the bay from the front until the tool-free latch engages.

Figura 3: Detallada view of an installed red LED fan and the tool-free drive bay mechanism.
2.4 Instal·lació de la targeta d'expansió
The case features seven PCIe expansion slots. Remove the necessary slot covers, insert your graphics card or other expansion card into the motherboard's PCIe slot, and secure it with the provided screw or latch. The case accommodates long graphics cards up to 426mm.
2.5 Instal·lació de la font d'alimentació
Install your power supply unit (PSU) into the bottom-mount bay at the rear of the case. Secure it with screws from the outside.
2.6 Gestió de cables
Aprofita els retalls de cables i els punts d'amarratge que hi ha darrere de la safata de la placa base per gestionar els cables. Això millora la circulació del flux i l'estètica.

Figure 4: Top-down internal view illustrating the layout for component placement and potential cable routing paths.
3. Instruccions de funcionament
3.1 Engegada/apagada
- Botó d'encesa: Press the power button located on the top front panel to turn your system on or off.
- Botó de restabliment: Use the reset button on the top front panel for a system restart if needed.
3.2 Connectivitat del panell frontal
The front panel provides convenient access to two USB 3.0 ports and audio jacks for headphones and microphones. Ensure these are properly connected to your motherboard's headers during installation.
4. Manteniment
4.1 Neteja del filtre de pols
The case includes dust filters for the front and PSU intake. Regularly clean these filters to maintain optimal airflow and prevent dust buildup inside your system.
- Filtre frontal: Gently pull the front panel to access the front dust filter.
- PSU Filter: The PSU filter is located at the bottom of the case and can be slid out for cleaning.
4.2 Neteja general
Utilitzeu un suau, damp cloth to clean the exterior surfaces of the case. Avoid abrasive cleaners or solvents. For interior cleaning, use compressed air to remove dust from components.
5. Solució De Problemes
- El sistema no s'encén:
- Ensure all power cables (24-pin ATX, 8-pin CPU, GPU PCIe) are securely connected.
- Verifiqueu que l'interruptor de la font d'alimentació estigui en la posició 'ON'.
- Comproveu les connexions del botó d'engegada del panell frontal a la placa base.
- Flux d'aire deficient/sobreescalfament:
- Clean all dust filters and fans.
- Ensure fans are oriented correctly for optimal intake and exhaust.
- Millorar la gestió del cablejat per reduir l'obstrucció del flux d'aire.
- Front USB Ports Not Functioning:
- Verify the USB 3.0 header cable from the front panel is securely connected to the motherboard.
- Prova amb diferents dispositius USB.
6. Especificacions
| Característica | Detall |
|---|---|
| Número de model | CC-9011052-WW |
| Tipus de cas | Torre mitjana ATX |
| Material | Steel / Plastic |
| Compatibilitat amb la placa base | ATX |
| Dimensions (LxWxH) | 19.41 x 19.41 x 8.46 polzades (49.3 x 49.3 x 21.5 cm) |
| Pes | 12.46 lliures (5.65 kg) |
| Badies d'unitat de 3.5" | 3 (Internal, Tool-Free) |
| Badies d'unitat de 2.5" | 2 (Internal, Tool-Free) |
| Badies d'unitat de 5.25" | 2 (External, Tool-Free) |
| Ranures d'expansió | 7 |
| Longitud màxima de la GPU | 426 mm |
| Ports d'E / S frontals | 2 x USB 3.0, Headphone, Microphone |
| Cooling System (Included Fans) | 2 x 120mm Red LED (Front), 1 x 120mm (Rear) |
| Cooling System (Fan Mounts) | Front: 2 x 140/120mm, Top: 2 x 120mm, Rear: 1 x 120mm, Bottom: 1 x 120mm |
| Muntatge de la font d'alimentació | Muntatge inferior |
7. Informació de la garantia
Corsair products are backed by a manufacturer's warranty. For specific warranty terms, conditions, and duration, please refer to the warranty card included with your product or visit the official Corsair weblloc web. Conserveu el comprovant de compra per a reclamacions de garantia.
8. Suport
For technical assistance, driver downloads, or further product information, please visit the official Corsair support weblloc web. Hi podeu trobar preguntes freqüents, guies de resolució de problemes i informació de contacte del servei d'atenció al client.
Official Corsair Weblloc: www.corsair.com