1. Informació de seguretat
Read all instructions carefully before using the appliance. Keep this manual for future reference. Failure to follow these instructions may result in electric shock, fire, or damage to the appliance.
- Seguretat elèctrica: Ensure the washing machine is connected to a properly grounded power outlet. Do not use extension cords or adapters. Unplug the appliance before cleaning or performing any maintenance.
- Connexió d'aigua: Connect the water inlet hoses securely to the water supply and the machine. Check for leaks before first use.
- Nens i animals de companyia: Keep children and pets away from the appliance during operation. Do not allow them to play with the machine or climb inside the drum.
- Materials inflamables: No renteu articles que s'hagin netejat, rentat, remullat o tacat amb substàncies combustibles o explosives (com ara cera, oli, pintura, gasolina, desgreixants, dissolvents de neteja en sec, querosè, etc.).
- Instal·lació: The appliance must be installed on a firm, level surface. Adjust the leveling feet to prevent vibration and noise.
- Danys: Do not operate the machine if it is damaged, malfunctioning, or has a damaged power cord. Contact authorized service personnel for repairs.
2. Producte acabatview
Familiarize yourself with the main components of your Svan SVL5610 washing machine.
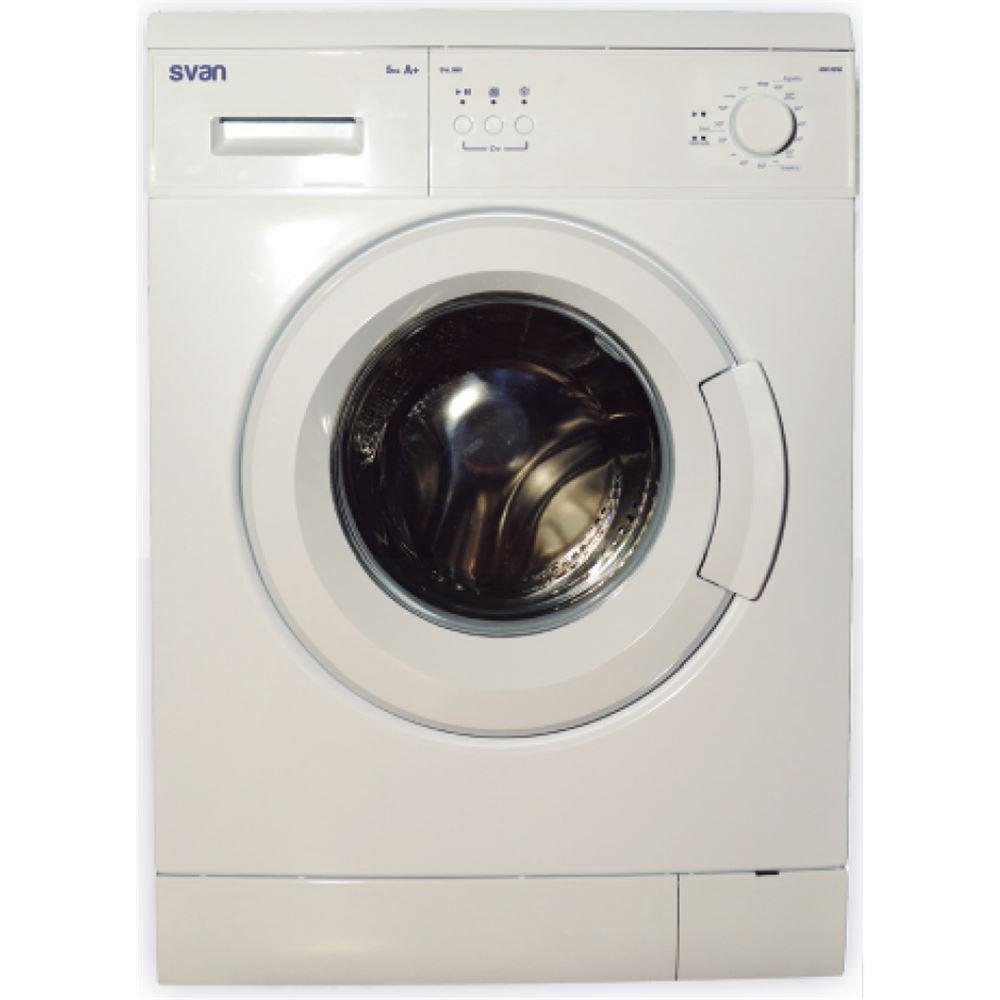
Imatge 2.1: Frontal view of the Svan SVL5610 washing machine. This image shows the main body, the front-loading door, the control panel at the top, and the detergent dispenser drawer.
2.1 Components principals
- Tauler de control: Located at the top front, it includes the program selector knob, function buttons, and a display screen (if applicable) for cycle information.
- Calaix dispensador de detergent: Positioned on the left side of the control panel, it has compartments for pre-wash detergent, main wash detergent, and fabric softener.
- Tambor: The stainless steel inner drum where laundry is placed for washing.
- Porta: The front-loading door with a safety lock mechanism.
- Tapa del filtre: Located at the bottom front, covering the drain pump filter.
2.2 Tauler de control acabatview
The control panel allows you to select washing programs and customize settings.
- Botó selector de programes: Used to choose the desired washing program (e.g., Cotton, Synthetics, Delicates, Quick Wash).
- Botó d'inici/pausa: Initiates or temporarily stops a washing cycle.
- Botó de temperatura: Adjusts the wash water temperature.
- Botó de velocitat de gir: Modifies the spin speed for the final rinse.
- Botó d'inici retardat: Estableix una hora d'inici retardada per al cicle de rentat.
- Pantalla de visualització: Mostra el temps restant, els codis d'error i les opcions seleccionades.
3. Instal·lació i configuració
Una instal·lació correcta és crucial per al funcionament segur i eficient de la rentadora.
3.1 Desembalatge
- Traieu tots els materials d'embalatge, inclosa la base de poliestirè i qualsevol pel·lícula protectora.
- Traieu els cargols de trànsit: Locate and remove the transit bolts at the rear of the machine. These bolts secure the drum during transport and deu be removed before operation. Keep them for future transport.
- Insert the plastic caps provided into the holes left by the transit bolts.
3.2 Posicionament i anivellament
- Place the machine on a firm, level floor, away from direct sunlight or heat sources.
- Adjust the leveling feet at the bottom of the machine by turning them clockwise or counter-clockwise until the machine is perfectly level and stable. Use a spirit level to verify.
3.3 Connexió d'aigua
- Connect the cold water inlet hose to the cold water tap and the corresponding inlet valve on the back of the machine. Ensure a tight seal to prevent leaks.
- Open the water tap fully and check for any leaks.
3.4 Connexió de la mànega de drenatge
- The drain hose can be hooked over the edge of a sink or connected to a dedicated standpipe.
- Ensure the drain hose is not kinked or obstructed. The height of the drain hose should be between 60 cm and 100 cm from the floor.
3.5 Connexió elèctrica
- Connecteu el cable d'alimentació a una presa de corrent amb connexió a terra. Assegureu-vos que el volumtage i la freqüència coincideixen amb les especificacions del vostre aparell.
- No sobrecarregueu el circuit elèctric.
4. Instruccions de funcionament
Segueix aquests passos per a un funcionament eficaç i segur de la teva rentadora.
4.1 Preparació de la bugada
- Classifica la roba per tipus de teixit, color i grau de brutícia.
- Consulteu les etiquetes de cura de la roba per obtenir instruccions de rentat.
- Empty pockets, close zippers, and fasten hooks. Place small or delicate items in a mesh laundry bag.
4.2 Càrrega de la roba
- Obriu la porta de la rentadora.
- Load laundry loosely into the drum, ensuring not to overload the machine. An overloaded machine will not wash effectively and may cause excessive vibration.
- Tanqueu la porta fermament fins que sentiu un clic.
4.3 Afegir detergent i suavitzant
- Traieu el calaix del dispensador de detergent.
- Add the appropriate amount of detergent to the main wash compartment (usually marked 'II' or 'Main Wash').
- If using pre-wash, add detergent to the pre-wash compartment (usually marked 'I' or 'Pre-Wash').
- Add fabric softener to the softener compartment (usually marked with a flower symbol). Do not exceed the 'MAX' line.
- Empenyeu el calaix del detergent completament cap a dins.
4.4 Selecting a Program and Starting the Wash
- Turn the Program Selector Knob to choose the desired washing program.
- Adjust additional settings such as temperature and spin speed using the corresponding buttons, if desired.
- Premeu el botó Inici/Pausa button to begin the wash cycle. The machine will automatically lock the door and start filling with water.
4.5 During the Wash Cycle
- To pause a running cycle, press the Inici/Pausa botó. Premeu-lo de nou per reprendre.
- To change a program, you may need to cancel the current program first (refer to your specific model's instructions for cancelling a program, often by holding the Start/Pause button or turning the program knob to 'Off').
4.6 Fi de cicle
- The machine will signal the end of the cycle (e.g., with a beep or 'End' on the display).
- Wait for the door lock to release before opening the door.
- Traieu la roba ràpidament per evitar arrugues i males olors.
- Unplug the machine and turn off the water tap after each use.
5. Manteniment i Neteja
Un manteniment regular garanteix un rendiment òptim i allarga la vida útil de la rentadora.
5.1 Neteja del calaix dispensador de detergent
- Traieu completament el calaix del detergent.
- Traieu totes les peces extraïbles (per exemple, l'inserció del suavitzant).
- Esbandiu totes les peces amb aigua corrent per eliminar els residus de detergent. Feu servir un raspall si cal.
- Clean the drawer housing with a damp tela.
- Torneu a muntar i torneu a inserir el calaix.
5.2 Neteja del filtre de la bomba de desguàs
The drain pump filter should be cleaned periodically to prevent blockages.
- Place a shallow container or towel under the filter cover to catch any residual water.
- Open the filter cover at the bottom front of the machine.
- Slowly unscrew the filter counter-clockwise. Allow water to drain out.
- Traieu qualsevol borrissol, monedes o objectes estranys del filtre i de la seva carcassa.
- Esbandiu el filtre sota aigua corrent.
- Screw the filter back in clockwise until it is tight. Close the filter cover.
5.3 Neteja del tambor i de la junta de la porta
- Run a maintenance wash cycle (e.g., a hot wash with no laundry and a descaling agent or washing machine cleaner) monthly to prevent odor and residue buildup.
- Wipe the rubber door seal with a damp cloth after each wash to remove moisture and lint, preventing mold growth.
- Leave the door slightly ajar after use to allow the drum to air dry.
5.4 Neteja de l'exterior
- Netegeu les superfícies exteriors amb un damp tela. No utilitzeu netejadors abrasius ni dissolvents.
6. Solució De Problemes
Before contacting service, consult this section for common issues and their solutions.
| Problema | Causa possible | Solució |
|---|---|---|
| La màquina no arrenca | Power cord not plugged in; door not closed properly; water tap closed; program not selected; Start/Pause button not pressed. | Check power connection; ensure door is latched; open water tap; select a program; press Start/Pause. |
| Sense farciment d'aigua | Water tap closed; water inlet hose kinked; water supply cut off. | Obriu l'aixeta de l'aigua; redreceu la mànega; comproveu el subministrament d'aigua de la llar. |
| L'aigua no drena | Mànega de desguàs doblegada o bloquejada; filtre de la bomba de desguàs obstruït. | Redreçar la mànega de desguàs; netejar el filtre de la bomba de desguàs (vegeu la secció 5.2). |
| Vibració / soroll excessius | Transit bolts not removed; machine not level; uneven load; too much laundry. | Remove transit bolts (if not already); adjust leveling feet; redistribute laundry; reduce load size. |
| Residus de detergent al calaix | Insufficient water pressure; clogged dispenser; too much detergent. | Check water pressure; clean detergent drawer (see Section 5.1); use recommended detergent amount. |
| La porta no s'obrirà | Cycle not finished; water still in drum; safety lock engaged. | Wait for cycle to complete and door lock to release; if water remains, select a drain program. |
If the problem persists after attempting these solutions, please contact Svan customer support.
7. Especificacions
Technical data for the Svan SVL5610 Front-Load Washing Machine.
| Característica | Especificació |
|---|---|
| Número de model | SVL5610 (8436545120750) |
| Marca | svan |
| Tipus | Rentadora de càrrega frontal |
| Capacitat | 5 quilos |
| Velocitat màxima de gir | 600 RPM |
| Color | Blanc |
| Profunditat del producte | 49.7 centímetres |
| Entrada de la interfície humana | Botons |
| ASIN | B014WFEF5O |
8. Garantia i Suport
For warranty information, service requests, or technical support, please refer to the warranty card included with your product or visit the official Svan weblloc.
- Període de garantia: The warranty period typically begins from the date of purchase. Keep your proof of purchase for warranty claims.
- Contacte amb l'assistència: For assistance, please contact Svan customer service. Contact details can usually be found on the manufacturer's weblloc o a l'embalatge del producte.
- Servei autoritzat: All repairs must be carried out by authorized service personnel to maintain warranty validity.
Nota: Product specifications and features are subject to change without prior notice for product improvement.