
DIGITNOW M125
DIGITNOW! M125 Film and Slide Scanner User Manual
Model: M125
1. Introducció
The DIGITNOW! M125 Film and Slide Scanner is designed to convert your old 35mm/135 film negatives and mounted slides into digital JPEG images. This standalone device features a 2.4-inch LCD screen, allowing you to preview and adjust images without the need for a computer. Digital files can be saved directly to an SD card for easy transfer and archiving.

Image: The DIGITNOW! M125 Film and Slide Scanner converting film, with a vintage camera and film rolls in the background.
2. Informació de seguretat
- No exposeu el dispositiu a la humitat ni a temperatures extremes.
- Avoid disassembling the unit; refer servicing to qualified personnel.
- Feu servir només l'adaptador de corrent proporcionat per evitar danys.
- Mantenir fora de l'abast dels nens.
- Netegeu el dispositiu amb un drap suau i sec. No utilitzeu netejadors líquids.
3. Contingut del paquet
Verifiqueu que tots els elements siguin presents al paquet:
- DIGITNOW! M125 Film and Slide Scanner
- Porta pel·lícula de 35 mm
- Porta diapositives
- Cable USB
- Adaptador d'alimentació
- Raspall de neteja
- Manual d'usuari

Image: The complete package contents of the DIGITNOW! M125 Film and Slide Scanner.
4. Producte acabatview
The M125 scanner features a compact design with intuitive controls and a built-in LCD screen for easy operation.

Imatge: Frontal view of the DIGITNOW! M125 Film and Slide Scanner, highlighting the LCD screen and control panel.
4.1. Tauler frontal
- Pantalla LCD: 2.4-inch TFT LCD for previewing images and navigating menus.
- Botons de control: Power, Menu, Capture, Up/Down/Left/Right navigation.
- Llums indicadores: SD (SD card status), Power (power status), PC (PC connection status).

Imatge: Una imatge detallada view of the scanner's screen and buttons, showing the 'FILM SCANNER' label.
4.2. Panell posterior
- Ranura per a targeta SD: For inserting an SD/MMC card (up to 8GB SDHC, not included) to save scanned images.
- Sortida USB: Connects to a computer for data transfer or power.
- Entrada de TV: Connects to a TV for viewing images on a larger screen (NTSC/PAL compatible).

Image: The back of the scanner, clearly labeling the SD card slot, USB output, and TV input ports.
5. Configuració
- Connectar l'alimentació: Plug the power adapter into the scanner's USB port and then into a power outlet.
- Inseriu la targeta SD: Insert an SD or SDHC memory card (up to 8GB, not included) into the SD card slot on the rear of the scanner. The SD indicator light will illuminate.
- Encès: Press the Power button on the front panel to turn on the scanner.
- Connect to TV (Optional): If desired, connect the scanner to a TV using the provided video cable to view imatges en una pantalla més gran.

Image: An SD card being inserted into the scanner, with a message on the screen indicating to insert a memory card.
6. Instruccions de funcionament
6.1. Loading Film and Slides
- For 35mm Film Strips: Open the 35mm film holder, insert the film strip into the designated grooves, and close the holder. Slide the loaded holder into the scanner's film slot.
- For Mounted Slides: Open the slide holder, place a mounted slide into the opening, and close the holder. Slide the loaded holder into the scanner's film slot.

Image: A mounted slide being pushed into the slide holder, which is then inserted into the scanner.
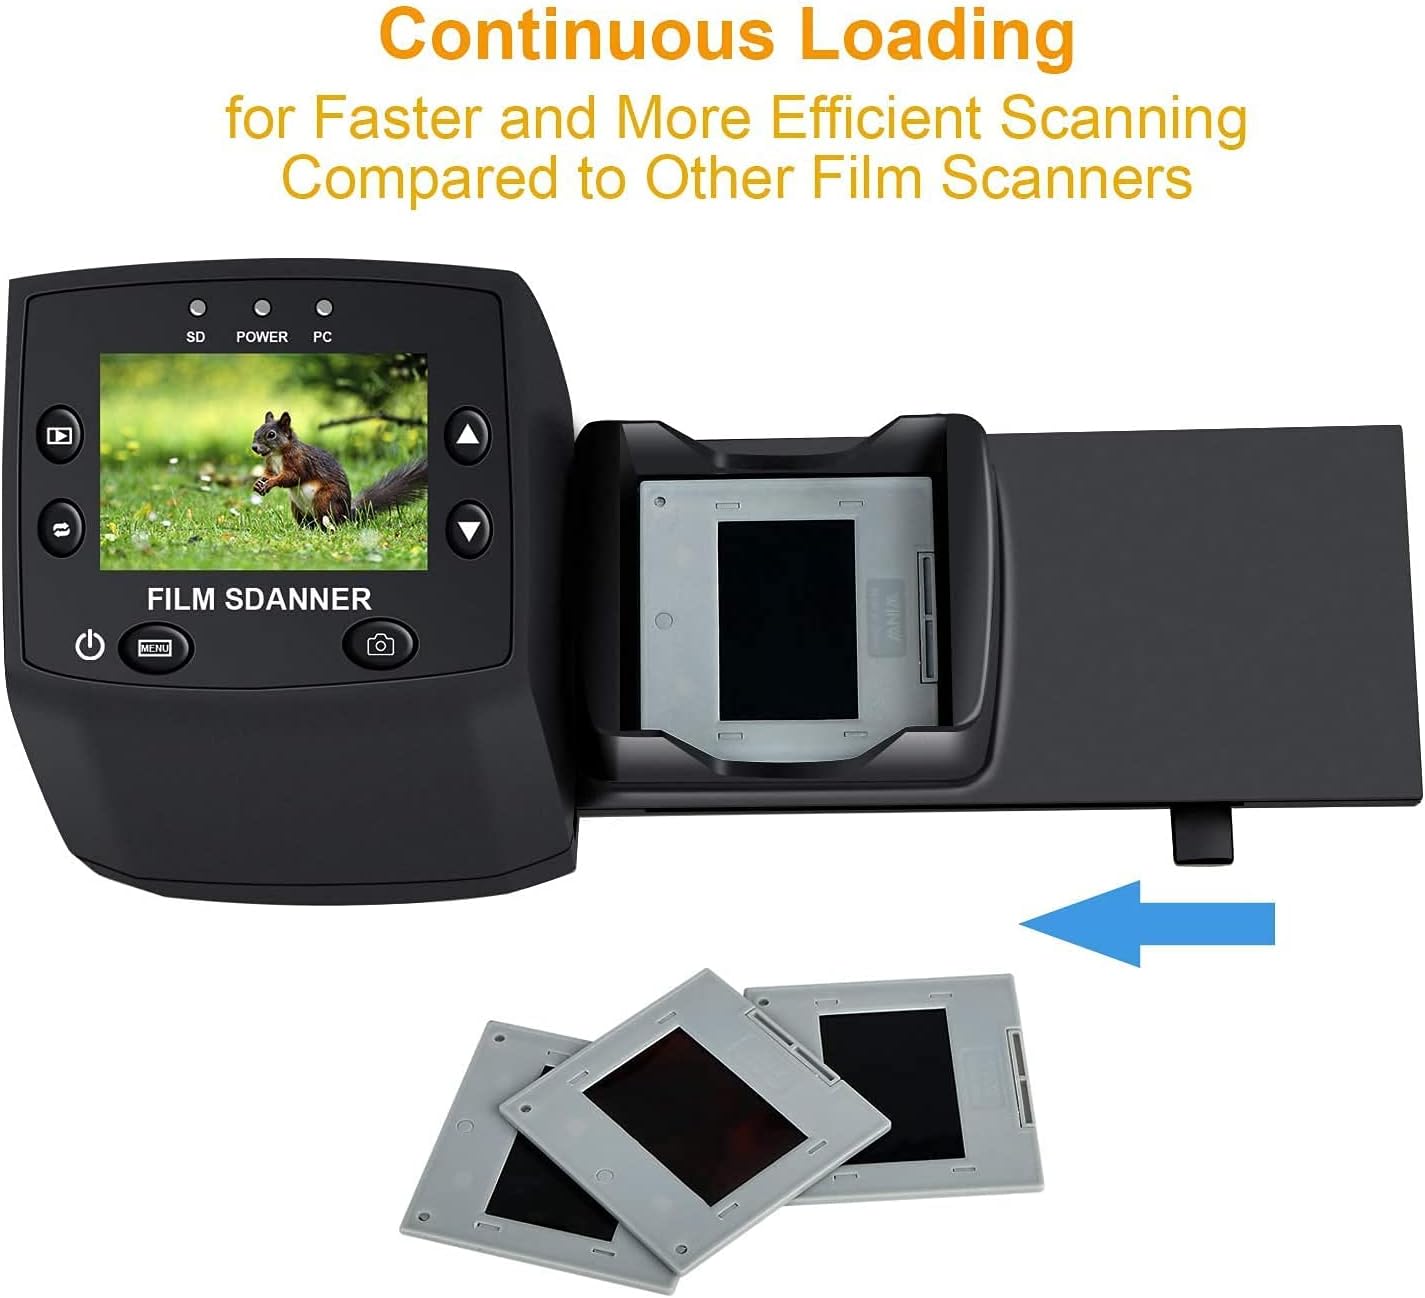
Image: The continuous loading tray for slides, designed for faster scanning.
6.2. Procés d'escaneig
- Preview: Once the film or slide is loaded, the image will appear on the LCD screen.
- Ajustar la configuració (opcional):
- Premeu el botó Menú botó per accedir a la configuració.
- Utilitza el Amunt/Avall buttons to navigate through options like Exposició EV, Resolució, i Llengua.
- Premeu OK per seleccionar una opció.
- Ús Amunt/Avall to adjust values (e.g., exposure compensation from -2 to +2, resolution between 5M and 10M).
- Premeu OK to confirm changes or Sortida per tornar al preview pantalla.
- Captura d'imatge: When satisfied with the preview, premeu Captura button (camera icon) to scan and save the image to the SD card.
Video: A demonstration of the DIGITNOW! M125 Film and Slide Scanner's setup and operation, including connecting cables, inserting an SD card, loading film, adjusting settings like exposure and resolution, and capturing images.
6.3. Connexió a un ordinador
To transfer images to your computer:
- Connect the scanner to your PC using the USB cable.
- On the scanner's menu, select USB MSDC (Mass Storage Device Class) and press OK.
- Your computer will recognize the scanner as a removable disk. You can then access the saved JPEG images on the SD card.

Image: The scanner connected to a laptop, demonstrating the USB connection for data transfer.
6.4. Changing Language
To change the menu language:
- Premeu el botó Menú botó.
- Navegueu fins a Llengua option using the Amunt/Avall botons i premeu OK.
- Select your desired language (e.g., English, Français, Deutsch, Italiano) and press OK per confirmar.
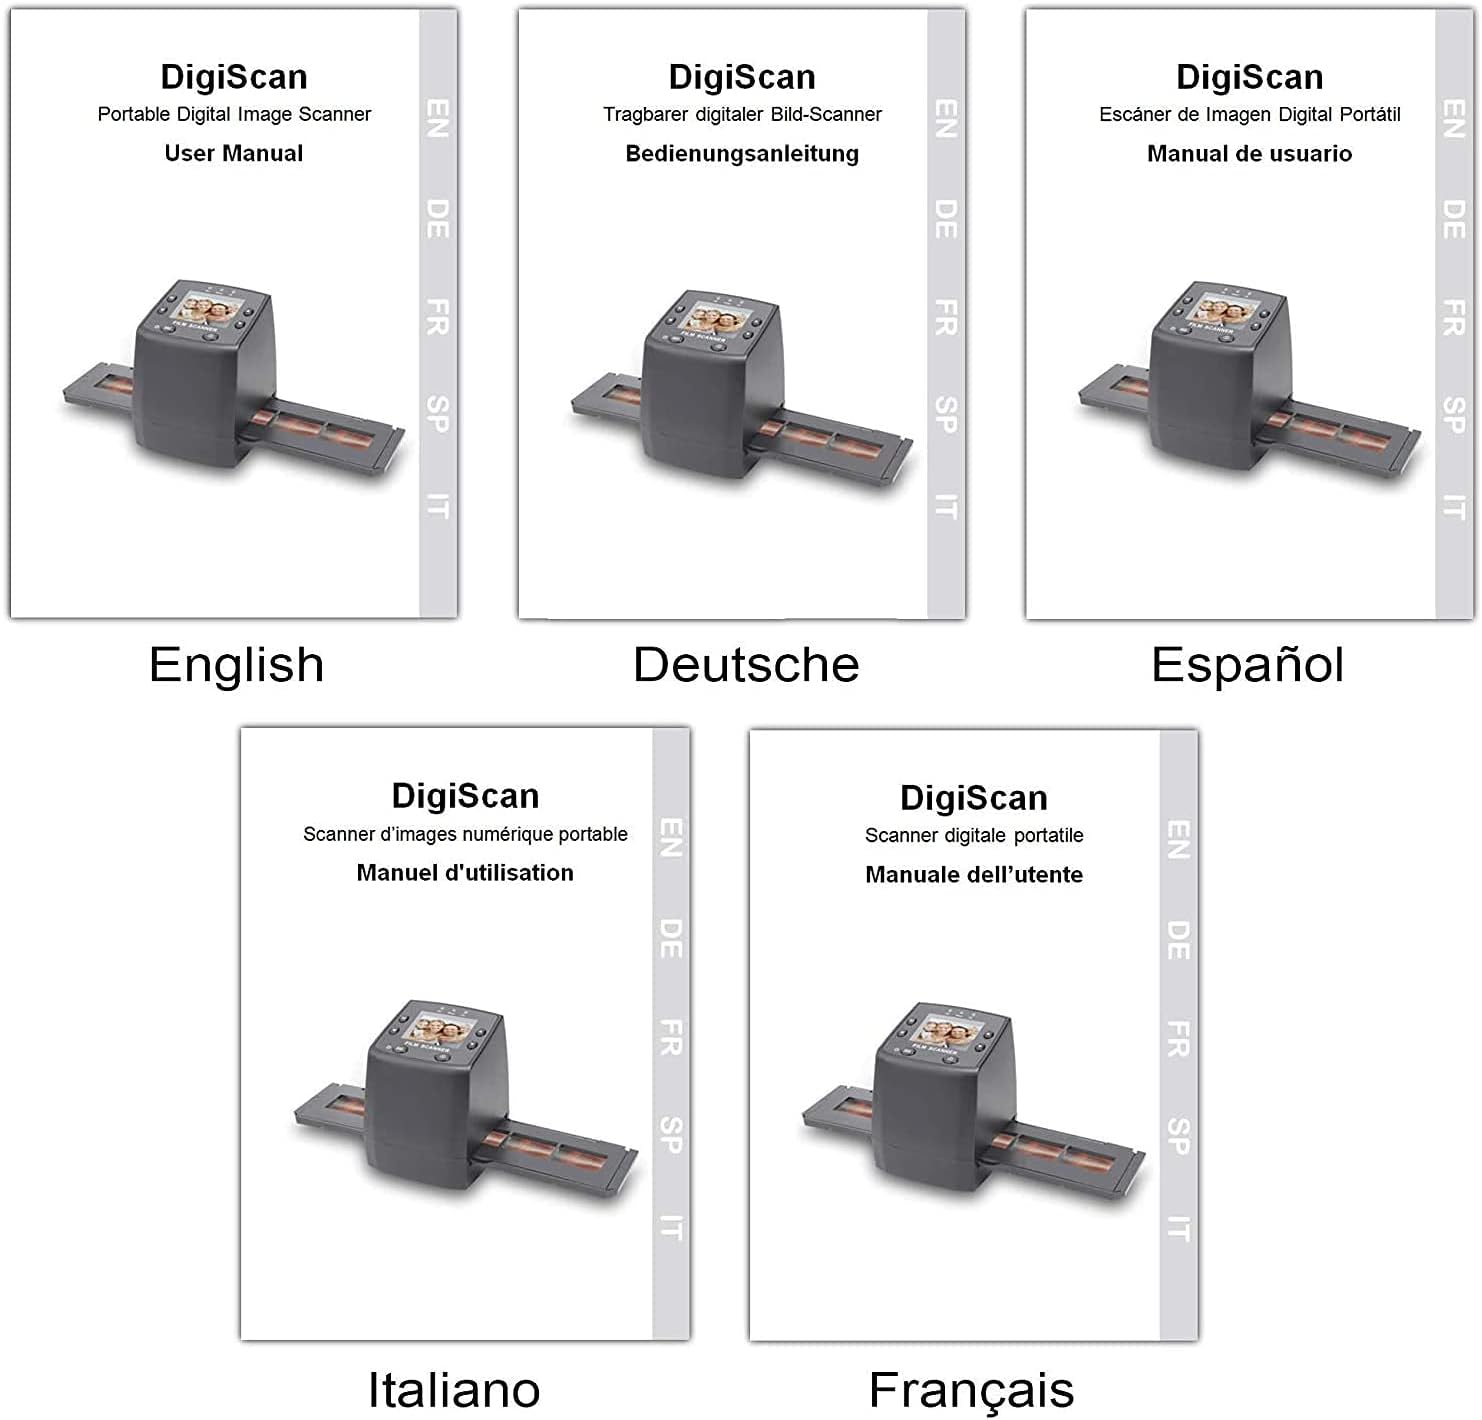
Image: Covers of user manuals in various languages, indicating multi-language support.
7. Manteniment
- Cleaning the Film/Slide Holders: Regularly inspect and clean the film and slide holders to ensure no dust or debris interferes with scanning.
- Cleaning the Scanner Lens: Use the provided cleaning brush to gently remove dust from the scanner's lens and light source. Avoid touching the lens directly with your fingers.
- Emmagatzematge: Store the scanner in a dry, dust-free environment when not in use.
8. Solució De Problemes
- Sense energia: Ensure the power adapter is securely connected to both the scanner and a working power outlet.
- Image Quality Issues (Blurry/Dusty): Clean the film/slides and the scanner lens using the provided brush. Adjust the focus if available (not explicitly mentioned for this model, but a general tip).
- Targeta SD no reconeguda: Ensure the SD card is inserted correctly and is not damaged. Try formatting the card (this will erase all data) or using a different SD card.
- No es pot transferir Files a PC: Ensure the USB cable is properly connected and the scanner is in "USB MSDC" mode. Check your computer's device manager to see if the scanner is recognized.
- Image Color Issues: Adjust the EV Exposure settings in the scanner's menu.
9. Especificacions
| Característica | Especificació |
|---|---|
| Número de model | M125 |
| Marca | DIGITNOW |
| Tipus de pel·lícules compatibles | 35mm Film Negatives, 135 Mounted Slides |
| Pantalla LCD | 2.4-inch TFT LCD (480 * 234) |
| Resolució | 5/10 Megapixel (interpolated to 10M) |
| DPI | 3600 DPI |
| Format de sortida | JPEG |
| Emmagatzematge | SD/MMC Card (up to 8GB SDHC, not included) |
| Interfície | USB 2.0, Video Out (NTSC/PAL) |
| Dimensions | 8.6 x 8.6 x 11.2 cm |
| Pes | 270 g |
| Poder | 5 watts |
| Suport del sistema operatiu | Windows XP, Vista, 7, 8; Mac OS |

Image: Diagram illustrating the dimensions of the DIGITNOW! M125 Film and Slide Scanner.
10. Garantia i Suport
This product comes with a standard manufacturer's warranty. For specific warranty details, please refer to the warranty card included in your package or contact DIGITNOW! customer support. For technical assistance or further inquiries, please visit the official DIGITNOW! website or contact their support team through the contact information provided with your purchase.
Ask a question about this manual
Ask about setup, troubleshooting, compatibility, parts, safety, or missing instructions. Manuals+ will review the question and use this page’s manual context to help answer it.