
1. Introducció
Gràcies per la compraasing the Sharp R-752IN Microwave Oven. This appliance is designed for efficient and convenient cooking, reheating, and defrosting. Please read this manual thoroughly before operating your new microwave oven to ensure safe and optimal performance. Keep this manual for future reference.
The Sharp R-752IN features an 800W microwave, a 1000W quartz grill, 10 automatic cooking menus, and 3 combination cooking modes. It has a 25-liter capacity and comes with a 315mm glass turntable and a high grill rack.
2. Instruccions de seguretat
Per reduir el risc d'incendi, descàrrega elèctrica, lesions a persones o exposició a un excés d'energia de microones quan utilitzeu l'aparell, seguiu les precaucions de seguretat bàsiques, com ara les següents:
- Llegiu totes les instruccions abans d'utilitzar l'aparell.
- No intenteu fer funcionar aquest forn amb la porta oberta, ja que això pot provocar una exposició nociva a l'energia de les microones.
- No col·loqueu cap objecte entre la cara frontal del forn i la porta ni deixeu que s'acumuli terra o residus de neteja a les superfícies de segellat.
- No feu funcionar el forn si està malmès. És particularment important que la porta del forn es tanqui correctament i que no hi hagi danys a: (1) la porta (doblegada), (2) les frontisses i els panys (trencats o afluixats), (3) els segells de les portes i les superfícies de segellat.
- Només personal de servei qualificat ha d'ajustar o reparar el forn.
- No escalfeu líquids ni altres aliments en recipients tancats, ja que poden explotar.
- Do not use metal utensils, foil, or dishes with metallic trim in the microwave mode.
- Assegureu-vos una ventilació adequada al voltant de l'aparell.
- Superviseu sempre els nens quan el forn microones estigui en ús.
For detailed safety information, refer to the complete safety guidelines provided in the printed manual.
3. Producte acabatview
Familiarize yourself with the components of your Sharp R-752IN microwave oven.
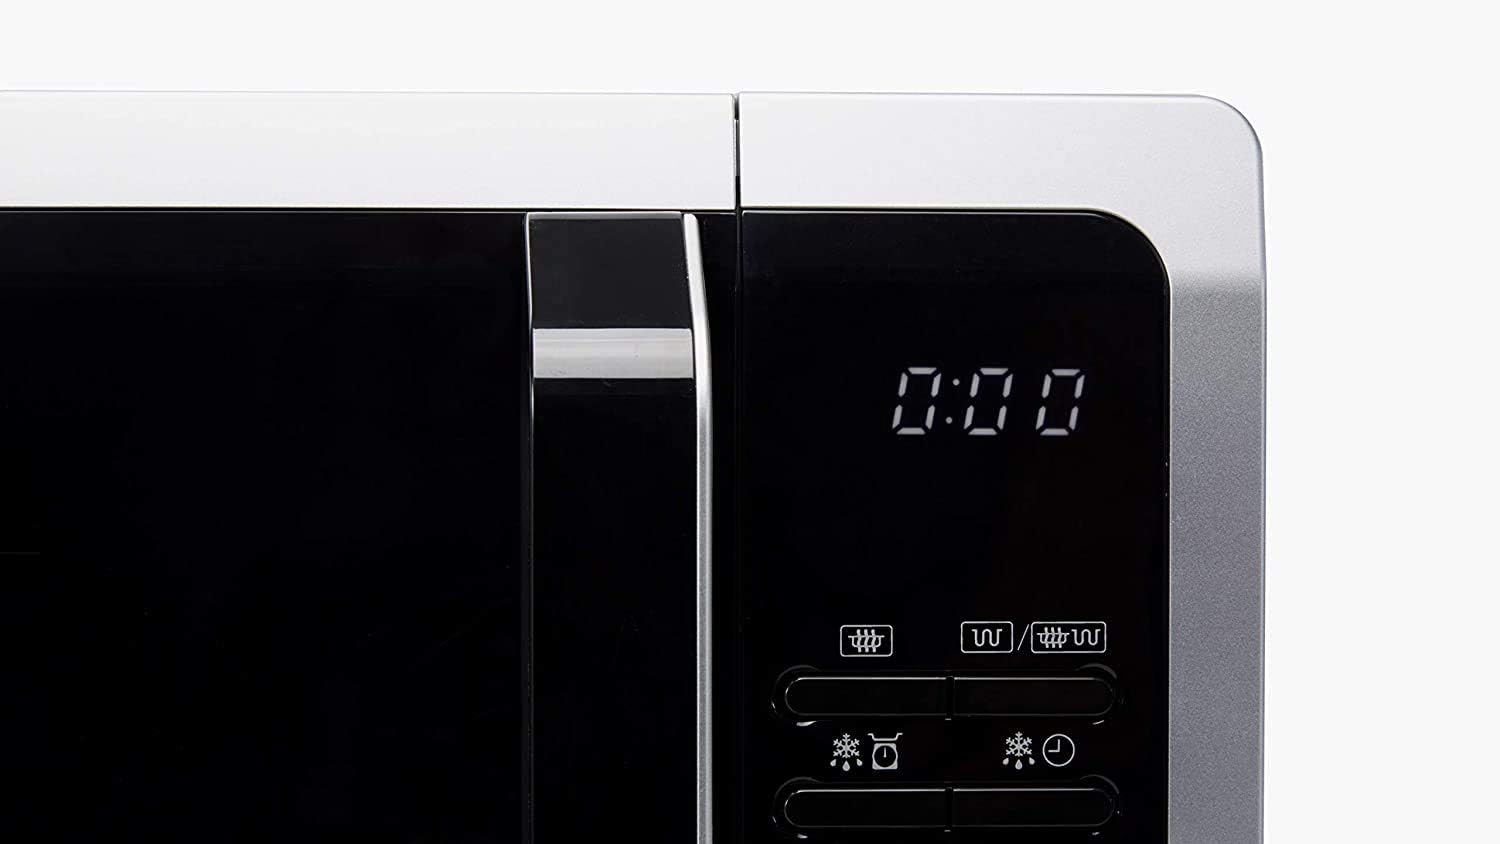
Figura 3.1: Davant view of the Sharp R-752IN Microwave Oven. This image shows the silver exterior, black door, and the digital display and control panel on the right side.

Figura 3.2: Close-up of the Sharp logo prominently displayed on the upper left corner of the microwave oven door.
Tauler de control
The control panel allows you to select cooking functions, set time, and adjust power levels.

Figura 3.3: Close-up of the Sharp R-752IN Microwave Oven control panel, showing the digital display, function buttons for microwave, grill, defrost, auto menu, and the rotary dial for time/weight selection.
- Pantalla digital: Shows time, power level, and selected functions.
- Botons de funció: For selecting Microwave, Grill, Combination, Defrost, and Auto Menu modes.
- Botó d'inici / aturada: To begin or cancel cooking.
- Marcador rotatiu: Used to set cooking time, weight for defrost, or select auto menu options.
- +30s Button: Adds 30 seconds of cooking time.
4. Configuració
Desembalatge
- Traieu tots els materials d'embalatge de dins i fora del forn.
- Reviseu el forn per si hi ha algun dany, com ara abolladures o una porta desalineada. No feu funcionar el forn si està malmès.
- Ensure all accessories are present: glass turntable, turntable support, and grill rack.
Col·locació
- Col·loqueu el forn sobre una superfície plana i estable que pugui suportar el seu pes i l'aliment més pesat que probablement s'hi cuinarà.
- Ensure there is adequate space for ventilation: at least 20 cm (8 inches) above the oven, 10 cm (4 inches) at the rear, and 5 cm (2 inches) on each side. Do not block any ventilation openings.
- Mantingueu el forn allunyat de fonts de calor i camps magnètics forts.
Ús inicial
- Clean the interior of the oven and the glass turntable with a damp tela.
- Place the turntable support and glass turntable inside the oven.
- Connecteu el cable d'alimentació a una presa elèctrica amb connexió a terra.
- Set the clock (refer to the 'Operating Instructions' section for details).
5. Instruccions de funcionament
Cuina bàsica al microones
- Col·loqueu el menjar en un recipient apte per a microones al plat giratori de vidre.
- Tanqueu la porta del forn amb seguretat.
- Press the 'Microwave' button repeatedly to select the desired power level (e.g., 800W, 600W, etc. - 8 levels available).
- Turn the rotary dial to set the cooking time.
- Premeu el botó "Inici" per començar a cuinar.
Cuina a la brasa
Use the included grill rack for optimal grilling results.
- Col·loqueu el menjar a la reixeta del grill i, a continuació, col·loqueu la reixeta al plat giratori de vidre.
- Tanqueu la porta del forn.
- Premeu el botó "Gratinar".
- Turn the rotary dial to set the grilling time.
- Premeu el botó "Inici".
Cuina combinada
The R-752IN offers 3 combination cooking modes, combining microwave and grill functions for faster and more even cooking.
- Col·loqueu el menjar en un recipient adequat a la graella o al plat giratori.
- Press the 'Combi' button repeatedly to select one of the 3 combination modes.
- Turn the rotary dial to set the cooking time.
- Premeu el botó "Inici".
Menús automàtics
The oven has 10 pre-programmed auto menus for common food items.
- Col·loqueu els aliments al forn.
- Press the 'Auto Menu' button.
- Turn the rotary dial to select the desired auto menu number.
- Press 'Start'. The oven will automatically set the cooking time and power level.
Funció de descongelació
The defrost function allows you to defrost food by time or by weight.
- Col·loqueu els aliments congelats en un recipient apte per al microones.
- Premeu el botó "Descongelar".
- Turn the rotary dial to select either defrost by time or defrost by weight. Adjust the time or weight accordingly.
- Premeu el botó "Inici".
Configuració del rellotge
- In standby mode, press the 'Clock' button (if available, or refer to manual for specific button).
- Turn the rotary dial to set the hour. Press 'Clock' again.
- Turn the rotary dial to set the minutes. Press 'Clock' again to confirm.
Bloqueig infantil
To activate the child lock, press and hold the 'Stop/Cancel' button for 3 seconds. The display will show a lock indicator. To deactivate, repeat the process.
6. Manteniment i Neteja
Una neteja i un manteniment regulars garantiran la longevitat i el funcionament eficient del vostre forn microones.
- Interior: Netegeu la cavitat del forn després de cada ús amb un anunciamp cloth to prevent food splatters from drying. For stubborn stains, use a mild detergent. Do not use abrasive cleaners or scouring pads.
- Exterior: Netegeu la superfície exterior amb un drap suau iamp drap. Eviteu que entri aigua a les obertures de ventilació.
- Porta i segells: Netegeu la porta, les juntes de la porta i les peces adjacents amb cura amb un adamp drap per eliminar qualsevol vessament o esquitxada.
- Placa giratòria de vidre: El plat giratori de vidre i el suport del plat es poden rentar amb aigua tèbia i sabó o al rentaplats. Assegureu-vos que estiguin completament secs abans de tornar-los a posar al forn.
- Bastidor de graella: Wash the grill rack in warm soapy water and dry thoroughly.
Precaució:
- Desconnecteu sempre el forn abans de netejar-lo.
- No submergiu el cable d'alimentació, l'endoll ni l'aparell en si en aigua ni en altres líquids.
7. Solució De Problemes
Si teniu algun problema amb el vostre forn microones, consulteu els següents problemes i solucions habituals:
| Problema | Causa possible | Solució |
|---|---|---|
| El forn no arrenca | Cable d'alimentació no connectat; Porta no tancada correctament; Fusible fundit o interruptor automàtic saltat. | Assegureu-vos que l'endoll estigui ben connectat a la presa de corrent; tanqueu la porta fermament; comproveu el fusible de la llar o reinicieu l'interruptor automàtic. |
| Food not cooking/heating | Porta no tancada correctament; temps de cocció/nivell de potència configurat incorrectament; menjar no apte per al microones. | Ensure door is closed; Adjust time/power; Use microwave-safe dishes. |
| El plat giratori no gira | Plat giratori no ben col·locat; Obstrucció sota el plat giratori. | Reposicioneu el plat giratori i el suport; traieu qualsevol obstrucció. |
| Soroll inusual durant el funcionament | Plat giratori o anell de rodets no col·locats correctament; El recipient d'aliments toca les parets del forn. | Adjust turntable/roller ring; Ensure container is centered and not too large. |
Si el problema persisteix després d'intentar aquestes solucions, poseu-vos en contacte amb personal de servei qualificat.
8. Especificacions
Key technical specifications for the Sharp R-752IN Microwave Oven:

Figura 8.1: Dimensions of the Sharp R-752IN Microwave Oven: 51 cm width, 43 cm depth, 31 cm height.
| Característica | Especificació |
|---|---|
| Marca | Afilat |
| Número de model | R-752IN |
| Capacitat | 25 litres |
| Potència del microones | 800 W (8 power levels) |
| Potència de la graella | 1000 W (Quartz Grill) |
| Cuina combinada | 3 modes |
| Menús automàtics | 10 programes |
| Tipus d'instal·lació | Taulell |
| Color | Plata |
| Voltage | 230 Volts |
| Consum d'energia | 1450 W |
| Material | Plàstic |
| Pes de l'article | 14.9 kg |
| Dimensions (L x P x A) | 51 cm x 43 cm x 31 cm |
| Característiques especials | Programable |
9. Garantia i Suport
Your Sharp R-752IN Microwave Oven is covered by a manufacturer's warranty. Please refer to the warranty card included with your product for specific terms, conditions, and duration.
For technical support, service, or to inquire about replacement parts, please visit the official Sharp website or contact their customer service department. Contact details can typically be found in the original packaging or on the Sharp brand weblloc.