
1. Introducció
This manual provides detailed instructions for the safe installation, operation, and maintenance of your Lindby Tyron 6-Point Ceiling Lamp. Please read this manual thoroughly before installation and retain it for future reference. This ceiling lamp is designed for indoor use in various rooms such as living rooms, dining rooms, and hallways, providing a modern lighting solution.
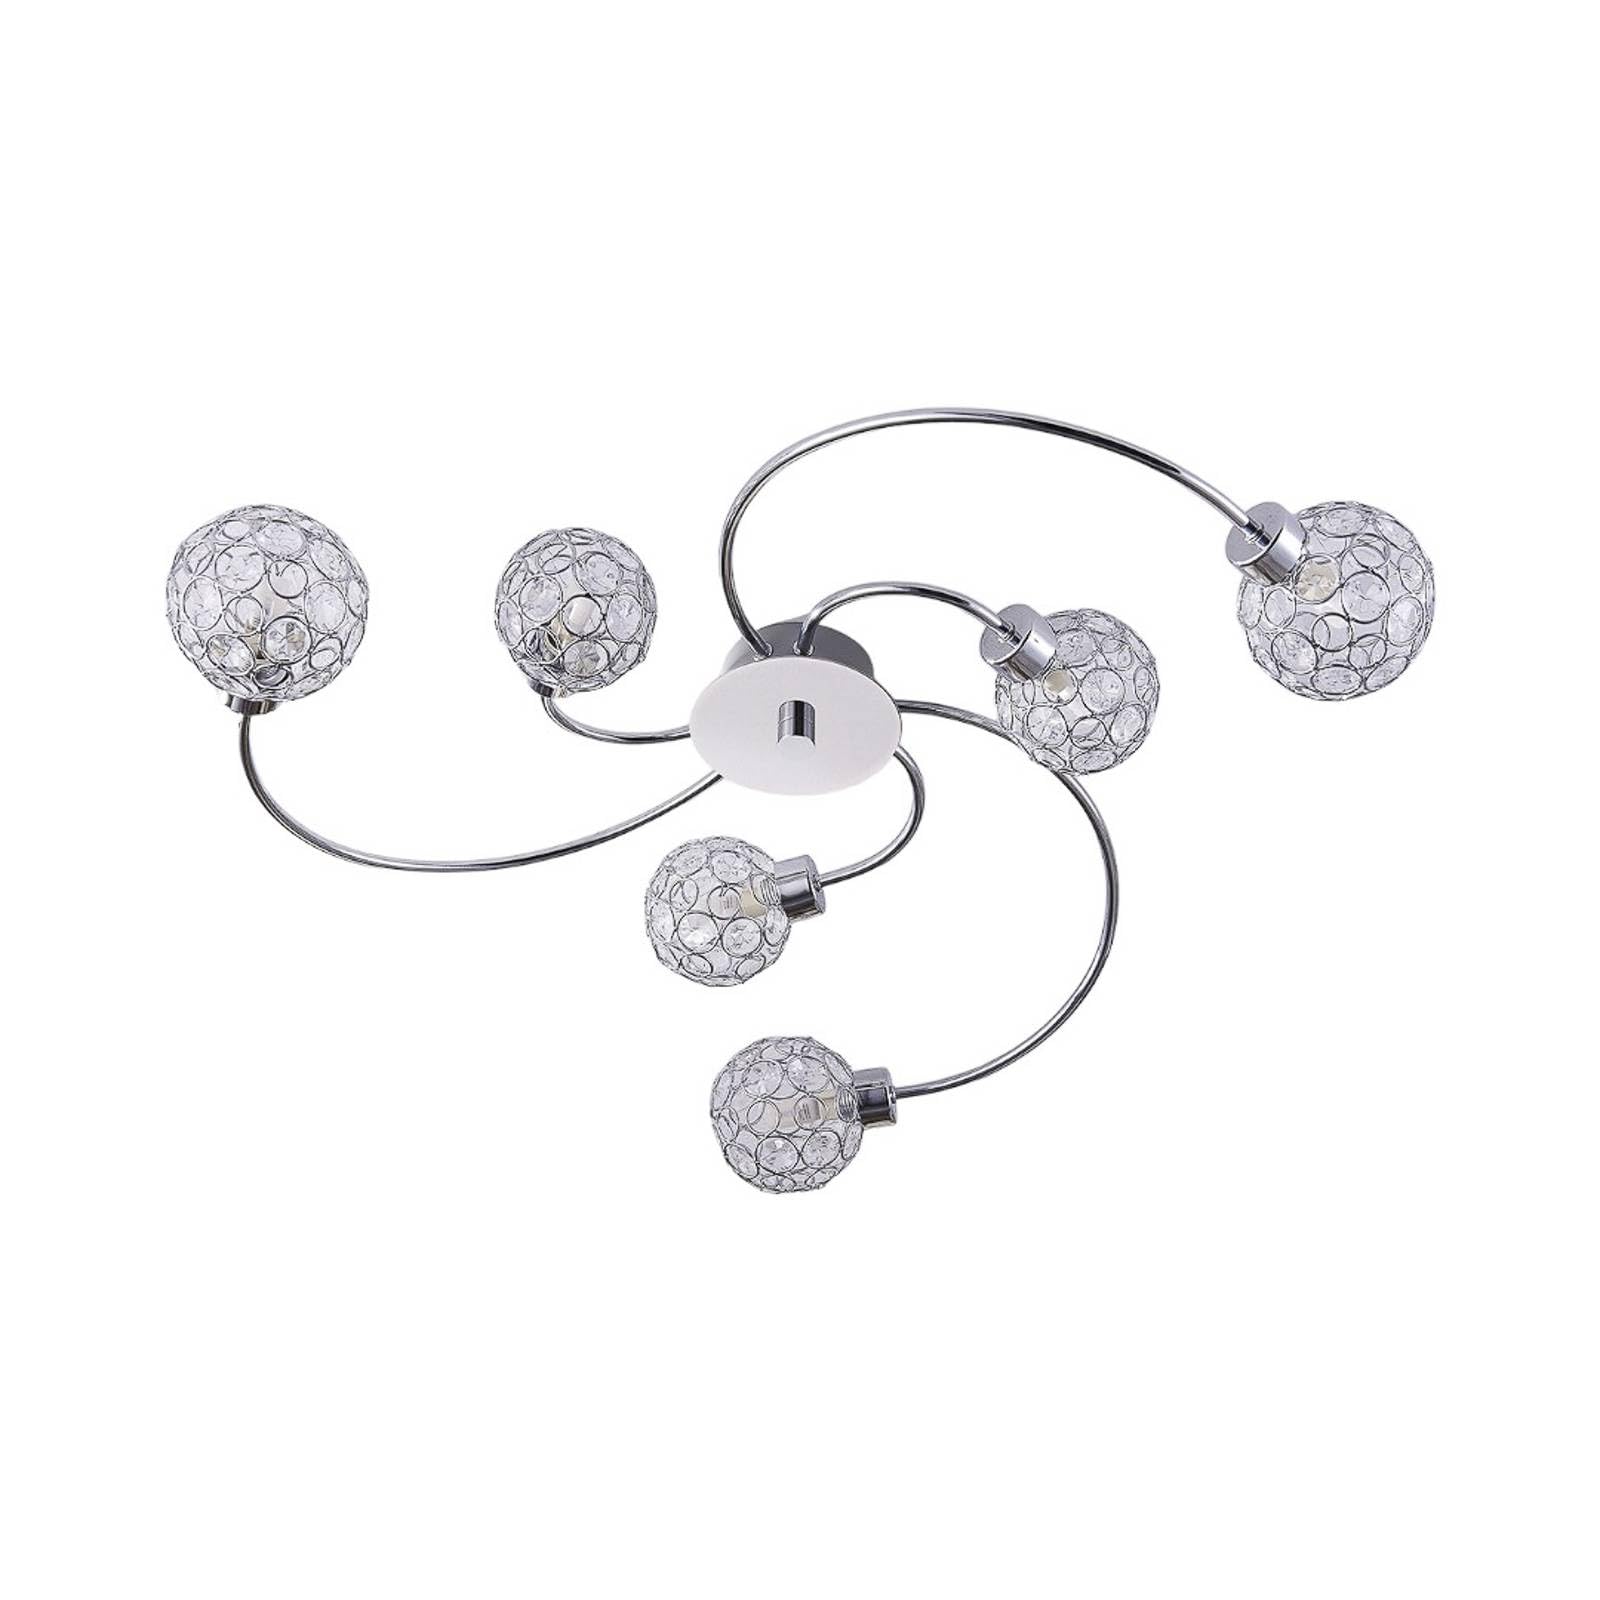
Figure 1: Lindby Tyron 6-Point Ceiling Lamp (Model: Tyron)
2. Instruccions de seguretat
ADVERTIMENT: Electrical installation must be performed by a qualified electrician in accordance with all local and national electrical codes. Failure to do so may result in electric shock, fire, or serious injury.
- Always disconnect power at the main circuit breaker before installing, servicing, or cleaning the fixture.
- No connecteu aquest aparell a un sistema elèctric sense connexió a terra.
- Ensure all electrical connections are secure and correct.
- No supereu la potència màximatage especificat per a les bombetes.
- This fixture is designed for indoor use only (IP20 rating). Do not expose to moisture or use in damp ubicacions.
- Mantingueu els materials inflamables allunyats de la làmpada.
- Permet la lamp to cool completely before replacing bulbs or cleaning.
- Si teniu dubtes sobre alguna part de la instal·lació, consulteu un electricista qualificat.
3. Contingut del paquet
Carefully unpack the box and ensure all components are present and undamaged. If any parts are missing or damaged, do not attempt to assemble or install the product. Contact customer support for assistance.
- Lindby Tyron 6-Point Ceiling Lamp fixació (1 unitat)
- Material de muntatge (cargols, ancoratges de paret)
- Manual d'instruccions
Nota: G9 light bulbs are no inclòs i s'ha de comprar per separat.
4. Configuració i instal·lació
Before beginning installation, ensure the power supply is turned off at the circuit breaker.
- Prepareu la superfície de muntatge: Ensure the ceiling surface is clean, dry, and capable of supporting the weight of the fixture.
- Col·loqueu el suport de muntatge: Secure the mounting bracket to the ceiling junction box using the provided screws. If no junction box is present, use appropriate wall anchors for your ceiling type.
- Fer connexions elèctriques:
- Connect the live wire (usually brown or black) from the ceiling to the live wire of the fixture.
- Connect the neutral wire (usually blue or white) from the ceiling to the neutral wire of the fixture.
- Connect the ground wire (usually green/yellow or bare copper) from the ceiling to the ground wire of the fixture.
- Use appropriate wire connectors to secure all connections.
- Assegureu el dispositiu: Carefully push the fixture base onto the mounting bracket, aligning the screw holes. Secure the fixture to the bracket using the provided screws.
- Instal·lació de bombetes G9: Insert 6 G9 bulbs (max 5W LED each) into the sockets. Ensure bulbs are fully seated.
- Restaura l'alimentació: Un cop finalitzada la instal·lació i totes les connexions siguin segures, restableu l'alimentació a l'interruptor principal.

Figure 2: Ceiling mount plate detail.

Figure 3: Electrical connections inside the fixture base.

Figure 4: G9 bulb installation within a light sphere.
5. Instruccions de funcionament
The Lindby Tyron ceiling lamp is operated via a standard wall switch. It features dimmable functionality if connected to a compatible dimmer switch and used with dimmable G9 LED bulbs.
- Activació/desactivació: Feu servir l'interruptor de paret connectat al llum per encendre o apagar-lo.
- Atenuació (opcional): If a compatible dimmer switch is installed, adjust the dimmer to control the light intensity. Ensure that the G9 bulbs used are explicitly rated as dimmable.
6. Manteniment
Un manteniment regular garanteix la longevitat i un rendiment òptim del vostre lamp.
- Neteja:
- Always turn off the power and allow the fixture to cool before cleaning.
- Netegeu l'aparell amb un drap suau, sec o lleugerament humit.amp tela.
- No utilitzeu netejadors, dissolvents o poliments abrasius, ja que poden danyar l'acabat.
- Substitució de bombetes:
- Turn off the power at the circuit breaker and allow the bulbs to cool.
- Carefully remove the old G9 bulb by pulling it straight out.
- Insert a new G9 bulb (max 5W LED) by pushing it straight into the socket.
- Ensure the new bulb is securely seated before restoring power.
7. Solució De Problemes
| Problema | Causa possible | Solució |
|---|---|---|
| La llum no s’encén. |
|
|
| La llum parpelleja. |
|
|
| L'atenuació no funciona. |
|
|
If the problem persists after attempting these solutions, consult a qualified electrician or contact customer support.
8. Especificacions
- Nom del model: Tiró
- Marca: Lindby
- Tipus de producte: Sostre Lamp
- Nombre de llums: 6
- Base de la bombeta: G9
- Max Wattage per bombeta: 5W LED (Bulbs not included)
- Voltage: 230 Volts
- Color clar: Warm White (dependent on bulb)
- Luminous Flux (Max): 2400 Lumens (total, with 6x 5W LED bulbs)
- Material: Metall, vidre
- Color: Chrome
- Dimensions (L x A x A): 65 cm x 65 cm x 12.5 cm
- Pes de l'article: 1.4 kg
- Classe de protecció: I
- Classificació IP: IP20 (només per a ús interior)
- Característiques especials: Dimmable (with compatible dimmer and bulbs)
- Mètode de control: Wall Switch / Dimmer Switch
- Tipus de muntatge: Muntatge al sostre
- Número de peça del fabricant: 9620805
- GTIN: 04251096516746
9. Garantia i assistència
For warranty information, please refer to the terms and conditions provided at the point of purchase or contact your retailer. Lindby products typically come with a standard manufacturer's warranty covering defects in materials and workmanship.
If you have any questions, require technical assistance, or need to report a problem with your Lindby Tyron ceiling lamp, please contact the seller directly via their Amazon seller profile or refer to the contact information provided with your purchase documentation.
Venedor: LampyPL
Política de devolució: 30 days (refund/replacement)