
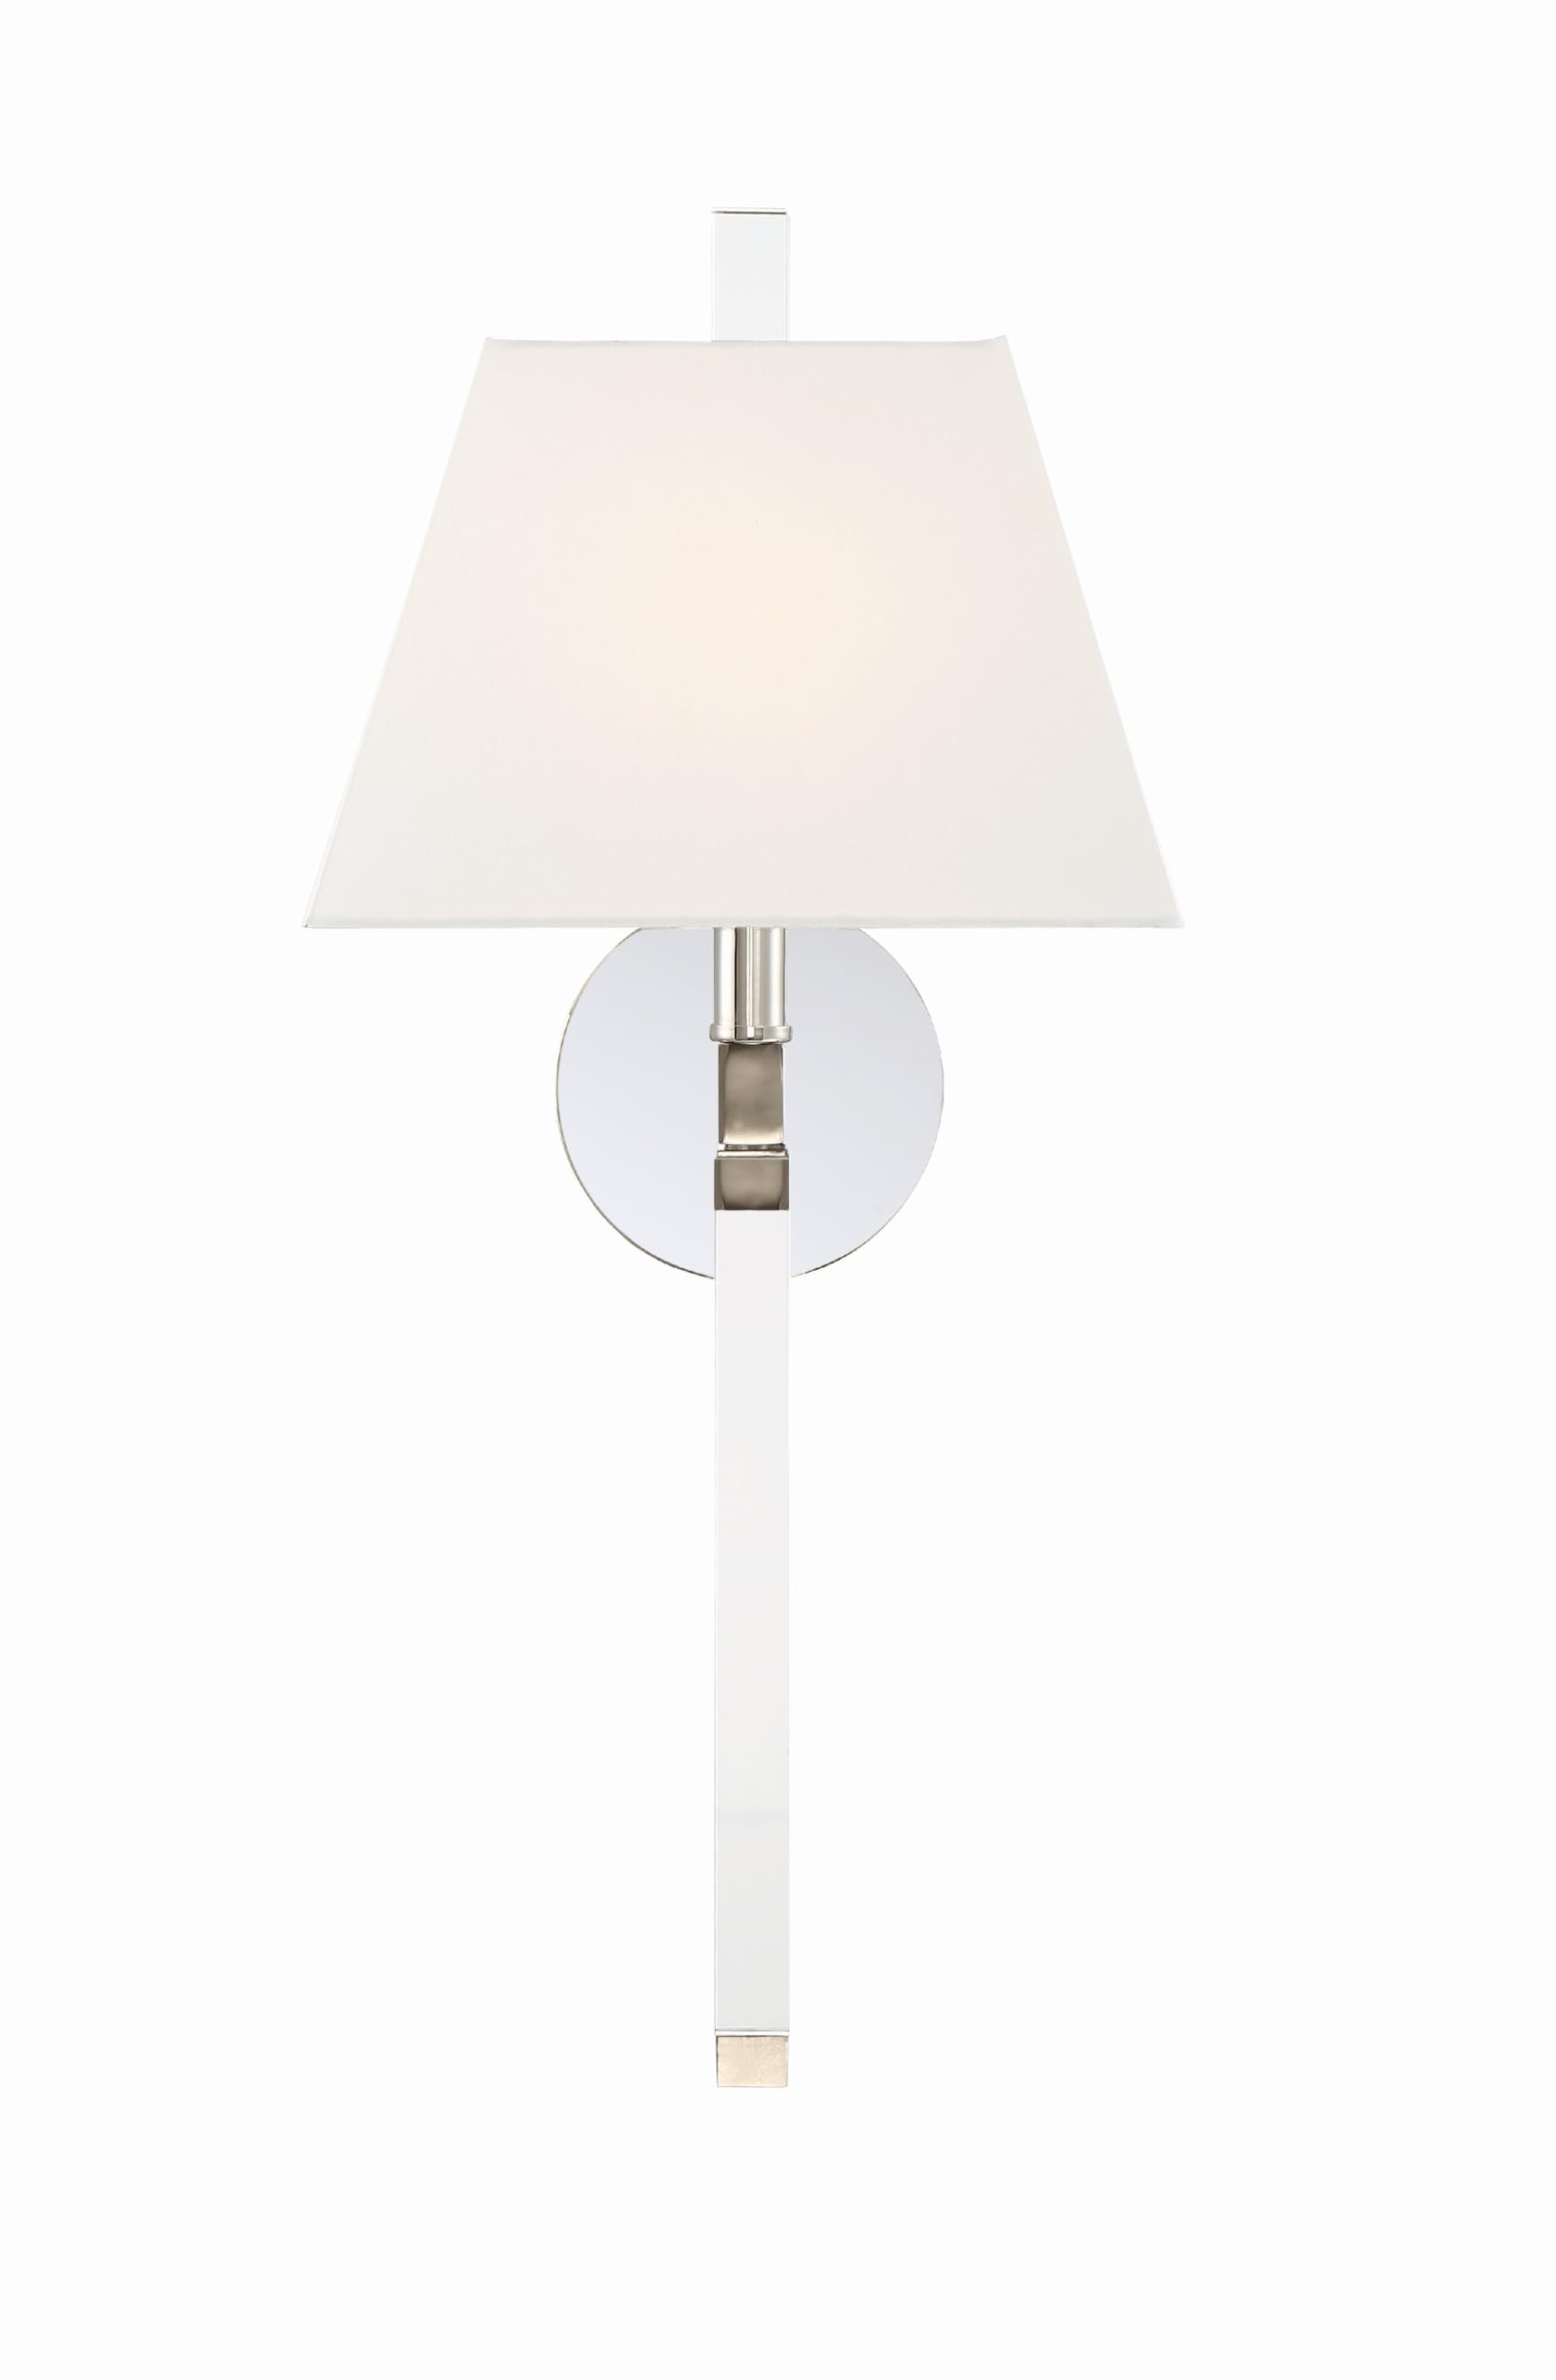
Instruccions importants de seguretat
ADVERTIMENT: Aquest producte us pot exposar a substàncies químiques, com ara el plom, que l'estat de Califòrnia sap que causa càncer i defectes de naixement o altres danys reproductius. Per a més informació aneu a www.P65Warnings.ca.gov.
Always turn off the main power supply at the circuit breaker before beginning any electrical installation. Consult a qualified electrician if you are unsure about wiring procedures. Ensure all connections are secure and comply with local electrical codes. This fixture is authorized for use in dry interior locations.
Contingut del paquet
Verifiqueu que tots els components siguin presents abans de començar la instal·lació.
- Sconce Fixture (Polished Nickel)
- White Silk Shade
- Maquinari de muntatge (cargols, femelles, placa de muntatge)
- Manual d'instruccions
Nota: Bulbs are not included. This fixture requires one (1) E12 Candelabra base bulb, maximum 60 watts.
Especificacions
| Marca | Cristorama |
| Número de model | REN-261-PN |
| Acabar | Níquel polit |
| Dimensions (A x A x P) | 10 Inch W x 21.75 Inch H x 7 Inch D (Overall depth including shade) |
| Tipus de font de llum | E12 Canelobres |
| Nombre de llums | 1 |
| Wat màxtage | 60 watts |
| Voltage | 120 Volts |
| Material d'ombra | Seda |
| Material | Acer d'aliatge |
| Tipus d'instal·lació | Muntatge de paret |
| Ús interior/exterior | Indoor (Dry Locations) |
| Certificació | Llistat UL |
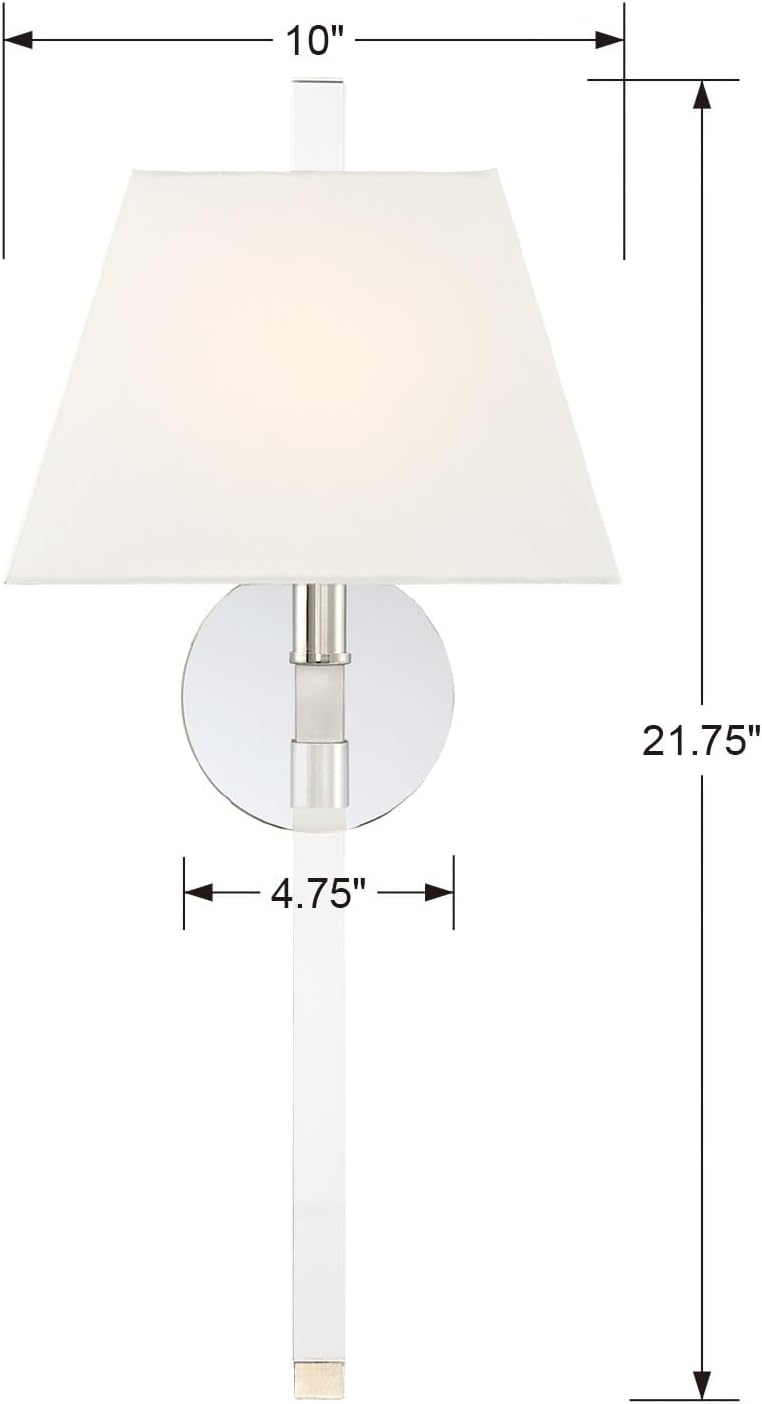
Figura 2: Diagrama de dimensions del producte
Configuració i instal·lació
Eines necessàries (no incloses):
- Tornavís (Phillips i Flathead)
- Pelafils
- Cinta elèctrica
- Alicates
- Ulleres de seguretat
- Escala (si s'instal·la en alçada)
Llista de verificació prèvia a la instal·lació:
- Apagueu l'alimentació: Locate the circuit breaker controlling the light fixture's location and turn it OFF. Verify power is off using a voltage provador.
- Desempaquetar contingut: Traieu amb cura totes les peces de l'embalatge i comproveu si hi ha algun dany.
- Review Instruccions: Read through all steps before beginning installation.
Muntatge de l'aparell:
- Attach the mounting plate to the junction box using the provided screws. Ensure the plate is securely fastened.
- Connecteu el cable de terra del dispositiu (normalment de coure nu o verd) al cable de terra de la casa mitjançant una femella.
- Connecteu el cable neutre de l'aparell (normalment blanc) al cable neutre de la casa (blanc) amb una femella.
- Connecteu el cable calent de l'aparell (normalment negre) al cable calent de la casa (negre) amb una femella.
- Introduïu amb cura tots els cables a la caixa de connexió.
- Alineeu la base del dispositiu amb la placa de muntatge i fixeu-la amb els cargols proporcionats.

Figure 3: Sconce Base Detail and Mounting Area
Attaching the Shade and Bulb:
- Insert one (1) E12 Candelabra base bulb (max 60W) into the socket. Do not overtighten.
- Carefully place the white silk shade onto the fixture, ensuring it is level and secure.

Figure 4: White Silk Shade Installation
Instruccions de funcionament
Once installation is complete and verified, restore power at the circuit breaker. Operate the sconce using the wall switch connected to the fixture. This model does not include a remote control or dimming capabilities unless integrated into your home's existing electrical system.
Manteniment
Neteja:
- Desconnecteu sempre l'alimentació de l'aparell abans de netejar-lo.
- Wipe the metal finish with a soft, dry cloth. Do not use abrasive cleaners or polishes, as they may damage the finish.
- For the silk shade, gently dust with a soft brush or a lint-free cloth. Avoid using water or liquid cleaners on the shade.
Substitució de bombetes:
- Assegureu-vos que l'alimentació estigui apagada a l'interruptor.
- Deixeu que la bombeta es refredi completament abans de tocar-la.
- Carefully unscrew the old bulb from the socket.
- Screw in a new E12 Candelabra base bulb (max 60W).
- Resta l'alimentació al disjuntor.
Resolució de problemes
| Problema | Causa possible | Solució |
|---|---|---|
| L'aparell no s'il·lumina. |
|
|
| La llum parpelleja. |
|
|
If issues persist after attempting these solutions, contact a qualified electrician or Crystorama customer support.
Informació de la garantia
This Crystorama product is covered by a manufacturer's warranty. For specific details regarding warranty coverage, duration, and claims process, please refer to the warranty card included with your purchase or visit the official Crystorama weblloc web. Conserveu el comprovant de compra per validar la garantia.
Atenció al client
For further assistance, technical support, or inquiries about your Crystorama Renee Sconce, please visit the official Crystorama weblloc o poseu-vos en contacte amb el seu departament d'atenció al client.
Cristorama Weblloc: www.crystorama.com