
1. Introducció
This manual provides comprehensive instructions for the installation, operation, and maintenance of your SuperlightingLED DC12V-48V 20A LED Dimmer Controller. This device is designed to adjust the brightness of single-color LED strip lights, offering flexibility with selectable PWM frequencies and dimming curves. Please read this manual thoroughly before use to ensure proper function and safety.
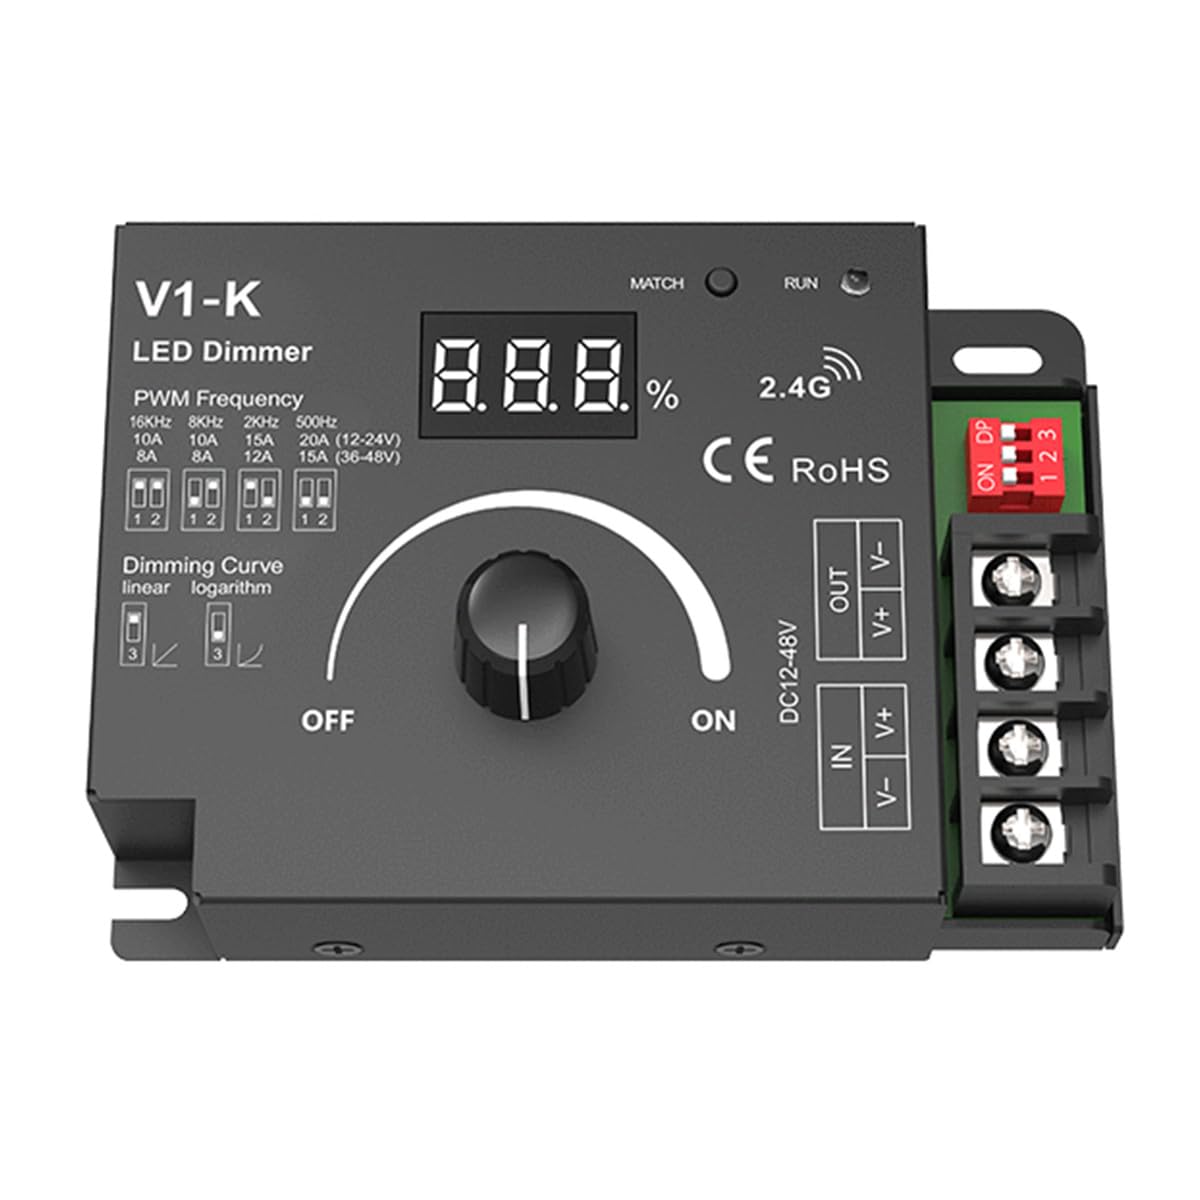
Image 1: SuperlightingLED DC12V-48V 20A LED Dimmer Controller. This image shows the front view of the dimmer with its digital display, rotary knob, and connection terminals.
2. Informació de seguretat
- Assegureu-vos que l'entrada voltage (DC12-48V) matches your power supply and LED strip requirements.
- No supereu el corrent de sortida màxim de 20 A.
- Disconnect power before making any electrical connections to prevent electric shock.
- This device is rated IP20 for indoor use only. Avoid exposure to moisture or extreme temperatures.
- Assegureu-vos de ventilar adequadament al voltant del regulador d'intensitat per evitar el sobreescalfament.
- The device includes reverse polarity protection, but always double-check wiring before applying power.
3. Característiques del producte
- Vol d’entrada amplatage range: DC12V-48V.
- High load current capacity: Up to 20A.
- Digital numeric display for visible dimming level.
- Selectable PWM frequencies: 250Hz, 500Hz, 2,000Hz, or 8,000Hz.
- Selectable dimming curves: Logarithmic or linear.
- Protecció de polaritat inversa.
4. Producte acabatview

Image 2: Labeled diagram of the LED Dimmer Controller. This diagram identifies key components including the digital display, match key, LED indicator, installation rack, DIP switch settings, rotary switch, LED output terminals, and power input terminals.
The dimmer features a digital display to show the current dimming percentage. A rotary switch controls power and brightness. DIP switches allow selection of PWM frequency and dimming curve. Input and output terminals are clearly marked for easy connection.
5. Especificacions
| Paràmetre | Valor |
|---|---|
| Entrada Voltage | DC12-48V |
| Corrent d'entrada | 20A |
| Vol. De sortidatage | 12-48VDC |
| Corrent de sortida | 1 Channel, 20A Max. |
| Potència de sortida | 240W (at 12V) / 480W (at 48V) Max. |
| Freqüència PWM | 250Hz, 500Hz, 2,000Hz, 8,000Hz (selectable) |
| Nivell d'atenuació | 100 nivells |
| Rang de regulació | 0-100% |
| Corba de Dimming | Logarithmic or Linear (selectable) |
| Temperatura de funcionament | Ta: -30 °C ~ +55 °C |
| Temperatura de la caixa (màx.) | Tc: +85°C |
| Classificació IP | IP20 |
| Protecció | Polaritat inversa |
| Dimensions (L x A x A) | 107mm x 75mm x 38mm (approximate, based on diagram) |
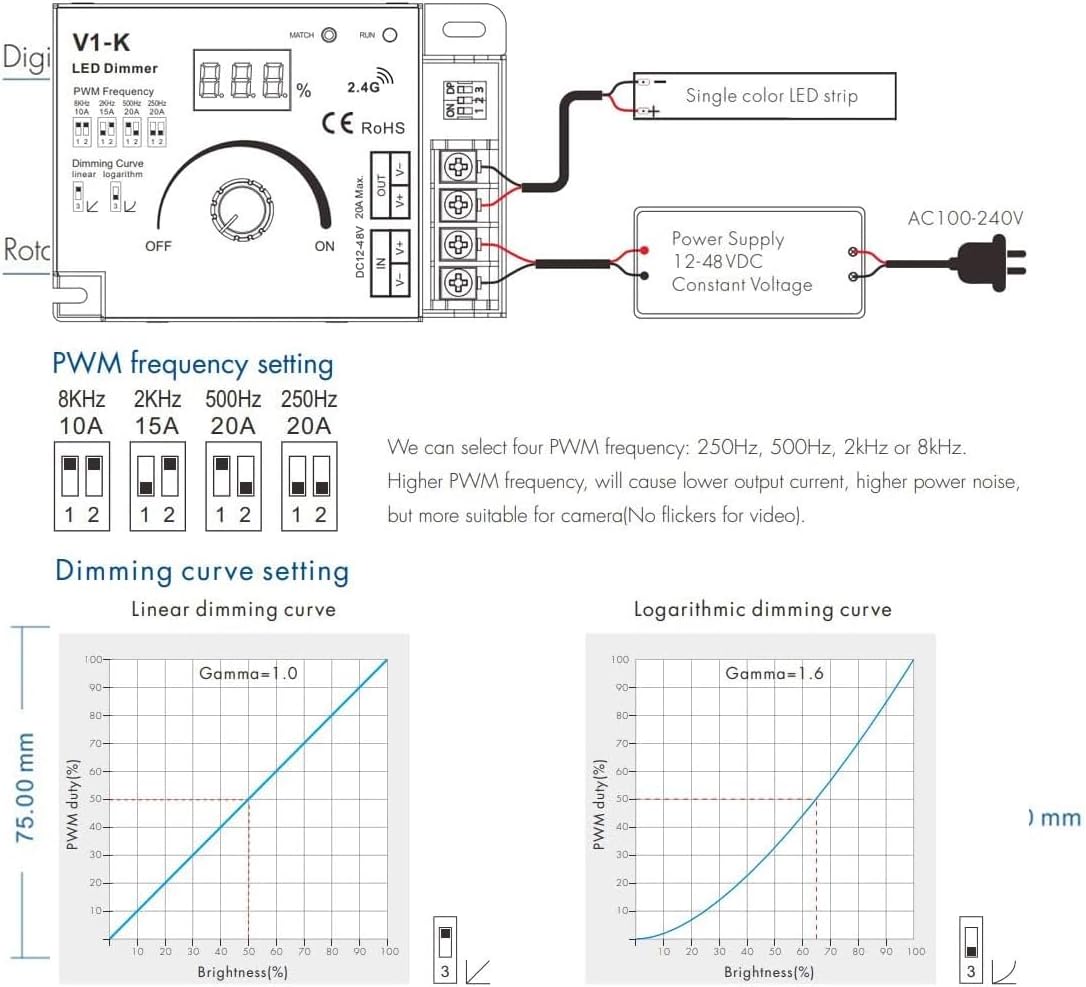
Image 3: Dimensions of the LED Dimmer Controller. This diagram provides the physical measurements of the device.
6. Configuració i instal·lació
6.1 Connexions de cablejat
Before connecting, ensure all power is off. Connect your DC power supply to the 'IN' terminals and your single-color LED strip to the 'OUT' terminals. Observe correct polarity (+ to + and - to -) for both input and output. The device features screw terminals for secure connections.
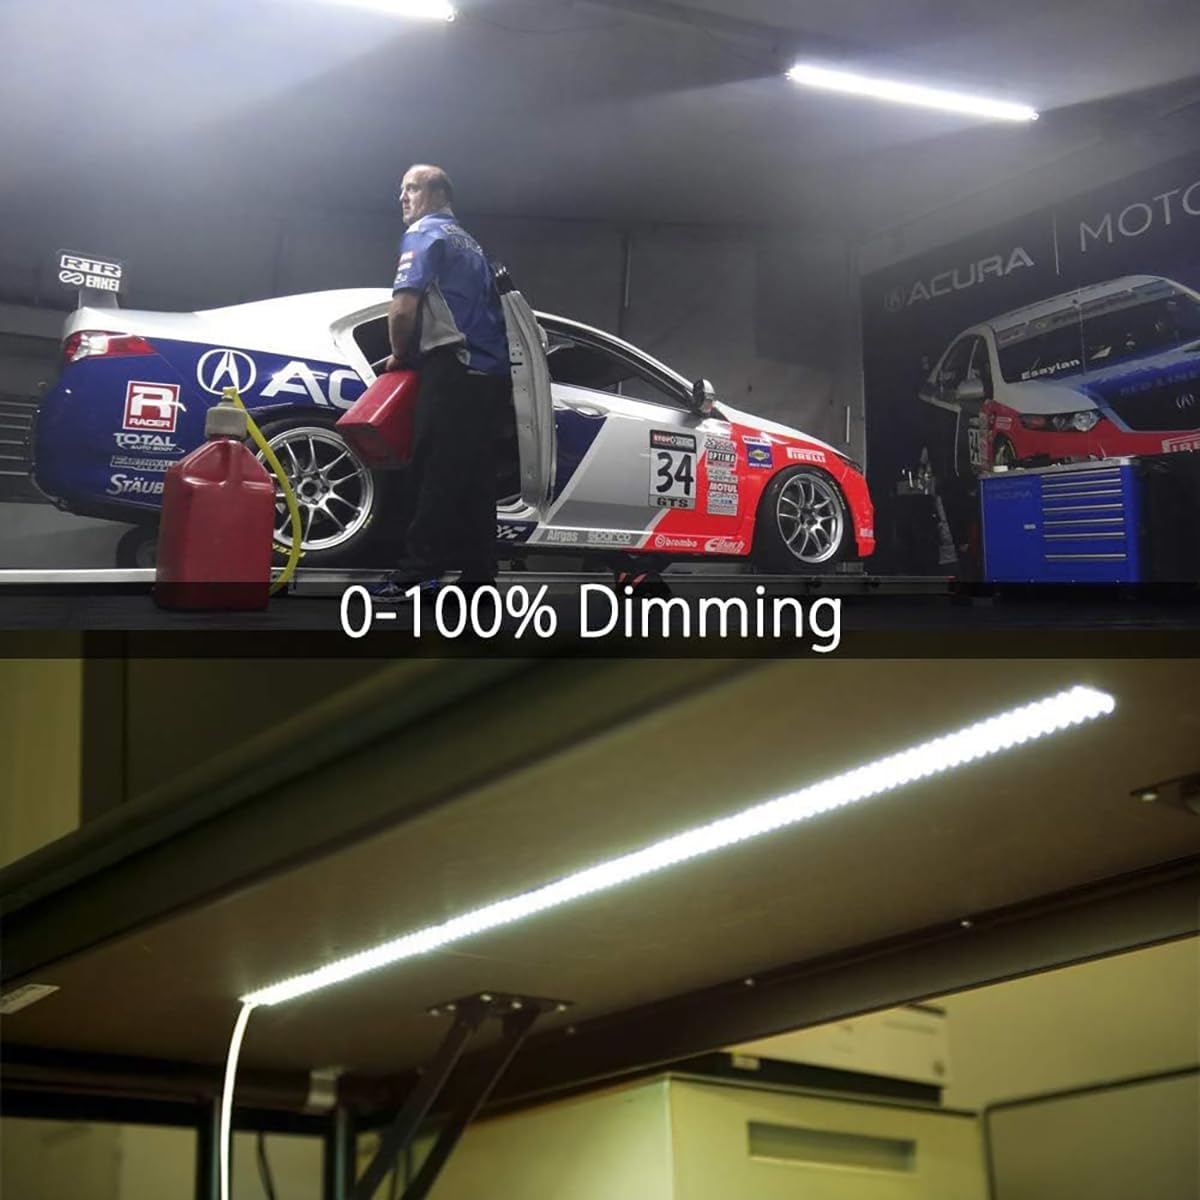
Image 4: Wiring diagram and DIP switch settings. This image illustrates how to connect the power supply and LED strip, and how to configure the DIP switches for PWM frequency and dimming curve.
6.2 PWM Frequency Setting
The dimmer allows selection of four PWM frequencies using DIP switches 1 and 2. Higher PWM frequencies can reduce visible flicker, which is beneficial for video recording, but may increase power noise. Refer to the table below and Image 4 for settings:
| Interruptor DIP 1 | Interruptor DIP 2 | Freqüència PWM |
|---|---|---|
| OFF | OFF | 250 Hz |
| ON | OFF | 500 Hz |
| OFF | ON | 2,000 Hz |
| ON | ON | 8,000 Hz |
6.3 Dimming Curve Setting
DIP switch 3 controls the dimming curve. A linear curve provides a direct proportional change in brightness, while a logarithmic curve offers a more natural perception of brightness change to the human eye, especially at lower dimming levels. Refer to Image 4 for settings:
| Interruptor DIP 3 | Corba de Dimming |
|---|---|
| OFF | Lineal |
| ON | Logarítmica |
7. Instruccions de funcionament
7.1 Engegada/Apagada i Ajust de la Brillantor
Once wired and configured, apply power to the dimmer. Rotate the knob clockwise to turn on the LED strip and increase brightness. Rotate counter-clockwise to decrease brightness and turn off the LED strip. The digital display will show the current dimming percentage.
7.2 Match Key Function
The 'MATCH' button is typically used for pairing the dimmer with a compatible wireless remote control (sold separately). Consult the remote control's manual for specific pairing instructions, which usually involve pressing the 'MATCH' button on the dimmer and a corresponding button on the remote within a short timeframe.
8. Manteniment
- Keep the dimmer clean and free from dust. Use a soft, dry cloth for cleaning.
- Ensure adequate airflow around the unit to prevent heat buildup, especially when operating at high loads.
- Do not attempt to open or modify the dimmer, as this will void the warranty and could lead to malfunction or injury.
9. Solució De Problemes
- Sense alimentació/LED apagats: Check all wiring connections, especially power input polarity. Ensure the power supply is functioning and providing the correct voltage. Verify the rotary knob is turned ON.
- LEDs Not Dimming: Confirm the LED strip is a single-color, dimmable type. Check wiring to the LED output terminals. Ensure the dimmer is receiving power.
- LEDs Flickering: Try adjusting the PWM frequency using DIP switches 1 and 2. A higher frequency (e.g., 8,000Hz) can often reduce visible flicker. Ensure stable power supply.
- Dimmer Gets Warm: It is normal for the dimmer to get warm during operation, especially under high load. However, if it becomes excessively hot, reduce the load or ensure better ventilation.
10. Garantia i Suport
10.1 Garantia
This SuperlightingLED DC12V-48V 20A LED Dimmer Controller comes with a 5 any de garantia from the date of purchase, covering defects in materials and workmanship under normal use. The warranty does not cover damage caused by misuse, unauthorized modifications, improper installation, or external factors such as power surges.
10.2 Suport tècnic
For technical assistance, troubleshooting, or warranty claims, please contact SuperlightingLED customer support through your purchase platform or the official SuperlightingLED website. Please have your product model number and purchase details ready when contacting support.