Introducció
Welcome to the world of sewing with your new Janome IT 1028 Glamour mechanical sewing machine. This manual provides essential information for the safe and efficient operation, setup, maintenance, and troubleshooting of your machine. Please read it thoroughly before using the machine to ensure optimal performance and longevity.
The Janome IT 1028 Glamour is designed for ease of use, featuring 12 stitch types, a free arm for circular sewing, an oscillating hook, automatic buttonholes, and adjustable stitch length and width. It also includes a double presser foot lift, feed dog lowering, a thread cutter, a needle threader, and a soft cover for protection.
Instruccions de seguretat
Per reduir el risc de descàrrega elèctrica, cremades, incendis o lesions a les persones:
- Always unplug the machine from the electrical outlet immediately after using and before cleaning, removing covers, or making any user servicing adjustments.
- No permeteu que la màquina s'utilitzi com a joguina. Cal anar amb compte quan la màquina sigui utilitzada per nens o a prop d'ells.
- Use this machine only for its intended use as described in this manual. Use only attachments recommended by the manufacturer.
- Never operate this machine if it has a damaged cord or plug, if it is not working properly, if it has been dropped or damaged, or dropped into water.
- No deixeu caure ni introduïu cap objecte a cap obertura.
- No utilitzar a l'aire lliure.
- No opereu on s'utilitzen productes en aerosol (esprai) o on s'administra oxigen.
- Mantingueu els dits allunyats de totes les parts en moviment. Es requereix una cura especial al voltant de l’agulla de la màquina de cosir.
- Utilitzeu sempre la placa d'agulla adequada. La placa incorrecta pot fer que l'agulla es trenqui.
- No utilitzeu agulles doblegades.
- No estireu ni empenyeu la tela mentre cosiu. Això pot desviar l'agulla i fer-la trencar.
- Turn the sewing machine off when making any adjustments in the needle area, such as threading the needle, changing the needle, threading the bobbin, or changing the presser foot.
- Always unplug the machine when removing the light bulb.
- No desconnecteu estirant el cable. Per desconnectar, agafa l'endoll, no el cable.
Producte acabatview
Característiques clau
- 12 Stitch Types: Versatile options for various sewing projects.
- Braç lliure: Facilitates sewing cuffs, sleeves, and other small, circular items.
- Oscillating Hook: Ensures smooth and consistent stitch formation.
- Longitud i amplada de la puntada ajustables: Provides control over stitch appearance.
- Automatic Four-Step Buttonhole: Simplifies the creation of professional-looking buttonholes.
- Double Presser Foot Lift: Allows for sewing thicker fabrics.
- Feed Dog Lowering: Useful for darning and free-motion quilting.
- Tallador de fils: Conveniently trims threads.
- Enfilador d'agulles: Assists in quickly threading the needle.
- Tapa tova: Protects the machine from dust and damage.
Components de la màquina
Familiarize yourself with the main parts of your Janome IT 1028 Glamour sewing machine.

Figura 1: Frontal view of the Janome IT 1028 Glamour sewing machine with the soft cover in place. This image shows the overall design and the stitch selection and length dials.

Figura 2: Primer pla view of the stitch selector dial (left) and stitch length dial (right) on the Janome IT 1028 Glamour. The decorative illustration on the machine body is also visible.
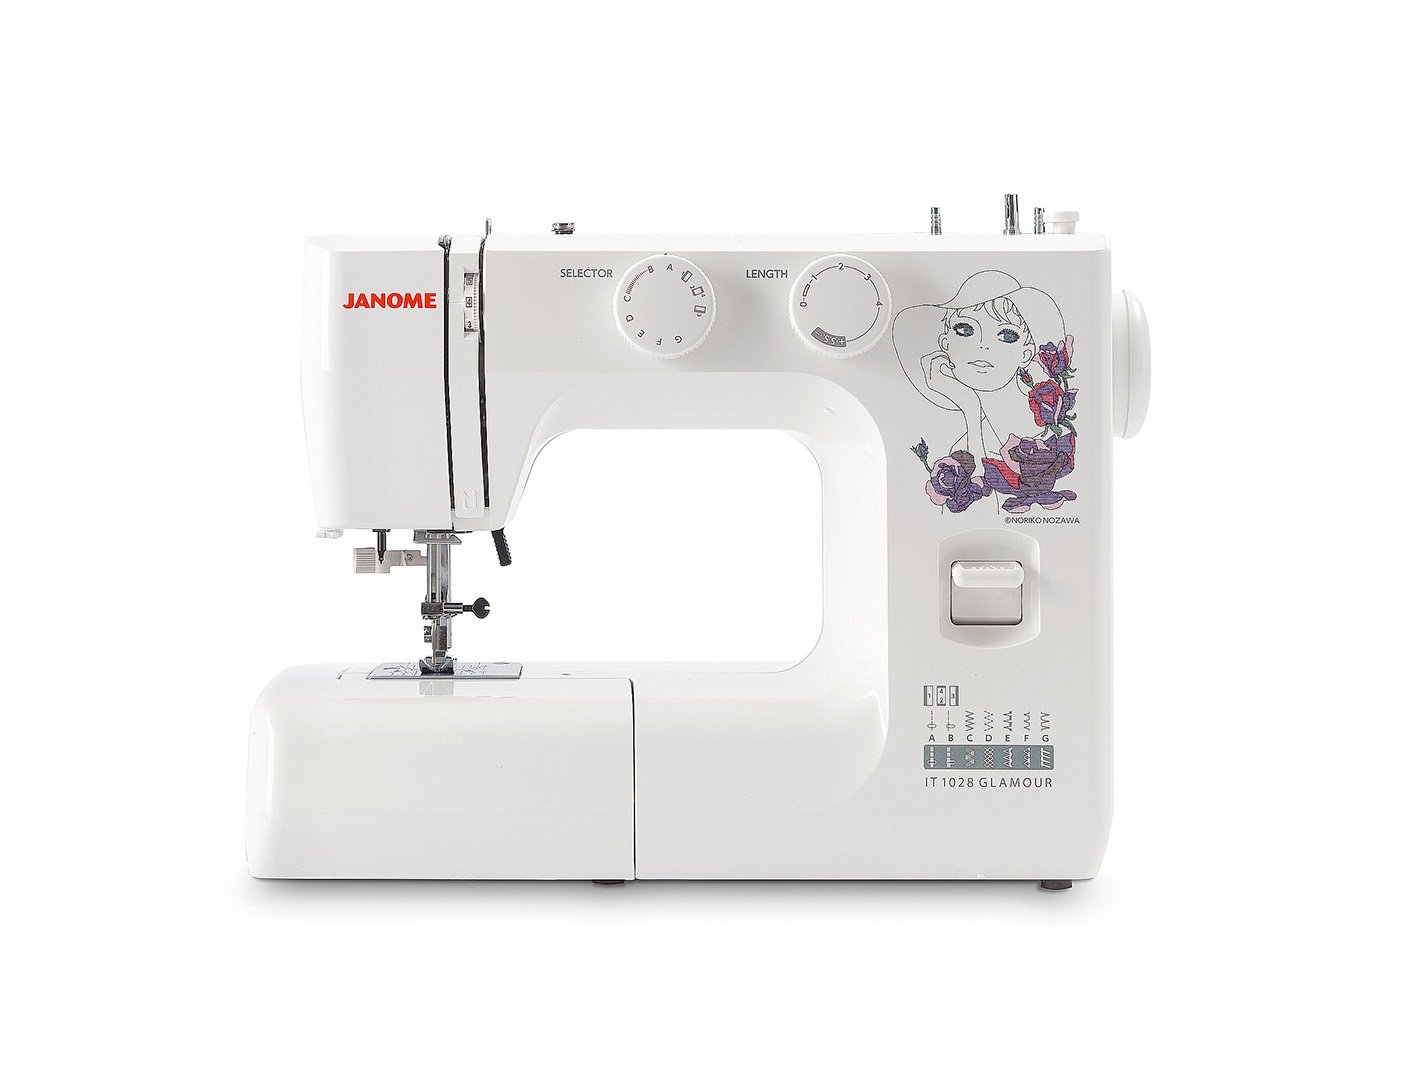
Figure 3: The Janome IT 1028 Glamour sewing machine with the accessory tray removed, revealing the free arm and the bobbin case area. This view is essential for bobbin insertion and cleaning.
Configuració
1. Desembalatge i col·locació
- Traieu amb cura la màquina del seu embalatge.
- Col·loqueu la màquina sobre una superfície plana i estable.
- Remove any protective films or packing materials.
2. Connexió d'alimentació
- Assegureu-vos que l'interruptor d'alimentació de la màquina estigui en la posició "OFF".
- Connect the power cord to the machine's power input jack.
- Connecteu el cable d'alimentació a una presa de corrent adequada.
3. Enrotllament de la bobina
- Col·loqueu una bobina de fil al portacarret.
- Guieu el fil a través del guiafils superior i al voltant del disc tensor de la bobina.
- Insert the thread through the hole in the bobbin from the inside out.
- Place the bobbin onto the bobbin winder spindle and push the spindle to the right.
- Start the machine. The bobbin will wind automatically. Stop when the bobbin is full.
- Cut the thread and push the bobbin winder spindle to the left. Remove the bobbin.
4. Inserció de la bobina
- Apagueu la màquina.
- Open the bobbin cover plate located on the free arm.
- Insert the bobbin into the bobbin case with the thread running in the direction indicated by the arrows.
- Pull the thread through the tension spring and into the guide slot.
- Tanqueu la placa de la coberta de la bobina.
5. Enfilar el fil superior
- Aixequeu el aixecador del peu premsador.
- Col·loqueu una bobina de fil al portacarret.
- Guieu el fil a través del guiafils superior.
- Bring the thread down the right channel, up the left channel, and through the take-up lever from right to left.
- Continueu guiant el fil cap avall fins a la guia de fils de la barra d'agulla.
- Use the built-in needle threader or manually thread the needle from front to back.
- Estireu uns 6 polzades de fil per l'ull de l'agulla.
6. Bringing Up the Bobbin Thread
- Subjecteu el fil superior lleugerament amb la mà esquerra.
- Turn the handwheel towards you to lower the needle into the needle plate and then raise it.
- The upper thread will catch the bobbin thread, forming a loop.
- Pull the loop to bring the bobbin thread up through the needle plate hole.
- Estireu els dos fils (superior i de la bobina) per sota del peu premsatelas i cap a la part posterior de la màquina.
Instruccions de funcionament
1. Selecció de puntades
Gireu el Dial Selector de puntada (refer to Figure 2) to choose your desired stitch pattern. The available stitches are indicated by letters or symbols on the dial.
2. Ajust de la longitud i l'amplada de la puntada
- Longitud de la puntada: Utilitza el Dial de longitud de puntada (refer to Figure 2) to adjust the length of your stitches. Higher numbers indicate longer stitches.
- Amplada de punt: For stitches that allow width adjustment, use the corresponding dial or setting. (Note: The Janome IT 1028 Glamour has adjustable stitch width, typically integrated with the stitch selector or a separate dial. Consult the machine's markings for specific controls.)
3. Costura bàsica
- Col·loqueu la vostra tela sota el peu de premsa.
- Baixeu l'aixecament del peu premsat.
- Enceneu la màquina.
- Gently press the foot controller to start sewing. The harder you press, the faster the machine will sew.
- Guide the fabric gently with your hands, but do not pull or push forcefully.
- To secure the beginning and end of a seam, use the reverse lever to sew a few stitches backward.
- When finished, raise the needle to its highest position, lift the presser foot, and pull the fabric away from the machine.
- Use the built-in thread cutter or scissors to trim the threads.
4. Using the Free Arm
To use the free arm, simply slide off the accessory tray (refer to Figure 3). This exposes the narrow free arm, ideal for sewing small, tubular items like sleeves, pant hems, and cuffs.
5. Automatic Four-Step Buttonholes
The Janome IT 1028 Glamour features an automatic four-step buttonhole function. Refer to the stitch selector dial for the buttonhole settings (usually marked with a buttonhole symbol and steps 1-4).
- Col·loqueu el peu de l’obturador.
- Mark the buttonhole position on your fabric.
- Set the stitch selector to the first buttonhole step.
- Sew the first side of the buttonhole.
- Change the stitch selector to the next step and sew the bar tack.
- Continue through all four steps, following the machine's markings for each segment of the buttonhole.
- Carefully cut open the buttonhole using a seam ripper, ensuring not to cut the stitches.
Manteniment
1. Neteja de la màquina
Regular cleaning helps maintain your machine's performance. Always unplug the machine before cleaning.
- Àrea de la bobina: Remove the needle plate and bobbin case. Use a small brush to remove lint and dust from the bobbin area and feed dogs.
- Exterior: Netegeu les superfícies exteriors amb un drap suau i sec. No utilitzeu productes químics agressius ni netejadors abrasius.
2. Substitució d'agulla
Replace the needle regularly (after 8-10 hours of sewing) or if it becomes bent, dull, or damaged. A damaged needle can cause skipped stitches or fabric damage.
- Apagueu la màquina i desconnecteu-la.
- Afluixeu l'agulla clamp cargol.
- Traieu l'agulla vella.
- Introduïu una agulla nova amb el costat pla mirant cap a la part posterior de la màquina, empenyent-la cap amunt fins al fons.
- Apretar l'agulla clamp cargol de manera segura.
Resolució de problemes
Aquesta secció tracta els problemes habituals que podeu trobar. Per a problemes que no figuren aquí, poseu-vos en contacte amb l'atenció al client.
| Problema | Causa possible | Solució |
|---|---|---|
| Punts saltats | Agulla incorrecta, agulla doblegada, enfilat incorrecte, mida d'agulla incorrecta per a la tela. | Replace needle, re-thread machine, ensure correct needle type/size. |
| Trencament del fil (superior) | Improper threading, tension too tight, poor quality thread, bent needle, burr on needle plate. | Re-thread machine, adjust upper tension, use quality thread, replace needle, check needle plate for damage. |
| Trencament del fil (bobina) | Bobina incorrectament enrotllada, bobina incorrectament inserida, borrissol a la caixa de la bobina, tensió massa forta. | Re-wind bobbin, re-insert bobbin correctly, clean bobbin case, adjust bobbin tension (if adjustable). |
| Punts desiguals | Incorrect tension settings, pulling/pushing fabric, wrong presser foot. | Adjust tension, guide fabric gently, use appropriate presser foot. |
| La màquina no arrenca | Not plugged in, power switch off, foot controller not connected. | Check power connections, ensure switch is ON, connect foot controller. |
Especificacions
- Número de model: 8100000017663 (IT 1028 Glamour)
- Marca: JANOME
- Material: Plàstic
- Pes: 8 quilos
- Dimensions (P x L x H): 10 cm x 35 cm x 25 cm (Depth x Width x Height)
- Font d'alimentació: Cable elèctric
- Tipus de puntades: 12
- Tipus de ganxo: Oscil·lant
- Tipus de trau: Automatic Four-Step
Garantia i Suport
For warranty information, service, or technical support, please refer to the warranty card included with your product or contact your authorized Janome dealer or customer service center. Keep your purchase receipt as proof of purchase.


