
Zamp solar KIT1010
Zamp Solar Legacy Series 90-Watt Roof Mount Solar Panel Expansion Kit User Manual
Model: KIT1010
Introducció
This user manual provides essential information for the installation, operation, and maintenance of your Zamp Solar Legacy Series 90-Watt "Long" Roof Mount Solar Panel Expansion Kit. This kit is designed to expand your existing off-grid RV battery charging system, particularly for vehicles with curved roofs like Airstreams. Please read this manual thoroughly before proceeding with installation or use to ensure safe and efficient operation.
Producte acabatview
Què hi ha a la caixa
Your Zamp Solar 90-Watt Expansion Kit includes the following components:
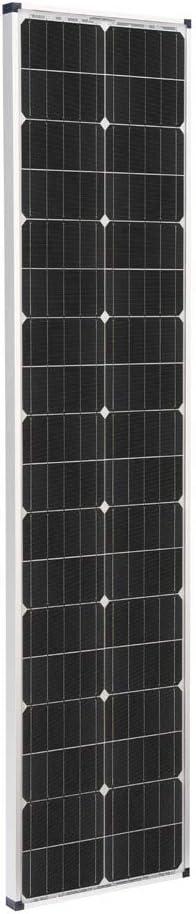
- 1 x 90-Watt Solar Panel (long and narrow design)
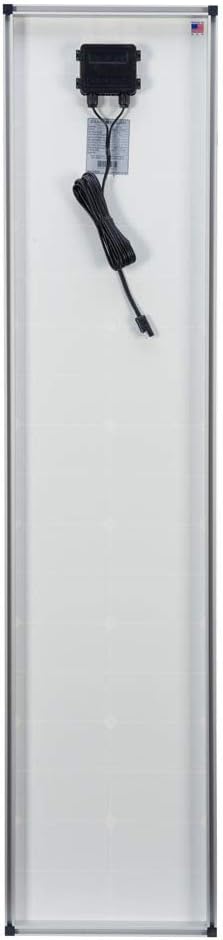
- 10-foot lead wire attached to the solar panel
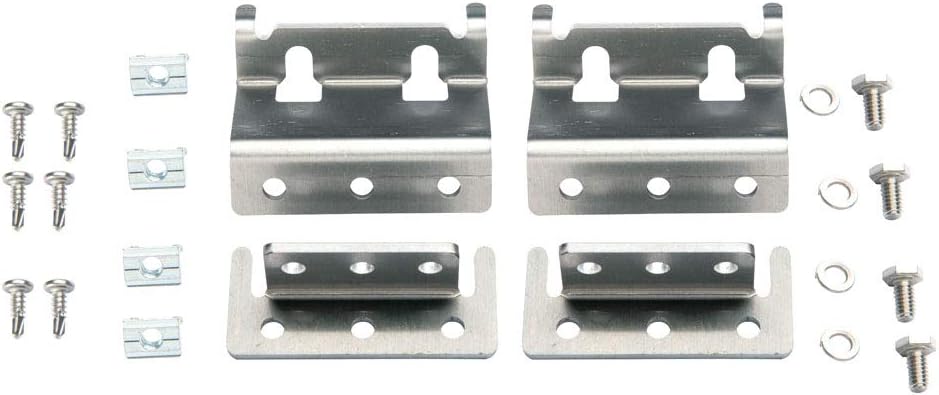
- Curved roof mounting feet (specific for curved surfaces)
- Associated mounting hardware (screws, washers, nuts)

Image: The 90-watt solar panel shown alongside its curved roof mounting feet and associated hardware.
Característiques clau
- Dimensions: Long and narrow profile (58.3 inches x 13.6 inches x 1.5 inches) ideal for various roof configurations.
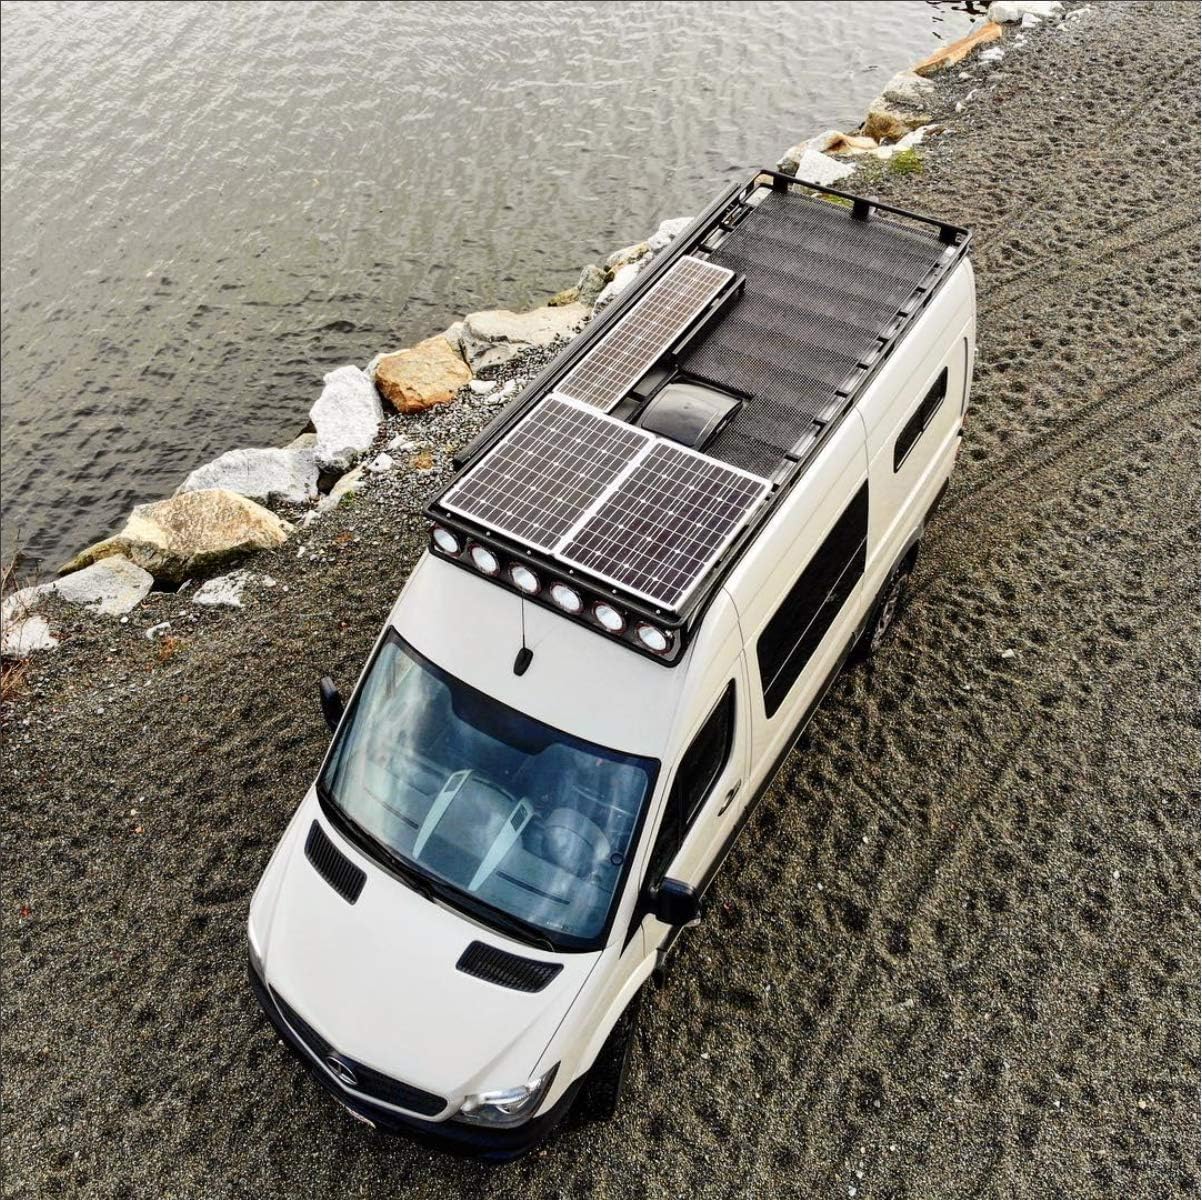
- Curved Roof Compatibility: Includes special mounting feet specifically designed for curved roofs, such as those found on Airstream RVs.
- Construcció de qualitat: Handcrafted in the USA, ensuring high standards of manufacturing.
- Alta eficiència: Utilizes best-in-class solar cells for optimal power generation.
- Sistema ampliable: Compatible with any existing Zamp Solar roof mount kit, allowing for flexible system expansion.
- Fàcil integració: Designed for simple plug-and-play integration into an existing Zamp Solar system via the roof port.
Especificacions
| Especificació | Valor |
|---|---|
| Marca | Zamp Solar |
| Número de model | KIT1010 |
| Dimensions del producte (L x A x A) | 58.3" x 13.6" x 1.5" |
| Pes de l'article | 14.25 lliures |
| Potència màxima | 90 watts |
| Volum màximtage | 18 volts (CC) |
| Ampedat | 5 Amps |
| Eficiència | Alta eficiència |
| UPC | 856204007402 |
Imatges del producte
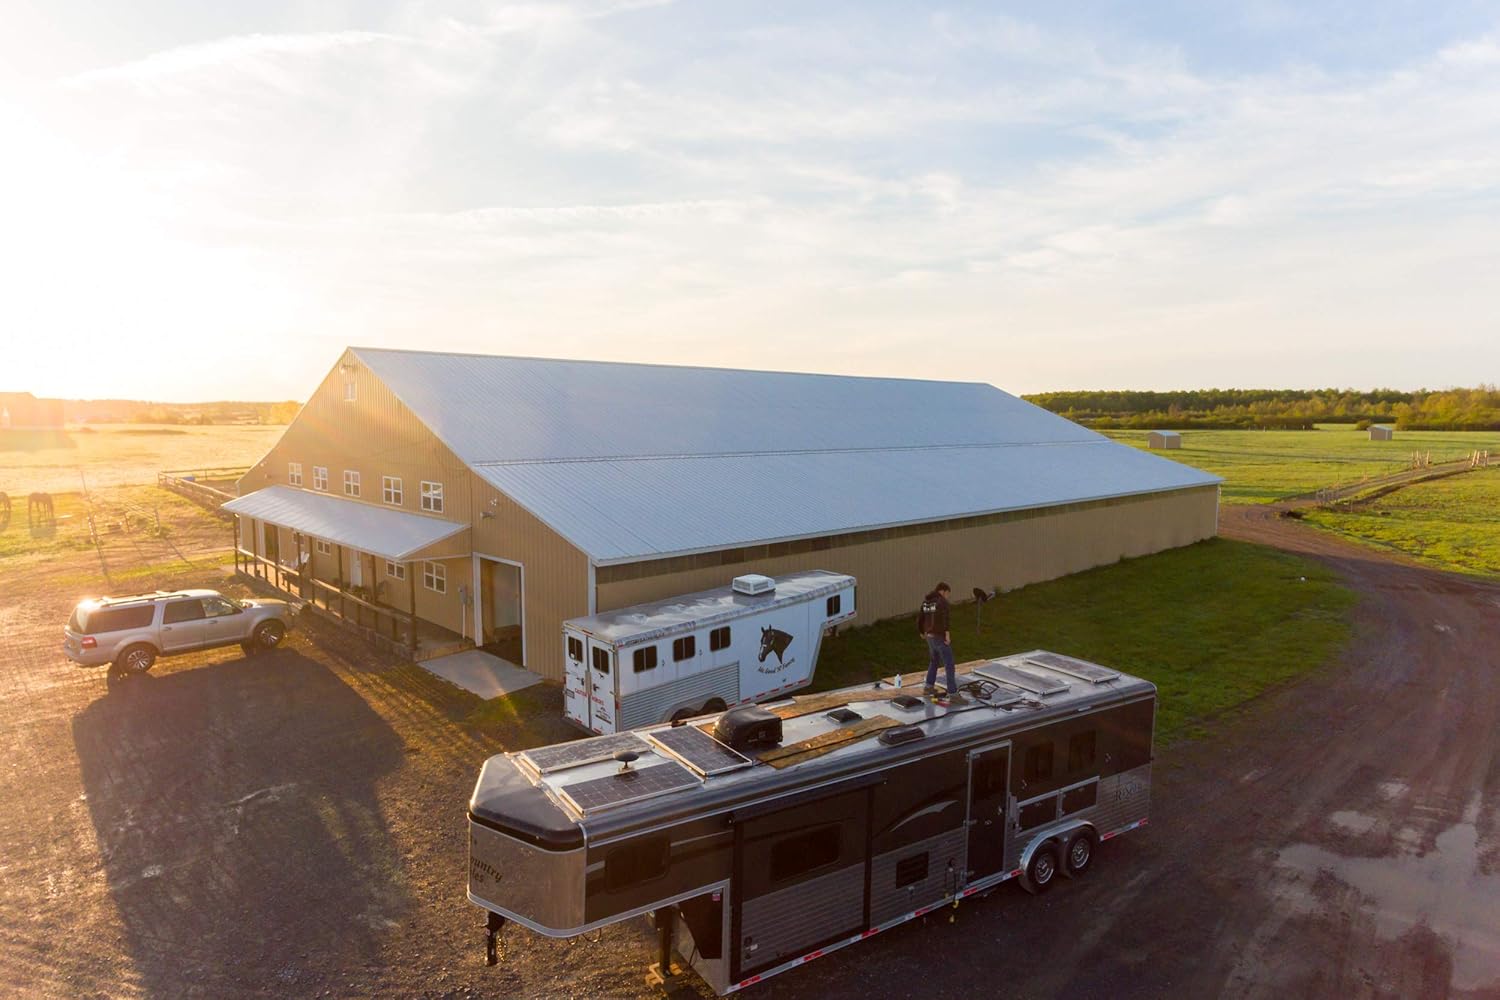
Informació de seguretat
Always prioritize safety during installation and operation. Solar panels generate electricity when exposed to light, which can pose a shock hazard. Follow these guidelines:
- Desconnecteu l'alimentació: Before working on any part of your solar system, ensure all power sources are disconnected, including batteries and existing solar panels.
- Utilitzeu equip de protecció: Use appropriate personal protective equipment (PPE) such as insulated gloves, safety glasses, and non-slip footwear.
- Manejar amb cura: Solar panels are fragile. Avoid dropping, bending, or placing heavy objects on them.
- Seguretat elèctrica: Do not touch exposed wires or terminals. Ensure all connections are secure and properly insulated.
- Instal·lació professional: If you are unsure about any step of the installation process, consult a qualified electrician or solar professional.
- Ventilació: Ensure adequate ventilation around batteries and charge controllers to prevent heat buildup.
Configuració i instal·lació
This 90-watt panel is designed as an expansion to an existing Zamp Solar roof mount system. Ensure your current system is compatible and your charge controller can handle the additional wattage.
- Assess Your System: Verify that your existing Zamp Solar charge controller has sufficient capacity to manage the additional 90 watts from this panel. Overloading the charge controller can lead to system failure.
- Trieu la ubicació de muntatge: Select a location on your RV roof that receives maximum sunlight exposure throughout the day and is suitable for the panel's dimensions (58.3"L x 13.6"W). Consider shading from vents, air conditioners, or other roof-mounted equipment.
- Prepara la superfície: Clean the mounting area thoroughly to ensure proper adhesion and sealing.
- Install Mounting Feet: Attach the curved roof mounting feet to the solar panel frame using the provided hardware. Ensure they are securely fastened. These feet are specifically designed to conform to curved roof surfaces, providing a stable and secure mount.
- Position the Panel: Carefully lift and position the solar panel onto the chosen location on your RV roof. Align the mounting feet with the roof structure.
- Assegureu el panell: Securely fasten the mounting feet to the RV roof using appropriate fasteners and sealants to prevent water ingress. Follow best practices for roof penetration and sealing for RV applications.
- Connect to Roof Port: Locate your existing Zamp Solar roof port. Connect the 10-foot lead wire from the new 90-watt panel directly into the roof port. Ensure the connection is firm and weatherproof.
- Verifica les connexions: Double-check all electrical connections for polarity and security.
- Prova del sistema: Once all connections are made and secured, re-enable power to your solar system and monitor the charge controller to confirm that the new panel is contributing power as expected.
For detailed instructions on your specific RV roof type or if you are installing a new Zamp Solar roof port, refer to the primary Zamp Solar installation manual or consult a professional installer.
Instruccions de funcionament
La Zamp Solar 90-Watt panel is a passive power generator. Once properly installed and connected to a compatible charge controller and battery bank, it will automatically begin converting sunlight into electrical energy to charge your RV batteries.
- Funcionament automàtic: The panel operates automatically when exposed to sunlight. No manual intervention is required for power generation.
- Charge Controller Monitoring: Your charge controller is the central management unit for your solar system. Regularly monitor its display or indicators to ensure proper charging, battery status, and overall system health.
- Rendiment òptim: For optimal performance, ensure the panel is free from obstructions (e.g., leaves, dirt, snow) that could block sunlight.
Manteniment
Regular maintenance will ensure the longevity and efficiency of your solar panel.
- Neteja: Periodically clean the surface of the solar panel with a soft cloth and mild, non-abrasive cleaner or water. Avoid harsh chemicals or abrasive materials that could scratch the glass. Clean when the panel is cool, typically in the morning or evening.
- Inspecció visual: Regularly inspect the panel for any physical damage, such as cracks in the glass, bent frames, or loose connections. Check the mounting hardware for tightness and signs of corrosion.
- Comprovació del cablejat: Inspect all wiring and connections for fraying, damage, or signs of overheating. Ensure all connections remain secure and weatherproof.
- Ombrejat: Be aware of any new sources of shading (e.g., growing trees, new roof equipment) that might reduce the panel's output.
Resolució de problemes
Si el vostre sistema de panells solars no funciona com s'esperava, tingueu en compte els següents problemes comuns:
- Sense potència de sortida:
- Check for direct sunlight on the panel.
- Verifiqueu que totes les connexions elèctriques siguin segures i correctes (polaritat).
- Inspect the lead wire for damage.
- Ensure your charge controller is functioning correctly and not in a fault state.
- Sortida de baixa potència:
- Clean the panel surface of dirt, dust, or debris.
- Check for partial shading from nearby objects (antennas, vents, trees).
- Verify battery health and capacity.
- Consult your charge controller manual for diagnostic information.
- La bateria no es carrega:
- Confirm the charge controller is properly connected to both the solar panel and the battery bank.
- Comproveu el volum de la bateriatage; if extremely low, some charge controllers may not initiate charging.
- Ensure the charge controller's settings are appropriate for your battery type.
For more complex issues, refer to the troubleshooting section of your primary Zamp Solar charge controller manual or contact Zamp Solar customer support.
Informació de la garantia
La Zamp Solar Legacy Series 90-Watt Solar Panel comes with a 25-year output warranty. This warranty covers the power output of the solar panel under standard test conditions. For specific terms, conditions, and claim procedures, please refer to the official Zamp Solar warranty documentation provided with your original purchase or visit the Zamp Solar weblloc.
Contacte i Suport
For technical assistance, warranty claims, or additional product information, please contact Zamp Solar directly.
Fabricant: ZAMP SOLAR
Please visit the official Zamp Solar weblloc web per obtenir les dades de contacte i els recursos d'assistència més actualitzats.
Documents relacionatsKIT1010


Ask a question about this manual
Ask about setup, troubleshooting, compatibility, parts, safety, or missing instructions. Manuals+ will review the question and use this page’s manual context to help answer it.