
Introducció
Thank you for choosing the Peski Wired Dynamic Karaoke Microphone. This manual provides essential information for the proper setup, operation, and maintenance of your microphone. Please read these instructions carefully before use to ensure optimal performance and longevity of your device.
Contingut del paquet
Si us plau, verifiqueu que tots els elements que s'enumeren a continuació estiguin inclosos al vostre paquet:
- Peski Wired Dynamic Microphone
- 13ft (4m) XLR to 1/4" Audio Cable
- Mic Windscreen (Foam)
- Protective Holder
- Manual d'usuari (aquest document)

Figura 1: Contingut del paquet. This image displays all components included in the Peski Wired Dynamic Karaoke Microphone package, including the microphone, cable, windscreen, holder, and the product box.
Producte acabatview
The Peski Wired Dynamic Karaoke Microphone is designed for clear vocal sound reproduction. It features a durable full-metal body and a cardioid pickup pattern to effectively reduce background noise. The microphone comes with a 13ft (4m) XLR to 1/4" audio cable, providing ampla longitud per a diverses aplicacions.
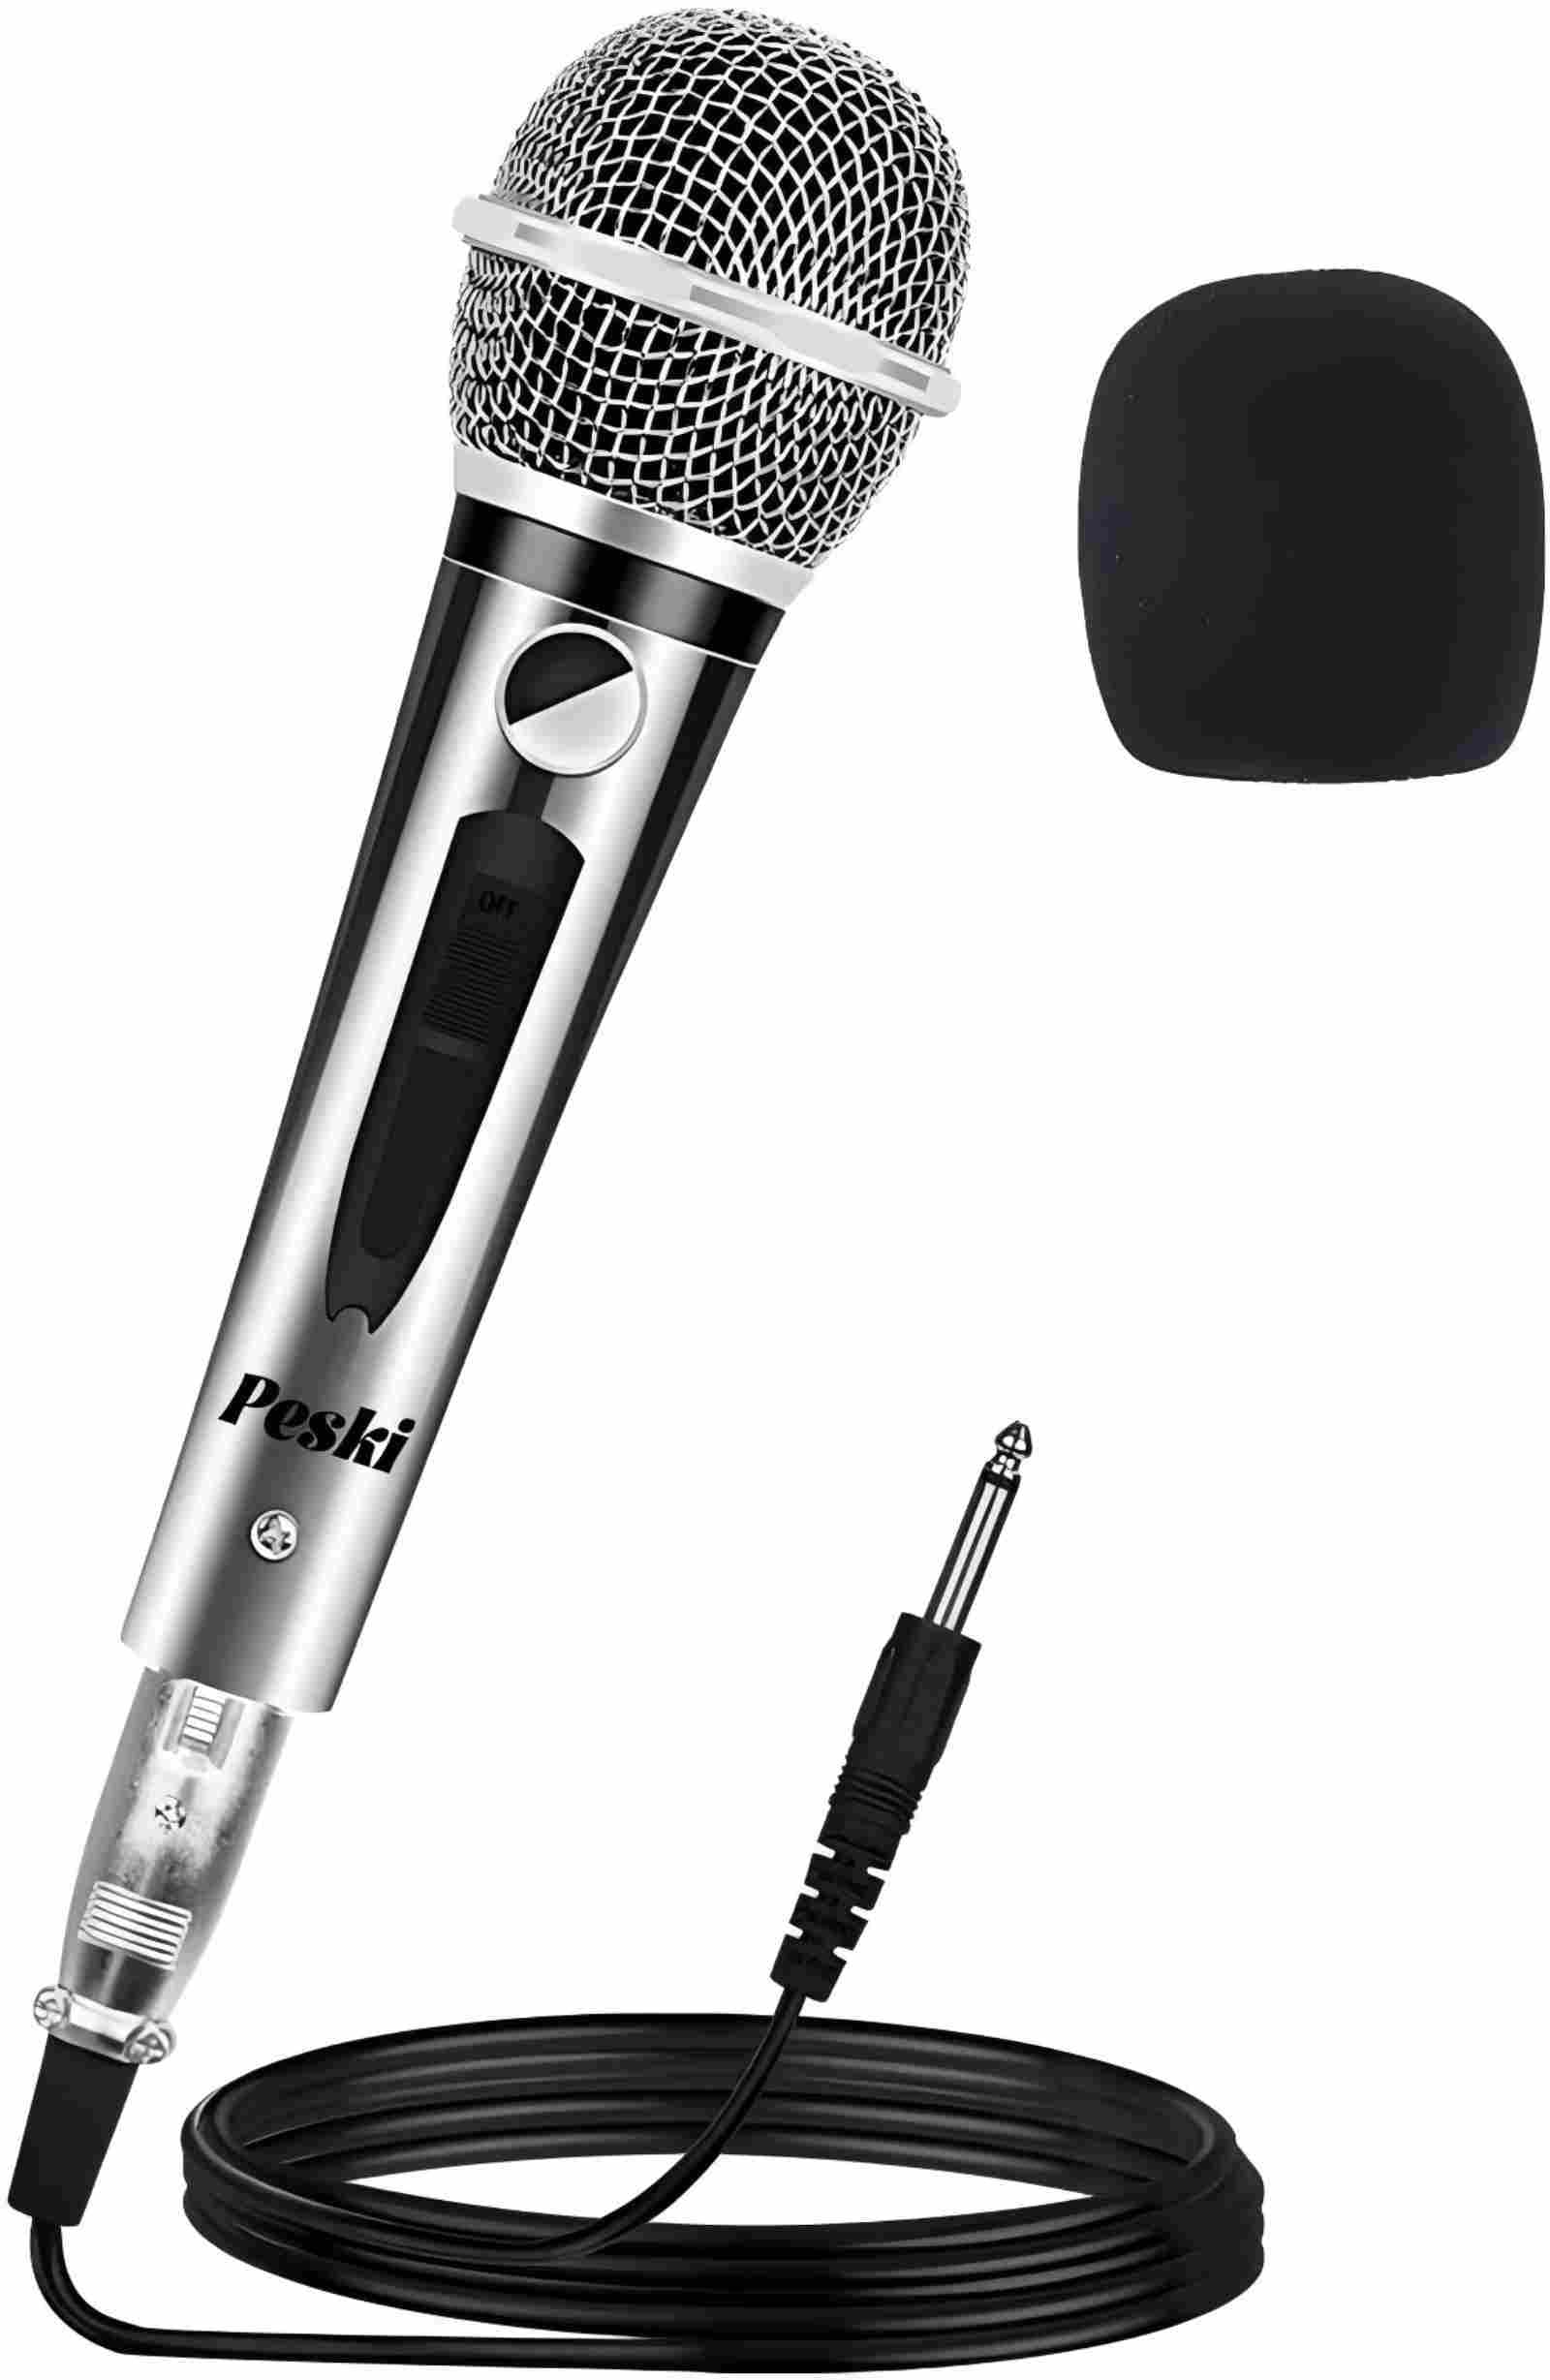
Figure 2: Peski Wired Dynamic Karaoke Microphone. This image shows the microphone and its included cable, demonstrating its robust design and connectivity.
Configuració
- Connecteu el cable: Insert the 3-pin XLR connector of the provided 13ft (4m) cable into the microphone's XLR port. Ensure a secure connection.
- Connecta al dispositiu d'àudio: Plug the 1/4" (6.35mm) jack of the cable into the microphone input port of your compatible audio device (e.g., karaoke machine, speaker, amplifier, mixer, home theater system).
- Encès: Ensure your audio device is powered on and its volume is set to a low level before speaking into the microphone.

Figure 3: Classic Cable Set Connection. This diagram illustrates how to connect the XLR cable to the microphone and the 1/4" jack to your audio equipment.

Figure 4: Wide Compatibility. This image demonstrates the microphone's compatibility with a range of audio equipment, including amplifiers, speakers, and home theater systems.
Instruccions de funcionament
- Interruptor d'alimentació: Locate the ON/OFF switch on the microphone body. Slide the switch to the "ON" position to activate the microphone. Slide it to "OFF" when not in use.
- Col·locació del micròfon: Hold the microphone approximately 2-6 inches (5-15 cm) from your mouth for optimal sound capture. Due to its cardioid pickup pattern, the microphone is most sensitive to sounds directly in front of it, reducing pickup from the sides and rear.
- Ajustar el volum: Gradually increase the volume on your connected audio device until the desired sound level is achieved. Avoid setting the volume too high to prevent feedback or distortion.

Figure 5: Comfortable Switch Button. This image highlights the ON/OFF switch on the microphone handle, along with its general dimensions.

Figure 6: Cardioid Dynamic Microphone. This diagram visually represents the cardioid pickup pattern, indicating how the microphone effectively rejects sounds from other directions.
Manteniment
- Neteja: Use a soft, dry cloth to wipe the microphone body. For the mesh grille, gently clean with a slightly damp cloth if necessary, ensuring no moisture enters the microphone. Do not use harsh chemicals or abrasive cleaners.
- Cura del parabrisa: The foam windscreen can be gently hand-washed with mild soap and water, then air-dried completely before reattaching.
- Emmagatzematge: Store the microphone in a dry, cool place, away from direct sunlight and extreme temperatures. Disconnect the cable and coil it neatly to prevent damage.
Resolució de problemes
| Problema | Causa possible | Solució |
|---|---|---|
| Sense sortida de so | Microphone switch is OFF El cable no està ben connectat Audio device volume too low Incorrect input selected on audio device | Slide microphone switch to ON Ensure cable is securely connected at both ends Increase volume on audio device Select the correct microphone input on your audio device |
| Mala qualitat de so / Distorsió | Volum massa alt Micròfon massa a prop de la font de so Cable danyat | Reduce volume on audio device Maintain optimal distance (2-6 inches) Try a different XLR to 1/4" cable |
| Feedback (high-pitched squeal) | Microphone too close to speaker Volum massa alt | Move microphone further from speakers Reduce volume on audio device |
Especificacions
- Número de model: 8541752112
- Marca: Peski
- Tecnologia de connectivitat: XLR (amb cable)
- Tipus de connector: 1/4" (6.35mm) Jack
- Patró polar: Unidireccional (cardioide)
- Factor de forma del micròfon: Sistema de micròfon de mà
- Material: Metal body, Foam windscreen
- Ràtio senyal / soroll: 70 dB
- Pes de l'article: 1.21 lliures (aprox. 0.55 kg)
- Longitud del cable: 13 peus (4 metres)
- Dispositius compatibles: Amplifier, Home Theater, Karaoke Machine, Speaker
- Font d'alimentació: Corded Electric (via connected device)
Garantia i Suport
For warranty information or technical support, please contact Peski customer service through the retailer where the product was purchased or visit the official Peski weblloc web. Si us plau, conserveu el comprovant de compra per a qualsevol reclamació de garantia.