
1. Producte acabatview
This manual provides instructions for the HITBOX 100A MIG Welding Gun, a 10-foot (3-meter) replacement torch designed for compatibility with various Miller M-series welders. This welding gun is suitable for MIG (GMAW) and Flux Cored (FCAW) processes, offering reliable performance for a range of welding applications.
Característiques principals:
- 10-foot (3m) cable length for extended reach.
- Valorat per 100 Amperes.
- Compatible with Miller M-series consumables.
- Designed to feed .030-.035 inch (0.8-0.9 mm) diameter welding wire.
- Ergonomic handle for comfortable grip and reduced fatigue.
- Electrically insulated metal jacket on the gun tube for optimized fine wire welding.
- Abrasion-resistant extruded rubber jacket on the cable for durability.
Compatibilitat: This MIG gun is compatible with Miller M-100 (M-10) MIG guns and can be used with models such as Miller SideKick, SideKick XL/Cricket XL/Millermatic 90, Millermatic 130/130XP/135/140s/175/180s/DVIs /211, Challenger, Challenger 172, Passport/Passport Plus, or Hobart IronMan 210.

2. Informació de seguretat
Prioritzeu sempre la seguretat quan feu servir equips de soldadura. Si no seguiu les pautes de seguretat, podeu patir lesions greus o la mort.
- Protecció ocular i facial: Porteu sempre una casqueta de soldadura amb lents de protecció adequades per protegir els ulls i la cara dels raigs d'arc i les espurnes.
- Roba de protecció: Wear flame-resistant clothing, heavy-duty gloves, and safety shoes to protect against burns and electrical shock.
- Ventilació: Ensure adequate ventilation to remove welding fumes and gases from the work area. If working in confined spaces, use a respirator.
- Prevenció d'incendis: Keep a fire extinguisher nearby. Remove all flammable materials from the welding area. Sparks and hot metal can travel a significant distance.
- Seguretat elèctrica: Ensure the welding machine is properly grounded. Do not touch live electrical parts. Inspect cables and connections for damage before each use.
- Àrea de treball: Mantingueu la zona de treball neta i lliure de trastos. Assegureu-vos d'una base estable.
- Read Welder Manual: Always refer to your welding machine's instruction manual for specific safety precautions and operating procedures.
3. Configuració
Proper setup is crucial for safe and effective welding. Follow these steps to prepare your HITBOX MIG Welding Gun for use.
3.1 Desembalatge i inspecció
- Carefully remove the welding gun from its packaging.
- Inspect the gun, cable, and connector for any signs of shipping damage. Do not use if damaged.
- Ensure all components, including the nozzle, contact tip, and gas diffuser, are present.

3.2 Connecting the Welding Gun
- Apagar: Ensure your welding machine is turned off and unplugged from the power source.
- Localitza el port de connexió: Identify the MIG gun connection port on your welding machine. This is typically a multi-pin connector for power, gas, and trigger control.
- Insereix el connector: Align the rear connector of the HITBOX MIG gun with the corresponding port on your welder. Push firmly until it is securely seated.
- Connexió segura: If your welder has a locking mechanism (e.g., a collar or nut), tighten it to ensure a stable connection.

3.3 Instal·lació de consumibles
The MIG gun uses Miller M-series consumables. Ensure you have the correct size for your welding wire.
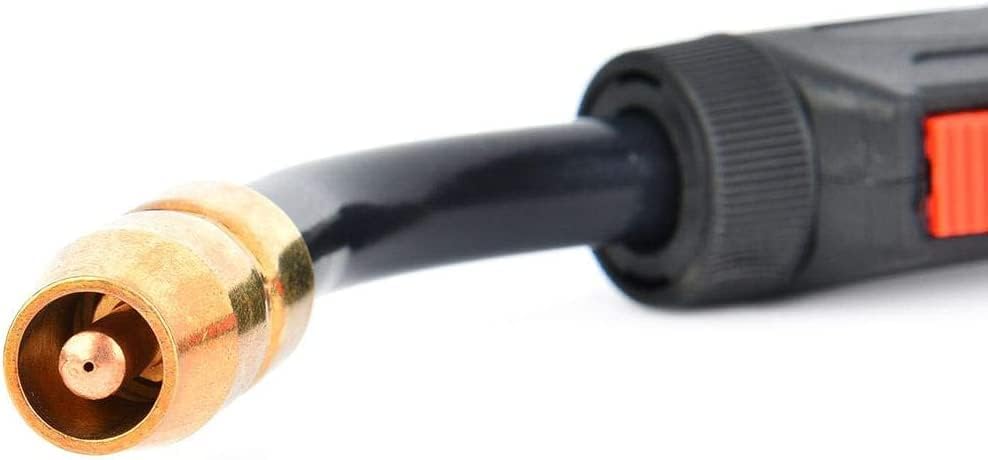
- Gas Diffuser: Screw the gas diffuser onto the gun neck.
- Consell de contacte: Select the appropriate contact tip for your wire size (.030-.035 inch). Screw the contact tip firmly into the gas diffuser.
- Broquet: Slide the nozzle over the contact tip and gas diffuser. Ensure it is securely seated.

3.4 Wire Feeding
Refer to your welding machine's manual for specific instructions on loading welding wire. Generally:
- Obriu el compartiment del alimentador de filferro.
- Load the wire spool onto the spindle.
- Thread the wire through the drive rolls and into the gun liner.
- Close the drive roll tension arm and adjust tension as needed.
- With the gun pointed away from yourself and others, press the trigger to feed the wire through the gun until it exits the contact tip.
4. Instruccions de funcionament
Once the MIG gun is properly set up, you can begin welding. Always wear appropriate personal protective equipment (PPE).
4.1 Funcionament bàsic
- Encès: Turn on your welding machine.
- Flux de gas: Open the gas cylinder valve and set the gas flow rate (typically 15-25 CFH for MIG welding with shielding gas).
- Establir paràmetres: Ajusteu el voltage and wire feed speed on your welding machine according to the material thickness and wire type. Consult your welder's chart for recommended settings.
- Terra Clamp: Enganxa el terra clamp fixat de manera segura a la peça o a la taula de soldadura, garantint un bon contacte elèctric.
- Position Gun: Position the MIG gun over the joint to be welded, maintaining the correct stick-out (distance from contact tip to workpiece).
- Iniciar l'arc: Press the trigger on the MIG gun to start the wire feed and initiate the welding arc.
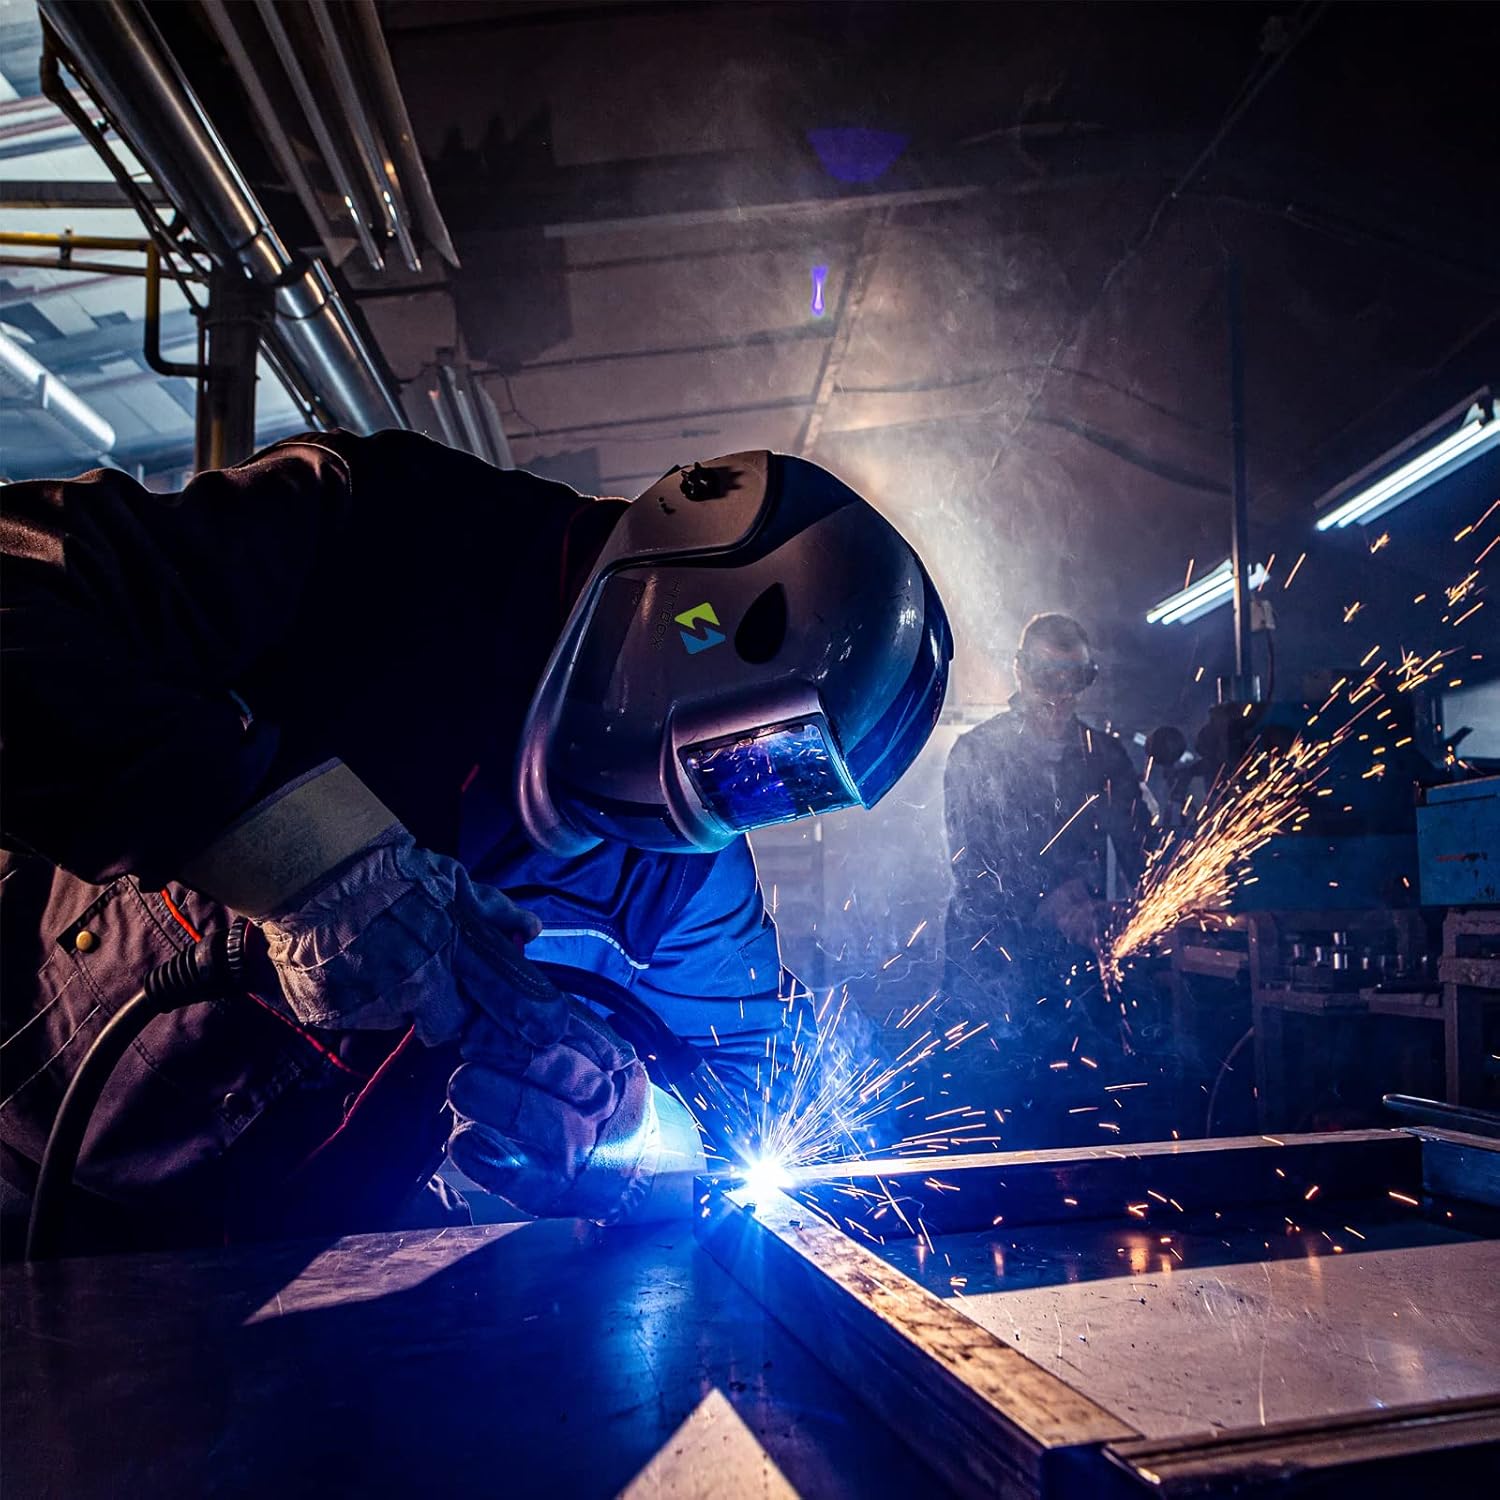
- Soldar: Maintain a consistent travel speed and gun angle to create a uniform weld bead.
- Allibera el disparador: Deixeu anar el gallet per aturar la soldadura.
5. Manteniment
Regular maintenance ensures the longevity and optimal performance of your HITBOX MIG Welding Gun.
5.1 Manteniment diari
- Neteja el broquet: Remove spatter from the nozzle using pliers or a nozzle reamer. Excessive spatter can obstruct gas flow.
- Inspeccioneu la punta de contacte: Check the contact tip for wear, enlargement of the bore, or excessive spatter. Replace if necessary.
- Check Gas Diffuser: Ensure the gas diffuser is clean and free of obstructions.
5.2 Manteniment periòdic
- Inspeccionar el cable: Check the entire length of the welding cable for cuts, abrasions, or kinks. Damaged cables can pose electrical hazards.
- Comproveu les connexions: Ensure all electrical and gas connections are tight and secure.
- Inspecció del revestiment: If wire feeding issues occur, the gun liner may need cleaning or replacement. Consult your welder's manual for liner maintenance.
6. Solució De Problemes
Aquesta secció tracta els problemes habituals que podeu trobar durant el funcionament.
| Problema | Causa possible | Solució |
|---|---|---|
| Poor Arc Starting / Unstable Arc |
|
|
| Wire Feeding Problems (Sticking, Erratic Feed) |
|
|
| Porosity (Holes in Weld) |
|
|
| Overheating Gun |
|
|
7. Especificacions
| Paràmetre | Valor |
|---|---|
| Número de model | HP000059 |
| Longitud del cable | 10 peus (3 metres) |
| Corrent nominal | 100 Amperes |
| Processes Supported | MIG (GMAW), Flux Cored (FCAW) |
| Compatible Wire Size | 0.030 - 0.035 polzades (0.8 - 0.9 mm) |
| Torch Handle Type | Peça única |
| Tipus de torxa | MIGmatic M Series |
| Pes de l'article | 6.93 lliures |
| Dimensions del producte | 180 x 2.4 x 2.4 polzades |
8. Garantia i Suport
For warranty information, technical support, or replacement parts, please contact HITBOX customer service through their official weblloc web o el distribuïdor on es va comprar el producte. Conserveu el rebut de compra com a comprovant de compra.