
1. Producte acabatview
The Lezyne KTV Drive Headlight and KTV Pro Smart Taillight Set is designed to provide illumination and enhance visibility for cyclists. This set incorporates Smart Connect wireless technology, enabling customization and control through the Lezyne LED Ally phone application.

Image 1.1: Lezyne KTV Drive Headlight and KTV Pro Smart Taillight Set.
Característiques principals:
- Front Light Output: Fins a 220 lúmens
- Rear Light Output: Fins a 10 lúmens
- Durada de la bateria: Fins a 20 hores (segons el mode)
- Càrrega: USB recarregable
- Connectivitat: Smart Connect wireless technology for app control
- Resistència a l'aigua: Classificació IPX7
- Muntatge: Handlebar mount for front, seatpost mount for rear
2. Què hi ha a la caixa
The Lezyne KTV Drive Headlight and KTV Pro Smart Taillight Set typically includes the following components:
- Lezyne KTV Drive Headlight (Front)
- Lezyne KTV Pro Smart Taillight (Rear)
- Integrated USB charging cables
- Mounting straps/bands
3. Configuració
3.1 Muntatge dels llums
The lights are designed for easy installation using integrated rubber straps.
- Llum frontal: Secure the KTV Drive Headlight to your bicycle's handlebar. Wrap the rubber strap around the handlebar and hook it onto the light body. Ensure the light is facing forward and is securely positioned.
- Llum posterior: Attach the KTV Pro Smart Taillight to your bicycle's seatpost. Wrap the rubber strap around the seatpost and hook it onto the light body. Ensure the light is facing rearward and is securely positioned.

Image 3.1: KTV Drive Headlight mounted on a bicycle handlebar.
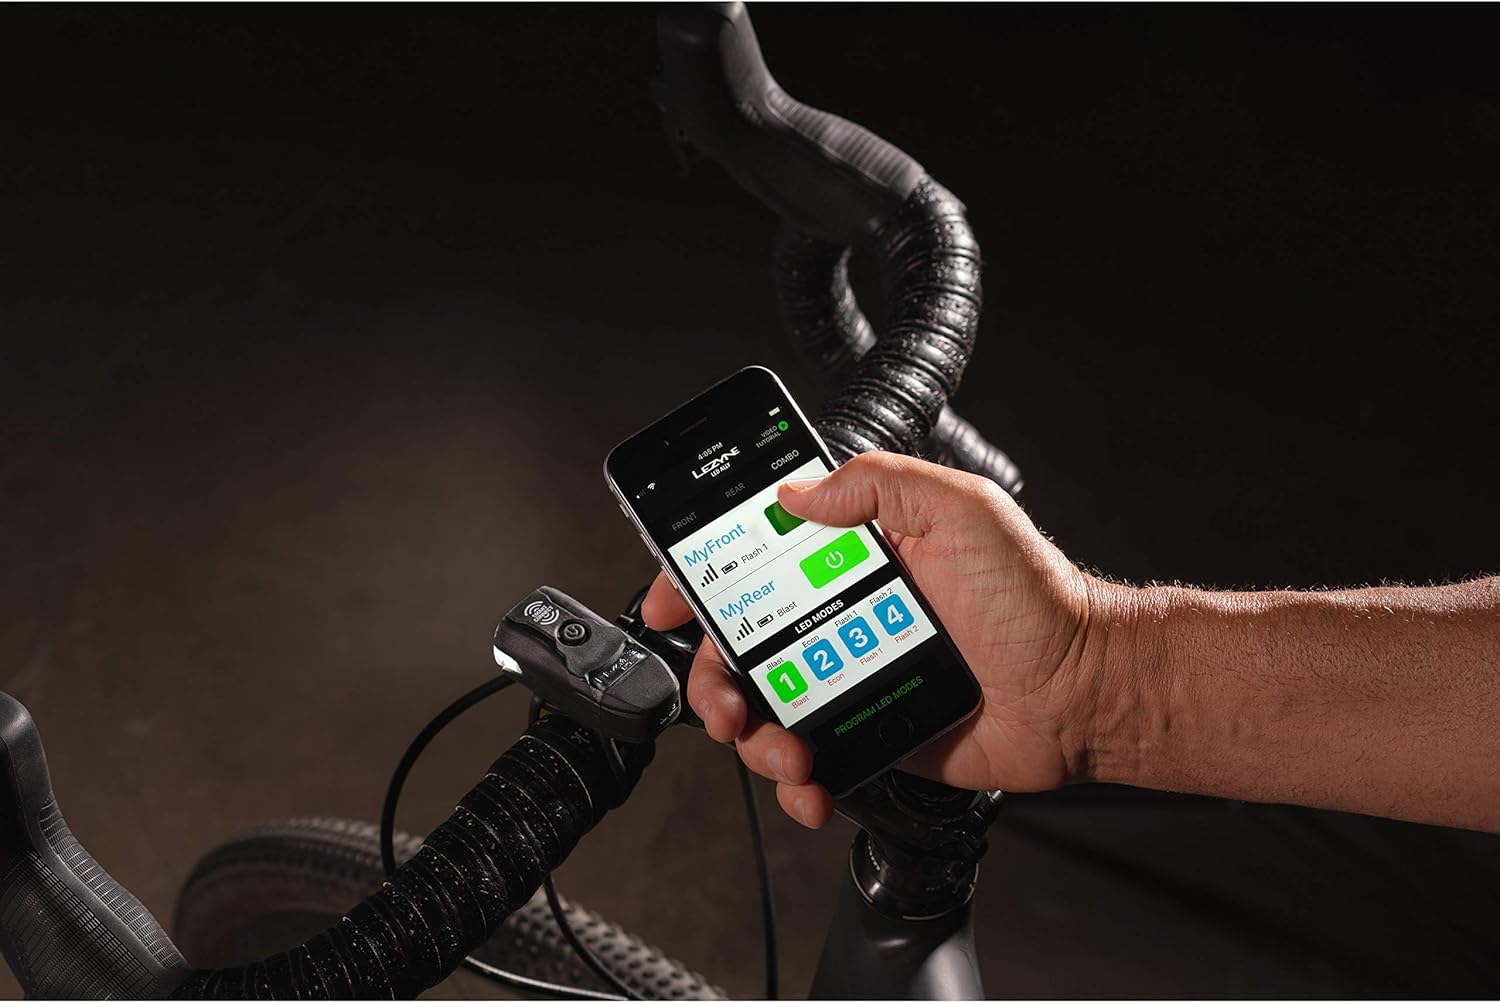
Image 3.2: KTV Pro Smart Taillight mounted on a bicycle seatpost.
3.2 Càrrega dels llums
Both the KTV Drive Headlight and KTV Pro Smart Taillight feature integrated USB charging. To charge:
- Locate the USB port on each light. This is typically protected by a rubber cover.
- Plug the integrated USB connector directly into a powered USB port (e.g., computer, wall adapter).
- The indicator light will show charging status (e.g., solid red for charging, solid green for fully charged).
- Una càrrega completa sol trigar aproximadament 2-3 hores.
3.3 Connecting with the Lezyne LED Ally App
The Smart Connect feature allows you to customize and control your lights wirelessly via the Lezyne LED Ally app.
- Download the Lezyne LED Ally app from your device's app store.
- Assegureu-vos que el Bluetooth estigui habilitat al vostre telèfon intel·ligent.
- Turn on both the KTV Drive Headlight and KTV Pro Smart Taillight.
- Open the LED Ally app and follow the on-screen instructions to pair your lights. The app will guide you through linking the front and rear lights.
- Once connected, you can customize light modes, check battery levels, and control both lights simultaneously.
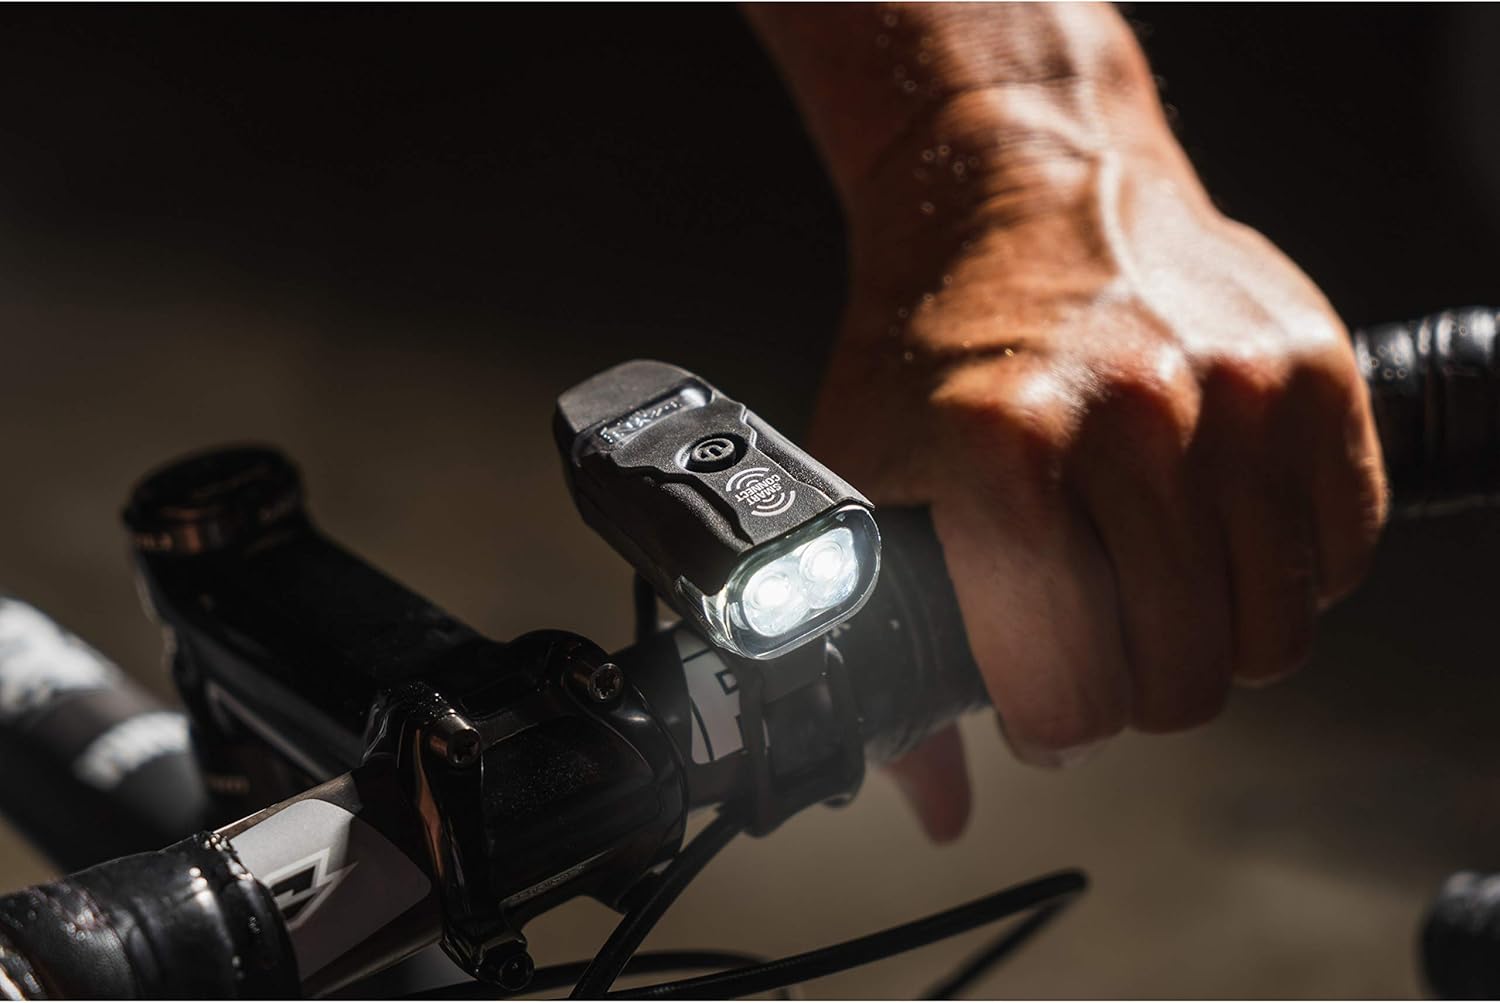
Image 3.3: Controlling lights via the Lezyne LED Ally app.
Video 3.1: Demonstration of Lezyne Smart Connect functionality and app control.
4. Funcionament
4.1 Engegada/apagada
To power on or off either light, press and hold the power button for approximately 2 seconds. The lights will illuminate or turn off accordingly.
4.2 Changing Modes
Once powered on, a quick press of the power button will cycle through the available light modes (e.g., Flash, Pulse, Solid). Due to Smart Connect technology, changing the mode on the front light will automatically synchronize the mode on the rear light if they are linked via the app.

Image 4.1: KTV Pro Smart Taillight providing rear visibility.
4.3 Indicador de bateria
The power button also functions as a battery indicator. A green light indicates a high charge, yellow indicates a medium charge, and red indicates a low charge. Recharge the lights when the indicator turns red.
Video 4.1: KTV Pro Bike Light Set demonstration of light modes and operation.
5. Manteniment
5.1 Càrrega
To maintain optimal battery performance, charge the lights regularly, especially after long rides or when the battery indicator shows a low charge.
5.2 Neteja
Clean the light bodies and lenses with a soft, damp cloth. Avoid using abrasive cleaners or solvents, as these can damage the finish or lens. Ensure the USB port cover is securely closed after charging to maintain water resistance.
5.3 Emmagatzematge
When storing the lights for extended periods, ensure they are fully charged and store them in a cool, dry place. Periodically charge them every few months to prevent deep discharge.
6. Solució De Problemes
6.1 La llum no s'encén
- Ensure the light is fully charged. Connect it to a USB power source and check the charging indicator.
- Press and hold the power button for 2 seconds to ensure it's not just a quick press.
6.2 Lights Not Connecting to App
- Verifiqueu que el Bluetooth estigui habilitat al vostre telèfon intel·ligent.
- Ensure both lights are powered on.
- Close and reopen the Lezyne LED Ally app.
- If issues persist, try unpairing and re-pairing the lights within the app settings.
6.3 Durada curta de la bateria
- Ensure the lights are fully charged before use.
- High-lumen modes consume battery faster. Consider using lower-lumen or flash modes for extended runtime.
- El rendiment de la bateria pot degradar-se amb el temps amb cicles de càrrega repetits.
7. Especificacions
| Especificació | Detall |
|---|---|
| Marca | LEZYNE |
| Número de model | 1-LED-13P-V104 |
| Color | Negre |
| Material | Polièster |
| Font d'alimentació | Funciona amb bateria |
| Nivell de resistència a l'aigua | Impermeable (IPX7) |
| Tipus de muntatge | Handlebar Mount (Front), Seatpost Mount (Rear) |
| Light Output (Front Max) | 220 lúmens |
| Light Output (Rear Max) | 10 lúmens |
| Dimensions del producte | 9 cm de llargada x 7 cm d'amplada x 3 cm d'alçada |
8. Garantia i Suport
8.1 Informació de la garantia
This product is covered by a Limited Warranty. For specific details regarding warranty coverage, duration, and terms, please refer to the warranty documentation included with your purchase or visit the official Lezyne weblloc.
8.2 Atenció al client
For technical assistance, troubleshooting, or warranty claims, please contact Lezyne customer support through their official website or the contact information provided in your product packaging. Keep your proof of purchase for warranty service.

