
Introducció
Thank you for choosing the GameMax H605 Micro ATX Gaming Tower Case. This manual provides essential information for the proper installation, operation, and maintenance of your new PC case. Please read this manual thoroughly before beginning assembly to ensure optimal performance and safety.
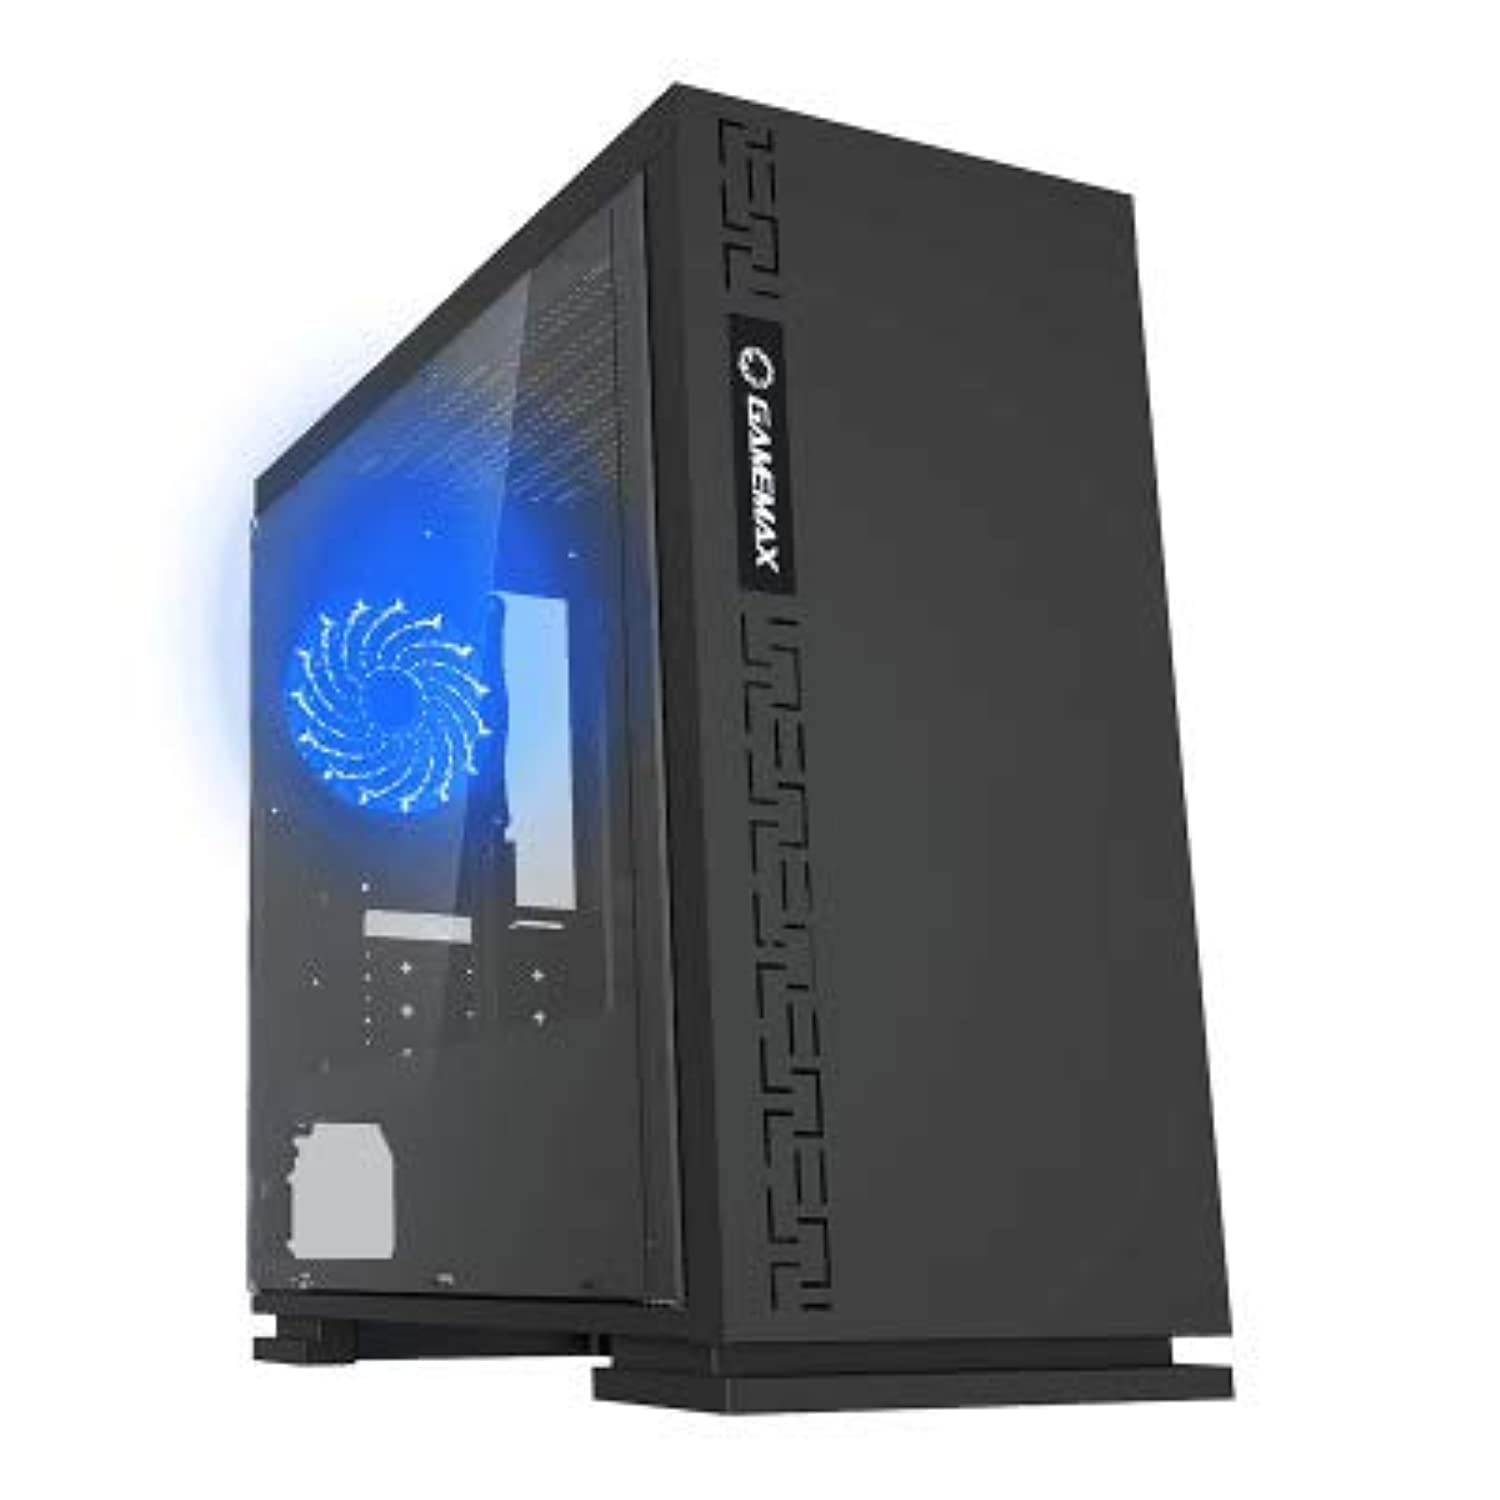
Figura 1: Frontal view of the GameMax H605 Micro ATX Gaming Tower Case, showcasinel seu disseny elegant i el seu panell frontal.
The GameMax H605 is designed for Micro ATX motherboards and features a compact yet efficient layout for gaming components. It includes one pre-installed LED fan at the rear for immediate cooling. The case is constructed from steel and plastic, offering a balance of durability and aesthetics.
Informació de seguretat
Please observe the following safety guidelines during installation and operation:
- Desconnecteu sempre l'alimentació de la presa de corrent abans d'instal·lar o treure qualsevol component.
- Porteu una polsera antiestàtica per evitar danys per descàrrega electrostàtica (ESD) als components sensibles.
- Handle components carefully to avoid physical damage.
- Mantingueu la carcassa allunyada de líquids i d'humitat excessiva.
- Assegureu-vos que hi hagi una ventilació adequada al voltant de la carcassa per evitar el sobreescalfament.
Contingut del paquet
Verify that all the following items are present in your GameMax H605 package:
- GameMax H605 Micro ATX Gaming Tower Case
- Caixa d'accessoris (cargols, separadors, brides per a cables)
- Manual d'usuari (aquest document)
If any items are missing or damaged, please contact your retailer or GameMax support.
Configuració
1. Preparació del cas
- Col·loqueu la caixa sobre una superfície plana i estable.
- Traieu els panells laterals desenroscant els cargols de la part posterior de la carcassa i fent lliscar els panells cap enrere.

Figura 2: Interior view of the GameMax H605 case with the side panel removed, showing the motherboard tray and drive bays.
2. Instal·lació de la placa base
- Instal·leu la protecció d'E/S a l'obertura posterior de la carcassa.
- Align your Micro ATX motherboard with the standoffs inside the case. Ensure the standoffs match the screw holes on your motherboard.
- Fixeu la placa base amb els cargols proporcionats.
3. Instal·lació de la unitat d'emmagatzematge
- For 3.5-inch HDDs, slide the drive into the designated drive cage bays and secure with screws if necessary.
- For 2.5-inch SSDs, mount them onto the dedicated SSD brackets or trays and secure with screws.
4. Instal·lació de la font d'alimentació
- Position the power supply unit (PSU) in the bottom rear compartment of the case.
- Secure the PSU to the case using the screws provided with your power supply.
5. Instal·lació de la targeta gràfica i la targeta d'expansió
- Traieu les cobertes de les ranures d'expansió necessàries de la part posterior de la carcassa.
- Inseriu la targeta gràfica o altres targetes d'expansió a les ranures PCIe corresponents de la placa base.
- Fixeu les targetes amb cargols.

Figura 3: posterior view of the GameMax H605 case, showing expansion slots and I/O shield opening.
6. Gestió de cables
Aprofita els retalls de cables i els punts d'amarratge que hi ha darrere de la safata de la placa base per gestionar els cables. Això millora la circulació del flux i l'estètica.
En funcionament
Once all components are installed and connected, replace the side panels and connect your peripherals (monitor, keyboard, mouse) to the motherboard's I/O ports. Connect the power cable to the PSU and a wall outlet. Press the power button on the front panel to start your system.

Figura 4: Part superior frontal view of the GameMax H605 case, highlighting the front panel I/O ports and power button.
Manteniment
Regular maintenance helps ensure the longevity and optimal performance of your PC case and components:
- Neteja de pols: Periodically clean dust from the case interior, fans, and filters using compressed air or a soft brush. Ensure the system is powered off and unplugged before cleaning.
- Comprovació de la gestió de cables: De tant en tant, comproveu el cablejat per assegurar-vos que no hi ha cables que obstrueixin el flux d'aire o el funcionament del ventilador.
- Inspecció del ventilador: Verify that all fans are spinning freely and are free from obstructions.
Resolució de problemes
Si teniu problemes amb la configuració del vostre PC, tingueu en compte els passos habituals següents per resoldre problemes:
- Sense energia: Ensure all power cables (24-pin ATX, 8-pin CPU, GPU power) are securely connected. Check if the PSU switch is in the 'ON' position.
- Sense pantalla: Verify that the monitor cable is connected to the graphics card (not the motherboard I/O) and that the monitor is powered on and set to the correct input.
- Sobreescalfament: Check fan connections and ensure they are spinning. Clean any dust buildup. Verify proper airflow within the case.
- Connexions soltes: Re-seat RAM modules, graphics card, and all power/data cables to ensure they are firmly in place.
Especificacions
| Característica | Detall |
|---|---|
| Marca | GameMax |
| Número de model de l'article | H605 BLK |
| Fabricant | GameMax |
| Sèrie | H605 BLK |
| Color | Negre |
| Plataforma de maquinari | Windows 7 |
| Piles incloses | No |
| Pes de l'article | 7.53 grams |
| Compatibilitat amb la placa base | Micro ATX |
| Tipus de cas | Torre mitja |
| Usos recomanats per al producte | Jocs |
| Material | Solid Plastic Alloy |
| Mètode de refrigeració | Water (Implies compatibility for water cooling solutions) |
| Nom del model | H605 BLK |
| Mida del ventilador | 120 mil·límetres |
| Ports USB totals | 1 |
| Data de primera disponibilitat | 9 de juliol de 2019 |
Garantia i Suport
GameMax products are designed for reliability and performance. For warranty information, please refer to the warranty card included with your purchase or visit the official GameMax website. If you require technical assistance or have questions regarding your GameMax H605 case, please contact GameMax customer support through their official channels.
Conserveu el vostre comprovant de compra per a reclamacions de garantia.