
1. Instruccions de seguretat
Si us plau, llegiu atentament aquestes instruccions de seguretat abans d'utilitzar el dispositiu. Conserveu aquest manual per a futures consultes.
- Aquest aparell només és per a ús interior.
- Do not expose the laminator to moisture or extreme temperatures.
- Assegureu-vos que el cable d'alimentació no estigui danyat i que estigui connectat correctament a una presa de corrent amb connexió a terra.
- Keep hands and loose clothing away from the feed opening and output slot during operation.
- The laminator's surface can become hot during use. Avoid direct contact.
- Unplug the device from the power outlet before cleaning or when not in use.
- Do not attempt to laminate items thicker than the specified maximum.
- Use only laminating pouches designed for laminators.
- The integrated paper trimmer contains sharp blades. Exercise caution when using and cleaning. Keep fingers clear of the cutting area.
- No permeteu que els nens facin servir el dispositiu sense supervisió.
2. Producte acabatview
The United Office A3 ULG 300 B1 is a versatile 2-in-1 device, combining a laminator for hot and cold lamination with an integrated paper trimmer. It supports documents up to A3 size.
Característiques principals:
- Hot and Cold Lamination Functionality
- Maximum Lamination Format: A3
- Adjustable Insertion Aid and Automatic Film Feed
- Rotary Switch for Film Thickness Adjustment with Instant Stop (ABS) Function
- Integrated Paper and Film Trimmer
Components:
Refer to the images below for a visual guide to the laminator's components and the integrated paper trimmer.
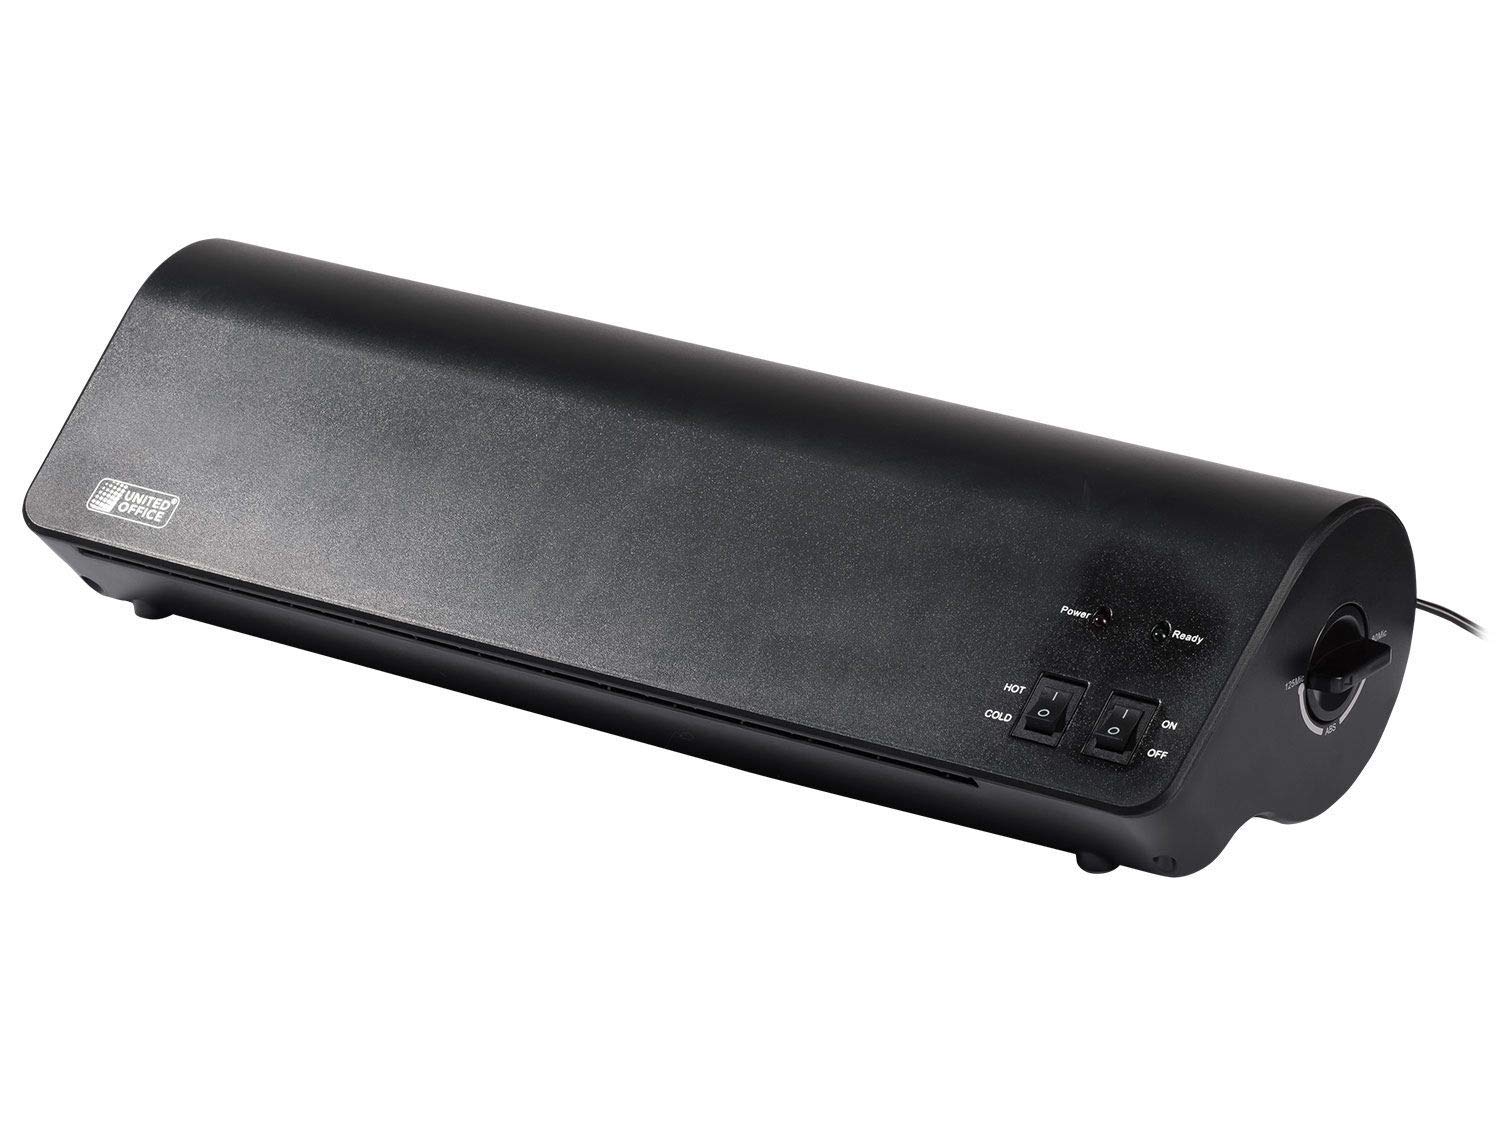
Image 1: The United Office A3 ULG 300 B1 laminator shown in operation, processing a document. This image highlights the main body of the laminator with its control panel and the document feed area.

Imatge 2: Frontal view of the United Office A3 ULG 300 B1 laminator, displaying the control panel with power, hot, and cold settings, and the film insertion slot.

Imatge 3: Primer pla view of the integrated paper and film trimmer, showing the cutting guide and blade mechanism. This component is designed for precise cutting of documents and laminated pouches.
3. Configuració
- Desembalatge: Carefully remove the laminator and all accessories from the packaging. Retain packaging for storage or transport.
- Col·locació: Place the laminator on a stable, flat, and heat-resistant surface. Ensure there is adequate space around the device for ventilation and for documents to pass through freely.
- Connexió d'alimentació: Connecteu el cable d'alimentació a una presa de corrent adequada.
- Escalfament inicial: Before first use, or after extended periods of non-use, allow the laminator to warm up for approximately 5 minutes in the 'HOT' setting without a document inserted.
4. Instruccions de funcionament
4.1 Lamination
The device supports both hot and cold lamination.
Laminació en calent:
- Encès: Connecteu el dispositiu a l'alimentació.
- Seleccioneu el mode: Set the switch to 'HOT'. The 'Power' indicator light will illuminate.
- Escalfament: Wait approximately 5 minutes for the laminator to reach operating temperature. The 'Ready' indicator light will illuminate when ready.
- Preparar el document: Place your document inside a hot laminating pouch. Ensure the document is centered and leaves a small margin around the edges.
- Ajustar el gruix: Use the rotary switch to select the appropriate film thickness (80 to 125 microns).
- Inserir bossa: Insert the sealed edge of the laminating pouch into the feed opening. Use the adjustable insertion aid to guide the pouch straight. The automatic film feed will pull the pouch through.
- Refrigeració: Once the pouch exits the output slot, place it on a flat surface to cool and harden.
Laminació en fred:
- Encès: Connecteu el dispositiu a l'alimentació.
- Seleccioneu el mode: Set the switch to 'COLD'. The 'Power' indicator light will illuminate. No warm-up time is required for cold lamination.
- Preparar el document: Use a self-adhesive cold laminating pouch (up to 200 microns). Place your document inside the pouch according to the pouch manufacturer's instructions.
- Inserir bossa: Insert the sealed edge of the cold laminating pouch into the feed opening. The automatic film feed will pull the pouch through.
Instant Stop (ABS) Function:
In case of a misfeed or jam, immediately activate the Instant Stop (ABS) function by pressing the designated button or rotating the switch to the 'ABS' position (if available on your model). This will stop the rollers and allow you to carefully pull out the pouch. Rectify the issue and re-insert the pouch correctly.
4.2 Integrated Paper Trimmer
The laminator includes a convenient integrated paper and film trimmer.
- Capacitat: The trimmer can cut a maximum of 3 sheets of 80 gsm paper or 1 laminated document at a time.
- Ús: Place the document or laminated pouch under the cutting guide. Align it carefully with the desired cutting line.
- Tall: Press down firmly on the cutting mechanism and slide the blade along the guide to make the cut.
- Precaució: The blade is sharp. Always keep fingers away from the cutting path.
5. Manteniment
- Neteja: Ensure the device is unplugged and completely cool before cleaning. Wipe the exterior with a soft, dry cloth. Do not use abrasive cleaners or solvents.
- Neteja de rodets: Periodically run a laminator cleaning sheet (available separately) through the machine to clean the rollers and remove adhesive residue.
- Emmagatzematge: When not in use, store the laminator in a dry, dust-free environment.
6. Solució De Problemes
| Problema | Causa possible | Solució |
|---|---|---|
| Laminator does not turn on. | Sense font d'alimentació. | Comproveu la connexió del cable d'alimentació i la presa de corrent. |
| Pouch jams in the laminator. | Pouch inserted incorrectly (open end first), pouch too thick, or misaligned. | Activate ABS function, carefully pull out pouch. Re-insert sealed edge first, ensure proper alignment, and verify pouch thickness. |
| Laminated document is cloudy or has bubbles. | Temperature too low (for hot lamination), incorrect pouch thickness, or document not flat. | Ensure laminator is fully warmed up. Use correct pouch thickness for the selected setting. Ensure document is flat before lamination. |
| Laminated document is wavy or curled. | Temperature too high (for hot lamination) or document not allowed to cool flat. | Allow the laminator to cool slightly if possible, or try a slightly thinner pouch. Place laminated document on a flat surface to cool. |
7. Especificacions
- Model: DIN A3 ULG 300 B1
- Tipus de laminació: Calent i Fred
- Maximum Lamination Size: A3
- Hot Lamination Thickness: 80 a 125 micres
- Cold Lamination Thickness: Fins a 200 micres
- Consum d'energia: Aproximadament 300 W
- Temps d'escalfament: Uns 5 minuts
- Paper Trimmer Capacity: Max. 3 sheets (80 gsm) or 1 laminated document
- Dimensions (paquet): 45 x 16.5 x 12.5 cm
- Pes: Aproximadament 2.12 kg
8. Garantia i Suport
This product comes with a standard manufacturer's warranty. Please refer to the warranty card included in your product packaging for specific terms and conditions.
For technical support, spare parts, or warranty claims, please contact the retailer or the manufacturer's customer service department using the contact information provided with your purchase documentation.
Always provide the model number (DIN A3 ULG 300 B1) and purchase date when seeking support.