Raijintek 0R20B00183
Manual d'usuari de la torre gran RAIJINTEK NYX PRO Showcase
Model: 0R20B00183
Introducció
This manual provides comprehensive instructions for the assembly, operation, and maintenance of your RAIJINTEK NYX PRO Showcase Big-Tower chassis. Please read this manual thoroughly before beginning installation to ensure proper setup and safe usage. This chassis is designed for high-performance PC builds, offering extensive compatibility and a unique aesthetic.
Informació de seguretat
Observeu sempre les precaucions de seguretat següents:
- Ensure all power is disconnected from components before installation or maintenance.
- Manipuleu els panells de vidre temperat amb cura per evitar que es trenquin.
- Wear anti-static wrist straps when handling sensitive electronic components.
- Mantingueu les peces petites i les eines lluny dels nens.
- Do not attempt to modify the chassis structure.
Contingut del paquet
Verifiqueu que tots els components siguin presents abans de continuar amb el muntatge:
- RAIJINTEK NYX PRO Showcase Big-Tower Chassis
- Caixa d'accessoris (cargols, separadors, brides de cable, etc.)
- Manual d'usuari (aquest document)

Image: The RAIJINTEK NYX PRO Showcase Big-Tower chassis in white, showcasing its unique open-frame design and tempered glass panels.
Especificacions
| Característica | Detall |
|---|---|
| Nom del model | NYX PRO (0R20B00183) |
| Tipus de cas | Big-Tower / Showcase |
| Material | Vidre temperat, acer |
| Color | White (Blanc) |
| Dimensions del producte (L x A x A) | 59.5 x 26.5 x 65.8 cm |
| Pes de l'article | 14.17 kg |
| Compatibilitat amb la placa base | ATX estesa, ATX, Micro-ATX, Mini-ITX |
| Mètode de refrigeració | Water, Air (supports various fan sizes up to 120mm) |
| Ús recomanat | Gaming PC Builds |
Configuració i instal·lació
Follow these steps for proper assembly of your PC components within the NYX PRO chassis.
1. Preparació del xassís
Carefully unbox the chassis and place it on a stable, flat surface. Identify the various access points and removable panels.
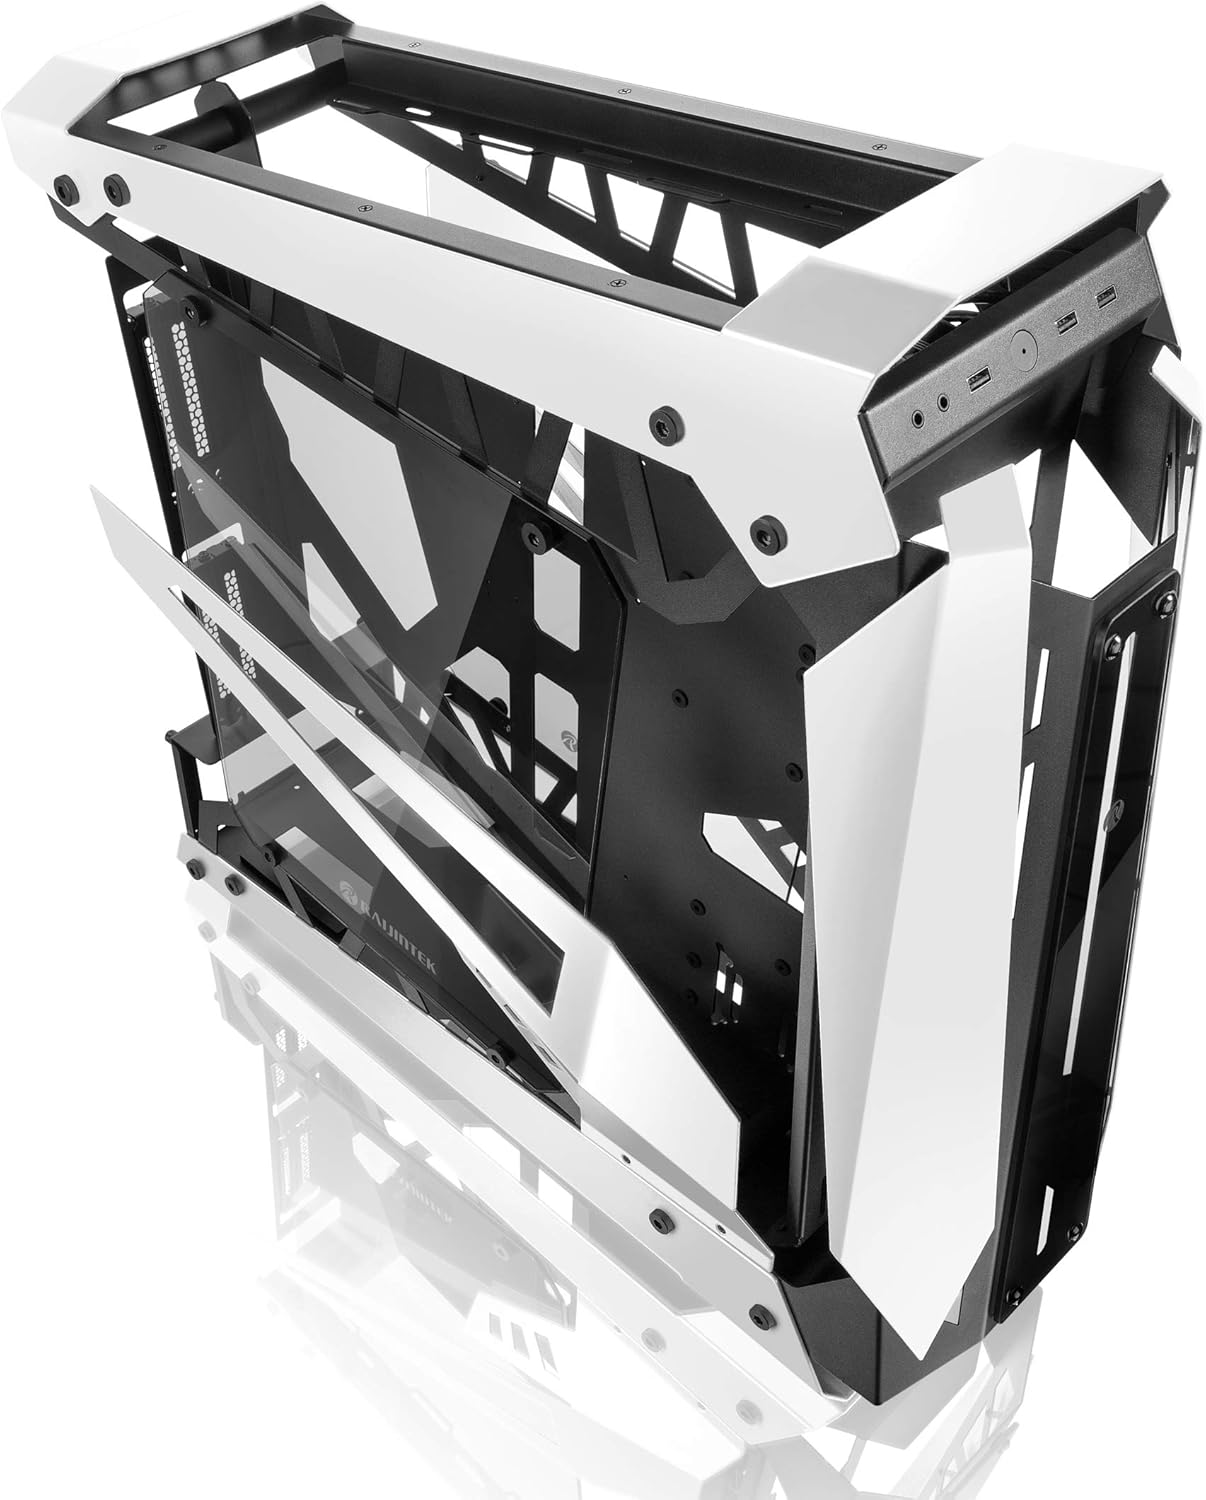
Image: The RAIJINTEK NYX PRO chassis with its top and front panels opened, revealing the internal structure and component mounting areas.
2. Instal·lació de la placa base
- Install the necessary motherboard standoffs into the motherboard tray according to your motherboard's form factor (E-ATX, ATX, Micro-ATX, Mini-ITX).
- Carefully place the motherboard onto the standoffs, aligning the screw holes.
- Fixeu la placa base amb els cargols proporcionats.

Imatge: Una imatge interna view of the RAIJINTEK NYX PRO chassis, showing the spacious interior for motherboard and component installation.
3. Instal·lació de la font d'alimentació (PSU)
Locate the PSU mounting area, typically at the rear or bottom of the chassis. Secure the PSU with screws.
4. Instal·lació de la unitat d'emmagatzematge
The NYX PRO supports multiple storage drives. Identify the 2.5" and 3.5" drive bays and secure your SSDs/HDDs using the provided mounting hardware.
5. Instal·lació de la targeta gràfica (GPU)
Insert your graphics card into the appropriate PCIe slot on the motherboard. Secure it with the retention mechanism and screws. Note the vertical GPU mounting option for showcase builds.

Image: The RAIJINTEK NYX PRO chassis showcasing installed components with RGB lighting, highlighting the open design and visibility of internal parts.
6. Cooling System Installation (Fans/Radiators)
Install case fans or liquid cooling radiators in the designated mounting points. Ensure proper airflow direction for optimal cooling.
7. Gestió de cables
Utilize the cable routing cutouts and tie-down points to manage cables neatly. This improves airflow and aesthetics.

Imatge: Un costat view of the RAIJINTEK NYX PRO chassis, emphasizing its angular design and the large tempered glass side panel.
8. Connexions d'E/S frontals
Connect the front panel USB, audio, power, and reset headers to the corresponding pins on your motherboard.
Instruccions de funcionament
Un cop instal·lats i fixats tots els components, i connectats tots els cables:
- Connecteu el monitor, el teclat, el ratolí i altres perifèrics als ports corresponents de la placa base i la targeta gràfica.
- Connecteu el cable d'alimentació a la font d'alimentació i a una presa de corrent.
- Gireu l'interruptor d'alimentació de la font d'alimentació a la posició "ON".
- Press the power button on the front panel of the chassis to power on your system.

Imatge: Un primer pla view of the front I/O ports on the RAIJINTEK NYX PRO chassis, including USB and audio jacks.
Manteniment
Regular maintenance helps ensure the longevity and optimal performance of your PC and chassis.
- Neteja de pols: Periodically clean dust filters and internal components using compressed air or a soft brush. Ensure the system is powered off and unplugged before cleaning.
- Cura del vidre temperat: Clean tempered glass panels with a soft, lint-free cloth and a non-abrasive glass cleaner. Avoid harsh chemicals.
- Comprovació de la gestió de cables: De tant en tant, comproveu el cablejat per assegurar-vos que no hi ha cables que obstrueixin el flux d'aire ni les aspes del ventilador.
Resolució de problemes
Si teniu problemes, tingueu en compte els passos habituals següents per resoldre'ls:
- El sistema no s'encén:
- Check if the PSU switch is in the "ON" position.
- Assegureu-vos que el cable d'alimentació estigui connectat correctament tant a la font d'alimentació com a la presa de corrent.
- Verifiqueu que el capçal del botó d'engegada del panell frontal estigui connectat correctament a la placa base.
- Confirm all internal power cables (24-pin ATX, CPU, GPU) are firmly seated.
- Sense sortida de pantalla:
- Ensure your monitor is connected to the graphics card (not the motherboard's integrated graphics, unless you are using integrated graphics).
- Torneu a col·locar la targeta gràfica a la ranura PCIe.
- Check monitor input selection.
- Sobreescalfament:
- Ensure all case fans are spinning and oriented correctly for airflow.
- Clean dust from fans and radiators.
- Verifiqueu que el refrigerador de la CPU estigui correctament col·locat i que faci bon contacte amb la CPU.
Garantia i Suport
For warranty information and technical support, please refer to the official Raijintek weblloc web o poseu-vos en contacte amb el seu departament d'atenció al client. Conserveu el comprovant de compra per a reclamacions de garantia.
Official Raijintek Weblloc: www.rajjintek.com