
1. Introducció
This manual provides comprehensive instructions for the installation, operation, and maintenance of your ErGear Single Monitor Mount, Model EGSS7. This monitor arm is designed to enhance your workspace ergonomics by providing adjustable positioning for a single monitor. Please read this manual thoroughly before installation and retain it for future reference.

Image 1.1: The ErGear Single Monitor Arm (Model EGSS7) in a typical office setup.
2. Informació de seguretat
Si us plau, observeu les següents precaucions de seguretat per evitar lesions o danys al vostre equip:
- No supereu la capacitat màxima de pes de 14.3 lliures (6.5 kg).
- Ensure your monitor is between 17 and 27 inches in size.
- Verify that your monitor is VESA compatible (75x75mm or 100x100mm).
- Install the mount on a sturdy desk surface that can support the combined weight of the mount and your monitor.
- Follow all installation steps carefully. Improper installation may result in equipment damage or personal injury.
- Mantingueu les peces petites allunyades dels nens.
3. Contingut del paquet
Before proceeding with installation, please ensure all components are present and undamaged. Refer to the included parts list for detailed identification.
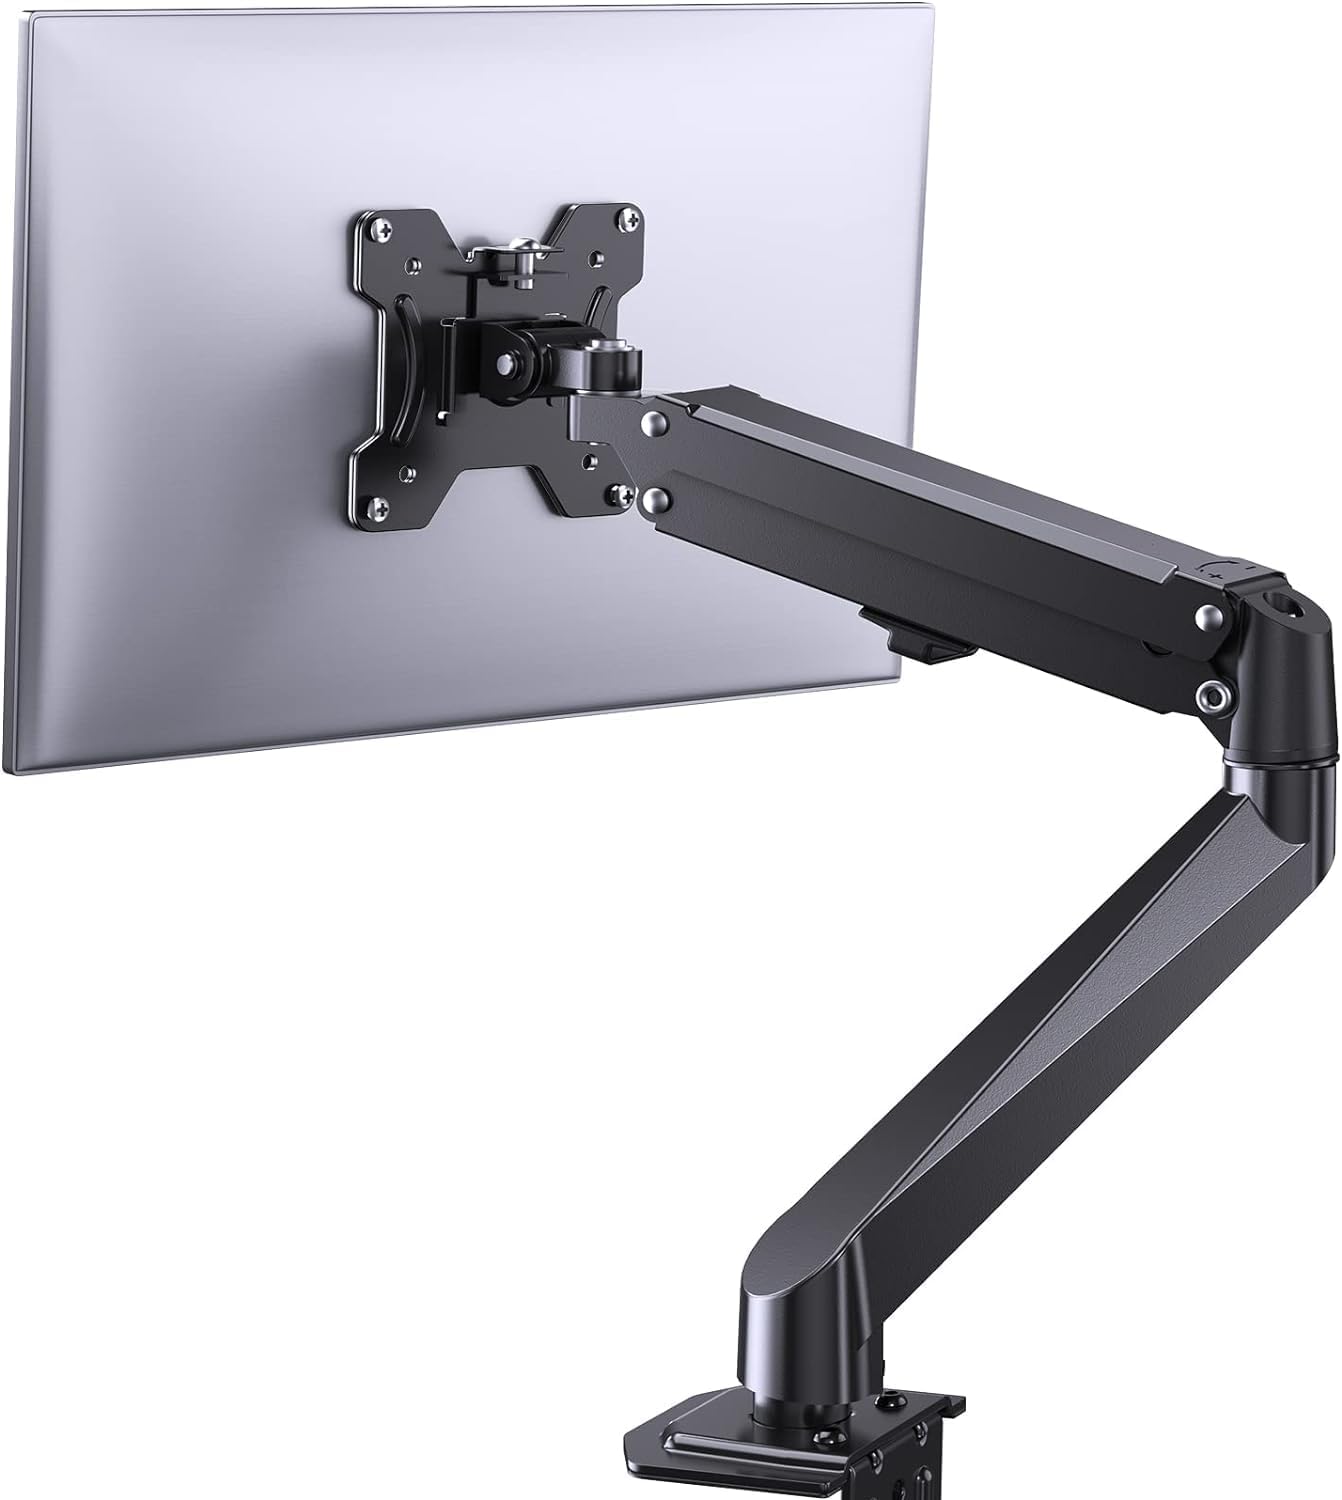
Imatge 3.1: acabatview of the ErGear Single Monitor Mount components.
4. Especificacions
| Característica | Especificació |
|---|---|
| Marca | Ergear |
| Model | EGSS7 |
| Mida de monitor compatible | 17 - 27 polzades |
| Capacitat de pes | Fins a 14.3 lliures (6.5 kg) |
| Compatibilitat VESA | 75x75mm, 100x100mm |
| Tipus de muntatge | C-clamp o Grommet |
| Material | Acer d'aliatge |
| Color | Negre |
| Interval d'inclinació | -35° a +50° |
| Gamma giratòria | -90° a +90° |
| Rotació | 360° |
| Dimensions del producte | 41.2 x 30.4 x 10 cm |

Image 4.1: Monitor size and weight capacity details.
5. Instruccions de configuració
The ErGear Single Monitor Mount offers two installation options: C-clamp or Grommet mounting. Choose the option best suited for your desk.

Image 5.1: C-clamp and Grommet mounting options with desk thickness ranges.
5.1 C-Clamp Instal·lació
- Enganxeu el C-clamp to the base of the monitor arm.
- Posicioneu el C-clamp on the edge of your desk. Ensure the desk thickness is between 0.4 and 3.3 inches.
- Apretar el clamp securely using the provided knob until the mount is stable.
5.2 Instal·lació de l'olla de seguretat
- If your desk has a grommet hole, insert the grommet bolt through the base of the monitor arm and the desk hole. Ensure the desk thickness is between 0.4 and 3.1 inches.
- Secure the mount from underneath the desk using the provided plate and nut.
5.3 Connectar el monitor
- Carefully attach your VESA-compatible monitor to the VESA plate on the arm using the appropriate screws.
- Ensure the screws are tightened firmly but do not overtighten.
5.4 Ajust de la tensió
The gas spring arm requires tension adjustment to properly support your monitor's weight. Use the included Allen key to adjust the tension screw located on the arm. Turn clockwise to increase tension for heavier monitors, and counter-clockwise to decrease tension for lighter monitors. Adjust until the monitor stays in position when moved.

Imatge 5.2: Interna view of the flexible gas spring arm.
6. Instruccions de funcionament
Once installed, your ErGear monitor mount allows for flexible positioning of your monitor.
6.1 Ajust de la posició del monitor
- Ajust d'alçada: Gently push or pull the monitor to the desired height. The gas spring mechanism will hold it in place.
- Inclinació: The monitor can be tilted from -35° to +50° to reduce glare and optimize viewangles d'ajust.
- Girar: Swivel the monitor from -90° to +90° for collaborative work or to view content from different angles.
- Rotació: Gireu el monitor 360° per canviar entre les orientacions horitzontal i vertical.

Image 6.1: Monitor height adjustment.

Image 6.2: Full motion range capabilities of the monitor arm.
6.2 Gestió de cables
The monitor arm features an integrated cable management system to keep your workspace tidy. Route your monitor cables through the designated channels on the arm to conceal them.

Image 6.3: Integrated cable management system.
7. Manteniment
Un manteniment regular garanteix la longevitat i el rendiment òptim del suport del monitor.
- Reviseu periòdicament tots els cargols i connexions per assegurar-vos que estiguin ben ajustats.
- Netegeu la superfície de la muntura amb un drap suau iamp tela. Eviteu els netejadors abrasius.
- Re-adjust the gas spring tension if your monitor feels too loose or too stiff when moving.
8. Solució De Problemes
| Problema | Causa possible | Solució |
|---|---|---|
| El monitor s'enfonsa o no es manté en posició. | Gas spring tension is too low. | Increase gas spring tension using the Allen key (clockwise). |
| Monitor is difficult to move. | La tensió de la molla de gas és massa alta. | Decrease gas spring tension using the Allen key (counter-clockwise). |
| La muntura sembla inestable. | C-clamp or grommet connection is loose. | Apretar el C-clamp knob or grommet nut. |
| El monitor no encaixa amb la placa VESA. | Patró VESA incorrecte. | Ensure your monitor has a 75x75mm or 100x100mm VESA pattern. |
9. Garantia i Suport
For warranty information or technical support, please refer to the contact details provided with your purchase or visit the official ErGear website. Please have your model number (EGSS7) and purchase date available when contacting support.