
1. Introducció
The ONVIS C3 is an indoor security camera designed for smart home surveillance. It integrates with Apple HomeKit Secure Video, offering 1080P video recording, dual-band Wi-Fi connectivity (2.4GHz and 5GHz), night vision, two-way audio, and local storage options. This manual provides instructions for setting up, operating, and maintaining your ONVIS C3 camera.

Image 1.1: The ONVIS C3 camera with icons illustrating key features such as HomeKit Secure Video, iCloud Storage, 4 Seconds Pre-recording, High Definition Video, Rich Notifications, Privacy, Intelligence, Two-way audio, Scene & Home Automation, and Easy Setup.
2. Contingut del paquet
Si us plau, verifiqueu que tots els elements siguin presents al paquet:
- ONVIS C3 Indoor Security Camera
- Adaptador d'alimentació
- Cable USB
- Mounting Accessories (screws, wall anchors)
- Manual d'usuari
3. Configuració
3.1 Encès
- Connect the USB cable to the ONVIS C3 camera and the power adapter.
- Connecteu l'adaptador d'alimentació a una presa de corrent estàndard.
- Wait for the camera's indicator light to show it is ready for pairing (refer to the indicator light section for specific status).
3.2 Instal·lació i emparellament de l'aplicació
- Download the latest version of the Apple Home app from the App Store on your iOS device.
- Open the Home app and tap the "+" icon to add an accessory.
- Select "Add Accessory" and scan the HomeKit setup code located on the camera or in the manual.
- Follow the on-screen instructions to complete the pairing process, including assigning the camera to a room and naming it.
- Ensure your Wi-Fi network is active and within range. The camera supports dual-band Wi-Fi (2.4GHz and 5GHz).
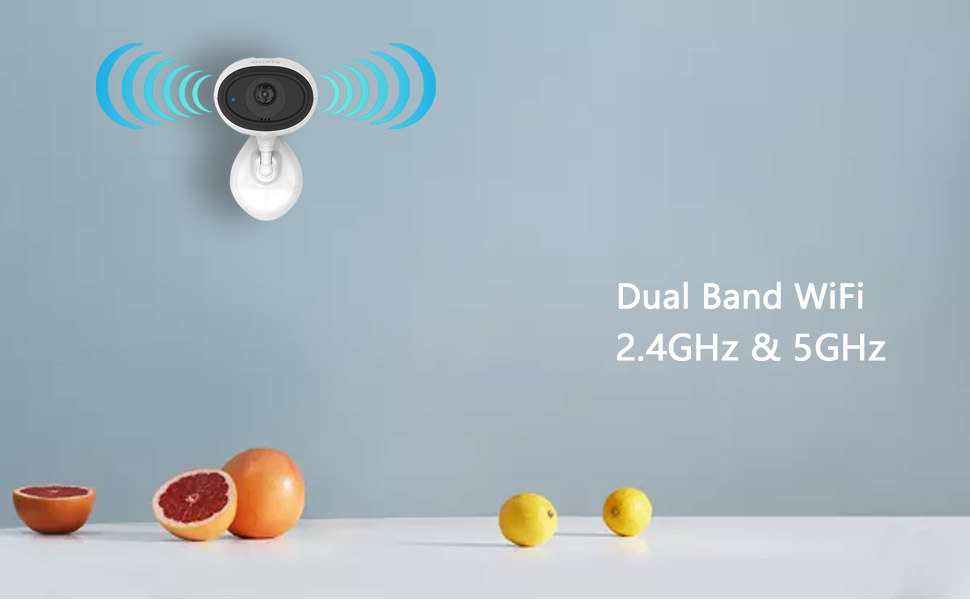
Image 3.1: Illustration of dual-band Wi-Fi support (2.4GHz and 5GHz) for reliable connectivity.
3.3 Muntatge de la càmera
The ONVIS C3 camera can be placed on a flat surface or mounted to a wall or ceiling.
- Col·locació de la taula: Place the camera on a stable, flat surface in your desired monitoring area.
- Muntatge de paret/sostre: Use the provided mounting accessories to secure the camera. Ensure the mounting location provides a clear view i està dins de l'abast del Wi-Fi.
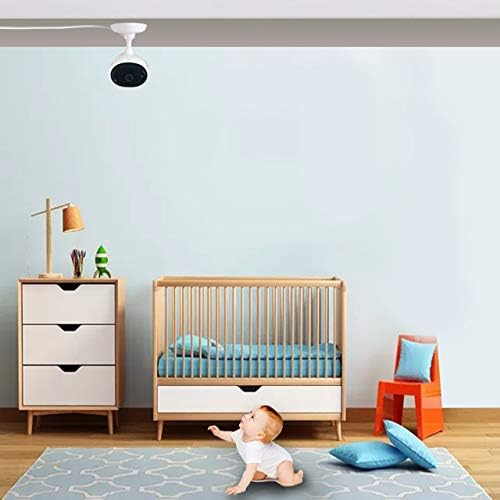
Image 3.2: The ONVIS C3 camera is shown mounted on a ceiling, providing a wide view of a nursery room.
4. Funcionament de la càmera
4.1 Transmissió en directe
Access live video feeds from your ONVIS C3 camera through the Apple Home app on your iPhone, iPad, or Apple Watch. The camera supports up to two simultaneous live streams.

Image 4.1: A user viewing live camera footage on both an iPhone and an Apple Watch, demonstrating multi-device access.
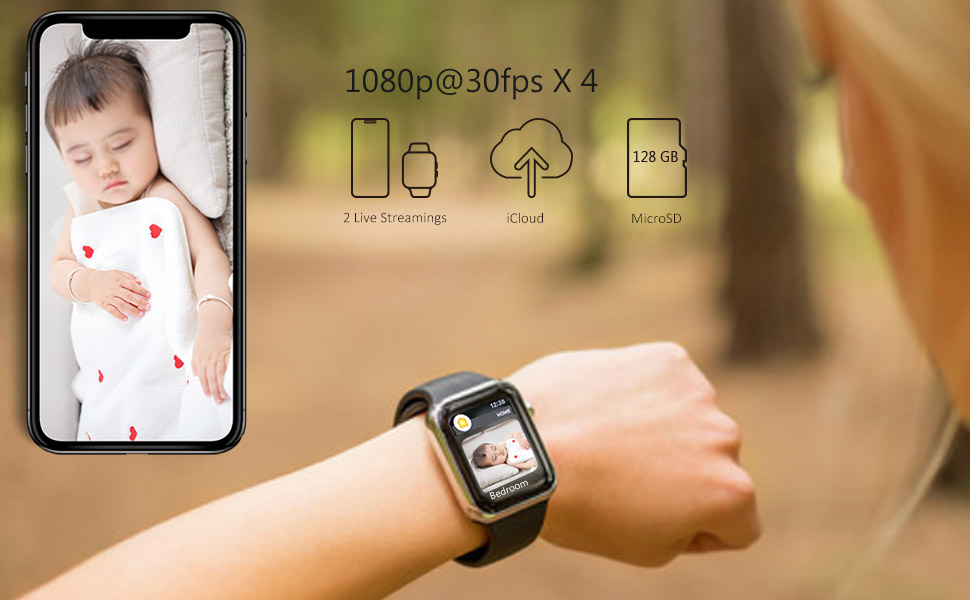
Image 4.2: A visual representation of the live streaming interface within the Home app, displaying the camera's view.
4.2 HomeKit Secure Video and iCloud Recording
The ONVIS C3 camera supports Apple HomeKit Secure Video, allowing for secure recording and storage of video footage in iCloud. This feature provides end-to-end encryption for your privacy.
- Video recordings are stored in your iCloud account, not counted against your iCloud storage plan for eligible tiers.
- Access recorded video history and live feeds securely through the Home app.

Image 4.3: The HomeKit Secure Video feature, highlighting its integration with iCloud for secure video storage.

Image 4.4: An icon representing iCloud privacy, emphasizing the secure nature of video storage.
4.3 Gravació local
The ONVIS C3 supports local recording to a MicroSD card (up to 128GB, not included). This provides an alternative or supplementary recording option without monthly fees.
- Localitza la ranura per a targetes MicroSD a la càmera.
- Insert a compatible MicroSD card into the slot until it clicks into place.
- The camera will automatically begin recording to the MicroSD card based on your settings in the Home app.

Image 4.5: The ONVIS C3 camera highlighting the benefits of local storage, including no monthly fees and secure recording to a 128GB MicroSD card.
4.4 Qualitat i característiques del vídeo
- 1080P HDR Video: The camera records in 1080p resolution at 30 frames per second, with High Dynamic Range (HDR) for improved image clarity in varying light conditions.
- Visió nocturna: Equipped with night vision capabilities, the camera provides clear video footagi fins i tot en ambients amb poca llum o foscos.
- Xerrada bidireccional: Use the built-in microphone and speaker to communicate with individuals near the camera through the Home app.
- Detecció de moviment: The camera features a motion sensor that triggers recording and sends notifications when activity is detected. It also supports 4-second pre-recording before a detected event.
- Flip vídeo: If the camera is mounted upside down, you can adjust the video orientation in the Home app settings.

Image 4.6: An icon representing HDR (High Dynamic Range) technology for enhanced video quality.

Image 4.7: An icon illustrating the two-way audio feature, enabling communication through the camera.
4.5 HomeKit Automation
Integrate your ONVIS C3 camera with other HomeKit accessories to create custom automations. For example, you can set lights to turn on when motion is detected by the camera.

Image 4.8: An icon representing HomeKit automation, showing how the camera can trigger other smart home devices.
4.6 Funció finalview Vídeo
Video 4.1: An official product video from Onvis Direct demonstrating various features of the ONVIS C3 camera, including HomeKit Secure Video, iCloud integration, live streaming on multiple devices, dual-band Wi-Fi, playback, HDR, night vision, flip video, 4-second prerecording, motion detection, automation, and local storage via MicroSD card.
5. Manteniment
- Neteja: Feu servir un drap suau i sec per netejar la lent i el cos de la càmera. Eviteu productes de neteja o dissolvents abrasius.
- Actualitzacions de firmware: Regularly check for and install firmware updates through the Apple Home app to ensure optimal performance and security.
- Col·locació: Assegureu-vos que la càmera estigui col·locada en un lloc estable, allunyat de la llum solar directa, de fonts de calor i de la humitat.
6. Solució De Problemes
6.1 La càmera no es connecta a la Wi-Fi
- Ensure your Wi-Fi network is 2.4GHz or 5GHz and within range.
- Comproveu si la contrasenya del Wi-Fi introduïda és correcta.
- Reinicieu el router Wi-Fi i la càmera.
- If issues persist, try resetting the camera to factory settings (refer to the reset procedure in the manual) and re-pairing it.
6.2 Sense canal de vídeo
- Verify the camera is powered on and the indicator light is showing normal operation.
- Comproveu la vostra connexió a Internet.
- Ensure the Home app has permission to access your local network and cellular data (if applicable).
6.3 La detecció de moviment no funciona
- Check the motion detection settings in the Home app to ensure it is enabled and configured correctly.
- Assegureu-vos que no hi hagi obstacles que bloquegin la càmera view or the motion sensor.
7. Especificacions
| Característica | Especificació |
|---|---|
| Número de model | C3 |
| Resolució de vídeo | 1080p (1920x1080) |
| Velocitat de fotogrames | 30 fps |
| Connectivitat | Wi-Fi (2.4 GHz i 5 GHz) |
| Visió nocturna | Yes (Night Color) |
| Àudio | Xerrada bidireccional |
| Opcions d'emmagatzematge | iCloud Recording (HomeKit Secure Video), Local MicroSD (up to 128GB) |
| Sensor de moviment | Sí |
| Font d'alimentació | AC/DC Adapter (240 Volts, 5 Watts) |
| Ús interior/exterior | Interior |
| Dimensions | 6.3 x 5.91 x 3.54 polzades |
| Pes | 0.12 quilos |
| Mètode de control | App (Apple Home app) |
| Classificació impermeable | IP65 (Note: While rated IP65, this camera is specified for indoor use.) |
8. Garantia i Suport
For warranty information and technical support, please refer to the official ONVIS weblloc web o contacteu directament amb el seu servei d'atenció al client. Normalment, els detalls es proporcionen a l'embalatge del producte o en una targeta de garantia independent.