
1. Instruccions de seguretat importants
Please read all instructions carefully before installation and use. Retain this manual for future reference. Failure to follow these instructions may result in electric shock, fire, or other hazards.
- ADVERTIMENT: Risc de descàrrega elèctrica. Desconnecteu l'alimentació al fusible o al disjuntor abans de la instal·lació o el manteniment.
- La instal·lació ha de ser realitzada per un electricista qualificat d'acord amb les normes elèctriques nacionals i locals.
- Ensure the product is suitable for the intended application.
- Do not use with dimmers unless explicitly stated in the wiring diagrams.
- This emergency driver is UL Listed, ensuring compliance with safety standards for commercial environments.
- Do not attempt to open or modify the unit. There are no user-serviceable parts inside.
2. Producte acabatview
The LEONLITE 4W LED Emergency Driver is designed to provide backup power to compatible LED fixtures during power outages. It features a rechargeable battery that ensures continuous illumination for at least 90 minutes after a power interruption, once fully charged for 24 hours. This driver is suitable for commercial applications such as offices, schools, and hospitals.
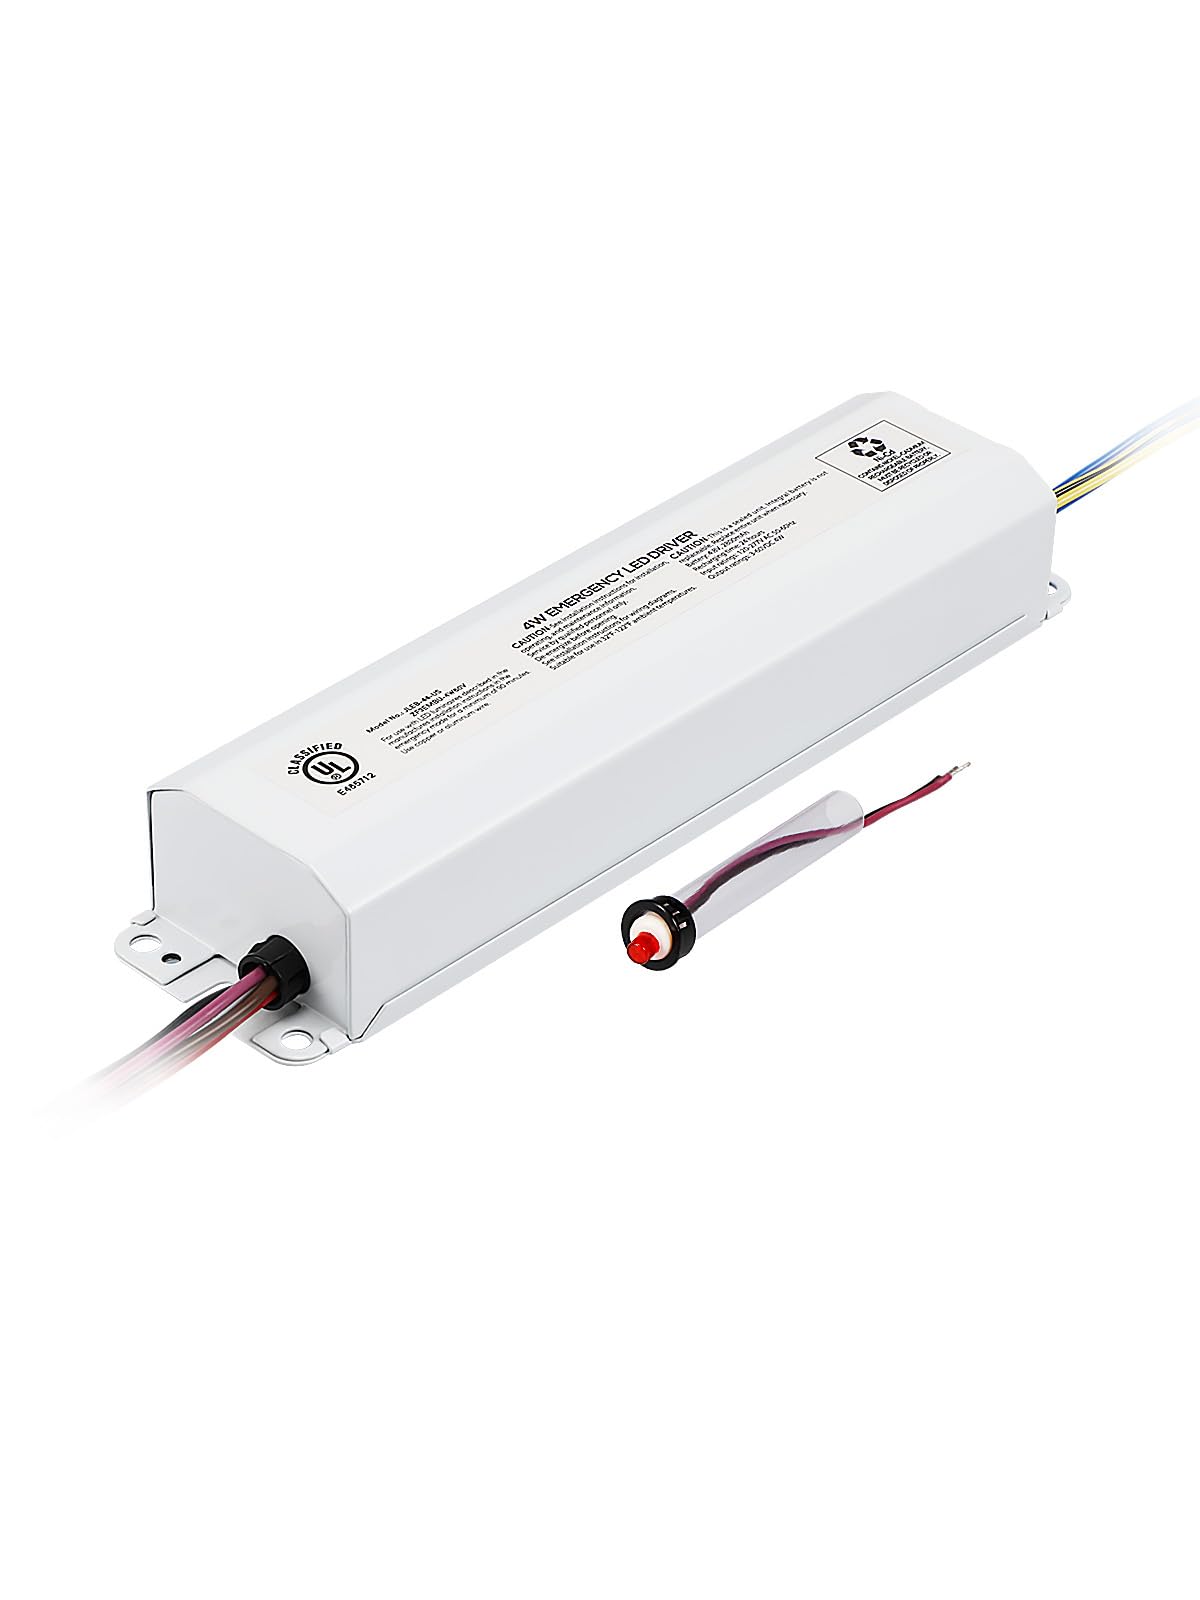
Image 2.1: The LEONLITE 4W LED Emergency Driver.
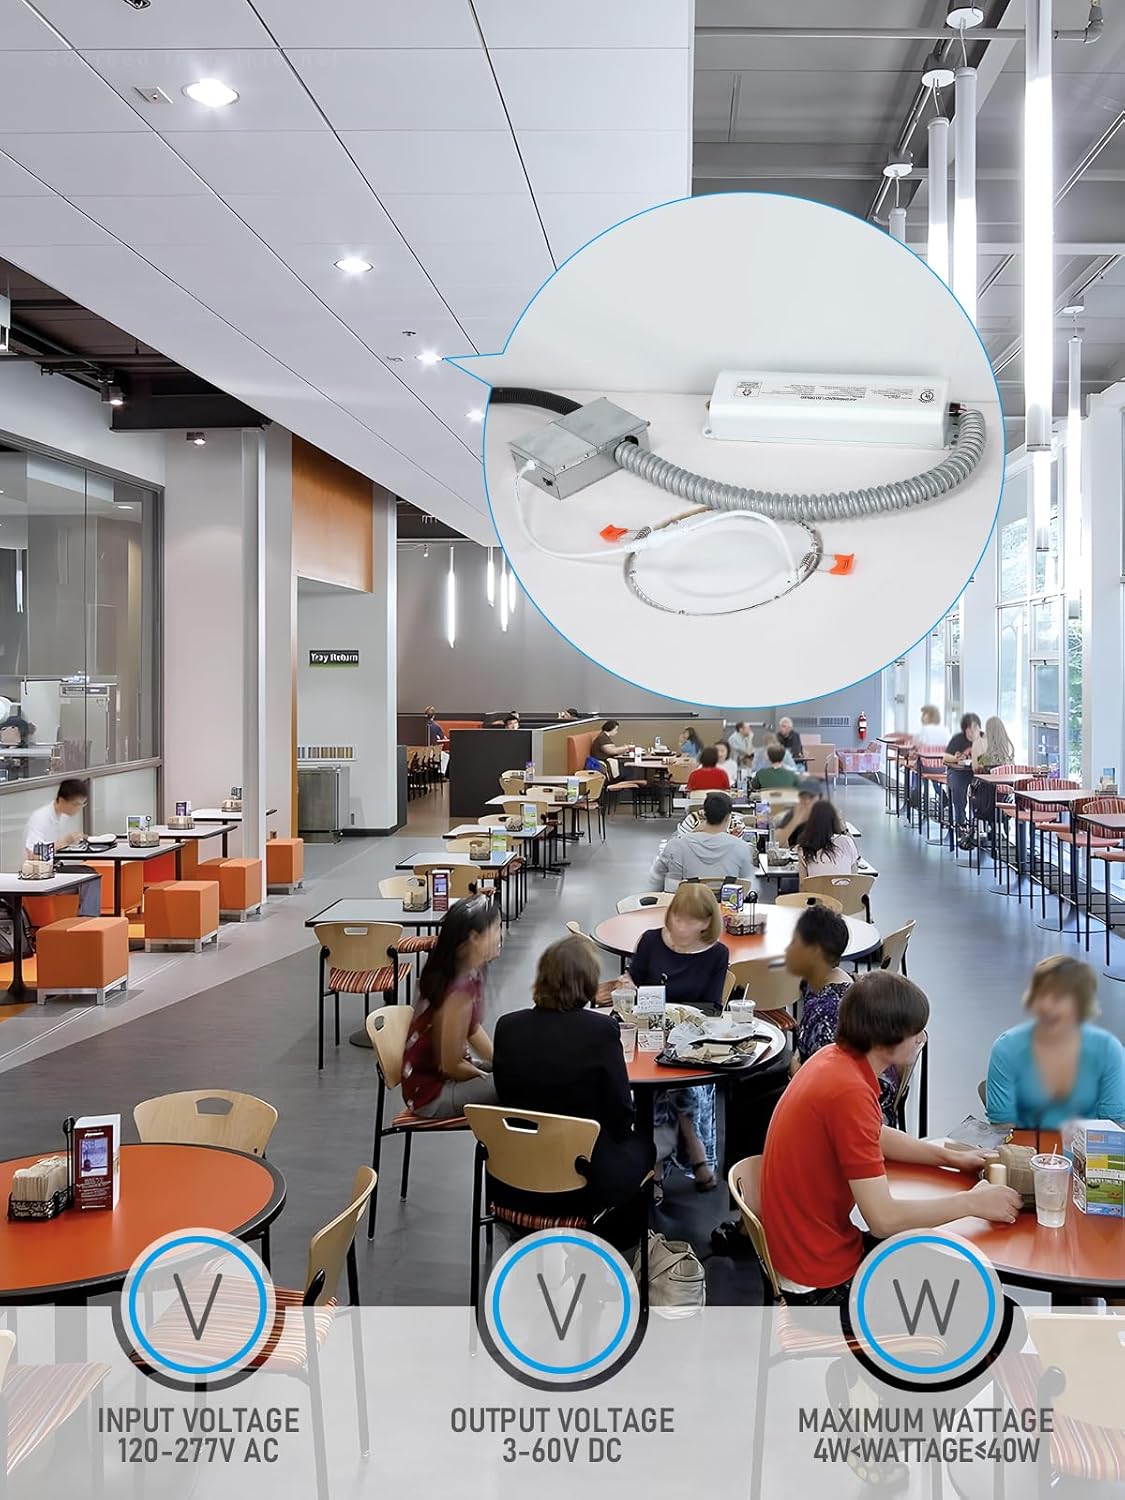
Image 2.2: Application example of the emergency driver in a commercial setting, highlighting input voltage (120-277V AC), output voltage (3-60V DC), and maximum wattage (4W < Wattage ≤ 40W).

Image 2.3: The emergency driver installed in an office environment, emphasizing its UL Listed certification, 2-year warranty, and suitability for damp ubicacions.
3. Contingut del paquet
Verifiqueu que tots els components siguin presents abans de començar la instal·lació:
- LEONLITE 4W LED Emergency Driver Unit
- Test Switch with Indicator Light
- Filferro
- Cargols de muntatge
- Cable Gland/Strain Relief

Imatge 3.1: Tots els elements inclosos al paquet del producte.
4. Especificacions
| Marca | LEONITA |
| Número de model | 90414 |
| Wattage | 4 watts |
| Entrada Voltage | 120V-277V AC |
| Vol. De sortidatage | 3-60V DC |
| Potència màxima de fixaciótage | 4W - 40W |
| Durada de l'emergència | 90 minutes (after 24 hours charging) |
| Certificacions | Llistat UL |
| Dimensions (L x A x A) | 9.37 x 2.36 x 1.46 polzades (238 x 60 x 37.2 mm) |
| Material | Metal (Housing) |

Image 4.1: Detailed dimensions of the emergency driver unit.
5. Instruccions d'instal·lació
This emergency driver is designed for easy integration with compatible LED fixtures (4W-40W), including recessed downlights, panel lights, and troffer lights with external drivers. It is no compatible with T8 Tube lamps with internal drivers.
5.1 Preinstal·lació
- IMPORTANT: Ensure power is OFF at the circuit breaker before starting any installation work.
- Verify that the LED fixture you intend to use is compatible with the emergency driver's specifications.
- The emergency driver requires sufficient space for mounting inside the lamp body or in the ceiling.

Image 5.1: The emergency driver connected to a recessed light, illustrating the ease of installation without requiring fixture disassembly.
5.2 Esquemes de cablejat
Refer to the following diagrams for correct wiring based on your LED driver type. Always ensure secure connections using wire nuts.

Image 5.2: Comprehensive wiring diagrams for various LED driver configurations: non-dimmable, 0-10V dimmable, and Triac dimmable. Follow the color-coded connections carefully.
5.3 Passos d'instal·lació (generals)
- Desconnecteu l'alimentació de l'aparell a l'interruptor.
- Mount the emergency driver unit securely within the fixture housing or an accessible junction box.
- Connect the AC input wires (Black and White) from the emergency driver to the unswitched AC power supply (120-277V AC).
- Connect the output wires (Red and White) from the emergency driver to the LED load (fixture).
- Connect the LED driver's output to the LED load as per the specific wiring diagram (Image 5.2).
- Install the test switch and indicator light in an accessible location. Connect its wires (Violet and Brown) to the corresponding wires from the emergency driver.
- Assegureu-vos que totes les connexions estiguin ben ajustades i correctament aïllades.
- Restore power and test the emergency function.
5.4 Guia de vídeo d'instal·lació
Watch this video for a visual guide on installing the LED Emergency Driver:
Video 5.1: A detailed video demonstrating the wiring and installation process for the LED Emergency Driver.
6. Funcionament
6.1 Càrrega inicial
Upon initial installation, allow the emergency driver to charge for at least 24 hours to ensure the backup battery is fully charged. This will enable the unit to provide its full 90-minute emergency duration.
6.2 Mode d'emergència
When AC power to the fixture is interrupted, the emergency driver will automatically switch to emergency mode, providing 4W of illumination to the connected LED fixture for a minimum of 90 minutes.
6.3 Test Switch
The included test switch allows for manual testing of the emergency function. Pressing the test button will simulate a power outage, activating the emergency mode. The indicator light on the test switch will illuminate when the unit is in emergency mode or charging.
Vídeo 6.1: Un breu resumview of the 4W LED Emergency Driver's features, including its 90-minute illumination capability and application in various settings.
7. Manteniment
Regular maintenance ensures optimal performance and longevity of your emergency driver.
- Prova mensual: Conduct a monthly test by pressing the test switch for 30 seconds to ensure the emergency light activates.
- Prova anual: Perform an annual 90-minute discharge test. Disconnect AC power to the unit and allow it to operate in emergency mode for 90 minutes. The fixture should remain illuminated for the entire duration. Reconnect AC power and allow 24 hours for recharging.
- Neteja: Mantingueu la unitat neta i lliure de pols. Feu servir un drap sec i suau per netejar-la.
- Substitució de la bateria: The internal battery is designed for a long lifespan. If the unit fails to meet the 90-minute discharge test after a full 24-hour charge, the battery may need replacement. Contact customer support for assistance.
8. Solució De Problemes
| Problema | Causa possible | Solució |
|---|---|---|
| Emergency light does not turn on during power outage. | Battery not charged; Incorrect wiring; Faulty unit. | Allow 24 hours for initial charge. Check all wiring connections against diagrams. If problem persists, contact customer support. |
| Emergency light flickers or does not light during emergency. | Incompatible LED fixture/driver; Low battery charge. | Ensure the connected LED fixture is within the 4W-40W range and compatible. Allow 24 hours for battery to fully charge. |
| La llum indicadora està apagada. | No AC power; Faulty indicator light; Battery fully discharged. | Check AC power supply. Ensure test switch is properly connected. Allow unit to charge. |
9. Garantia i Suport
This LEONLITE 4W LED Emergency Driver comes with a 2 any de garantia from the date of purchase, covering defects in materials and workmanship. This warranty protects your rights and benefits as a customer.
For technical support, warranty claims, or any questions regarding the product, please contact LEONLITE customer service through the retailer where the product was purchased or visit the official LEONLITE weblloc per obtenir informació de contacte.
Si us plau, tingueu a mà el número de model (90414) i la data de compra quan us poseu en contacte amb el servei d'assistència.