
1. Producte acabatview
The Parkside PRMA 40-Li C1 is a powerful cordless lawn mower designed for efficient lawn maintenance. It features a 40 cm cutting width, a durable brushless motor, and is compatible with a dual charger for convenient battery management. This model offers a clean and precise cut, making it ideal for various lawn sizes.

Figura 1: Frontal view of the Parkside PRMA 40-Li C1 Cordless Lawn Mower.
2. Instruccions de seguretat
2.1 Advertències generals de seguretat
- Always wear appropriate personal protective equipment (PPE) including safety glasses, sturdy footwear, and hearing protection when operating the lawn mower.
- Mantingueu els nens, les mascotes i els vianants allunyats de la zona d'operació.
- Inspect the area for objects such as stones, sticks, or toys before mowing and remove them to prevent damage to the blade or injury.
- No feu servir la tallagespa sobre herba mullada o pluja.
- No aixequeu ni transporteu mai la tallagespa mentre el motor està en marxa.
- Ensure all guards and safety devices are in place and functioning correctly before each use.
2.2 Seguretat de la bateria
- Use only the specified battery packs and chargers for this appliance.
- Do not expose battery packs to heat or fire. Avoid direct sunlight.
- No curtcircuiteu una bateria.
- Store battery packs in a cool, dry place away from metal objects.
- If the battery pack is damaged, do not use it. Contact customer support.
3. Configuració
Muntatge de 3.1 nanses
Unfold the handle and secure it in place using the quick-release levers or knobs provided. Ensure the handle is firmly locked before operation.

Figura 2: lateral view of the lawn mower, illustrating handle position.
3.2 Instal·lació de la bateria
Open the battery compartment cover. Insert the fully charged battery packs into their respective slots until they click into place. Close the battery compartment cover securely.

Figure 3: Inserting battery into the compartment.
3.3 Grass Box Attachment
Lift the rear discharge flap. Hook the grass collection box onto the mower's frame. Ensure it is securely attached to prevent grass clippings from escaping.
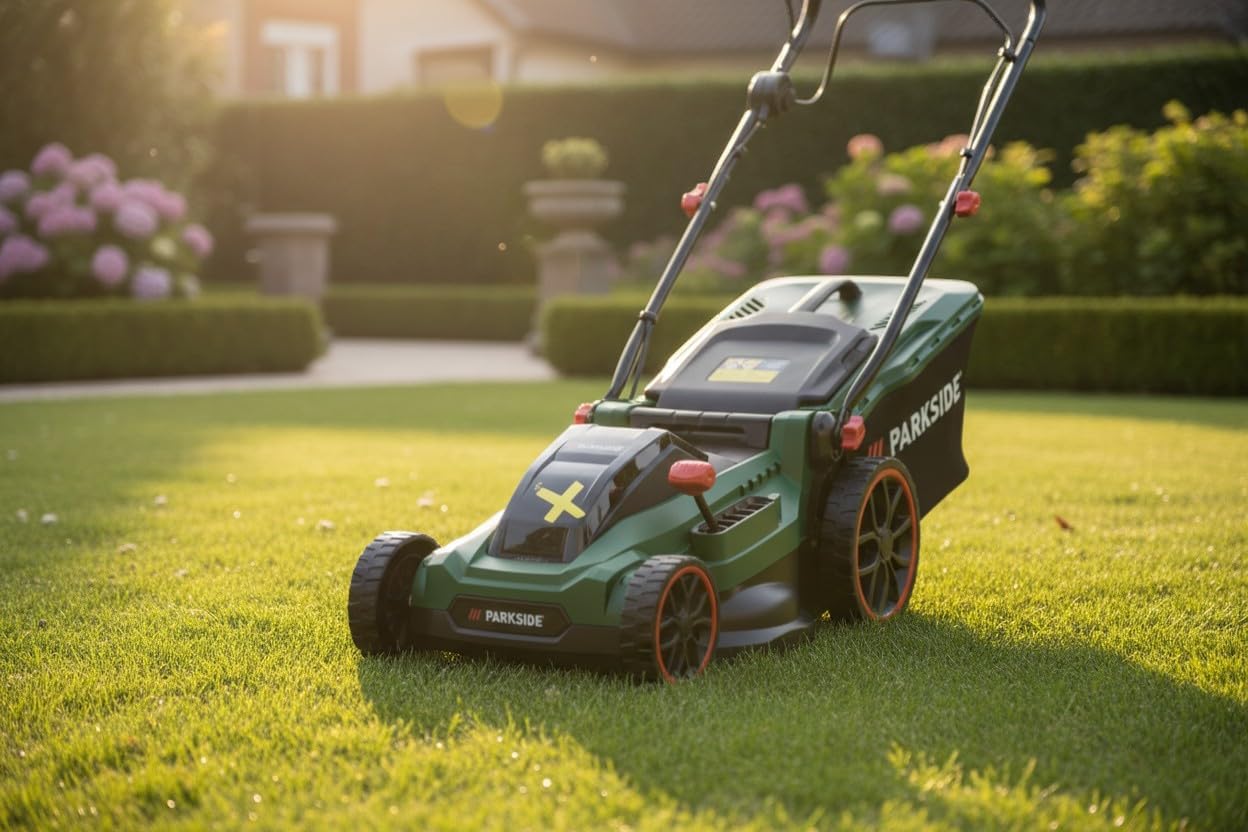
Figure 4: Attaching the grass collection box.
3.4 Ajust de l'alçada de tall
The cutting height can be adjusted centrally. Locate the height adjustment lever on the side of the mower. Pull the lever outwards and move it to the desired height setting (25-75 mm). Release the lever to lock it in position.

Figure 5: Adjusting the cutting height.
4. Instruccions de funcionament
4.1 Engegar la tallagespa
To start the mower, press and hold the safety button, then pull the switch lever towards the handle. The motor will start. Release the safety button once the motor is running.
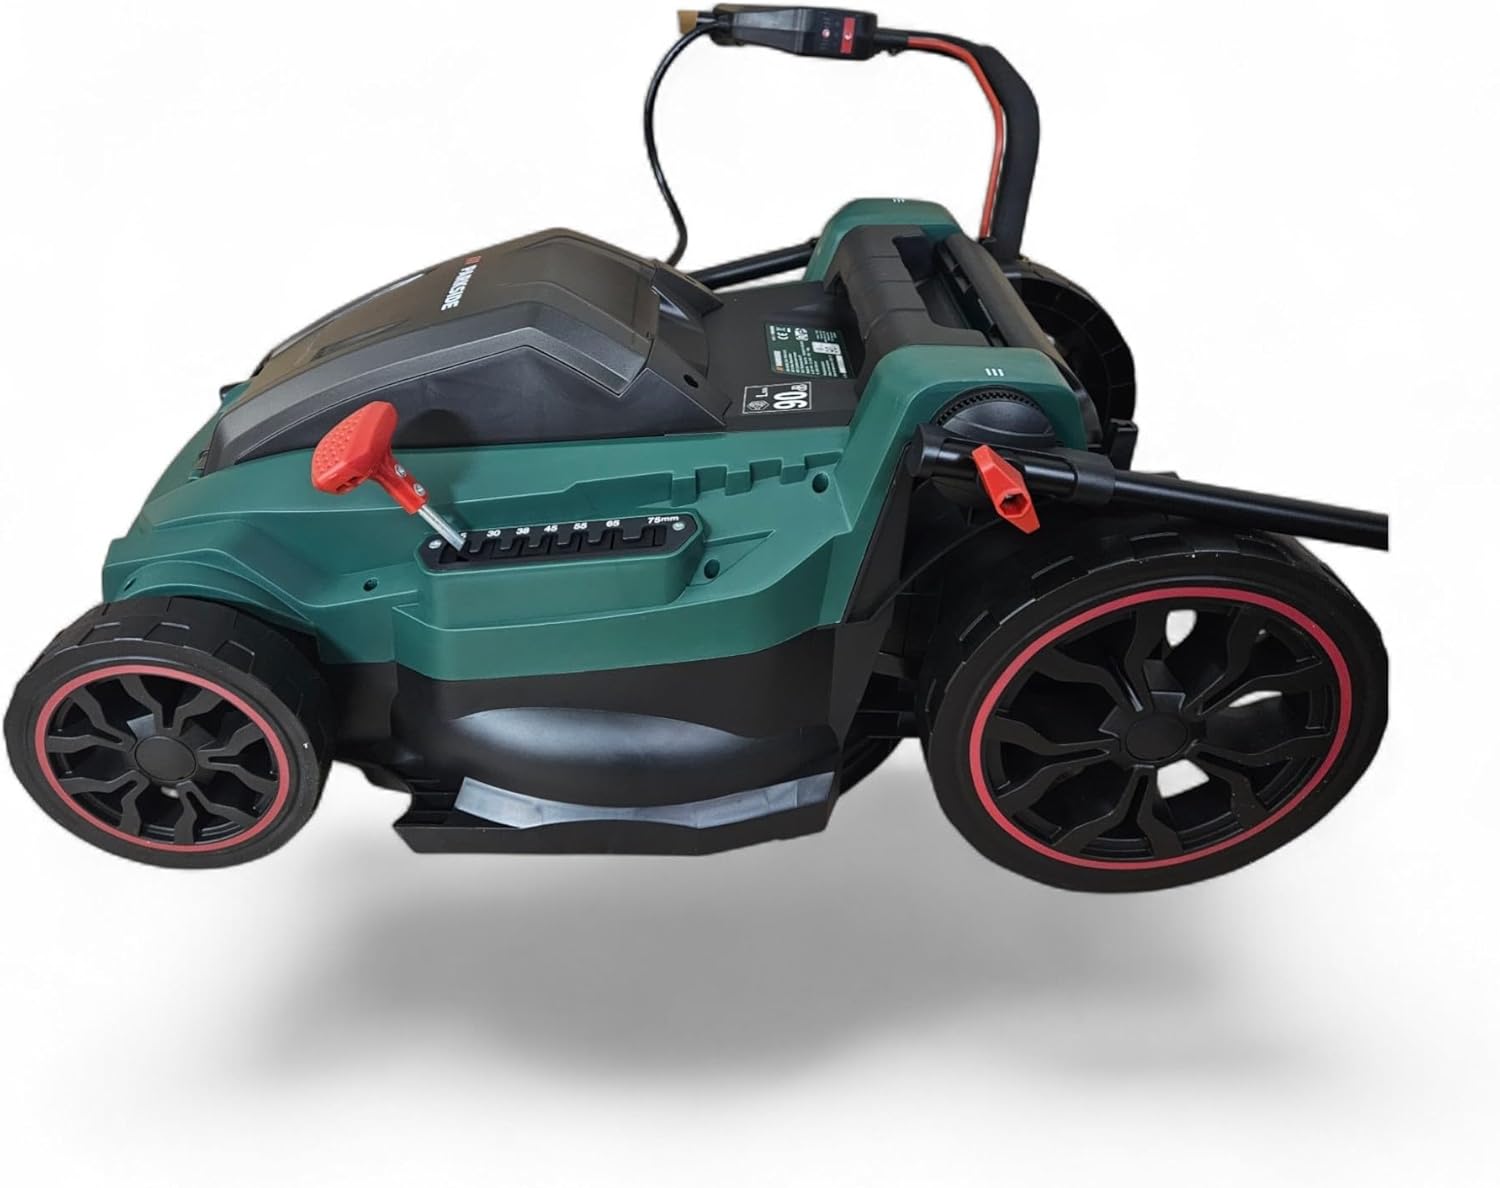
Figure 6: Operating the lawn mower.
4.2 Tècniques de sega
- Talleu la gespa en línies rectes i superposades per obtenir un tall uniforme.
- Per obtenir els millors resultats, eviteu tallar més d'un terç de l'alçada de la gespa alhora.
- Change mowing direction regularly to prevent matting of the grass.
- When mowing slopes, always mow across the face of the slope, never up and down. Exercise extreme caution.
4.3 Aturar la tallagespa
Release the switch lever to stop the motor. The blade will stop rotating within a few seconds.
4.4 Buidar el contenidor de gespa
When the grass box is full, the mower's performance may decrease. Stop the mower, remove the battery for safety, and then detach the grass box. Empty the clippings into a suitable container.

Figura 7: Buidatge del contenidor de recollida d'herba.
5. Manteniment
5.1 Neteja de la tallagespa
- After each use, disconnect the battery and clean the mower thoroughly.
- Remove grass clippings and debris from the cutting deck, wheels, and air vents using a brush or cloth.
- Do not use water or high-pressure cleaners directly on the motor or electrical components.
5.2 Cura de la fulla
Regularly inspect the cutting blade for sharpness and damage. A dull or damaged blade can lead to poor cutting performance and strain the motor. If necessary, have the blade sharpened or replaced by a qualified service technician.

Figure 8: Inspecting the cutting blade.
5.3 Emmagatzematge de la bateria
When storing the mower for extended periods, remove the battery packs. Store batteries in a cool, dry place, ideally at a charge level of 50-70% to prolong their lifespan.

Figure 9: Parkside X 20V Team battery.
6. Solució De Problemes
| Problema | Causa possible | Solució |
|---|---|---|
| La segadora no arrenca | Battery not inserted correctly or discharged; Safety button/lever not activated. | Ensure battery is fully charged and correctly inserted. Activate safety button and pull switch lever simultaneously. |
| Mal rendiment de tall | Dull or damaged blade; Cutting height too low; Grass box full. | Sharpen or replace blade. Adjust cutting height. Empty grass box. |
| Vibració excessiva | Fulla danyada o desequilibrada; components solts. | Inspect blade for damage and balance. Tighten any loose screws or bolts. Seek professional service if vibration persists. |
| El motor s'atura durant el funcionament | Overload; Battery discharged; Overheating. | Reduce load (raise cutting height). Recharge battery. Allow motor to cool down. |
7. Especificacions
| Característica | Detall |
|---|---|
| Número de model | PRMA 40-Li C1 |
| Marca | Al costat del parc |
| Fabricant | HKM Akku Technik |
| Amplada de tall | 40 cm |
| Ajust d'alçada de tall | 7 posicions (25 mm - 75 mm) |
| Tipus de motor | Sense raspalls |
| Font d'alimentació | Battery (40V system, typically 2x 20V batteries) |
| Mode de funcionament | Automàtic |
| Material | Acer d'aliatge |
| Color | Verd |
8. Garantia i Suport
Your Parkside PRMA 40-Li C1 Cordless Lawn Mower comes with a standard manufacturer's warranty. Please refer to the warranty card included with your product for specific terms and conditions.
For technical support, spare parts, or warranty claims, please contact HKM Akku Technik customer service. Contact details can typically be found on the product packaging or the manufacturer's official weblloc.
Always provide your model number (PRMA 40-Li C1) and purchase date when contacting support.