
Sentinella 4571335880477
Sen-ti-nel - Combine R-3 Powered [Super Robot Wars]
Manual d'instruccions
Producte acabatview
The Sen-ti-nel Combine R-3 Powered is an action figure from the "Super Robot Wars OG" series, designed to transform and combine. It represents the R-3 unit, which forms the waist and legs of the mighty SRX robot. This figure can be equipped with the T-LINK Flight System to become "R-3 Powered".
The R-3 Powered figure measures 32cm long in its flight configuration. It is designed to combine with the separately sold R-1 and R-2 Powered figures to form the complete SRX robot, which stands approximately 350mm (13.78 inches) tall and consists of over 1,000 parts.
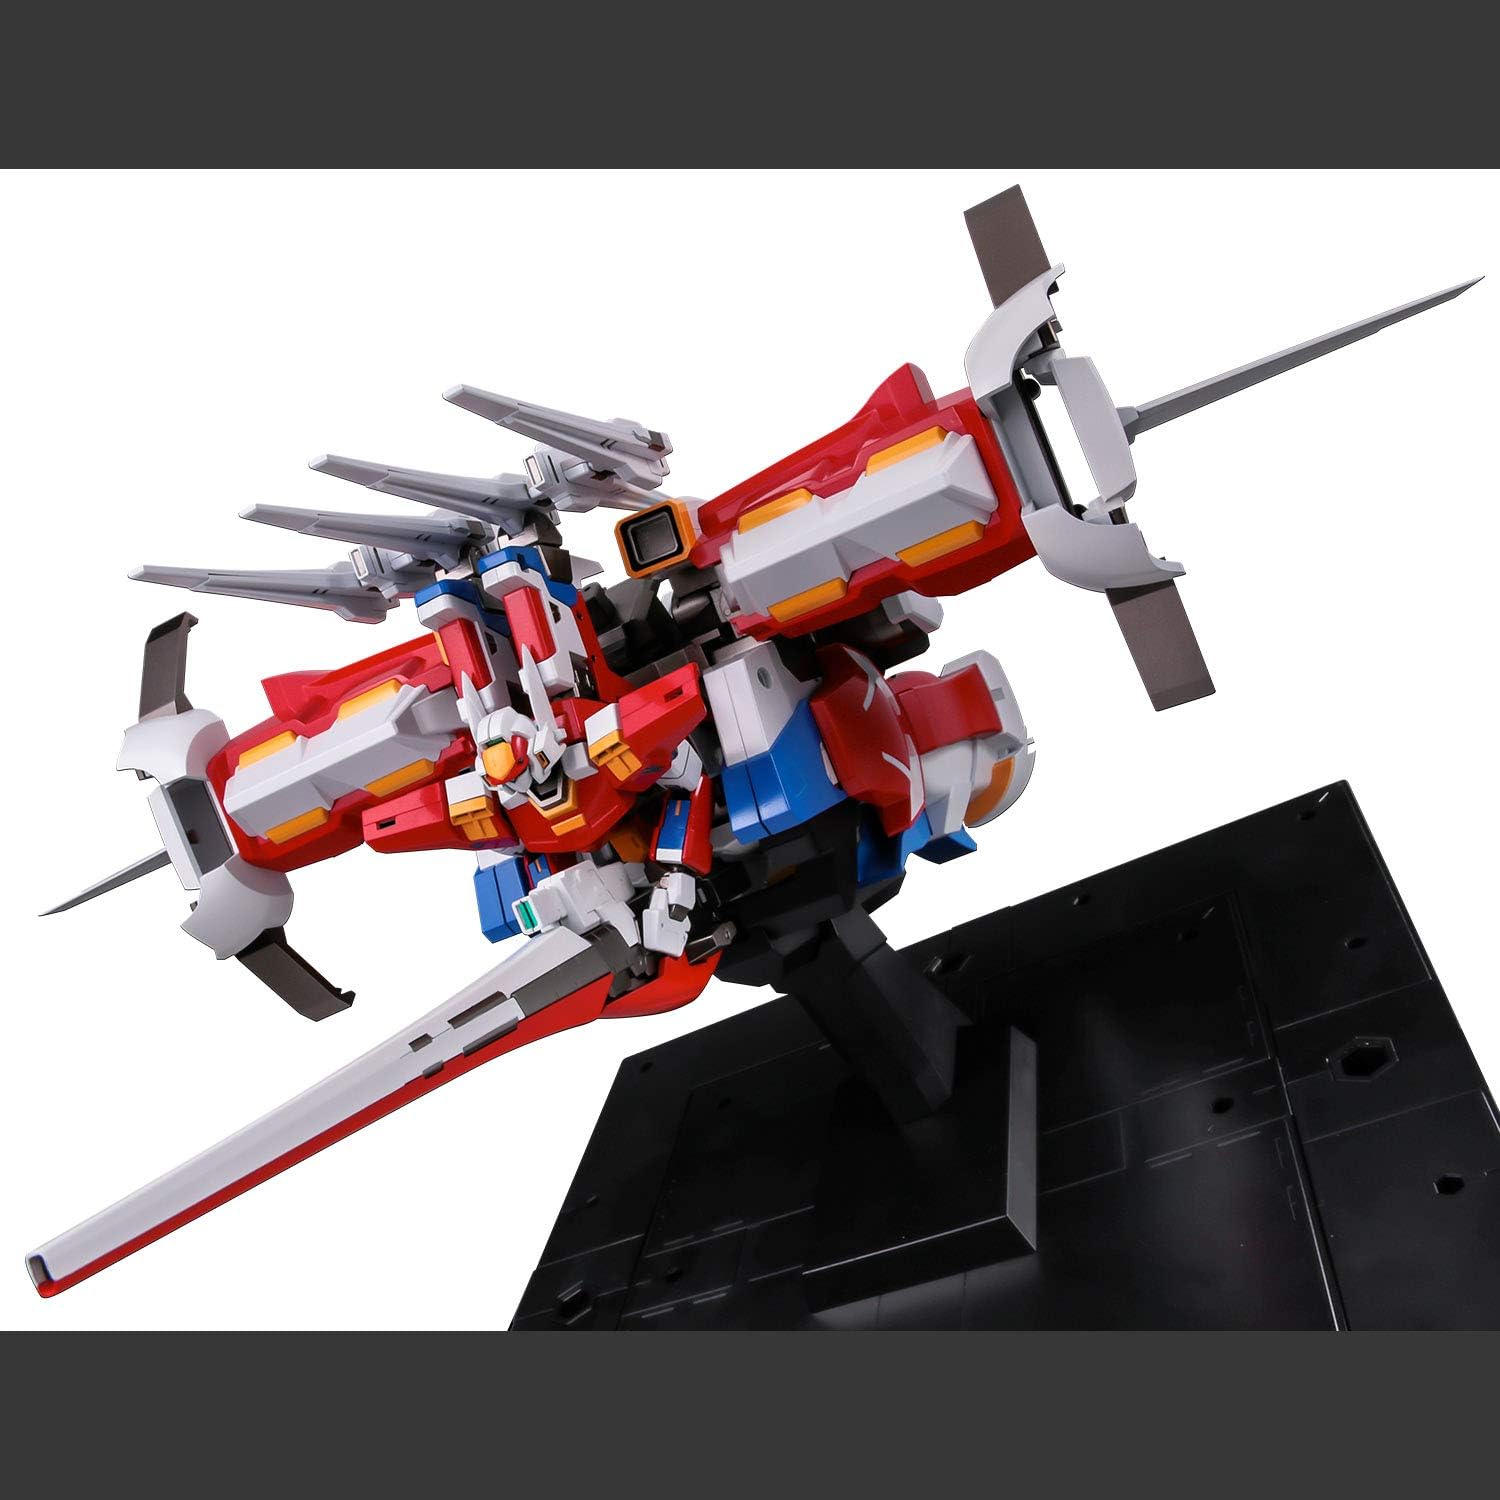
Image: R-3 Powered in its flight configuration, showcasing its impressive length and the T-LINK Flight System. The figure is displayed on a black stand.
Informació de seguretat
WARNING: Product contains small parts considered to be a choking hazard. Not suitable for children under 12 years of age.
Always handle the figure with care to prevent accidental damage or injury. Keep all packaging materials away from children.
Què hi ha a la caixa
- Sen-ti-nel - Combine R-3 Powered Figure (SEN88047)
- Nendou Sasshushiki Laser Cannon
- Strike Shield (fixed type)
- Expositor
Configuració
Upon unboxing, carefully remove all components from their packaging. Inspect the figure and accessories for any visible damage. The R-3 Powered figure comes largely pre-assembled, but some accessories may need to be attached.
Accessoris de fixació:
- Nendou Sasshushiki Laser Cannon: Identify the designated hand or attachment point on the R-3 Powered figure in robot mode. Gently slide the handle of the Laser Cannon into the figure's grip until secure.
- Strike Shield: Locate the attachment point for the Strike Shield, typically on the forearm or back of the figure. Align the shield's connector with the figure's port and press firmly until it clicks into place.
Muntatge del suport de visualització:
The included display stand allows for dynamic posing in flight mode. Assemble the stand base and arm according to the visual guide. Attach the R-3 Powered figure to the stand's peg, ensuring a stable connection.
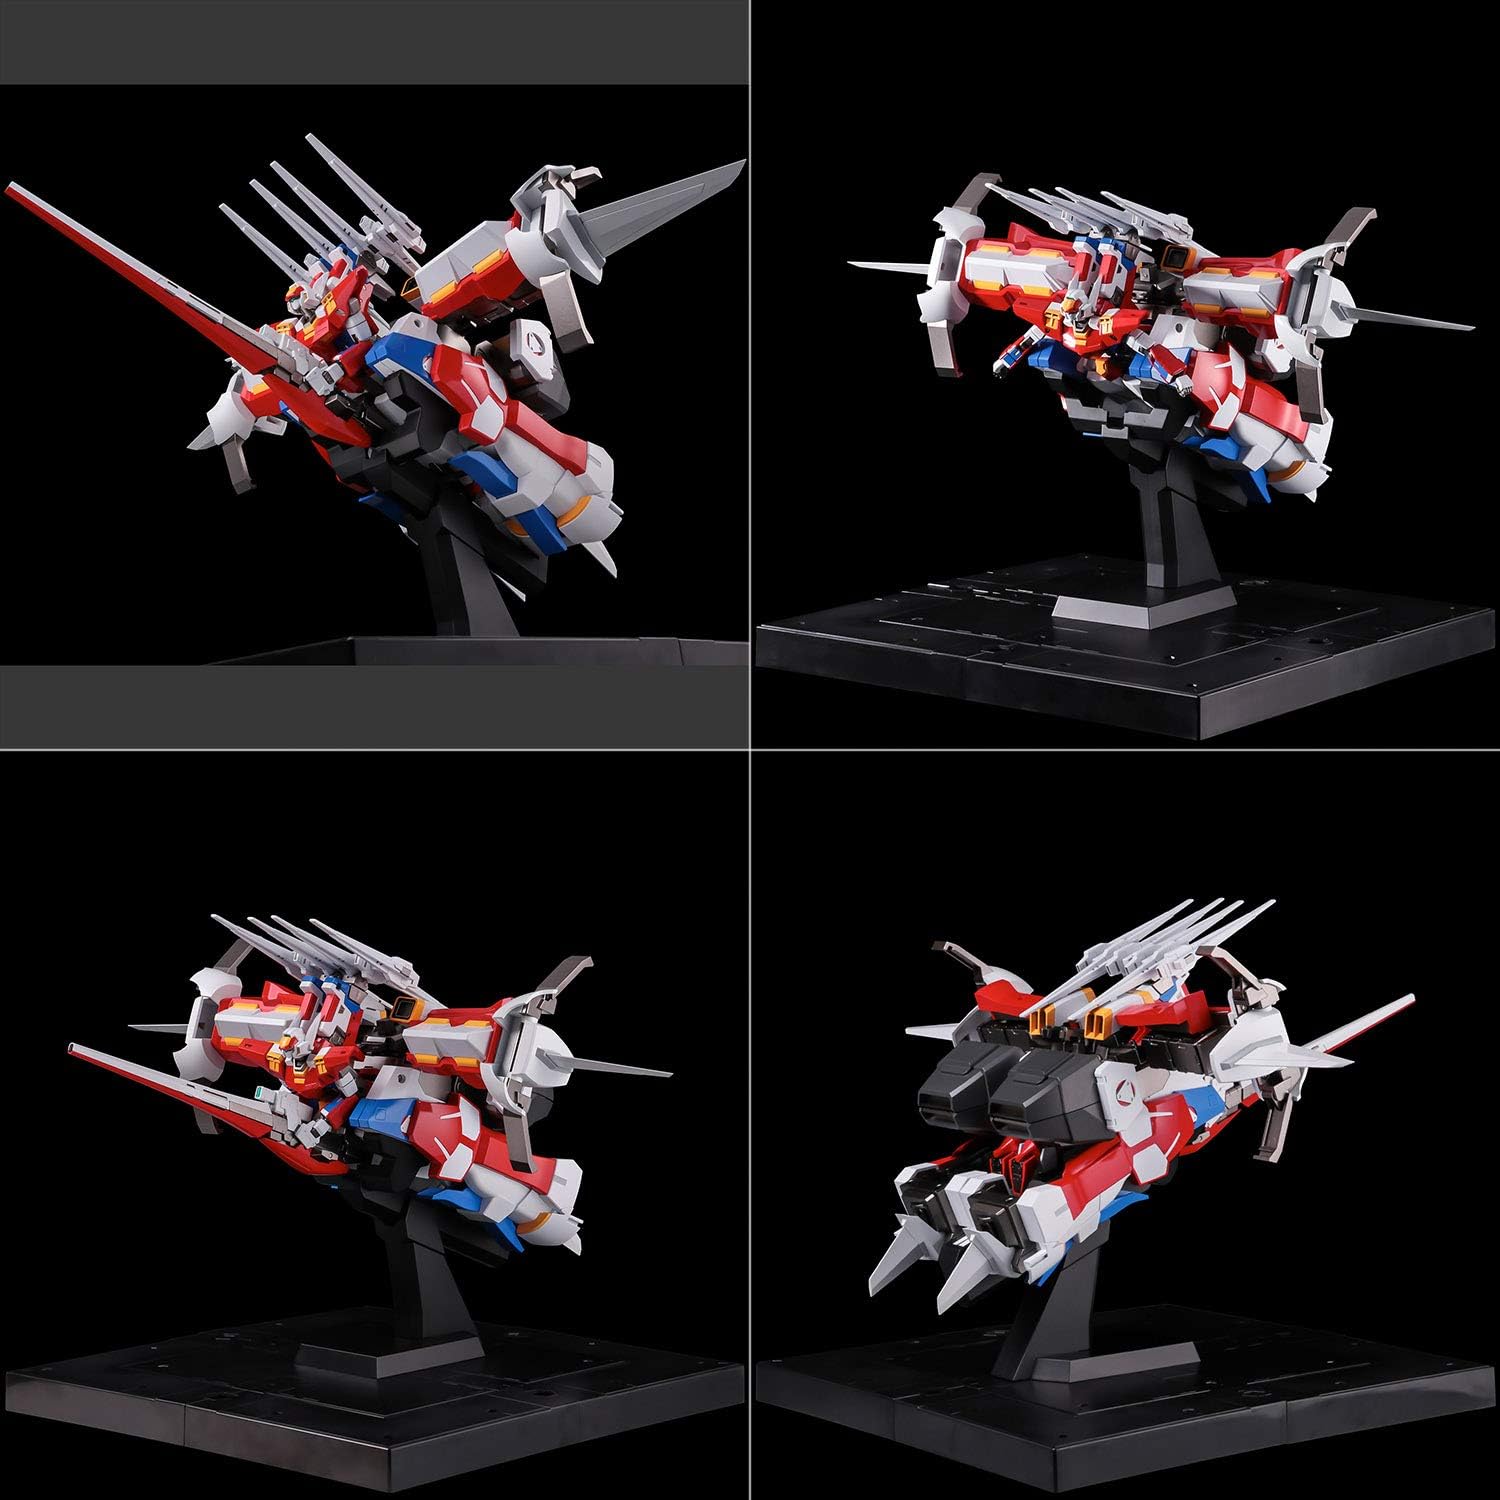
Image: A composite showing four different angles of the R-3 Powered in flight mode on its display stand, demonstrating its various profiles.
Operating the Figure
Transformation (Flight Mode to Robot Mode):
The R-3 Powered figure is designed for complete transformation. Carefully follow the transformation sequence, applying gentle pressure to joints. Avoid forcing parts to prevent breakage.
- Begin by detaching the T-LINK Flight System components if they are attached.
- Manipulate the limbs and body sections to articulate into the humanoid robot form. Pay attention to rotating joints and sliding panels.
- Ensure all parts are securely locked into their robot mode positions for stability.

Image: R-3 Powered in its robot form, posed dynamically while holding the Nendou Sasshushiki Laser Cannon.
Posing and Articulation:
The figure features numerous articulation points for dynamic posing. Gently move joints to achieve desired stances. Do not overextend joints beyond their natural range of motion.

Image: R-3 Powered in a standard standing robot pose, showcasing its full humanoid form.
SRX Combination (Requires R-1 and R-2 Powered):
The R-3 Powered figure is a key component for forming the ultimate SRX robot. This process requires the R-1 and R-2 Powered figures, sold separately. The R-3 Powered forms the waist and leg sections of the combined SRX.
- Prepare R-1, R-2 Powered, and R-3 Powered by transforming them into their respective combination modes.
- Connect the R-3 Powered's upper body section to the R-2 Powered's lower body, forming the torso and waist.
- Attach the R-1 figure to the combined R-2/R-3 unit, forming the upper body and arms of SRX.
- Ensure all connection points are secure and stable for the complete SRX form.

Image: Disassembled components of R-3 Powered, illustrating how its parts contribute to the SRX combination, specifically forming the lower body and waist.

Image: The three individual R-series figures (R-3 Powered, R-1, R-2 Powered) displayed together, with the fully combined SRX robot visible in the background, demonstrating the scale and potential of the combined form.
Manteniment
Neteja:
To clean the figure, use a soft, dry cloth to gently wipe away dust. For stubborn dirt, a slightly damp cloth can be used, but ensure no water enters any joints or electronic components (if applicable). Avoid using harsh chemicals, abrasive cleaners, or solvents, as these can damage the paint and plastic.
Emmagatzematge:
Store the figure in a cool, dry place away from direct sunlight and extreme temperatures. Prolonged exposure to sunlight can cause discoloration. If storing for an extended period, consider returning the figure to its original packaging or a protective display case to prevent dust accumulation and accidental damage.
Resolució de problemes
Articulacions rígides:
If a joint feels stiff, gently work it back and forth a few times. Do not force it. In some cases, a small amount of silicone shock oil (specifically designed for plastic models) can be applied to the joint, but use sparingly and wipe away any excess.
Les peces no s'ajusten:
Ensure that you are aligning parts correctly according to the transformation or assembly instructions. Check for any obstructions or mold flash that might be preventing a proper fit. Do not force parts together, as this can cause breakage.
Inestabilitat de la figura:
In robot mode, ensure all transformation panels and joints are fully locked into place. For flight mode, verify the figure is securely attached to its display stand. Adjust the pose to find a stable center of gravity.
Especificacions
| Atribut | Detall |
|---|---|
| Dimensions del producte | 3 x 4 x 6 polzades (envasat) |
| Pes de l'article | 3.59 lliures |
| Número de model | 4571335880477 |
| Edat recomanada pel fabricant | 12 anys i més |
| Data de llançament | 8 de juliol de 2022 |
| Fabricant | Sen-Ti-Nel |
Informació de la garantia
Els detalls específics de la garantia no es proporcionen a la informació del producte. Consulteu el distribuïdor o el servei oficial del fabricant. weblloc web per a les polítiques de garantia aplicables.
Atenció al client
For product support assistance within the United States, ensure your product box has a Bluefin warning label. This label signifies that you have purchased an officially licensed Sen-Ti-Nel product distributed by Bluefin, the sole and authorized distributor for the U.S. Markets.
For further assistance, please contact your authorized U.S. Retailer or refer to the official Bluefin weblloc per obtenir informació de contacte.
Ask a question about this manual
Ask about setup, troubleshooting, compatibility, parts, safety, or missing instructions. Manuals+ will review the question and use this page’s manual context to help answer it.