Roxicosly CR1001E
Roxicosly Digital Alarm Clock User Manual
Model: CR1001E
1. Introducció
This manual provides detailed instructions for the setup, operation, and maintenance of your Roxicosly Digital Alarm Clock. Designed for ease of use, this alarm clock features a large LED display, dual alarms, adjustable brightness and volume, a USB charging port, and battery backup for convenience and reliability.
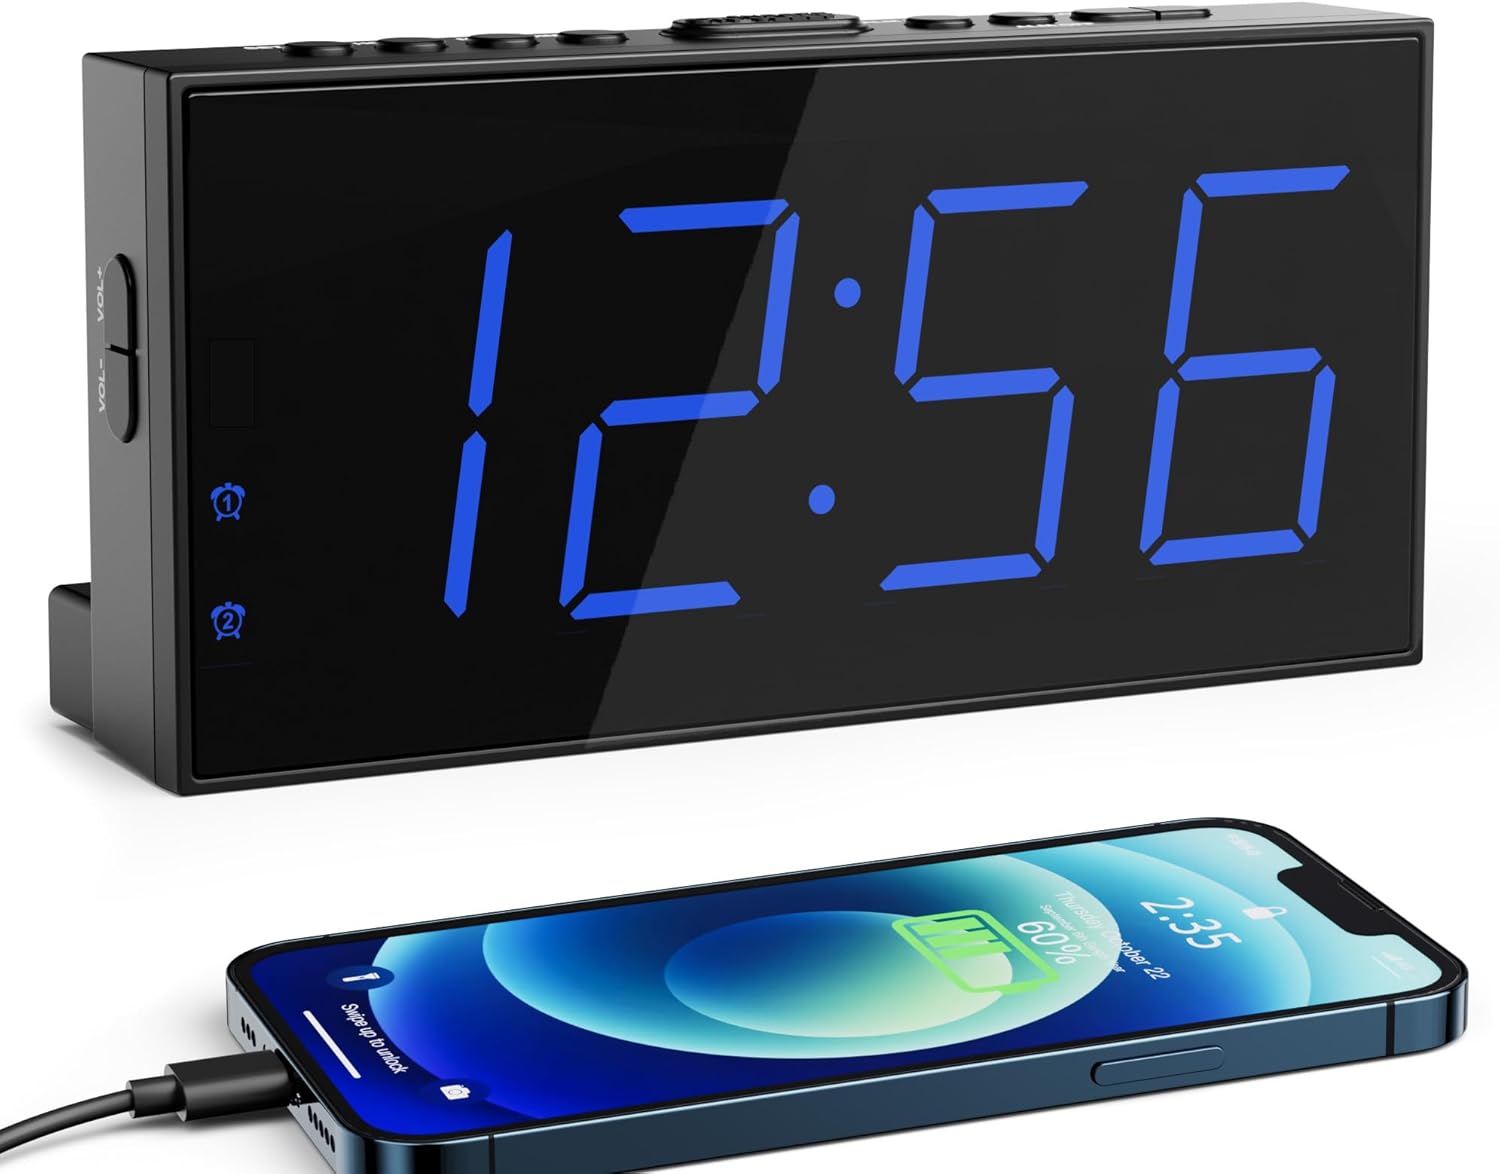
Image 1.1: The Roxicosly Digital Alarm Clock displaying time, with a smartphone connected for charging.
2. Característiques del producte
- 7.5-inch Large LED Display: Proporciona una visibilitat clara del temps des de la distància.
- 5-Level Adjustable Screen Brightness: Customize display intensity for day or night viewing.
- Alarmes dobles: Set two independent wake-up times.
- 5-Level Adjustable Alarm Volume: Ensures effective waking for various sleep preferences.
- 9-Minute Snooze Function: Allows for a brief extension of sleep.
- Port de càrrega USB: Conveniently charge external devices (e.g., smartphones).
- 12/24H Format & DST Function: Switch between time formats and adjust for Daylight Saving Time.
- Alimentació de CA amb bateria de seguretat: Operates on AC power with AAA batteries (not included) to retain settings during power outages.
- Stable Standing Design: Includes two back holders for secure tabletop placement.
3. Instruccions de configuració
3.1 Desembalatge i components
Carefully remove all components from the packaging. The package should contain:
- Roxicosly Digital Alarm Clock
- Endoll
- Cable d'alimentació d'1.5 m
- Two Back Holders
- Manual d'usuari (aquest document)

Image 3.1: Included components of the alarm clock package.
3.2 Connexió d'alimentació
- Connect the provided power cable to the DC IN port on the back of the alarm clock.
- Plug the power adapter into a standard AC power outlet (100-240V). The clock display will illuminate.

Image 3.2: Connecting the alarm clock to AC power.
3.3 Instal·lació de la bateria de reserva
Per conservar l'hora i la configuració de l'alarma durant l'apagadatages, install two AAA batteries (not included).
- Obriu la tapa del compartiment de les piles a la part posterior del rellotge.
- Introduïu dues piles AAA d'1.5 V, assegurant-vos de la polaritat correcta (+ i -).
- Tanqueu la tapa del compartiment de la bateria.
Nota: Batteries are for backup only; the clock requires AC power for normal operation and display illumination.

Image 3.3: Installing AAA batteries for backup.
3.4 Stable Placement
Insert the two provided back holders into the designated slots on the bottom rear of the clock for enhanced stability on flat surfaces.
4. Instruccions de funcionament
4.1 Configuració de l'hora
- Manteniu premut el botó SET HORA fins que els dígits de les hores comencin a parpellejar.
- Utilitza el HORA i MIN buttons to adjust the hour and minute respectively.
- Premeu SET HORA de nou per confirmar i sortir del mode de configuració de l'hora.
4.2 Format de 12/24 hores i horari d'estiu
To switch between 12-hour and 24-hour time formats, or to activate/deactivate Daylight Saving Time (DST):
- Premeu el botó 12/24H i DST button. Each press will cycle through 12H, 24H, and DST modes.
- In 12H format, a 'PM' indicator will appear for afternoon hours.
- When DST is active, a 'DST' indicator will be displayed, and the time will adjust by one hour.

Image 4.1: 12/24H and DST function button.
4.3 Ajust de la brillantor de la pantalla
The clock features 5 levels of display brightness. To adjust:
- Premeu el botó DIMMER button repeatedly to cycle through the 5 brightness levels (from brightest to darkest, then off).
- Seleccioneu el nivell de brillantor desitjat per a una comoditat viewing.

Imatge 4.2: Ex.amples of the 5 adjustable brightness levels.
4.4 Configuració d'alarmes (alarma 1 i alarma 2)
The clock allows you to set two independent alarms.
- Premeu el botó ALARMA 1 or ALARMA 2 botó una vegada per mostrar l'hora d'alarma actual.
- Press and hold the respective ALARMA fins que els dígits de les hores parpellegin.
- Utilitza el HORA i MIN botons per configurar l'hora d'alarma desitjada.
- Premeu el botó ALARMA button again to confirm and activate the alarm. The corresponding alarm icon (1 or 2) will appear on the display.
- To deactivate an alarm, press the respective ALARMA botó fins que la icona de l'alarma desaparegui.

Image 4.3: Dual alarm functionality.
4.5 Funció de repetició
Quan soni una alarma, premeu la tecla gran DORMITAR button located on top of the clock to temporarily silence the alarm for 9 minutes. The alarm will sound again after 9 minutes.

Image 4.4: Using the snooze button.
4.6 Ajust del volum de l'alarma
The alarm volume can be adjusted to 5 different levels.
- During an alarm, or while setting an alarm, use the VOL+ or VOL- buttons on the side of the clock to increase or decrease the volume.
- The current volume level will be indicated on the display.

Image 4.5: Volume adjustment buttons and range.
4.7 port de càrrega USB
A USB charging port is located on the back of the clock. Connect your smartphone or other USB-powered device to this port using a compatible USB cable for charging.

Image 4.6: Using the USB charging port.
5. Manteniment
5.1 Neteja
To clean the alarm clock, gently wipe the surface with a soft, dry cloth. Avoid using abrasive cleaners, solvents, or harsh chemicals, as these may damage the finish or electronic components.
5.2 Substitució de la bateria
If the clock loses its time or alarm settings after a power interruption, the AAA backup batteries may need to be replaced. Follow the steps in Section 3.3 to replace the batteries.
6. Solució De Problemes
- Display is blank or very dim:
Ensure the clock is properly connected to AC power. Check the brightness level using the DIMMER button; it might be set to the lowest or off setting. - Time or alarm settings are lost after a power outage:
Verify that two fresh AAA batteries are correctly installed in the battery backup compartment. The batteries are essential for retaining settings during power interruptions. - Alarm is not sounding or is too quiet:
Ensure the alarm is activated (the alarm icon should be visible on the display). Adjust the alarm volume using the VOL+ botó. - USB charging port is not working:
Ensure the clock is connected to AC power, as the USB charging function requires main power. Check the USB cable for damage and ensure it is properly connected to both the clock and your device. - Clock is unstable on a surface:
Ensure the two back holders are correctly inserted into their slots on the bottom rear of the clock.
7. Especificacions
| Característica | Detall |
|---|---|
| Marca | Roxicosly |
| Model | CR1001E |
| Tipus de visualització | LED |
| Mida de la pantalla | 7.5 polzades |
| Font d'alimentació | Cable elèctric (CA 100-240V) |
| Còpia de seguretat de la bateria | 2 piles AAA (no incloses) |
| Característiques especials | 12/24H&DST, 5-level Screen Brightness, Dual Alarms & 5-level Volume, USB Charging Port |
| Tipus de muntatge | Taula |
| Dimensions del producte | 17.32 x 3.81 x 8.61 cm |
| Pes de l'article | 170 g |
| Tipus de material | Plàstic |
8. Garantia i Suport
For warranty information or technical support, please refer to the contact details provided with your purchase or visit the official Roxicosly weblloc web. Conserveu el rebut de compra com a comprovant de compra per a qualsevol reclamació de garantia.