
DEWINNER DE-7133A
DEWINNER 710W Electric Corded Impact Drill
Instruction Manual - Model DE-7133A
Your guide to safe and effective operation.
1. Introducció
Thank you for choosing the DEWINNER 710W Electric Corded Impact Drill. This powerful and versatile tool is designed for a variety of drilling tasks in materials such as wood, metal, and masonry. To ensure safe and optimal performance, please read this instruction manual thoroughly before using the drill. Keep this manual for future reference.

Image 1.1: The DEWINNER 710W Electric Corded Impact Drill along with its comprehensive set of accessories.
2. Instruccions generals de seguretat
ADVERTÈNCIA: llegiu totes les advertències, instruccions, il·lustracions i especificacions de seguretat proporcionades amb aquesta eina elèctrica. L'incompliment de totes les instruccions que s'indiquen a continuació pot provocar descàrregues elèctriques, incendis i/o lesions greus.
2.1 Seguretat de l'àrea de treball
- Mantenir la zona de treball neta i ben il·luminada. Les zones desordenades o fosques conviden a accidents.
- No utilitzeu eines elèctriques en atmosferes explosives, com ara en presència de líquids, gasos o pols inflamables. Les eines elèctriques generen espurnes que poden encendre la pols o els fums.
- Mantingueu els nens i els espectadors allunyats mentre feu servir una eina elèctrica. Les distraccions poden fer que perdis el control.
2.2 Seguretat elèctrica
- Els endolls de les eines elèctriques han de coincidir amb la presa de corrent. No modifiqueu mai l'endoll de cap manera.
- Eviteu el contacte corporal amb superfícies posades a terra, com ara canonades, radiadors, estufes i neveres. Hi ha un major risc de descàrrega elèctrica si el vostre cos està connectat a terra o a terra.
- No exposar les eines elèctriques a la pluja o a condicions humides. L'entrada d'aigua en una eina elèctrica augmentarà el risc de descàrrega elèctrica.
- No abuseu del cordó. No utilitzeu mai el cable per transportar, estirar o desconnectar l'eina elèctrica. Mantingueu el cable allunyat de la calor, l'oli, les vores afilades o les peces mòbils. Els cables danyats o enredats augmenten el risc de descàrrega elèctrica.
2.3 Seguretat personal
- Porteu sempre protecció ocular. Utilitzeu ulleres de seguretat, ulleres de protecció o una pantalla facial.
- Wear appropriate personal protective equipment (PPE) such as dust mask, non-skid safety shoes, hard hat, or hearing protection for appropriate conditions.
- Vesteix-te correctament. No porteu roba solta ni joies. Mantingueu els cabells i la roba allunyats de les parts mòbils.
- Estigueu alerta, observeu el que feu i feu servir el sentit comú quan utilitzeu una eina elèctrica.
3. Producte acabatview
Familiarize yourself with the components of your DEWINNER Impact Drill:

Image 3.1: Key components of the DEWINNER Impact Drill.
- Portabroca: Holds the drill bit or accessory securely.
- Nansa auxiliar: Proporciona un adherència i un control addicionals durant el funcionament.
- Vareta de profunditat: Used to set and measure drilling depth.
- Drill/Hammer Switch: Selects between standard drilling and hammer drilling modes.
- Speed Gear: Internal mechanism for speed regulation.
- Interruptor d'activació/desactivació: Activates and deactivates the drill.
- Lock On Button: Locks the trigger in the ON position for continuous operation.
- Pure Copper Electric Machinery: Indicates the motor's construction for durability and performance.
4. Configuració
4.1 Desembalatge i inspecció
Carefully remove the drill and all accessories from the carrying case. Inspect for any damage that may have occurred during shipping. Ensure all listed components are present.

Image 4.1: The drill and its accessories stored in the included carrying case.
4.2 Fixació de la nansa auxiliar
The auxiliary handle can be rotated 360° for optimal positioning. Loosen the handle clamp, slide the handle onto the drill's neck, adjust to the desired angle, and tighten the clamp de forma segura.
4.3 Installing/Changing Drill Bits and Accessories
The drill features a 13mm metal chuck. To install or change a drill bit or accessory:
- Introduïu la clau del mandril en un dels forats del mandril.
- Gireu la clau del mandril en sentit antihorari per obrir les mordasses del mandril.
- Insert the drill bit or accessory into the chuck, ensuring it is seated as deeply as possible.
- Rotate the chuck key clockwise to tighten the chuck jaws firmly around the bit. Ensure the bit is centered and secure.
- Remove the chuck key before operating the drill.

Image 4.2: Adjusting the drill chuck using the included chuck key.
The drill supports various accessories, including sanding discs and cutting discs, which can be attached using appropriate adapters (included in the 102-piece accessory set).
Video 4.1: Demonstrates changing drill bits, attaching sanding pads, and cutting discs, highlighting the versatility of the drill.
5. Funcionament del trepant
5.1 Engegada/Apagada i Control de Velocitat Variable
To start the drill, press the On/Off Trigger Switch. The drill features a variable speed trigger, allowing you to control the drilling speed from 0-3300 RPM based on the pressure applied. For continuous operation, press the Lock On Button while the trigger is depressed. To release, press the trigger again.
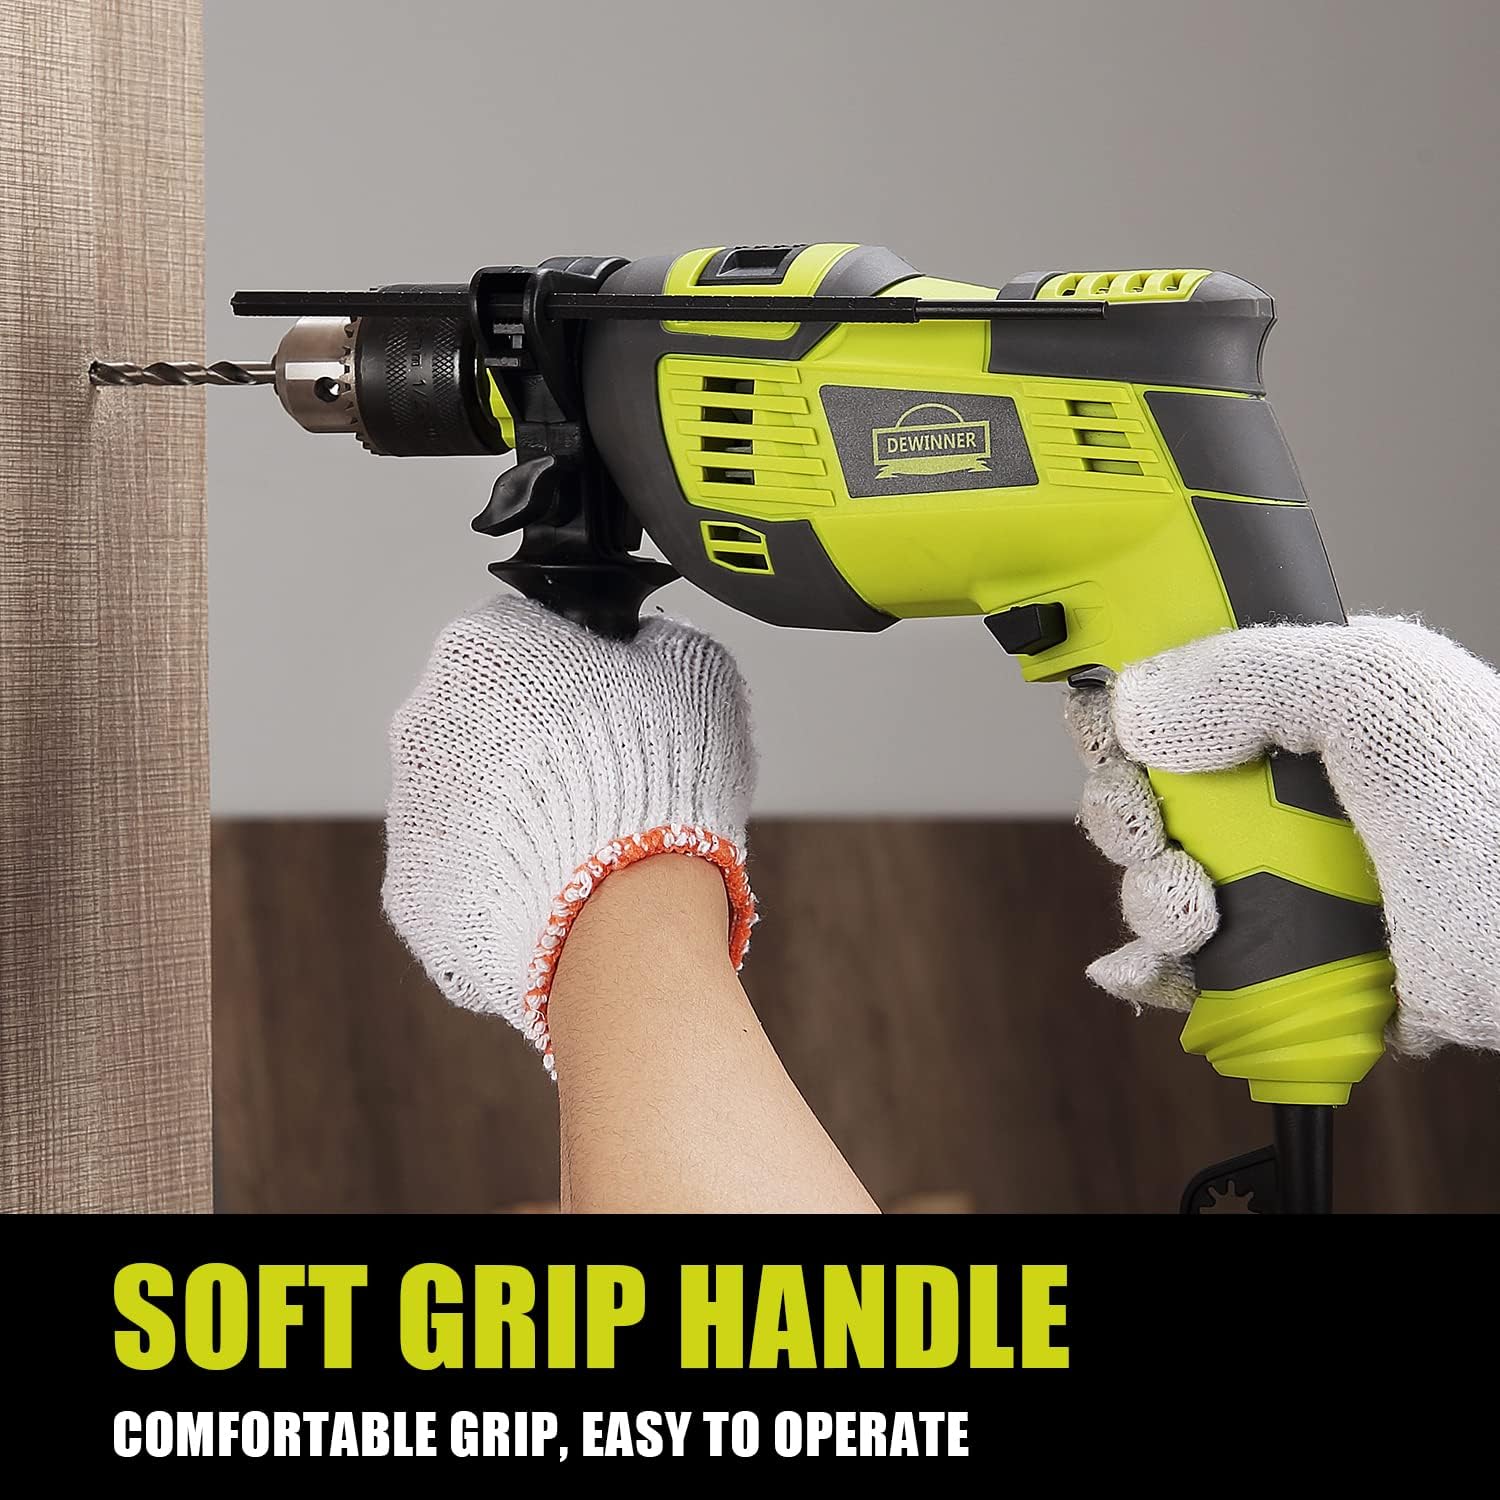
Image 5.1: The speed control knob allows for precise RPM adjustment.
5.2 Hammer and Impact Drill Dual Mode
This drill offers two modes: Drill Mode and Hammer Mode. Use the Drill/Hammer Switch to select the appropriate mode for your task:
- Mode de perforació: Ideal for drilling in wood, metal, plastics, and other softer materials.
- Hammer Mode: Activates an impact mechanism, suitable for drilling into hard materials like concrete, brick, and masonry.

Image 5.2: Easily switch between Drill Mode and Hammer Mode.
5.3 Interruptor endavant/enrere
The Forward/Reverse switch is located near the trigger. Push it to the left for forward rotation (drilling) and to the right for reverse rotation (removing screws or freeing a stuck drill bit). Always ensure the drill has come to a complete stop before changing the direction of rotation.

Image 5.3: Controls for direction, mode, and continuous operation.
5.4 Tècniques de perforació
- Perforació general: Apply steady, even pressure. Do not force the drill. Let the tool do the work.
- Perforació de fusta: Use wood-specific drill bits. Start with a pilot hole for larger bits.
- Drilling Metal: Use metal-specific drill bits. Apply cutting oil to cool the bit and improve drilling efficiency.
- Drilling Masonry/Concrete: Use carbide-tipped masonry bits and activate the hammer mode. Apply firm, consistent pressure.
Video 5.1: Shows the drill in action, demonstrating its capability for drilling into wood and concrete surfaces.
6. Manteniment
6.1 Neteja
- Always unplug the drill before cleaning.
- Clean the ventilation openings regularly to prevent overheating. Use a soft brush or compressed air.
- Netegeu la carcassa de l'eina amb anunciamp tela. No utilitzeu productes químics aggressivs ni netejadors abrasius.
6.2 Chuck Maintenance
Periodically clean the chuck jaws to ensure proper gripping of bits. A small amount of light machine oil can be applied to the chuck threads to keep it operating smoothly.
6.3 Emmagatzematge
Store the drill and its accessories in a clean, dry place, out of reach of children. Use the provided carrying case for organized storage and protection.
7. Solució De Problemes
| Problema | Causa possible | Solució |
|---|---|---|
| El trepant no arrenca | Sense font d'alimentació; Cable d'alimentació danyat; Interruptor defectuós | Check power outlet and cord; Contact qualified service personnel if cord or switch is faulty. |
| Vibració excessiva | Bent drill bit; Loose chuck; Internal damage | Replace bent bit; Re-tighten chuck; Discontinue use and seek professional service. |
| Sobreescalfament | Blocked ventilation; Overloading the motor | Clean ventilation slots; Reduce load, allow drill to cool. |
| La broca rellisca al mandril | Chuck not tightened sufficiently; Worn chuck jaws | Re-tighten chuck firmly with key; If problem persists, chuck may need replacement. |
8. Especificacions
| Característica | Detall |
|---|---|
| Marca | DESGANYADOR |
| Número de model | DE-7133A |
| Font d'alimentació | Elèctric amb cable |
| Wattage | 710 watts |
| Voltage | 110 volts (CA) |
| Velocitat de rotació màxima | 3300 RPM |
| Mida del mandril | 13mm (1/2 inch) Metal Chuck |
| Característiques especials | Variable Speed, Hammer & Impact Dual Mode, 360° Rotating Handle, Lock Button |
| Pes de l'article | 3.77 kg |
| Dimensions del producte | 32.9 x 34.6 x 11.3 cm |
9. Garantia i Suport
For warranty information and customer support, please refer to the documentation included with your purchase or contact DEWINNER customer service directly. You can also visit the official DEWINNER store on Amazon for more information and support resources:
Ask a question about this manual
Ask about setup, troubleshooting, compatibility, parts, safety, or missing instructions. Manuals+ will review the question and use this page’s manual context to help answer it.