Introducció
This manual provides detailed instructions for the safe and efficient operation of your SINGER M1005 Electric Sewing Machine. The M1005 is designed for various sewing projects, offering 4 built-in stitches with 11 options, adjustable thread tension, and a reverse lever for securing seams. Please read this manual thoroughly before using the machine to ensure proper setup and function.
Instruccions importants de seguretat
Quan utilitzeu un aparell elèctric, sempre s'han de seguir les precaucions bàsiques de seguretat, com ara les següents:
- Llegiu totes les instruccions abans d’utilitzar aquesta màquina de cosir.
- Keep these instructions in a convenient place near your machine.
- Desendolleu sempre la màquina de la presa de corrent immediatament després d'utilitzar-la i abans de netejar-la, treure les cobertes, lubricar-la o fer qualsevol altre ajust de manteniment per part de l'usuari que s'esmenti al manual d'instruccions.
- No permetre que s'utilitzi com a joguina. Cal prestar molta atenció quan aquest aparell és utilitzat per o a prop dels nens.
- Utilitzeu aquest producte només per a l'ús previst tal com es descriu en aquest manual.
- Never operate this sewing machine if it has a damaged cord or plug, if it is not working properly, or if it has been dropped or damaged.
- Mantingueu els dits allunyats de totes les parts en moviment. Es requereix una cura especial al voltant de l’agulla de la màquina de cosir.
- Utilitzeu sempre la placa d'agulla adequada. La placa incorrecta pot fer que l'agulla es trenqui.
- No estireu ni empenyeu la tela mentre cosiu. Això pot desviar l'agulla i fer-la trencar.
- Turn the sewing machine off when making any adjustments in the needle area, such as threading the needle, changing the needle, threading the bobbin, or changing the presser foot.
Producte acabatview
The SINGER M1005 is a compact and user-friendly electric sewing machine designed for ease of use and portability.
Característiques principals:
- 4 Stitches in 11 Options: Select from various straight stitches, zigzag stitches, blind hem stitch, and multi-stitch zigzag using the Stitch Selector Dial.
- Tensió del fil ajustable: Allows for fine-tuning stitch quality for different fabrics and threads.
- Top Drop-in Bobbin: Features a transparent bobbin cover for easy monitoring of thread supply and simple bobbin insertion.
- Free-Arm Design: Facilitates sewing of cylindrical items like trouser hems and sleeve cuffs.
- Reverse Lever: Conveniently located for securing the beginning and end of seams with reverse stitches.
- Extra High-Presser Foot Lifter: Provides additional clearance for sewing multiple layers or thicker fabrics.
- Disseny portàtil: Lleuger per facilitar el transport i l'emmagatzematge.
Components inclosos:
Your SINGER M1005 sewing machine package includes the following items:
- 1 Màquina de cosir
- All-purpose Foot
- Extra Needle
- Finger Guard (pre-installed, removable)
- Bobbins: Class 15 (Transparent)
- Enfilador manual d'agulles
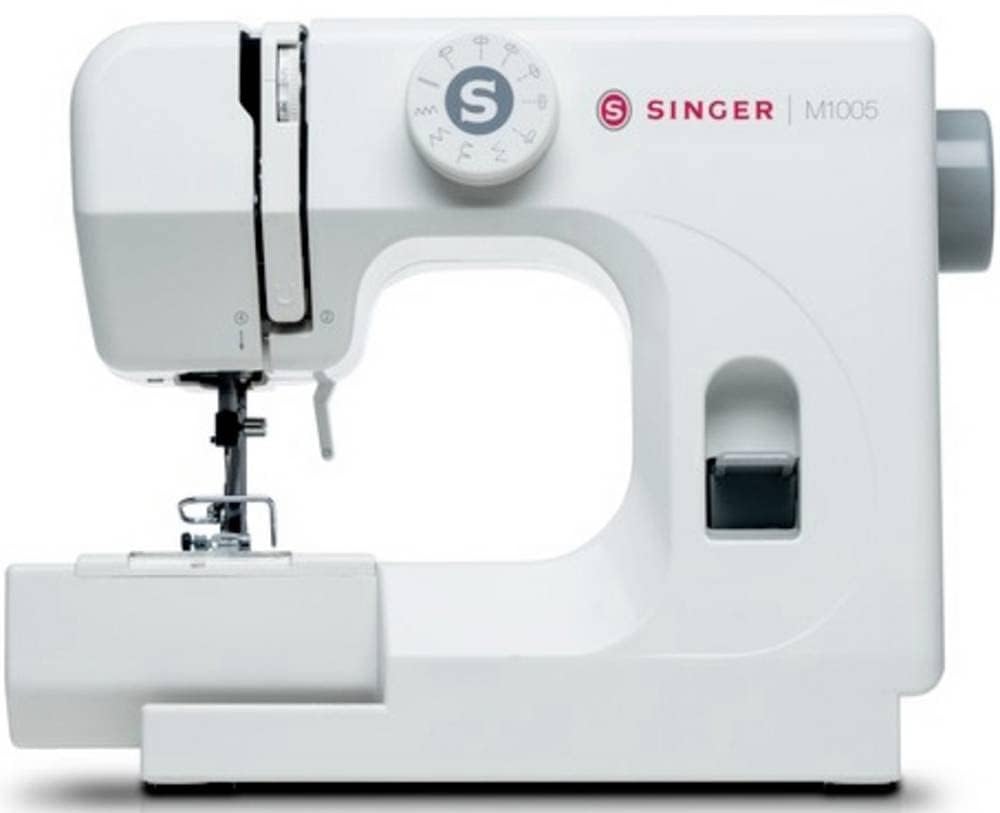
Figura 1: The SINGER M1005 Electric Sewing Machine, showcasing its compact design and ready-to-use setup.
Configuració
1. Connexió d'alimentació
- Col·loqueu la màquina sobre una superfície plana i estable.
- Assegureu-vos que l'interruptor d'alimentació estigui en la posició "OFF".
- Connecteu el cable d'alimentació a l'entrada d'alimentació de la màquina i després a una presa de corrent adequada.
2. Enrotllament de la bobina
Proper bobbin winding ensures smooth stitching.
- Col·loqueu una bobina de fil al portacarret.
- Guieu el fil a través del guiafils superior i al voltant del disc tensor de la bobina.
- Insert the thread through the small hole in the bobbin from the inside out.
- Place the bobbin onto the bobbin winder spindle.
- Empenyeu l'eix de la bobina de bobina cap a la dreta.
- Turn on the machine and gently press the foot controller (if applicable) or press the start button to begin winding.
- Once the bobbin is full, push the spindle back to the left and cut the thread.
3. Inserting the Top Drop-in Bobbin
The transparent bobbin cover allows for easy monitoring.
- Ensure the needle is in its highest position.
- Open the transparent bobbin cover plate.
- Place the wound bobbin into the bobbin case with the thread unwinding counter-clockwise.
- Guide the thread into the tension spring and then into the thread guide slot.
- Pull out approximately 10-15 cm (4-6 inches) of thread.
- Substituïu la placa de coberta de la bobina.
4. Enfilar el fil superior
Correct upper threading is crucial for proper stitch formation.
- Aixequeu el aixecador del peu premsador.
- Col·loqueu una bobina de fil al portacarret.
- Guieu el fil a través del guiafils superior.
- Follow the numbered threading path down the right channel, up the left channel, and through the take-up lever from right to left.
- Continueu guiant el fil cap avall fins a la guia de fils de la barra d'agulla.
- Enfileu l'agulla de davant a darrere.
- Pull approximately 15-20 cm (6-8 inches) of thread through the needle eye.
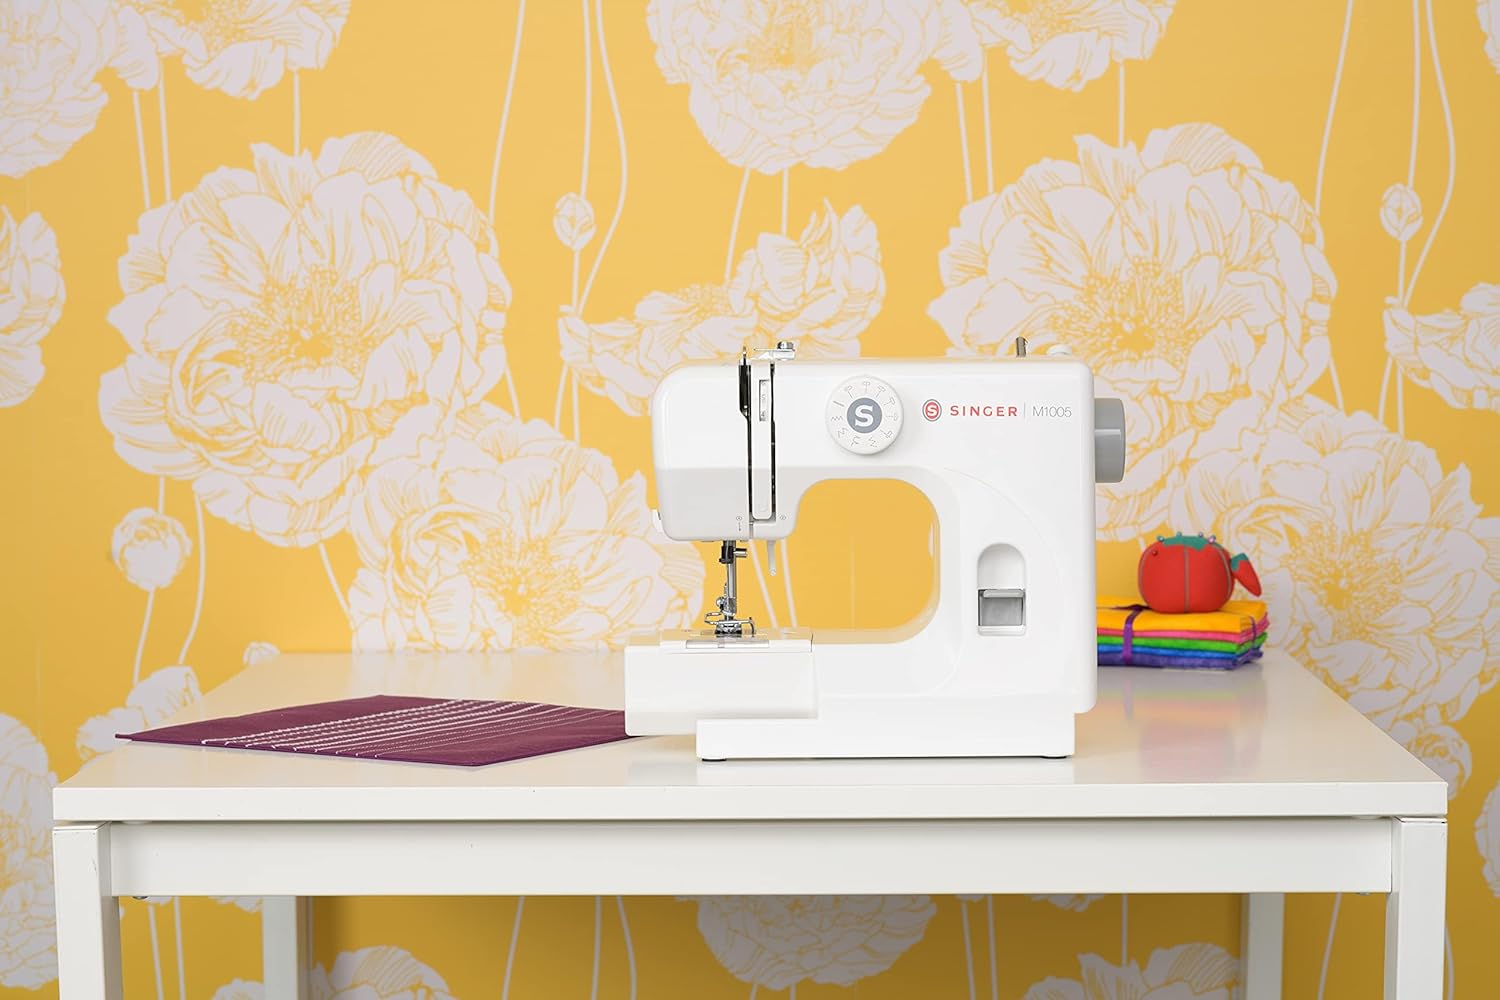
Figura 2: Davant view of the SINGER M1005, highlighting the stitch selector dial and general threading area.
Instruccions de funcionament
1. Selecting a Stitch
The SINGER M1005 offers 4 core stitch types with 11 different options.
- Gireu el Dial Selector de puntada to choose your desired stitch pattern.
- Available stitches include various straight stitches (different lengths/positions), three types of zigzag stitches (different lengths/widths), one blind hem stitch, and one multi-stitch zigzag.
- The optimum stitch width for this machine is 4 mm.
2. Adjusting Thread Tension
Adjust the needle thread tension to achieve balanced stitches.
- The tension dial is usually located on the front of the machine.
- Turn the dial to a higher number for tighter tension, and a lower number for looser tension.
- Test on a scrap piece of fabric to find the ideal setting for your fabric and thread combination.
3. Using the Reverse Lever
The reverse lever is used to secure the beginning and end of seams.
- To sew in reverse, press and hold the Palanca inversa located on the front of the machine.
- Release the lever to resume forward stitching.
4. Free-Arm Sewing
To utilize the free-arm feature for sewing cuffs, pant hems, or other small circular items:
- Remove the accessory storage compartment (if present) by sliding it off to the left.
- The narrow free arm is now exposed, allowing you to slide fabric around it.
5. Extra High-Presser Foot Lifter
For thicker fabrics or multiple layers, the presser foot can be raised higher than its standard position.
- Lift the presser foot lifter to its highest position.
- For extra clearance, push the lifter up further to engage the extra high position.
Manteniment
Un manteniment regular garanteix la longevitat i el rendiment òptim de la màquina de cosir. Desendolleu sempre la màquina abans de realitzar qualsevol manteniment.
1. Neteja de la màquina
- Eliminació de pelusses: Use a small brush to remove lint and dust from the bobbin area and feed dogs.
- Neteja exterior: Netegeu les superfícies exteriors amb un damp tela. No utilitzeu productes químics durs.
2. Substitució d'agulla
Replace the needle regularly (after 8-10 hours of sewing) or if it becomes bent, dull, or broken.
- Apagueu la màquina i desconnecteu-la.
- Afluixeu l'agulla clamp cargol.
- Traieu l'agulla vella.
- Introduïu una agulla nova amb el costat pla mirant cap a la part posterior de la màquina, empenyent-la cap amunt fins al fons.
- Apretar l'agulla clamp cargol de manera segura.
Resolució de problemes
Consulteu aquesta secció per obtenir solucions a problemes comuns que podeu trobar.
| Problema | Causa possible | Solució |
|---|---|---|
| Punts saltats | Agulla incorrecta, agulla doblegada, enfilat incorrecte. | Canvieu l'agulla pel tipus/mida correcte i torneu a enfilar la màquina correctament. |
| Trenca fil | Incorrect threading, tension too tight, damaged needle, poor quality thread. | Torneu a enfilar la màquina, ajusteu la tensió, substituïu l'agulla i utilitzeu fil de bona qualitat. |
| Arrugament de la tela | Tension too tight, incorrect stitch length, wrong needle for fabric. | Loosen tension, adjust stitch length, use appropriate needle. |
| Encallament de la màquina | Thread tangled in bobbin area, lint buildup, incorrect bobbin insertion. | Remove bobbin and clean bobbin case, re-insert bobbin correctly. |
| Punts desiguals | Incorrect thread tension, improper threading, worn needle. | Adjust tension, re-thread machine, replace needle. |
Especificacions
Technical specifications for the SINGER M1005 Electric Sewing Machine.
- Marca: CANTANT
- Número de model: M1005 (Part Number: 230246102)
- Color: Blanc
- Material: Plàstic
- Pes de l'article: 3 quilos
- Font d'alimentació: Elèctric amb cable
- Stitch Options: 4 built-in stitches with 11 options
- Max Stitch Width: 4 mm
- Tipus de bobina: Class 15 (Transparent, Top Drop-in)
- Característiques especials: Adjustable Thread Tension, Free-Arm Design, Reverse Lever, Extra High-Presser Foot Lifter
Garantia i Suport
For warranty information, service, or technical support, please refer to the warranty card included with your product or contact SINGER customer service directly. Keep your purchase receipt as proof of purchase.
You can typically find contact information for SINGER support on their official weblloc web o dins de l'embalatge del producte.