
1. Instruccions de seguretat importants
Please read these instructions carefully before using the appliance to prevent damage, fire, or injury. Keep this manual for future reference.
- Assegureu-vos sempre que l'aparell estigui col·locat sobre una superfície estable i resistent a la calor.
- No submergiu l'aparell, el cable o l'endoll en aigua o altres líquids.
- Desendolleu l'aparell de la presa de corrent quan no l'utilitzeu, abans de muntar o desmuntar peces i abans de netejar-lo.
- No feu servir cap aparell amb un cable o un endoll danyats, o després que l'aparell funcioni malament o s'hagi fet malbé de cap manera.
- Keep children away from the appliance during operation. The surface can become hot.
- No utilitzeu accessoris no recomanats pel fabricant.
- Aquest aparell només és per a ús domèstic.
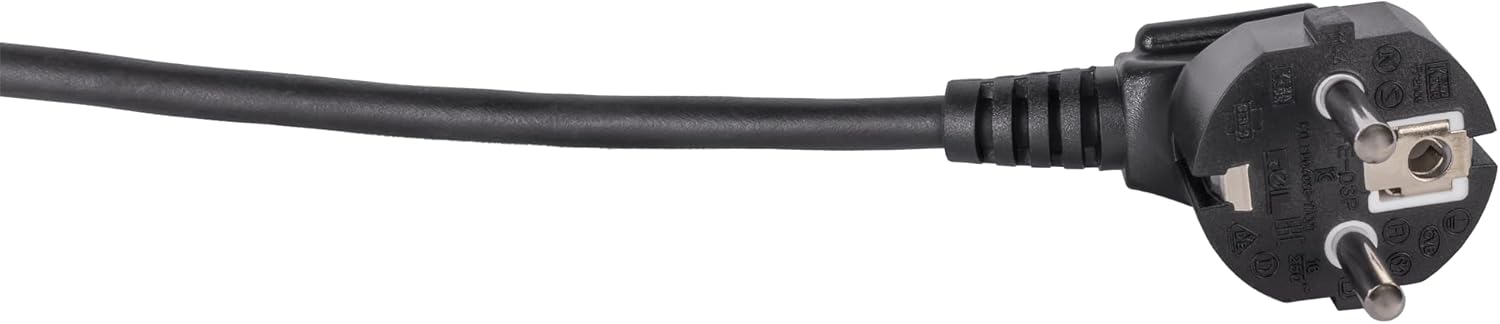
Image: Standard European power plug. Ensure the plug is fully inserted into a grounded outlet.
2. Producte acabatview
2.1 Components
The Steba BM 3 Bread Maker includes the following main components:
- Main Unit with Control Panel and Display
- Removable Baking Pan with Non-stick Coating
- Pal de pastar
- Tassa de mesura
- Cullera Mesuradora
- Hook for removing kneading paddle
- Tapa amb Viewfinestra

Imatge: Frontal view of the Steba BM 3 Bread Maker, showing its compact design.
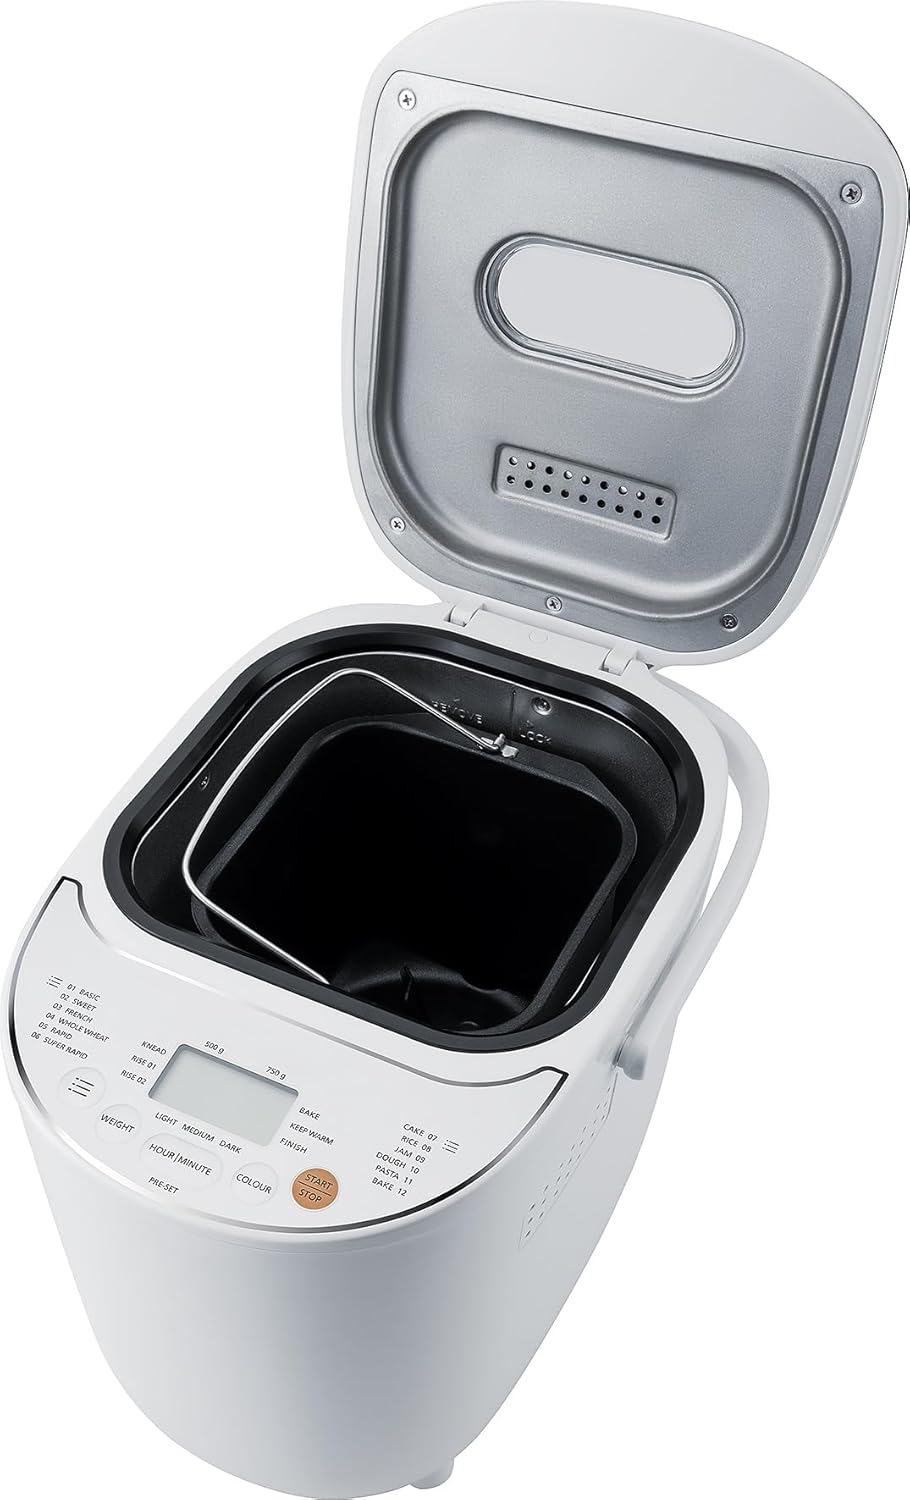
Image: The bread maker with its lid open, revealing the removable baking pan inside.
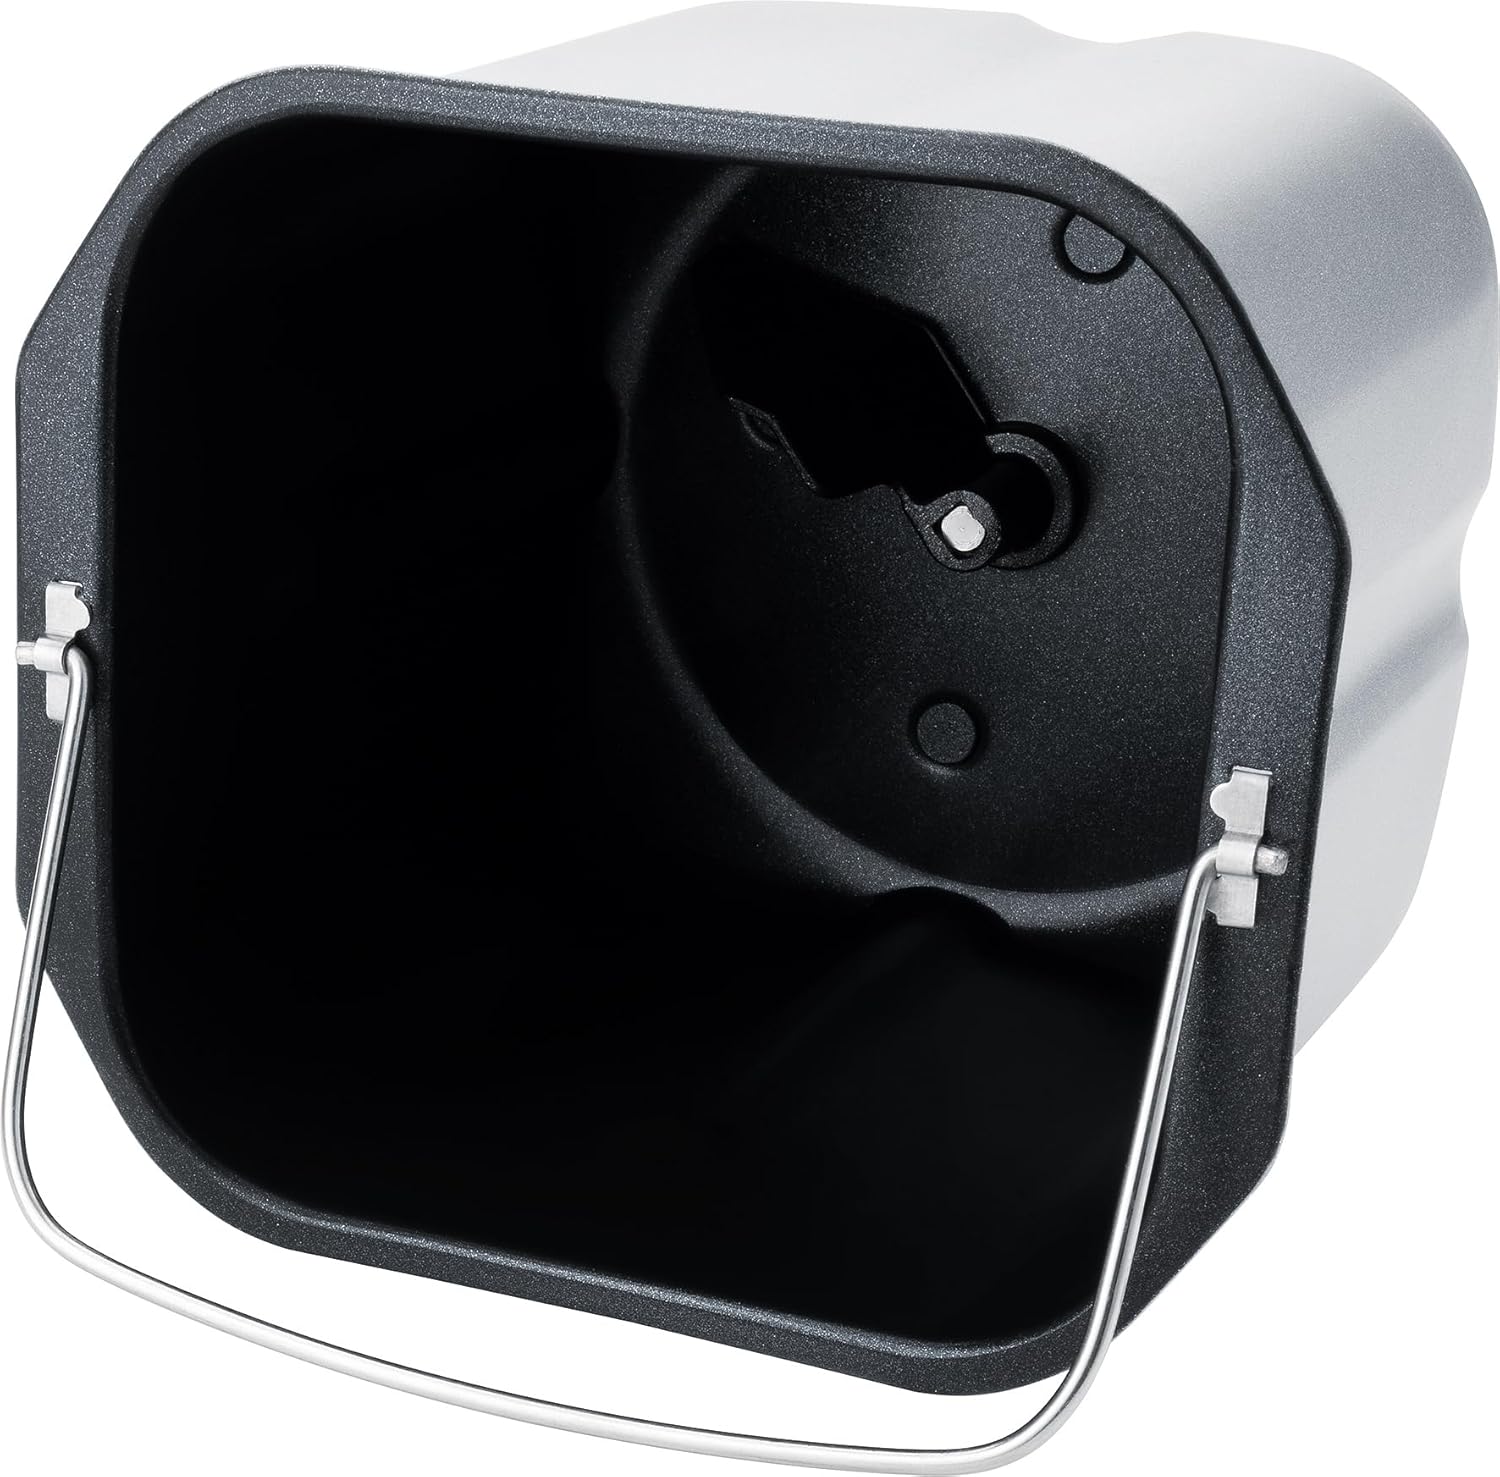
Imatge: Detallada view of the non-stick baking pan with the kneading paddle shaft.

Image: Included accessories: a measuring cup, a double-sided measuring spoon, and a hook for removing the kneading paddle.
2.2 Tauler de control i pantalla
The intuitive Touch-Control panel allows for easy program selection and setting adjustments.

Image: Close-up of the control panel, showing the digital display, program list, and control buttons for weight, time, color, and start/stop.
Controls clau:
- Visualització: Shows selected program, time, and settings.
- Selecció del programa: Choose from 12 automatic programs (Basic, Sweet, French, Whole Wheat, Rapid, Super Rapid, Cake, Rice, Jam, Dough, Pasta, Bake).
- Weight Button: Adjust bread weight (500g or 750g).
- Colour Button: Select crust browning level (Light, Medium, Dark).
- Hour/Minute (Pre-set) Buttons: Set delay timer for up to 13 hours.
- Botó d'inici / aturada: Initiate or cancel a program.
3. Configuració i primer ús
3.1 Desembalatge
- Traieu amb cura la màquina de fer pa i tots els accessoris de l'embalatge.
- Traieu qualsevol pel·lícula protectora o adhesiu de l'aparell.
- Wash the baking pan, kneading paddle, measuring cup, and spoon in warm, soapy water. Rinse thoroughly and dry completely. The main unit should only be wiped with a damp tela.
3.2 Ús inicial
- Place the bread maker on a clean, dry, and stable surface.
- Insert the baking pan into the main unit and twist it clockwise until it locks into place.
- Enganxeu la pala per pastar a l'eix dins de la safata de forn.
- For the first use, it is recommended to run a short 'Bake' cycle (Program 12) without ingredients for about 10 minutes to burn off any manufacturing residues. Ensure good ventilation during this process.
- Allow the appliance to cool down completely before cleaning and proceeding with actual baking.
4. Funcionament
4.1 Passos bàsics per fer pa
- Afegir ingredients: Follow a recipe and add liquid ingredients first, then dry ingredients, and finally yeast. Ensure yeast does not come into direct contact with liquids or salt.
- Seleccioneu el programa: Plug in the bread maker. The default program (usually 'Basic') will appear on the display. Press the 'Program' button repeatedly to cycle through the 12 available programs until your desired program is selected.
- Set Weight: Press the 'Weight' button to choose between 500g or 750g loaf size, if applicable for the selected program.
- Set Crust Colour: Press the 'Colour' button to select Light, Medium, or Dark crust.
- Començar a coure: Press the 'Start/Stop' button. The bread maker will begin the selected program.
- Finalització: Once the program finishes, the bread maker will beep and automatically switch to a 1-hour 'Keep Warm' function.
- Treure el pa: Unplug the appliance. Using oven mitts, carefully remove the baking pan by twisting it counter-clockwise and lifting it out. Invert the pan to release the bread onto a wire rack to cool. If the kneading paddle remains in the bread, use the provided hook to remove it.
4.2 Funció del temporitzador de retard
The delay timer allows you to set the bread maker to finish baking at a later time, up to 13 hours. This is ideal for fresh bread in the morning.
- Afegiu tots els ingredients a la safata de forn.
- Select your desired program, weight, and crust colour.
- Press the 'Hour' and 'Minute' buttons to set the desired delay time. The displayed time includes the baking cycle duration.
- Press 'Start/Stop'. The timer will count down, and the bread maker will start automatically when the delay time expires.
Nota: Do not use the delay timer with recipes containing highly perishable ingredients like milk, eggs, or fresh fruit, as they may spoil.

Image: An assortment of various types of freshly baked bread, illustrating the potential output of the bread maker.
5. Manteniment i Neteja
Proper cleaning and maintenance ensure the longevity and optimal performance of your bread maker.
5.1 Neteja
- Desconnecteu sempre l'aparell i deixeu-lo refredar completament abans de netejar-lo.
- Safata de forn i pala per pastar: These parts are non-stick and should be washed by hand with warm, soapy water. Avoid abrasive cleaners or scouring pads that could damage the non-stick coating. Rinse thoroughly and dry completely.
- Unitat principal: Netegeu l'exterior de la màquina de fer pa amb un drap suau i sec.amp drap. No utilitzeu productes químics agressius ni submergiu la unitat en aigua.
- Tapa: La tapa es pot netejar amb anuncisamp tela. El viewing window can be cleaned with a mild glass cleaner if necessary.
5.2 Emmagatzematge
Store the bread maker in a dry, clean place, away from direct sunlight and out of reach of children.
6. Solució De Problemes
Si teniu problemes amb la vostra màquina de fer pa, consulteu els següents problemes i solucions habituals:
| Problema | Causa possible | Solució |
|---|---|---|
| El pa no puja | Llevat caducat, temperatura de l'aigua incorrecta, massa sal/sucre, programa incorrecte. | Check yeast expiry, use lukewarm water, ensure correct ingredient ratios, select appropriate program. |
| El pa és massa dens | Too much flour, not enough liquid, yeast issue. | Measure ingredients precisely, ensure proper liquid-to-flour ratio, check yeast activity. |
| Pala per pastar enganxada al pa | Normal occurrence. | Use the provided hook to carefully remove the paddle after the bread has cooled slightly. |
| L'aparell no s'engega | Not plugged in, program not selected, 'Start/Stop' not pressed. | Ensure power connection, select a program, press 'Start/Stop'. |
7. Especificacions
Technical details for the Steba BM 3 Bread Maker:
- Número de model: 188300
- Marca: Steba
- Voltage: 230 Volts
- Wattage: 540 watts
- Capacitat: Up to 750 Grams
- Dimensions del producte (P x A x A): 34 de profunditat x 27.5 d'amplada x 24 d'alçada cm
- Pes de l'article: 4 quilos
- Material: Plàstic
- Nombre de programes: 12
- Instruccions de cura: Hand wash only (for removable parts)
- Disponibilitat de recanvis a la UE: 2 Anys

Image: Diagram showing the dimensions of the Steba BM 3 Bread Maker: 34 cm depth, 27.5 cm width, and 24 cm height.
8. Garantia i Suport
For warranty claims, technical support, or service inquiries, please contact your retailer or the manufacturer directly. Keep your proof of purchase for warranty validation.