
Introducció
The Briidea HWMA-02 Wireless Mailbox Alarm System provides a convenient way to monitor your mailbox. This system alerts you when your mailbox door is opened, featuring a wireless sensor for the mailbox and a receiver unit for inside your home. It helps ensure you are notified of mail delivery and can deter mail theft.
Característiques principals:
- Interval sense fil: Up to 500 feet in open areas, approximately 300 feet through up to 5 walls.
- Alert Function: Receiver buzzes 10 times and a red LED flashes when the mailbox door opens.
- Volum ajustable: Control the alert sound level on the receiver.
- Fàcil instal·lació: Sensor mounts with 3M adhesive; receiver can be mounted with adhesive or screws.
- Disseny durador: Constructed from ABS+PC flame retardant material, designed for various weather conditions.
- Battery Powered Sensor: Uses 2 AAA batteries (not included) for ultra-low power consumption.
Contingut del paquet
Si us plau, assegureu-vos que hi hagi tots els components:
- 1 x Wireless Receiver Unit
- 1 x Mailbox Sensor Unit
- Mounting Hardware (3M adhesive tape, screws)
- Manual d'usuari (aquest document)
Configuració i instal·lació
1. Sensor Battery Installation
The mailbox sensor requires 2 AAA batteries (not included).
- Loosen the four screws on the back of the sensor unit.
- Obriu amb cura el sensor casing.
- Inseriu 2 piles AAA, assegurant la polaritat correcta.
- Tanca el casing and tighten the four screws.
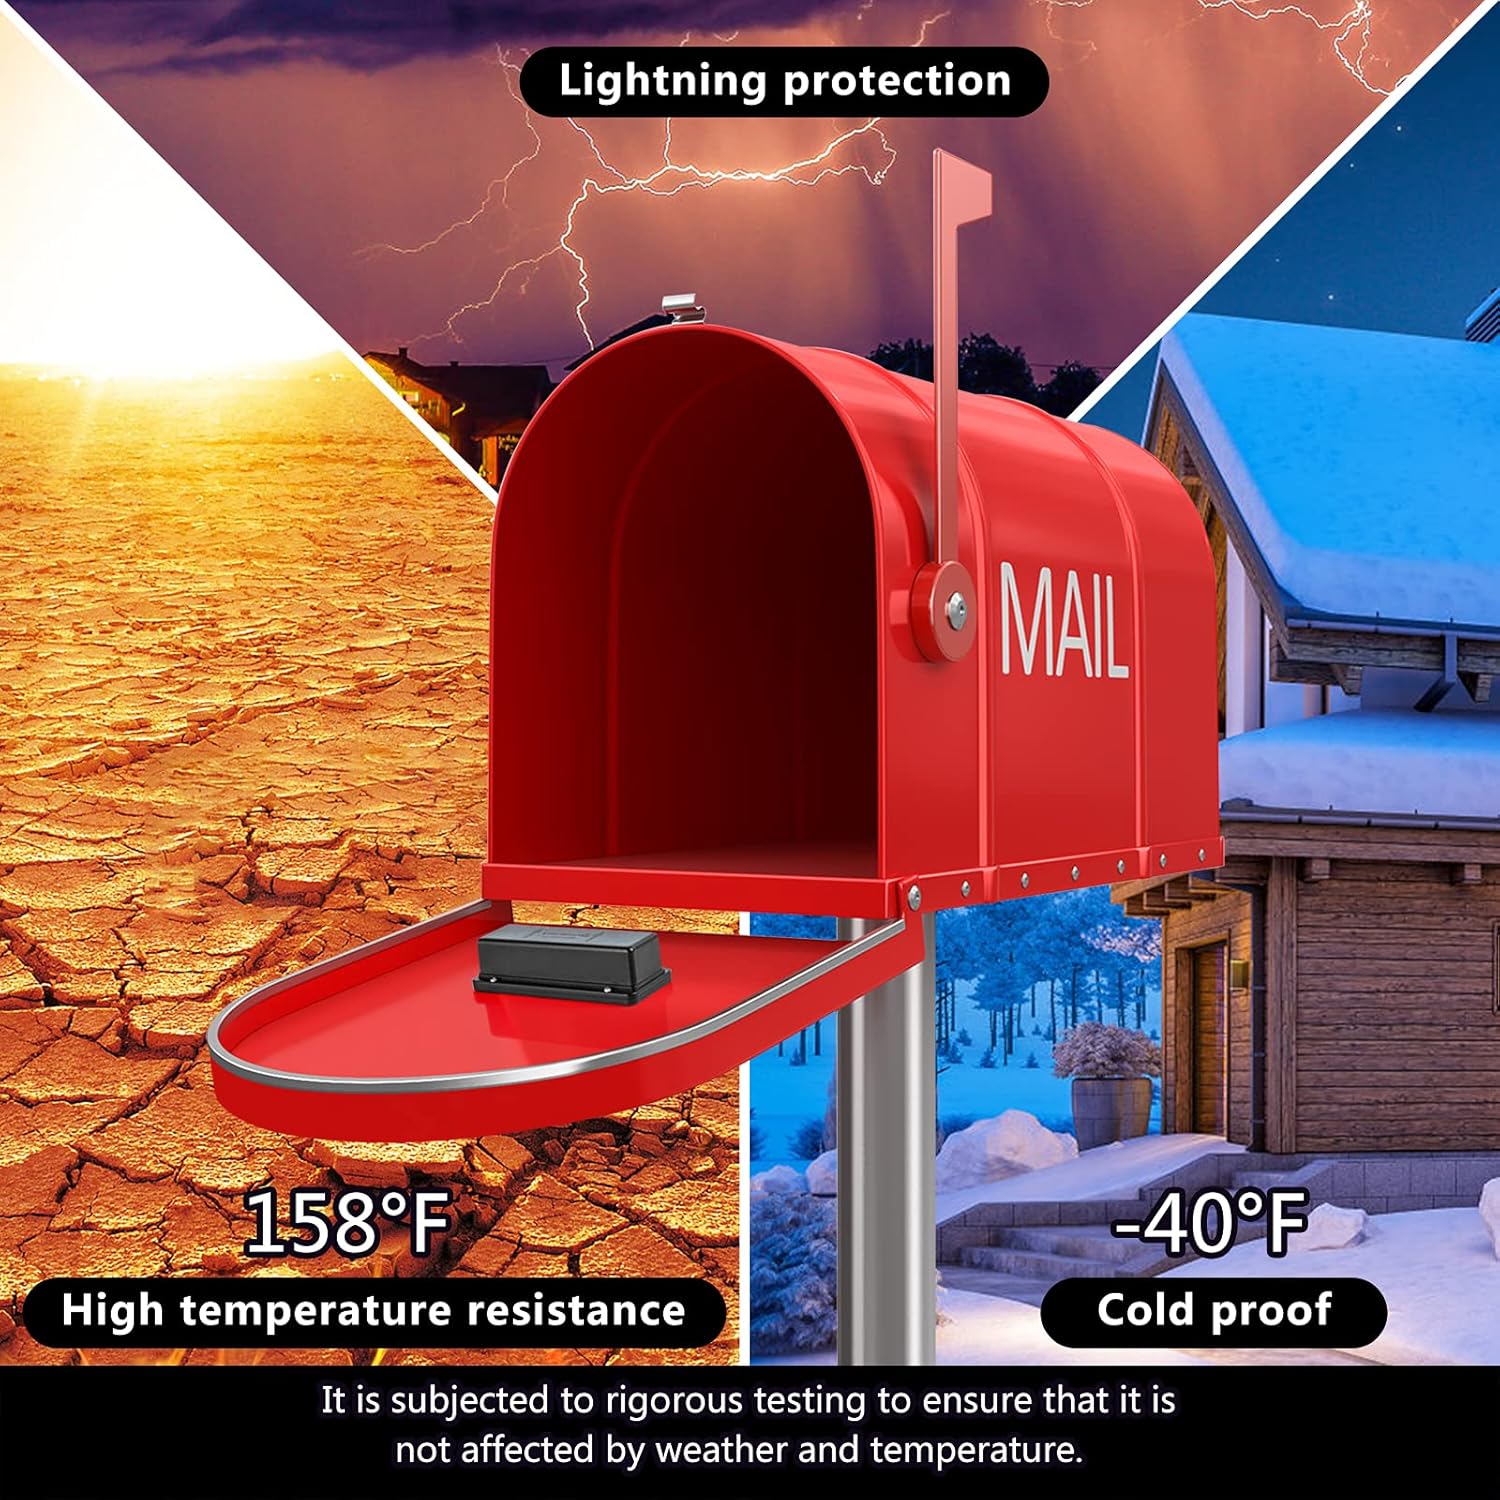
Image: Steps for installing AAA batteries into the mailbox sensor unit.
2. Mailbox Sensor Placement and Dial Setting
The sensor's effectiveness depends on its correct placement and dial setting, which varies by mailbox type. The arrow on the sensor should point in the direction the mailbox door opens.

Image: Diagram showing how to set the internal dial (TYPE1/TYPE2) and mount the sensor for curbside, wall-mounted, and slot-type mailboxes. The arrow on the sensor must point towards the opening direction.
- Curbside Mailbox (TYPE1): Set the internal dial to the Left (TYPE1). Mount the sensor with arrows pointing towards the top of the mailbox door.
- Wall-Mounted Mailbox (TYPE2): Set the internal dial to the Right (TYPE2). For mailboxes with large tapered lids, mount with arrows on the sensor pointing up. For mailboxes with short tapered lids and flat tops, mount with arrows on the sensor pointing up.
- Slot Type Mailbox (TYPE1): Set the internal dial to the Left (TYPE1). Mount with arrows on the sensor pointing towards the hinge.
Clean the inside surface of the mailbox door where the sensor will be placed. Use the provided 3M adhesive tape to securely fix the sensor. Ensure the sensor is firmly pressed against the surface for a good bond.

Image: An illustration showing the receiver unit indoors and the sensor unit installed inside a curbside mailbox, indicating a maximum wireless range of 500 feet.
3. Instal·lació del receptor
The receiver unit should be placed indoors, ideally within the specified wireless range of the mailbox sensor. It can be installed using either 3M adhesive tape or screws.

Image: Two methods for installing the receiver unit: using screws for fixation or using 3M double-sided adhesive tape.
Plug the receiver into a standard 110V-240V AC power outlet.
Instruccions de funcionament
1. Power On and Initial Pairing
Once the receiver is plugged in and the sensor has batteries, the system is ready. The units are typically pre-paired from the factory. If they do not connect automatically, refer to the troubleshooting section for re-pairing instructions.
2. Recepció d'alertes
When the mailbox door is opened, the sensor will transmit a signal to the receiver. The receiver will then:
- Emit a buzzing sound 10 times.
- Flash its red LED indicator.

Image: Comparison of the system when the alert is off (no sound, no light) versus when the alert is on (sound and light until reset).
3. Ajust de volum
The receiver unit has buttons to adjust the volume of the alert sound.

Image: Close-up of the receiver unit showing the V+ and V- buttons for volume adjustment, with three volume levels illustrated.
4. Resetting the Alarm
After an alert, press the 'R' (Reset) button on the receiver to silence the alarm and clear the flashing LED.

Image: Close-up of the receiver unit highlighting the red LED indicator, which flashes during an alert.
Manteniment
1. Substitució de la bateria
The mailbox sensor is powered by 2 AAA batteries. Replace them when the sensor's performance degrades or if the receiver fails to register alerts despite the mailbox being opened. Follow the battery installation steps outlined in the Setup section.
2. Neteja
Wipe the sensor and receiver units with a soft, dry cloth. Avoid using abrasive cleaners or solvents.
3. Consideracions ambientals
The sensor is designed to withstand various weather conditions, including temperatures from -40°F to 158°F. However, ensure it is securely mounted to prevent dislodgement during extreme weather.
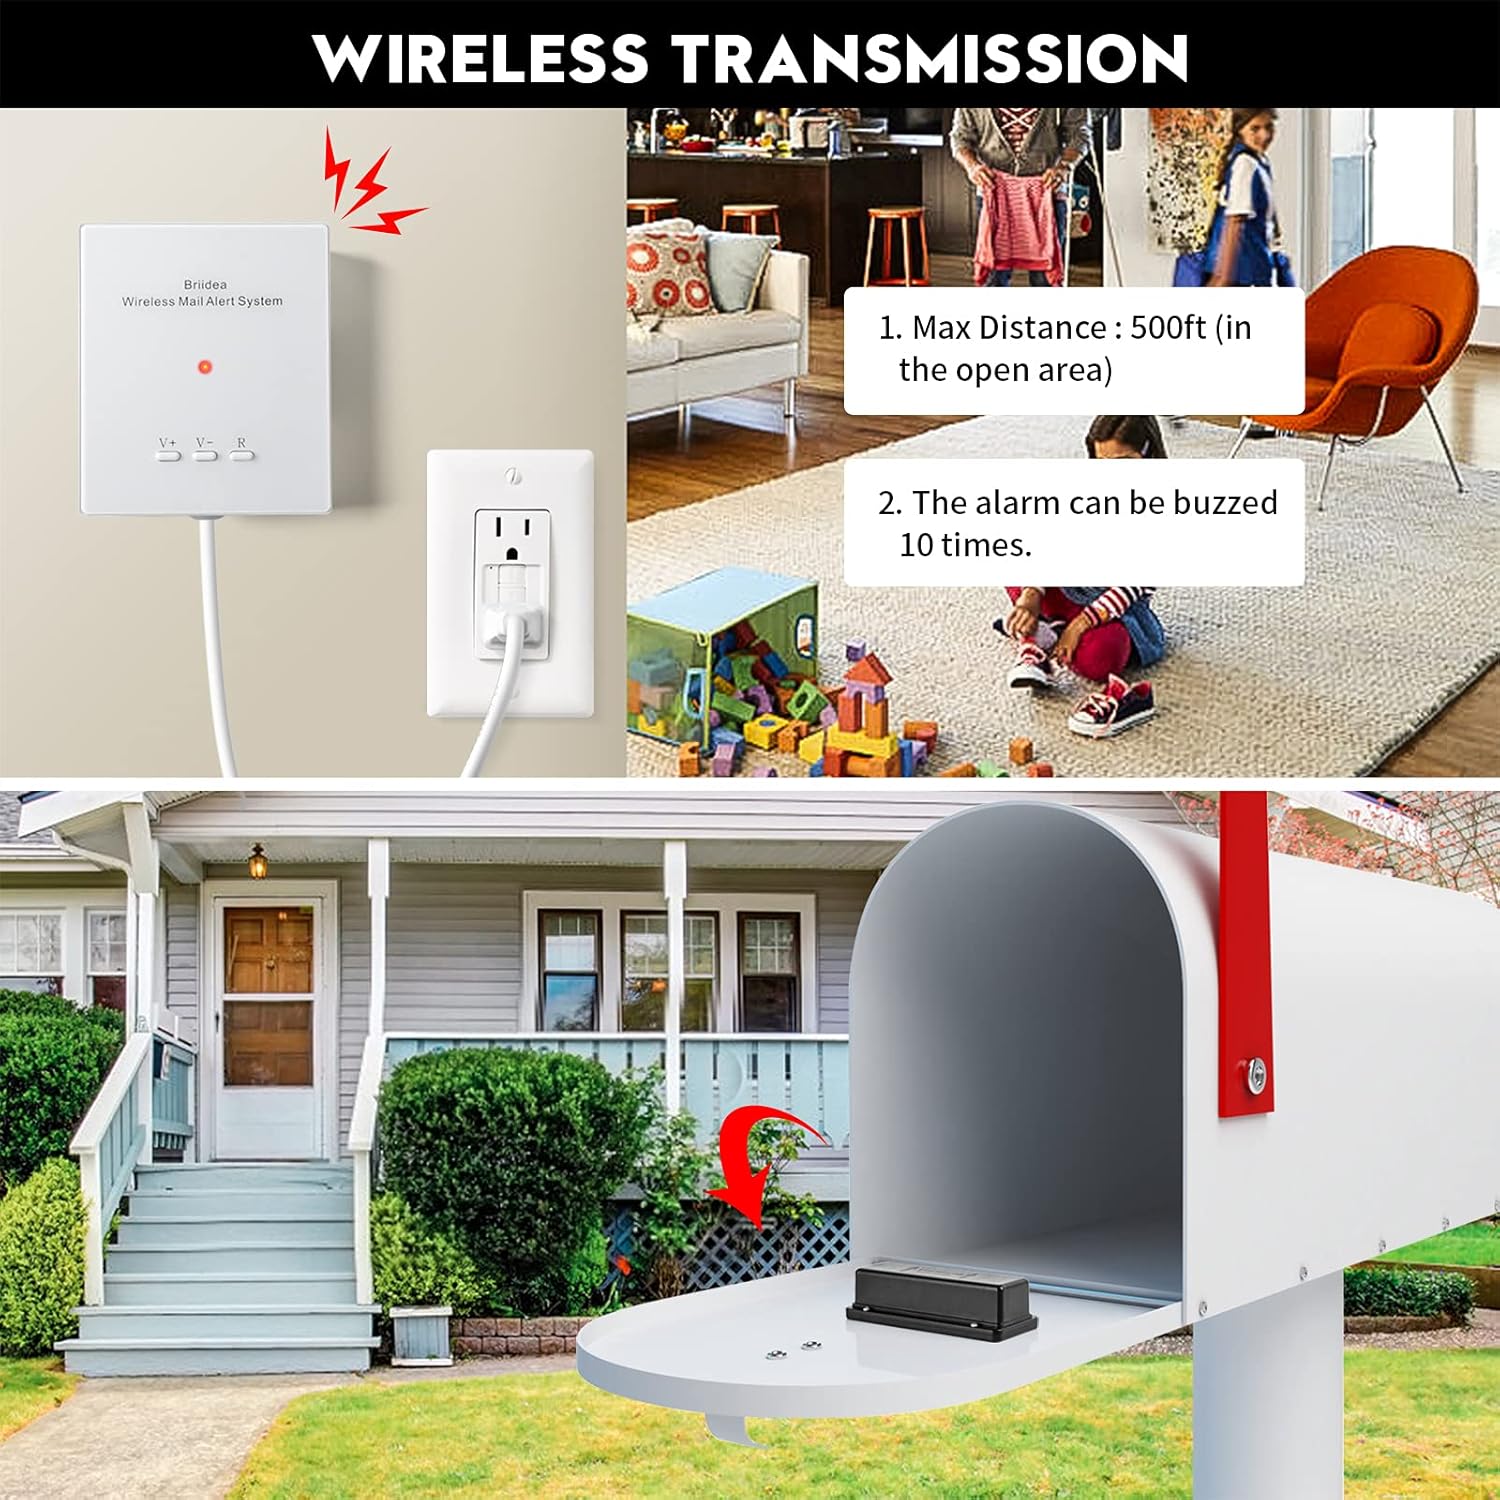
Image: Illustration showing the mailbox sensor's resistance to high temperatures (158°F) and cold (-40°F), indicating its suitability for various climates.
Resolució de problemes
- No Alert When Mailbox Opens:
- Check sensor batteries and replace if necessary.
- Ensure the sensor is correctly positioned and the internal dial setting matches your mailbox type (refer to "Mailbox Sensor Placement").
- Verify the receiver is plugged in and powered on.
- Check the distance between the sensor and receiver. Obstacles like thick walls or metal structures can reduce range. Try relocating the receiver closer or to a window facing the mailbox.
- If the receiver was recently unplugged, allow a few minutes for it to reset and reconnect.
- Falses alarmes:
- Ensure the sensor is securely mounted and not shifting.
- Re-check the sensor's dial setting and orientation for your specific mailbox type.
- Weak Signal/Intermittent Alerts:
- Canvieu les piles del sensor.
- Reduce the distance between the sensor and receiver.
- Avoid placing the receiver near large metal objects or other electronic devices that might cause interference.
Especificacions
| Característica | Especificació |
|---|---|
| Número de model | HWMA-02 |
| Marca | briidea |
| Entrada del receptor | 110V-240V AC |
| Bateria del sensor | 2 piles alcalines AAA (no incloses) |
| Interval sense fil (àrea oberta) | Fins a 500 peus |
| Wireless Range (Through 5 Walls) | Fins a 300 peus |
| Material | ABS+PC |
| Pes de l'article | 8.4 unces |
| Dimensions del producte | Receiver: 3.4"L x 1.1"W x 4"H; Sensor: 4.1"L x 1.1"W x 1.7"H |

Image: Diagram illustrating the dimensions of both the receiver unit and the sensor unit in inches.
Informació de la garantia
This product comes with a standard manufacturer's warranty. For specific details regarding warranty coverage, duration, and claims process, please refer to the documentation included with your purchase or contact customer support.
Atenció al client
For technical assistance, troubleshooting, or product inquiries, please contact Briidea customer support. Contact information can typically be found on the product packaging or the official Briidea weblloc.