
PNI WiFi660
PNI House WiFi660 8-Channel NVR 4-Camera Wireless Outdoor 3MP Surveillance Kit
Model: WiFi660
1. Producte acabatview
The PNI House WiFi660 surveillance kit provides a comprehensive solution for monitoring your property. It includes an 8-channel Network Video Recorder (NVR) and four 3MP wireless cameras designed for outdoor use. This system allows for flexible monitoring, accessible both locally and remotely via dedicated mobile applications and PC software.
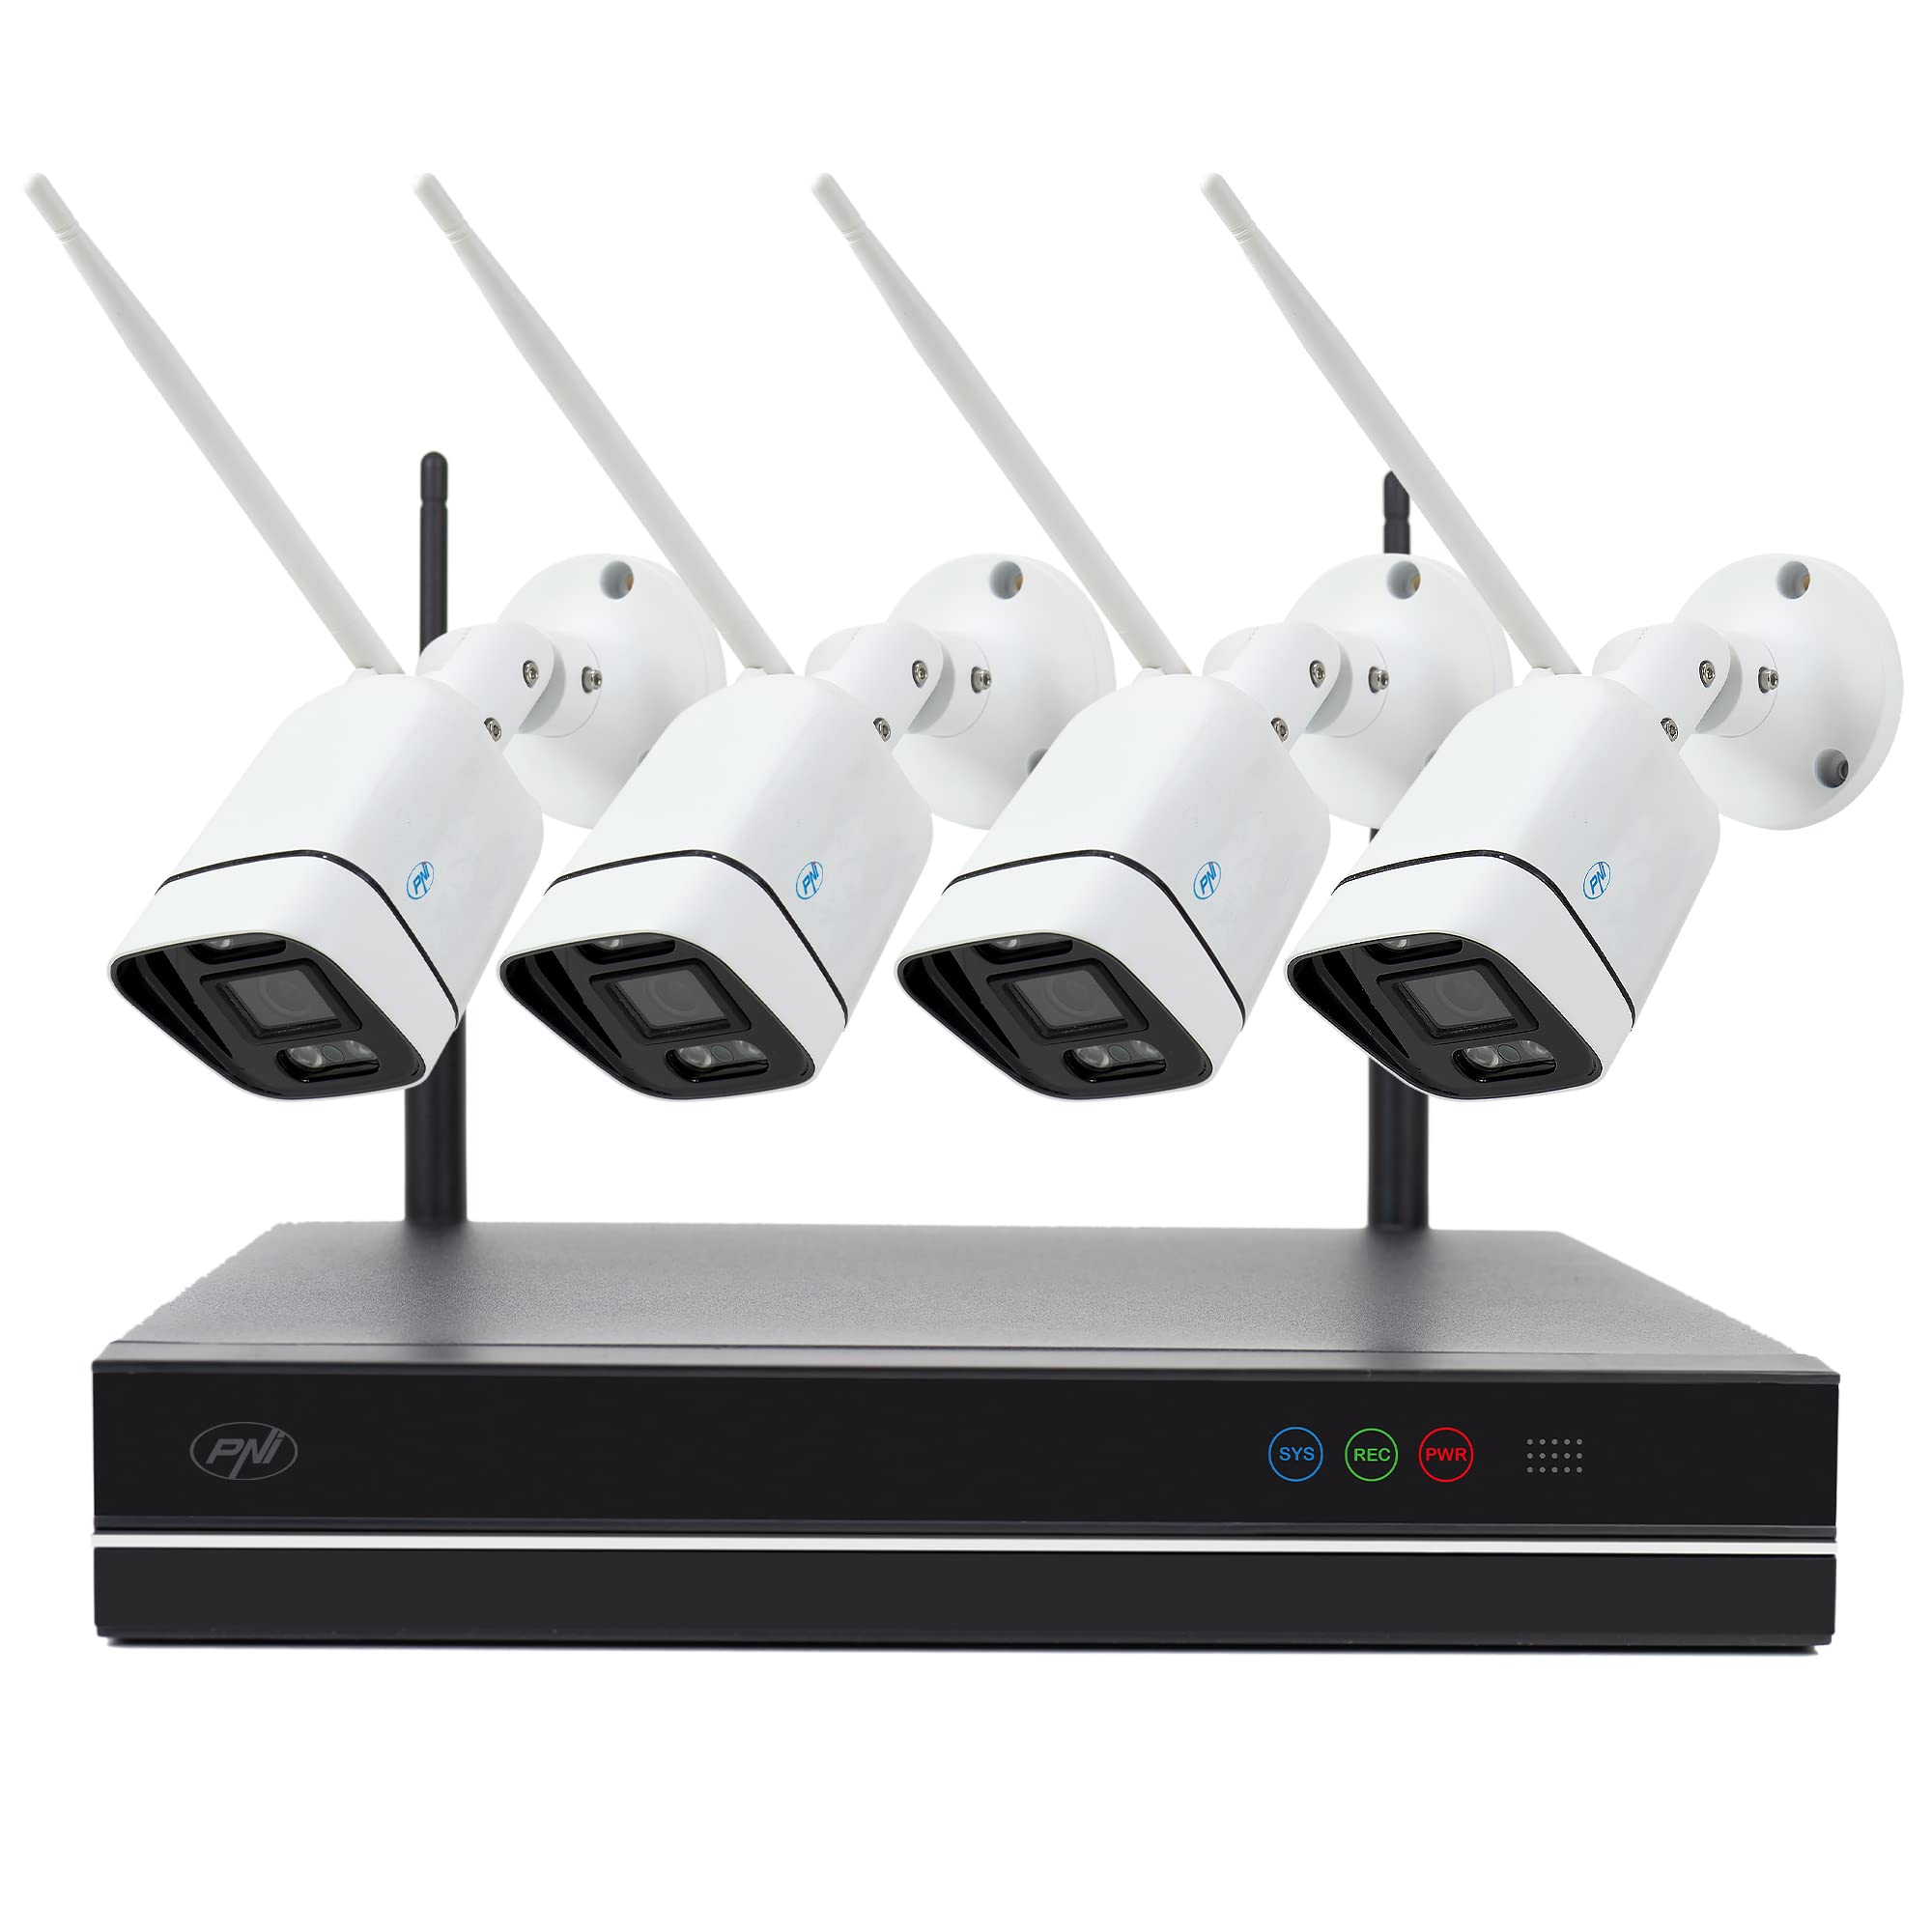
Image: The PNI House WiFi660 kit, showing the NVR unit and four wireless cameras.
Les característiques clau inclouen:
- Remote and Local Control: Manage your surveillance system from mobile devices using the XMEye app (Android/iOS) or from a PC with General CMS software.
- Connectivitat sense fils: Cameras connect to the NVR and the internet wirelessly, offering a maximum transmission distance of 100m in open environments.
- Expandable Recording: The NVR supports up to 8 Full HD surveillance cameras (4 included, 4 optional) and an internal HDD up to 6TB for extensive recording.
- Durabilitat a l'aire lliure: IP66-rated cameras are suitable for both indoor and outdoor installation.
- Visió nocturna millorada: Cameras feature 4 IR LEDs and floodlights for quality night recordings up to 30 meters.
- P2P Remote Access: Access your NVR remotely via a P2P connection, simplifying network setup without complex router configurations.
2. Contingut del paquet
Verifiqueu que tots els elements siguin presents al paquet:
- 1 x Network Video Recorder (NVR)
- 4 x Wireless Outdoor Surveillance Cameras (3MP)
- 1 x NVR Power Supply (230V to 12V 2A)
- 4 x Camera Power Supplies (230V to 12V 1A)
- 1 x ratolí USB
- 1 x CD with Software (General CMS)
- 1 x Manual d'usuari
- 1 x cable Ethernet

Image: All components included in the PNI House WiFi660 kit, including the NVR, four cameras, power adapters, mouse, and cables.
3. Instruccions de configuració
3.1 NVR and Camera Connection
- Connecta l'NVR:
- Connect the NVR to a monitor using an HDMI or VGA cable.
- Connect the USB mouse to one of the NVR's USB ports.
- Connect the NVR to your router using the provided Ethernet cable for internet access.
- Connect the NVR power adapter and plug it into an electrical outlet.
- Instal·lació del disc dur (opcional): If you wish to record, install a compatible internal HDD (up to 6TB) into the NVR. Refer to the detailed NVR manual for installation steps.
- Encendre les càmeres: Connect each camera to its respective power adapter and plug them into electrical outlets. The cameras will automatically pair with the NVR.

Image: The back panel of the NVR, highlighting the VGA, HDMI, WAN, USB, and DC12V power ports for connections.
3.2 Software Installation and Mobile App Setup
- PC Software (General CMS):
- Insert the included CD into your computer's CD-ROM drive and install the General CMS software.
- Alternatively, download the software from the PNI website's product page under the 'Download' section.
- Follow the on-screen instructions to complete the installation and configure the NVR.
- Mobile App (XMEye):
- Download the "XMEye" application from the Google Play Store (for Android) or Apple App Store (for iOS).
- Install the app and create an account if you don't have one.
- Add your NVR device to the app by scanning the QR code on the NVR or manually entering its details.

Image: A screenshot of the XMEye mobile application interface, showing live video feeds from multiple cameras.
4. Instruccions de funcionament
4.1 Viu View i la reproducció
- Via NVR (Local): Use the connected monitor and mouse to navigate the NVR interface. Select "Live View" to see real-time feeds or "Playback" to review foo gravattage.
- Via XMEye App (Remote/Local): Open the XMEye app, select your device, and tap "Start Preview"a view live feeds. Use the "Remote Video" option to access recorded footage.
- Via General CMS Software (PC): Launch the General CMS software, add your NVR, and use the interface for live viewing i reproducció.
Video: This video demonstrates the setup and operation of the PNI House WiFi660 surveillance kit, including connecting the NVR and cameras, and using the XMEye mobile application for live viewing and remote access. It shows the interface for managing devices, viewing multiple camera feeds, and accessing recorded video.
4.2 Enregistrament i emmagatzematge
- The NVR supports continuous recording, scheduled recording, and motion-detection recording. Configure these settings via the NVR's menu or the General CMS software.
- Ensure an internal HDD is installed and formatted within the NVR for recording.
- Foo gravattage can be downloaded via the General CMS software or the XMEye app.
4.3 Remote Access (P2P)
The system utilizes P2P technology for easy remote access. Once the NVR is connected to the internet and added to your XMEye account, you can access live feeds and recordings from anywhere without complex port forwarding or DDNS setup.
5. Manteniment
- Neteja regular: Periodically clean camera lenses and housings to ensure clear image quality. Use a soft, damp tela.
- Actualitzacions de firmware: Consulta el PNI website for firmware updates for the NVR and cameras to ensure optimal performance and security.
- Estat del disc dur: If an HDD is installed, regularly check its health status through the NVR interface to prevent data loss.
- Font d'alimentació: Ensure all power connections are secure and free from damage.
6. Solució De Problemes
- Sense canal de vídeo:
- Check power connections for both NVR and cameras.
- Ensure cameras are within WiFi range of the NVR.
- Verify that cameras are properly paired with the NVR.
- Check network connectivity for the NVR.
- Cannot Access Remotely:
- Assegureu-vos que l'NVR estigui connectat a Internet.
- Verify the XMEye app is correctly configured and the NVR is added to your account.
- Check your internet connection on both the NVR side and your mobile device.
- Problemes de gravació:
- Confirm an HDD is installed and properly formatted in the NVR.
- Check HDD status for errors or full capacity.
- Review programacions d'enregistrament i configuracions de detecció de moviment.
7. Especificacions
| Característica | Detall |
|---|---|
| Marca | PNI |
| Número de model | WiFi660 |
| Tecnologia de connectivitat | Sense fil |
| Resolució de captura de vídeo | 3MP (Cameras), 1080p (NVR Output) |
| Característiques especials | Video Recording, Night Vision |
| Nombre de canals | 8 |
| Data Storage Capacity (Max) | 6 TB (HDD not included) |
| Font d'alimentació | Elèctric amb cable |
| Sistemes operatius | Android, iOS |
| Dispositius compatibles | PC |
| Tipus de visió nocturna | Visió nocturna en color |
| Gamma de visió nocturna | 30 metres |
| Velocitat de fotogrames | 30 FPS |
| Mode d'enregistrament | Manual, Motion Detection |
| Ports USB | 2 |
| Interfície del maquinari | 802.11 ac/b/g/n |
| Tipus de lent | Arreglat |
| Tipus d'entrada de vídeo | VGA, HDMI |
| Viewangle ing | 83 graus |
| Format del senyal | Analog and Digital (IP) |
| Color | Negre |
| Dimensions (element) | 26 x 4 x 22 cm |
| Pes (article) | 2.3 quilos |

Imatge: Primer pla frontal view of one of the 3MP wireless outdoor cameras, showing its lens and night vision LEDs.
8. Garantia i Suport
For warranty information, please refer to the documentation provided with your purchase or visit the official PNI website. For technical support, troubleshooting assistance, or further inquiries, please contact PNI customer service through their official channels.
Podeu trobar recursos addicionals i informació de contacte a PNI Brand Store.
Ask a question about this manual
Ask about setup, troubleshooting, compatibility, parts, safety, or missing instructions. Manuals+ will review the question and use this page’s manual context to help answer it.