
1. Introducció
This manual provides essential information for the safe and effective operation of your AOPUTTRIVER T4-TI003-R Infrared Thermal Camera. Please read this manual thoroughly before using the device and retain it for future reference. This thermal camera is designed for professional use in various applications, including electrical cabinet inspection, motor and bearing analysis, HVAC diagnostics, and building inspections.
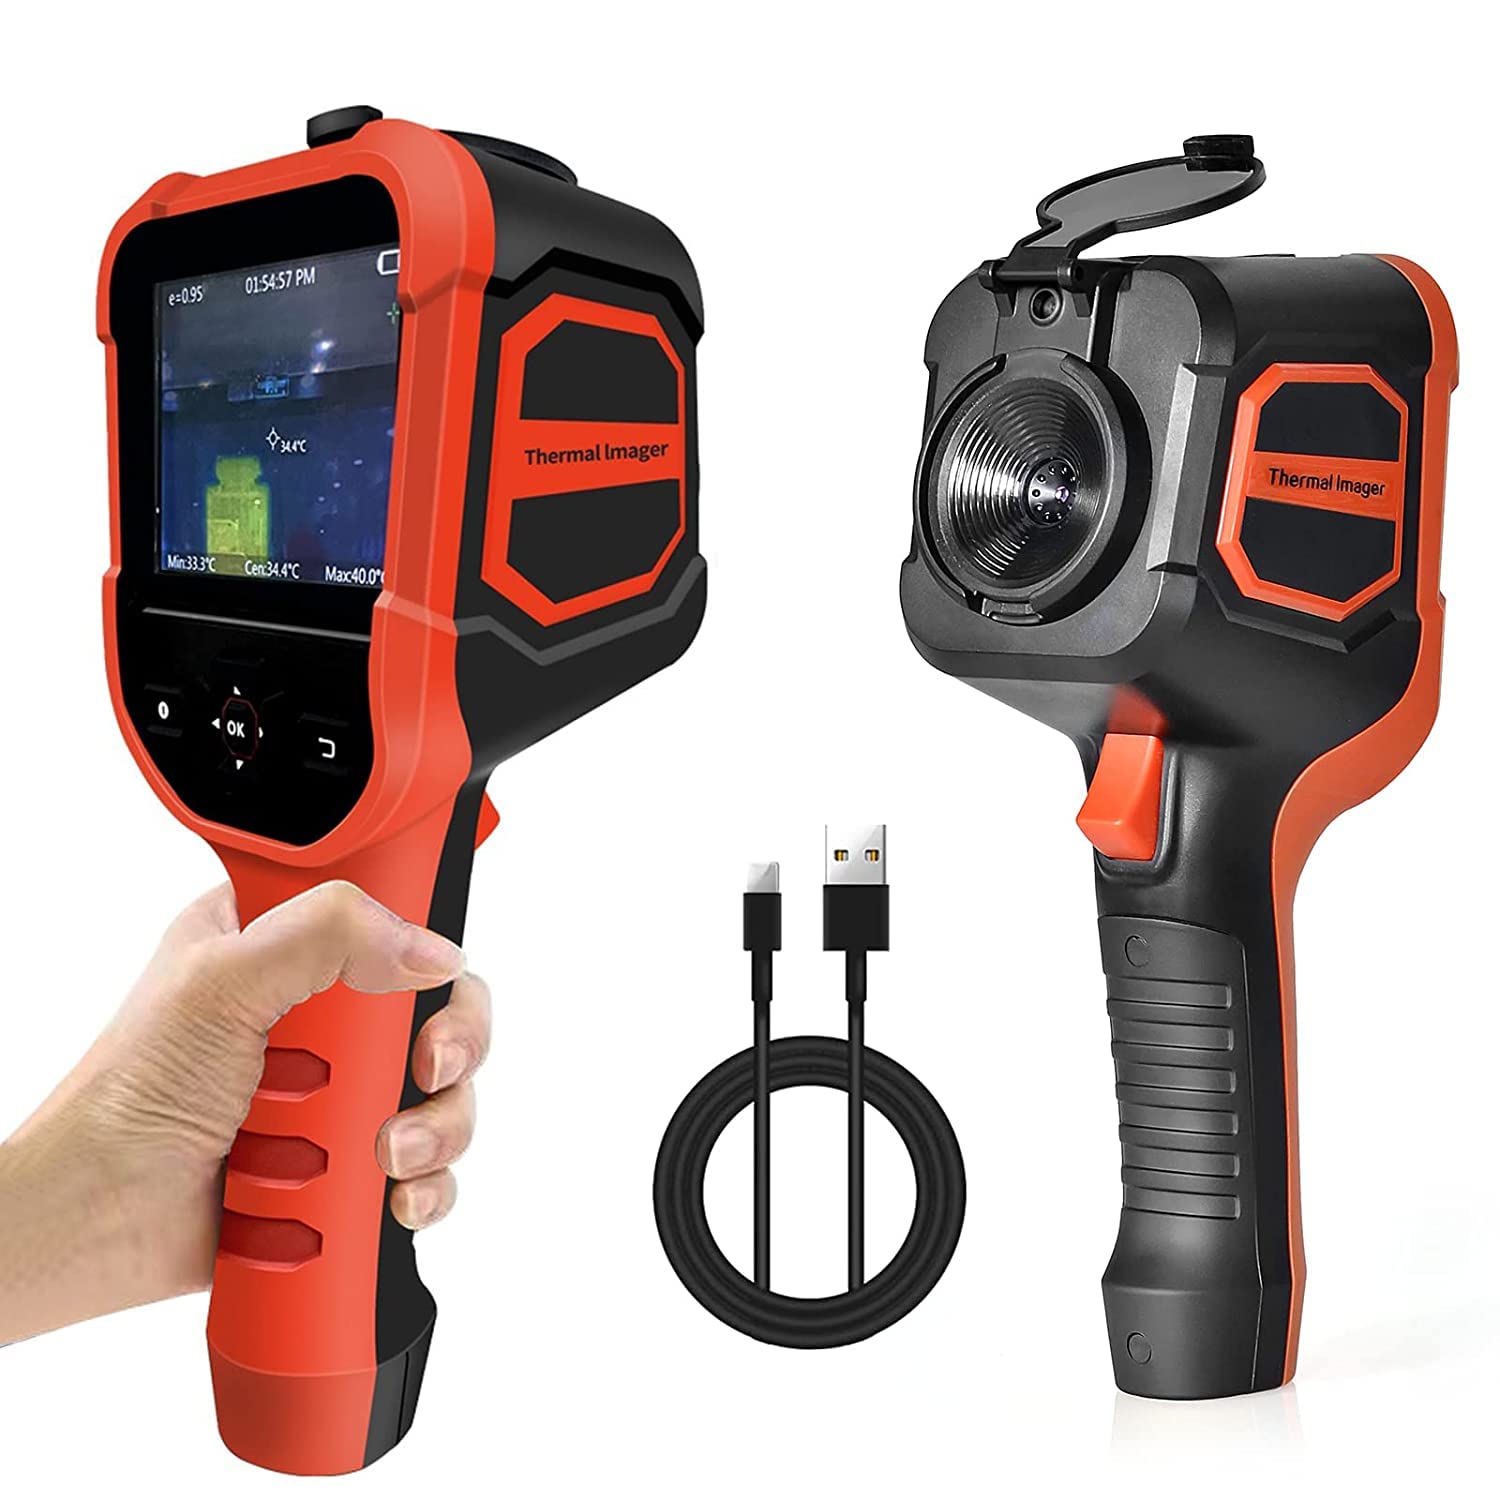
Figure 1.1: AOPUTTRIVER T4-TI003-R Infrared Thermal Camera, front and side view, with USB cable.
2. Informació de seguretat
To ensure safe operation and prevent damage to the device, observe the following safety precautions:
- Do not point the thermal camera directly at intense heat sources, such as the sun or lasers, as this may damage the infrared sensor.
- Eviteu exposar el dispositiu a temperatures extremes, humitat o ambients corrosius.
- Do not disassemble or modify the device. Repairs should only be performed by authorized personnel.
- Feu servir només el cable USB proporcionat per carregar i transferir dades.
- Mantingueu el dispositiu allunyat de camps electromagnètics forts.
- Ensure the lens is clean before use for accurate readings.
3. Producte acabatview
3.1 Components i controls
Familiarize yourself with the various parts of your thermal camera:

Figure 3.1: Labeled diagram of the thermal camera's display and lens components.
- Thermal Imager Screen: 3.5-inch LCD for displaying thermal images and data.
- Botó On/Off: Encén o apaga el dispositiu.
- Up/Down/Left/Right Buttons: Navigation controls for menus and settings.
- Botó D'acord: Confirma les seleccions.
- Botó de retorn: Navega enrere pels menús.
- Tapa de la lent: Protects the lenses when not in use.
- Digital Camera Lens: Captures visible light images.
- Lent infraroja: Captures thermal images.
- Trigger / Shortcut Key: Used for capturing images or activating specific functions.
3.2 Contingut del paquet
Verifiqueu que tots els elements siguin presents al paquet:
- AOPUTTRIVER T4-TI003-R Infrared Thermal Camera
- Cable USB
- Manual d'usuari (aquest document)

Figure 3.2: The thermal camera, USB cable, and user manual included in the product box.
4. Configuració
4.1 Càrrega del dispositiu
Before initial use, fully charge the thermal camera. Connect the provided USB cable to the camera's USB port and to a standard USB power adapter (not included) or a computer's USB port. The charging indicator on the device will show the charging status. A full charge typically provides 4-6 hours of continuous operation.
4.2 Engegada/apagada
- Per encendre: Press and hold the On/Off button until the screen illuminates.
- Per apagar: Press and hold the On/Off button until the screen shuts down.
5. Funcionament
5.1 Basic Thermal Measurement
Once powered on, the camera will display a live thermal image. Point the infrared lens towards the object or area you wish to inspect. The screen will show temperature readings, including minimum, maximum, and center point temperatures. The device automatically tracks hot and cold spots.

Figure 5.1: The thermal camera automatically identifies and tracks hot and cold spots within the image.
5.2 Palette Selection
The camera offers four color palettes to visualize temperature differences. To change the palette, navigate through the menu using the Up/Down/Left/Right buttons and select the desired option. The available palettes are:
- Ferro vermell: High contrast, good for general inspection.
- Arc de Sant Martí: Provides a wide range of colors for detailed temperature gradients.
- Blanc calent: Hotter areas appear white, colder areas appear black.
- Negre calent: Hotter areas appear black, colder areas appear white.

Figura 5.2: Examples of the four available color palettes for thermal imaging.
5.3 Temperature Alarm Settings
You can set high and low temperature alarms. When the detected temperature exceeds or falls below the set thresholds, an alarm will be triggered on the display. Access the alarm settings through the device menu to configure your desired temperature limits.

Figure 5.3: The device displays a high temperature alarm when a set threshold is exceeded.
5.4 Ajust de brillantor
Adjust the screen brightness to suit your environment. The brightness can be set to 0%, 25%, 50%, 75%, or 100% via the device's menu.
5.5 Image Capture and Storage
Press the Trigger/Shortcut Key to capture a thermal image. Images are saved to the internal 6GB Micro SD card. The camera supports real-time image transmission to a PC.
5.6 Transferència de dades a l'ordinador
Connect the thermal camera to a computer using the provided USB cable. The device will appear as a removable storage device, allowing you to access and transfer captured images for analysis.
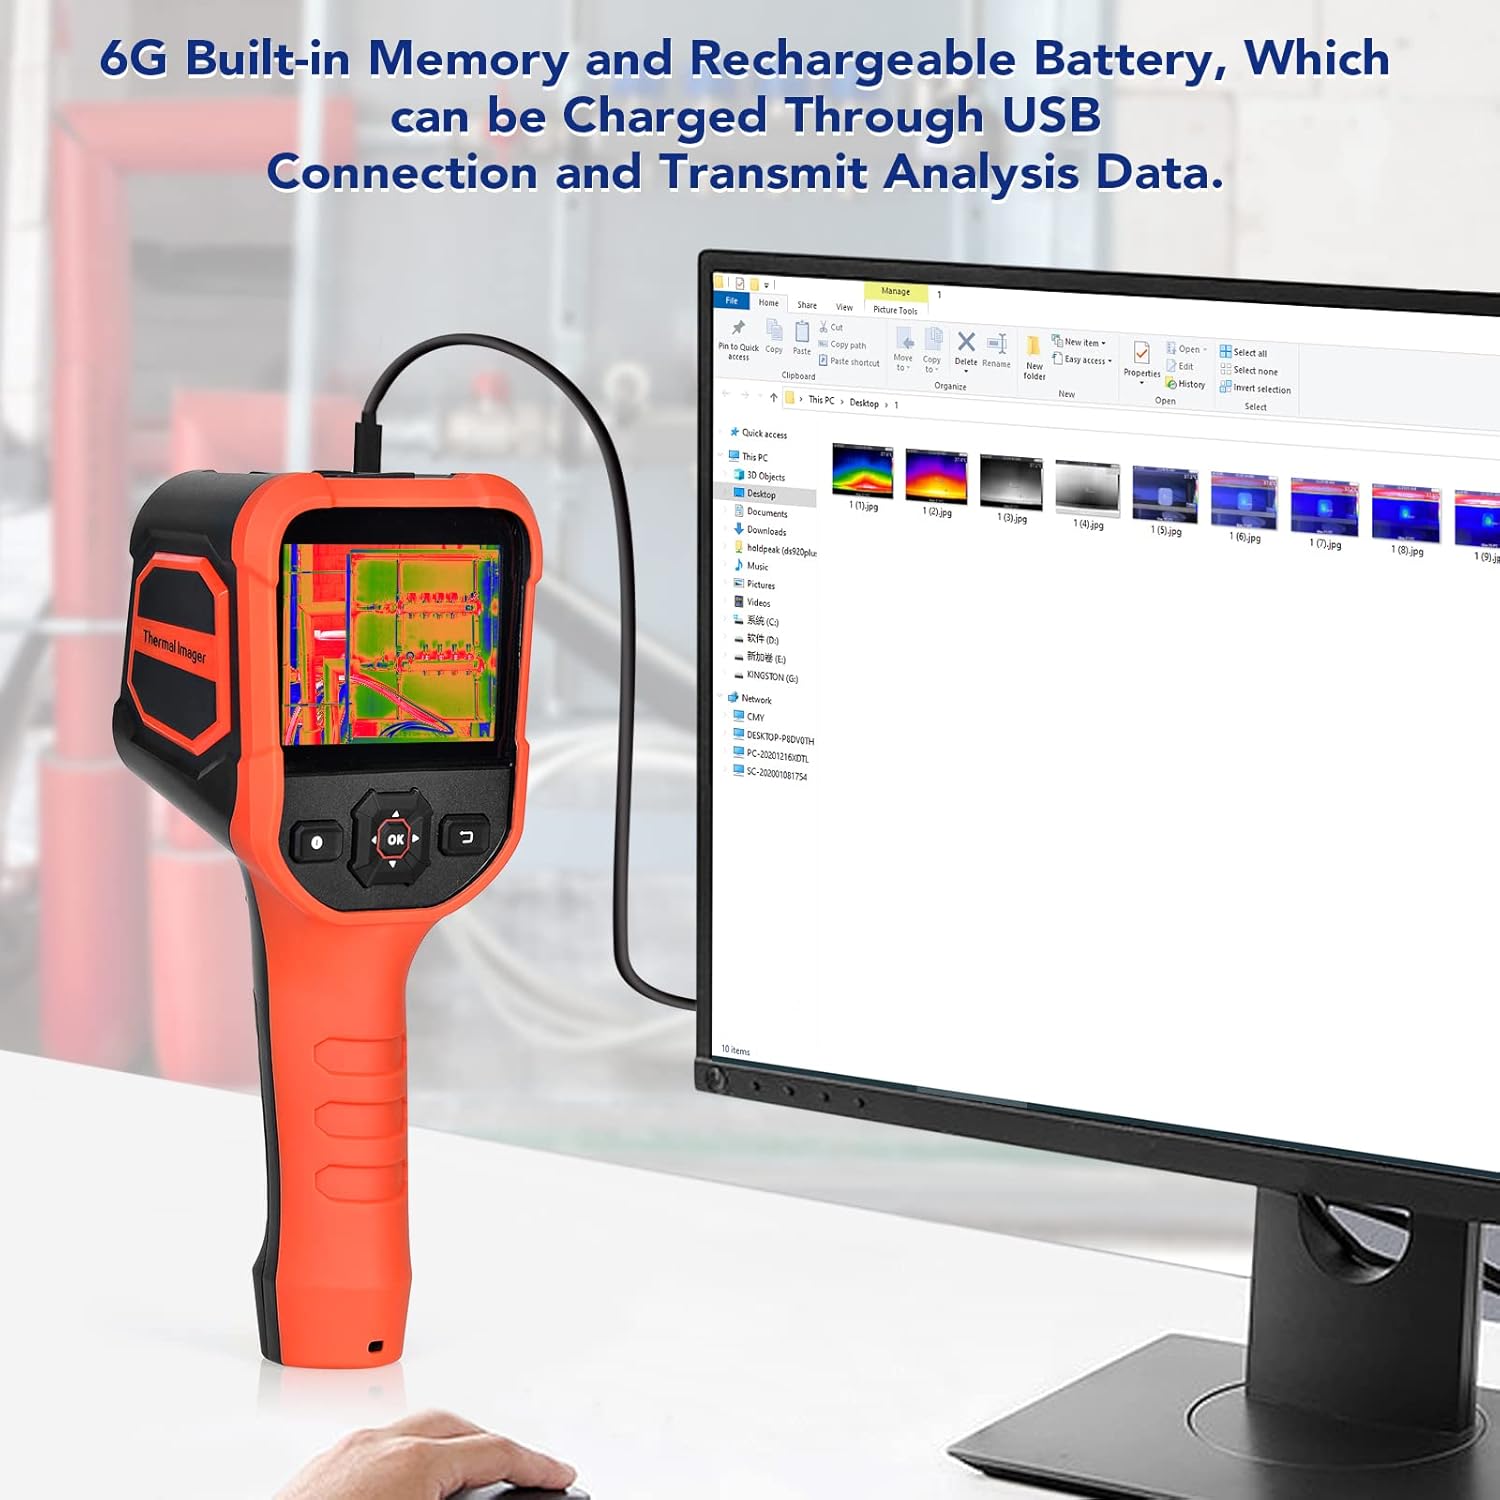
Figure 5.4: The thermal camera connected to a computer via USB for charging and data transfer.
6. Manteniment
6.1 Neteja
- Lents: Gently clean the infrared and digital camera lenses with a soft, lint-free cloth. For stubborn smudges, use a lens cleaning solution designed for optics.
- Cos del dispositiu: Wipe the exterior of the camera with a soft, damp tela. No utilitzeu netejadors abrasius ni dissolvents.
6.2 Emmagatzematge
When not in use, store the thermal camera in a cool, dry place, away from direct sunlight and extreme temperatures. Ensure the lens cap is in place to protect the lenses.
7. Solució De Problemes
If you encounter issues with your AOPUTTRIVER T4-TI003-R, refer to the following table:
| Problema | Causa possible | Solució |
|---|---|---|
| El dispositiu no s'encén. | Bateria baixa. | Carregueu el dispositiu amb el cable USB proporcionat. |
| La imatge és borrosa o poc clara. | Lent bruta. | Clean the infrared and digital camera lenses. |
| Lectures de temperatura inexactes. | Incorrect emissivity setting (if adjustable) or environmental factors. | Ensure the lens is clean. Check the emissivity setting if your model allows adjustment. Avoid strong air currents or reflective surfaces. |
| No es poden transferir dades a l'ordinador. | Connexió USB incorrecta o problema amb el controlador. | Assegureu-vos que el cable USB estigui ben connectat. Proveu un altre port USB o ordinador. |
Si el problema persisteix després d'intentar aquestes solucions, poseu-vos en contacte amb l'atenció al client.
8. Especificacions
The following table outlines the technical specifications of the AOPUTTRIVER T4-TI003-R Infrared Thermal Camera:
| Característica | Especificació |
|---|---|
| Número de model | UK-AP-T4-TI003-R |
| Resolució IR | 220 x 160 píxels |
| Mostra | Pantalla LCD en color de 3.5 polzades |
| Interval de temperatura | -20 °C a 330 °C (-4 °F a 626 °F) |
| Sensibilitat tèrmica | 0.07 °C |
| Velocitat de fotogrames | 9 Hz |
| Paletes de colors | Iron Red, Rainbow, White Hot, Black Hot |
| Emmagatzematge | 6GB Built-in Micro SD Card |
| Connectivitat | Micro USB (for charging and data transfer) |
| Durada de la bateria | 4-6 hours (continuous operation) |
| Classificació de protecció d'entrada (IP). | IP54 |
| Resistència a les caigudes | 6.5 feet (shatter-resistant) |
| Dimensions | 240 mm (altura) x 95 mm (ample) x 42 mm (profunditat) (aprox.) |
| Pes | 400 grams (aprox.) |

Figure 8.1: Key specifications and dimensions of the AOPUTTRIVER T4-TI003-R.

Figure 8.2: The device features IP54 dust and water resistance and is shatter-resistant up to 6.5 feet.
9. Garantia i Suport
AOPUTTRIVER provides a warranty for this product. Please refer to the warranty card included with your purchase or visit the official AOPUTTRIVER website for detailed warranty terms and conditions. For technical support, troubleshooting assistance, or service inquiries, please contact AOPUTTRIVER customer service through the contact information provided on the product packaging or official weblloc.