
1. Introducció
This manual provides detailed instructions for the setup, operation, maintenance, and troubleshooting of your Pacific Image PowerFilm Plus 35mm Film Scanner. The PowerFilm Plus is designed for efficient digitization of 35mm filmstrips, supporting both negative and positive film types. It features automatic batch scanning, high-resolution output, and advanced image enhancement technologies.

Figure 1.1: Pacific Image PowerFilm Plus 35mm Film Scanner. This image shows the scanner with a film strip inserted, ready for scanning.
2. Components del producte
Familiarize yourself with the main components of the PowerFilm Plus scanner.

Figure 2.1: Labeled diagram of the PowerFilm Plus scanner. Key components include the Film Strip Rail, Status Button, Power Socket, USB Cable Socket, and Power Switch.
- Film Strip Rail: Area where film strips are inserted for scanning.
- Botó d'estat: Indicates scanner status and can be used for certain operations.
- Endoll: Connects the scanner to the power adapter.
- USB Cable Socket: Connects the scanner to your computer.
- Interruptor d'alimentació: Activa o desactiva l'escàner.
3. Configuració
3.1 Desembalatge i contingut
En obrir el paquet, assegureu-vos que hi hagi tots els components:

Figure 3.1: The PowerFilm Plus scanner, AC Adapter, and USB Cable are included in the package.
- Pacific Image PowerFilm Plus Scanner Unit
- Adaptador de CA
- Cable USB
3.2 Requisits del sistema
Before connecting the scanner, ensure your computer meets the following minimum specifications:
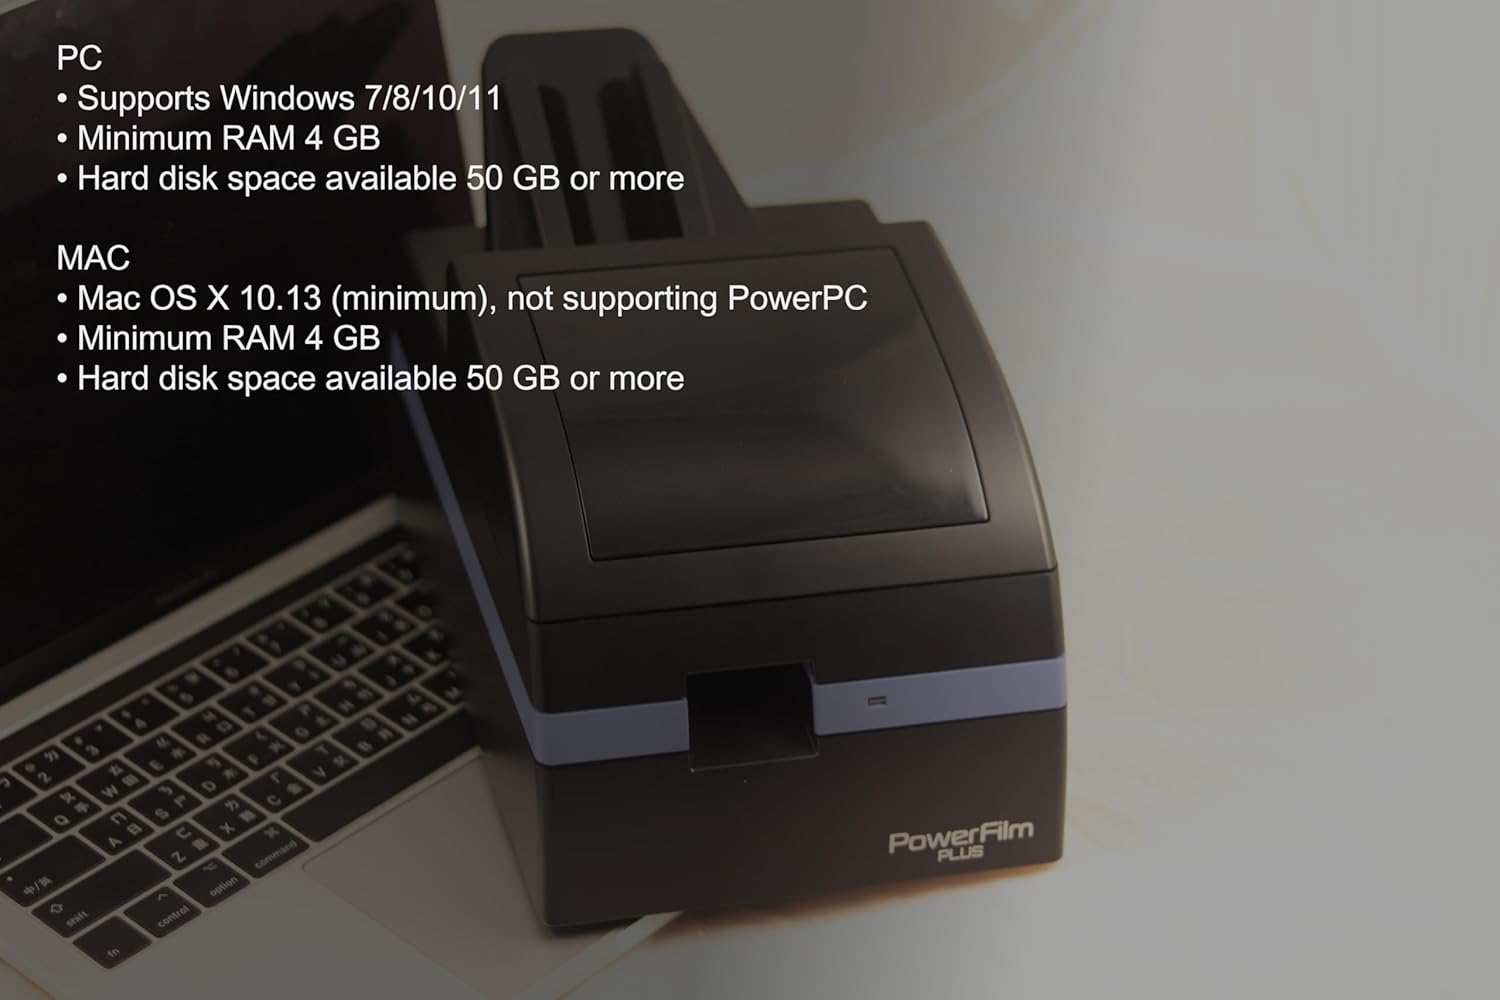
Figure 3.2: Visual representation of system requirements for PC and Mac compatibility.
- PC: Supports Windows 7/8/10/11. Minimum 4 GB RAM, 50 GB or more available hard disk space.
- Mac: Mac OS X 10.7 or later (not compatible with PowerPC). Minimum 4 GB RAM, 50 GB or more available hard disk space.
3.3 Connexió de l'escàner
- Connect the AC adapter to the Power Socket on the scanner and then to a power outlet.
- Connect the USB cable to the USB Cable Socket on the scanner and to an available USB port on your computer.
- Turn on the scanner using the Power Switch located at the back of the unit.

Figure 3.3: Close-up of the power switch and cable connections on the back of the scanner.
3.4 Instal·lació del programari
The necessary drivers and scanning software can be downloaded from the official Pacific Image Electronics weblloc.
Download Drivers and User Guide
Seguiu les instruccions a la pantalla per completar la instal·lació del programari.
4. Instruccions de funcionament
4.1 Basic Scanning Workflow
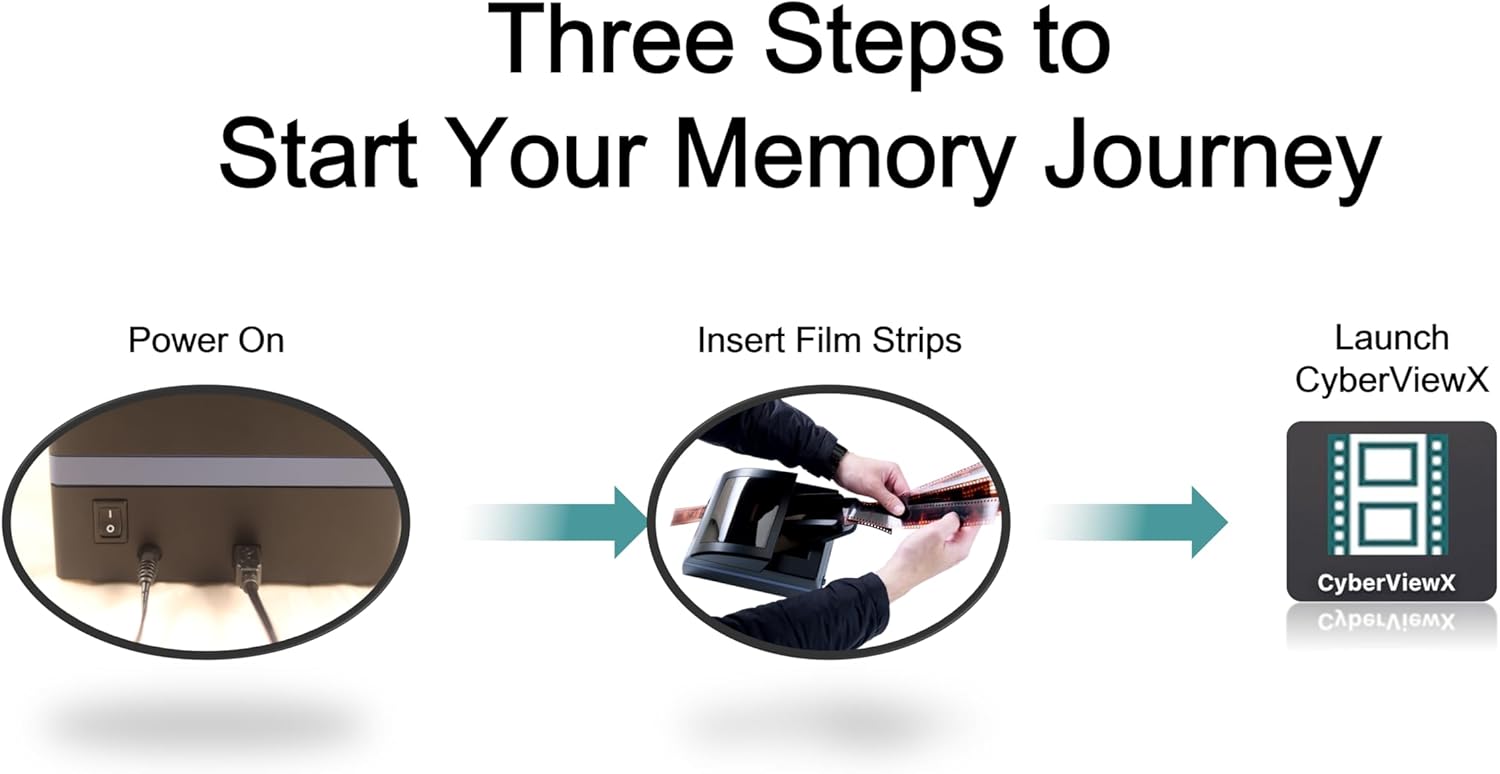
Figure 4.1: The three basic steps for initiating a scan: Power On, Insert Film Strips, and Launch CyberViewProgramari X.
- Encès: Ensure the scanner is connected and powered on.
- Insert Film Strips: Carefully insert your 35mm film strips into the Film Strip Rail. The scanner supports up to 10 film strips, with a maximum of 6 frames each, for a total of 60 frames per batch.
- Programari de llançament: Obriu el ciberViewX scanning software on your computer.

Figure 4.2: Illustration of the auto batch scanning capability, highlighting efficiency for multiple film strips.
4.2 Film Compatibility
The PowerFilm Plus supports various 35mm film types, including those from brands like Xpan, Mamiya, and Widelux. This versatility allows for scanning a broad range of film stocks.
4.3 Scanning Features and Enhancements
- Precisió del color: Utilizing a true RGB linear array CCD, the scanner ensures accurate and vibrant color reproduction in scanned images.
- Velocitat d'escaneig més ràpida: The PowerFilm Plus offers significantly faster scanning compared to previous models, enabling efficient digitization of large film archives.
- Tecnologia Magic Touch: This feature provides automatic dust and scratch removal, improving the quality of scanned images.
- Auto Color Adjustment: The software includes tools for accurate color adjustment, helping to restore faded colors from old negatives.
- Ajust de la imatge: Fine-tune brightness, contrast, highlights, and shadows within the scanning software.
- Multipass Exposure: This feature enhances image detail and reduces noise by scanning the film multiple times.

Figura 4.3: Examples demonstrating the effectiveness of Magic Touch for dust and scratch removal, and Auto Color Adjustment for color correction.

Figura 4.4: Mésview of advanced software features including Magic Touch, Image Adjustment interface, Faded Film Color Restoration, and Multipass Exposure.
5. Manteniment
5.1 Neteja de l'escàner
Una neteja regular ajuda a mantenir un rendiment d'escaneig i una qualitat d'imatge òptims.
- Neteja exterior: Use a soft, dry cloth to wipe the exterior of the scanner. Avoid abrasive cleaners or solvents.
- Film Path and Rollers: Dust and debris on the film path or rollers can affect film feeding and image quality. Refer to the software's "Clean Rollers" function or consult the full user guide for detailed instructions on cleaning internal components.
- Dust and Scratch Removal: Utilize the built-in "Magic Touch" technology in the software to automatically detect and remove dust and scratches from your scanned images.
6. Solució De Problemes
This section addresses common issues you might encounter with your PowerFilm Plus scanner.
6.1 Problemes comuns i solucions
- Scanner Not Detected / Software Not Launching:
- Assegureu-vos que el cable USB estigui connectat correctament tant a l'escàner com a l'ordinador.
- Verify the scanner's power switch is in the "On" position.
- Try unplugging and replugging the USB cable.
- Reinicieu l'ordinador i l'escàner.
- Confirm that the correct drivers are installed. Refer to the pàgina de descàrrega del controlador.
- Film Jams / Film Not Ejecting:
- Ensure film strips are inserted correctly and are not bent or damaged.
- Do not force film into the scanner.
- If a jam occurs, gently remove the film. Avoid pulling forcefully to prevent damage to the film or scanner.
- Clean the film rollers as described in the Maintenance section.
- Ensure the film is cut into standard 6-frame strips for optimal feeding.

Figure 6.1: Proper film insertion is crucial to prevent jams. Ensure the film is aligned with the feeder mechanism.
- Poor Image Quality (Streaks, Banding, Dust):
- Clean the scanner's film path and rollers.
- Ensure the film itself is clean and free of dust or fingerprints before scanning.
- Utilize the "Magic Touch" feature in the software for automatic dust and scratch removal.
- Check software settings for resolution and color depth.
- Software Crashes / Freezes During Scan:
- Ensure your computer meets the minimum system requirements, especially regarding RAM and hard disk space.
- Tanqueu altres aplicacions exigents mentre escanegeu.
- Update your scanner software and drivers to the latest version from the official weblloc.
- If the software becomes unresponsive, use your operating system's task manager to close the application and restart the scanning process.
- Film Not Detected by Software:
- Ensure the film is fully inserted into the film strip rail.
- Check the software interface for a "Film Detected" indicator.
- If the issue persists, try re-inserting the film strip or restarting the software.

Figura 6.2: Example of a "Film Detected" message within the scanning software interface.
7. Especificacions
| Característica | Detall |
|---|---|
| Nom del model | PowerFilm Plus |
| Tipus d'escàner | Film Scanner (35mm Negative/Positive Filmstrips) |
| Tecnologia de sensors òptics | CCD |
| Resolució | 7200 ppp |
| Profunditat de color | 16 bits |
| Tecnologia de connectivitat | USB |
| Capacitat de full estàndard | Up to 10 film strips (max 60 frames) |
| Dimensions del producte | 9.13 x 6.18 x 5.04 polzades |
| Pes de l'article | 7.89 lliures (3.59 quilograms) |
| Requisits mínims del sistema | Windows 7 / Mac OS X 10.7 (or later), 4GB RAM, 50GB HDD |
8. Assistència i garantia
8.1 Suport tècnic
For technical assistance, driver updates, or additional user guides, please visit the official Pacific Image Electronics weblloc:
Pacific Image Electronics Support Page
8.2 Informació de la garantia
Warranty details for the Pacific Image PowerFilm Plus are typically provided with your purchase documentation. Please retain your proof of purchase for warranty claims. For specific warranty terms and conditions, refer to the documentation included with your product or contact Pacific Image Electronics directly through their support channels.


