
1. Introducció
This manual provides comprehensive instructions for the setup, operation, and maintenance of your XREXS Digital Wall Clock. This versatile device features an extra-large display, remote control, multiple time display formats, temperature reading, date, day of week, alarm, and timer functions. Please read this manual thoroughly before use to ensure proper functionality and longevity of your product.
2. Què hi ha a la caixa
- XREXS Digital Wall Clock (Model 3039YK-W)
- Control remot
- Plantilla de muntatge
- 4 x AA Batteries (for main unit)
- 2 x AAA Batteries (for backup power)
- 2 piles AAA (per al comandament a distància)
- Manual d'usuari
3. Configuració
3.1 Instal·lació de la bateria
The clock is battery-operated, allowing for flexible placement without the need for an outlet. Batteries are included for immediate use.
- Unitat principal: Open the battery compartment on the back of the clock. Insert 4 AA batteries and 2 AAA backup batteries, ensuring correct polarity. Remove any insulating tape from the batteries before installation.
- Comandament a distància: Open the battery compartment on the back of the remote. Insert 2 AAA batteries, ensuring correct polarity. Remove any insulating tape.

Figura 1: posterior view of the clock with battery compartments and fold-out stand.
3.2 Opcions de col·locació
The clock offers two convenient placement methods:
- Muntatge en paret: Use the provided mounting template to mark the positions for two screws on your wall. Hang the clock securely using the keyhole slots on the back.
- Suport d'escriptori: Utilize the integrated fold-out stand on the back of the clock to place it on any flat surface, such as a desk, shelf, or countertop.

Figure 2: The clock can be wall-mounted using two hanging holes or placed on a desk using its fold-out stand.
4. Instruccions de funcionament
The clock can be operated using the buttons on the back or the included remote control.
4.1 Configuració de l'hora i la data
- Premeu el botó SET button on the remote control or the back of the clock. The year display will begin to blink.
- Utilitza el + or - botons per ajustar l'any.
- Premeu SET again to confirm the year and move to setting the month. Repeat the process for month, date, hour, and minute.
- The day of the week will automatically adjust based on the date.
Pantalla de 12/24 hores de 4.2
To switch between 12-hour and 24-hour time formats, press the + / 12-24HR button on the remote control or the back of the clock.
4.3 Selecció de la unitat de temperatura
To toggle between Celsius (°C) and Fahrenheit (°F) temperature display, press the ° C / ° F button on the remote control or the back of the clock.
Control de retroiluminació 4.4
The clock features an auto-sensing backlight with two brightness levels (High, Low) and an Off option. The backlight function is radar-sensing and illuminates for approximately 30 seconds when motion is detected in low-light conditions. Use the switch on the back of the clock to select High, Low, or Off for the backlight.
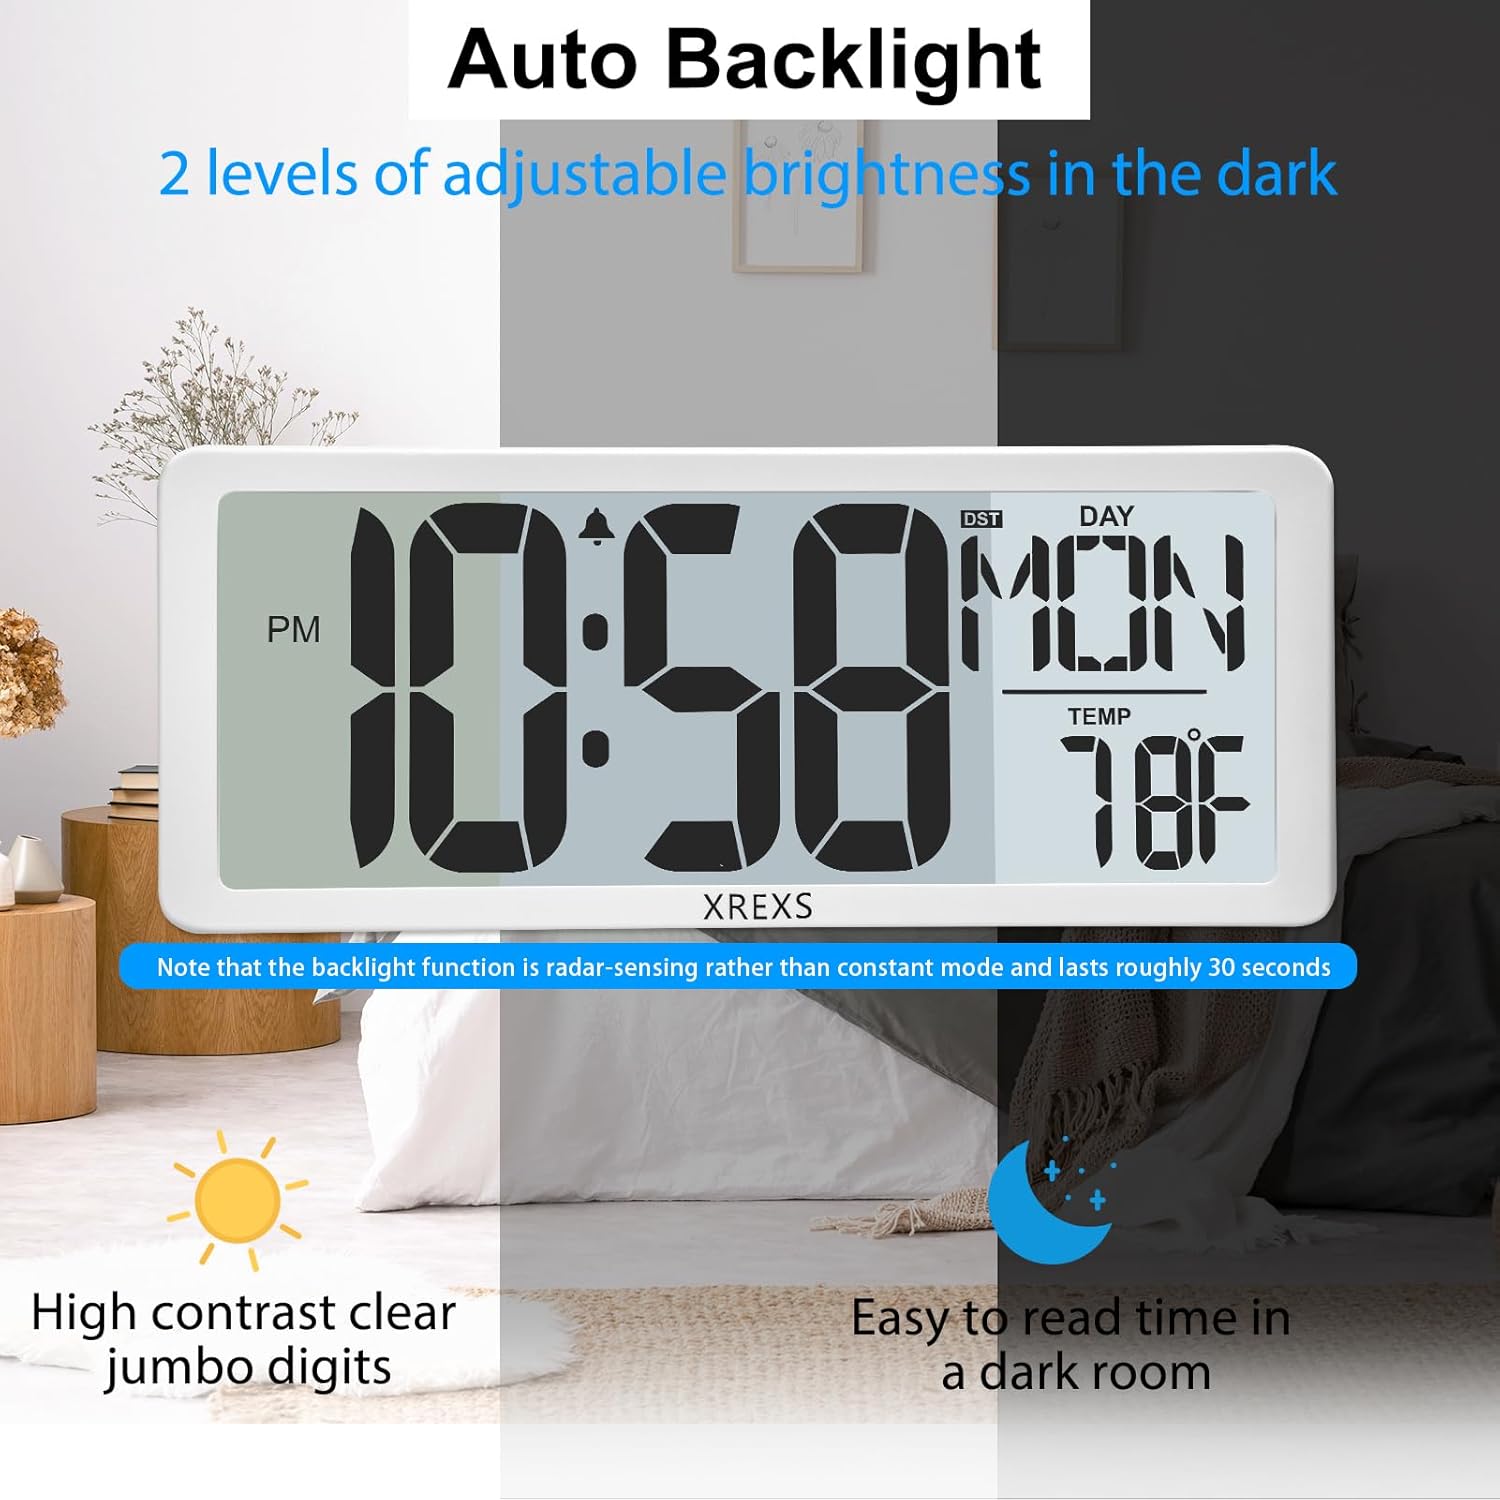
Figure 3: Auto backlight feature with two adjustable brightness levels for dark environments.
4.5 Funció d'alarma
Per configurar l'alarma:
- Premeu el botó CONJUNT D'ALARMES button on the remote control or the back of the clock. The alarm hour will begin to blink.
- Utilitza el + or - botons per ajustar l'hora de l'alarma.
- Premeu CONJUNT D'ALARMES again to confirm the hour and move to setting the alarm minute.
- Premeu CONJUNT D'ALARMES one more time to activate or deactivate the alarm. An alarm icon will appear on the display when activated.
- Per posposar, premeu la tecla DORMITAR botó quan soni l'alarma.
4.6 Timer Function (Countdown/Count-up)
The clock supports both countdown and count-up timer modes.
- Premeu el botó ENTER/EXIT TIMER button on the remote control to enter timer mode. The display will show 0:00:00.
- Per configurar un temporitzador de compte enrere: Utilitza el HR, MIN, i SEC buttons on the remote to set the desired countdown duration.
- Premeu el botó TIMER ST/SP button to start the countdown. Press again to pause.
- To use as a Count-up Timer: In timer mode (0:00:00), simply press the TIMER ST/SP botó per començar a comptar ascendentment.
- To reset the timer, press the RESET DEL TEMPORIZADOR botó del comandament a distància.

Figure 4: The clock features three modes: Clock, Alarm Clock, and Count Up/Down Timer.
4.7 Horari d'estiu automàtic (DST)
The clock is equipped with an automatic DST feature. It will adjust itself for daylight saving time changes, eliminating the need for manual adjustment.
5. Manteniment
- Clean the clock with a soft, dry cloth. Avoid using abrasive cleaners or solvents.
- Replace batteries when the low battery indicator appears on the display to ensure continuous operation.
- If the clock will not be used for an extended period, remove all batteries to prevent leakage.
6. Solució De Problemes
- Clock not displaying or buttons unresponsive: Ensure all batteries are correctly installed and any insulating tape has been removed. If the issue persists, try resetting the clock by pressing the reset button located at the back of the bracket with a toothpick.
- La retroiluminació no funciona: Check the backlight switch on the back of the clock to ensure it is not set to "Off." Verify battery levels.
- El comandament a distància no funciona: Ensure batteries are correctly installed and not depleted. Point the remote directly at the clock.
7. Especificacions
| Característica | Detall |
|---|---|
| Marca | XREXS |
| Número de model | 3039YK-W |
| Tipus de visualització | Digital |
| Mida de la pantalla | 14.17 polzades |
| Font d'alimentació | Battery Powered (4 AA main, 2 AAA backup) |
| Característiques especials | Adjustable Brightness (Backlight), Alarm, Day Mode, Snooze, Remote Control, Countdown Timer, Temperature, Date, Day of Week, Auto DST |
| Tipus de muntatge | Suport de paret, suport d'escriptori |
| Ús interior/exterior | Interior |
| Material del marc | Estirol acrilonitril butadiè |
8. Vídeo oficial del producte
Vídeo 1: Un overview of the XREXS Digital Wall Clock, demonstrating its features and functionality.
9. Garantia i Suport
For warranty information or technical support, please refer to the contact details provided on the product packaging or visit the official XREXS weblloc.