
1. Introducció
This manual provides comprehensive instructions for the installation, operation, and maintenance of the Loocam 900MHz Point-to-Point Wireless Bridge Outdoor. This device is designed to extend network connectivity over long distances in outdoor environments, utilizing Wi-Fi HaLow technology. Please read this manual thoroughly before using the product to ensure proper setup and optimal performance.
2. Contingut del paquet
Verifiqueu que tots els elements que s'enumeren a continuació s'inclouen al vostre paquet. Si falta algun element o hi ha algun malmès, poseu-vos en contacte amb l'atenció al client.
- 2 x Wireless Bridge Units (one Transmitter (TX), one Receiver (RX))
- 2 x antenes WiFi
- 2 x adaptadors de potència
- 2 cables Ethernet
- Cargols de muntatge (per a la instal·lació)
- Manual del producte (aquest document)

Figura 2.1: Contingut del paquet
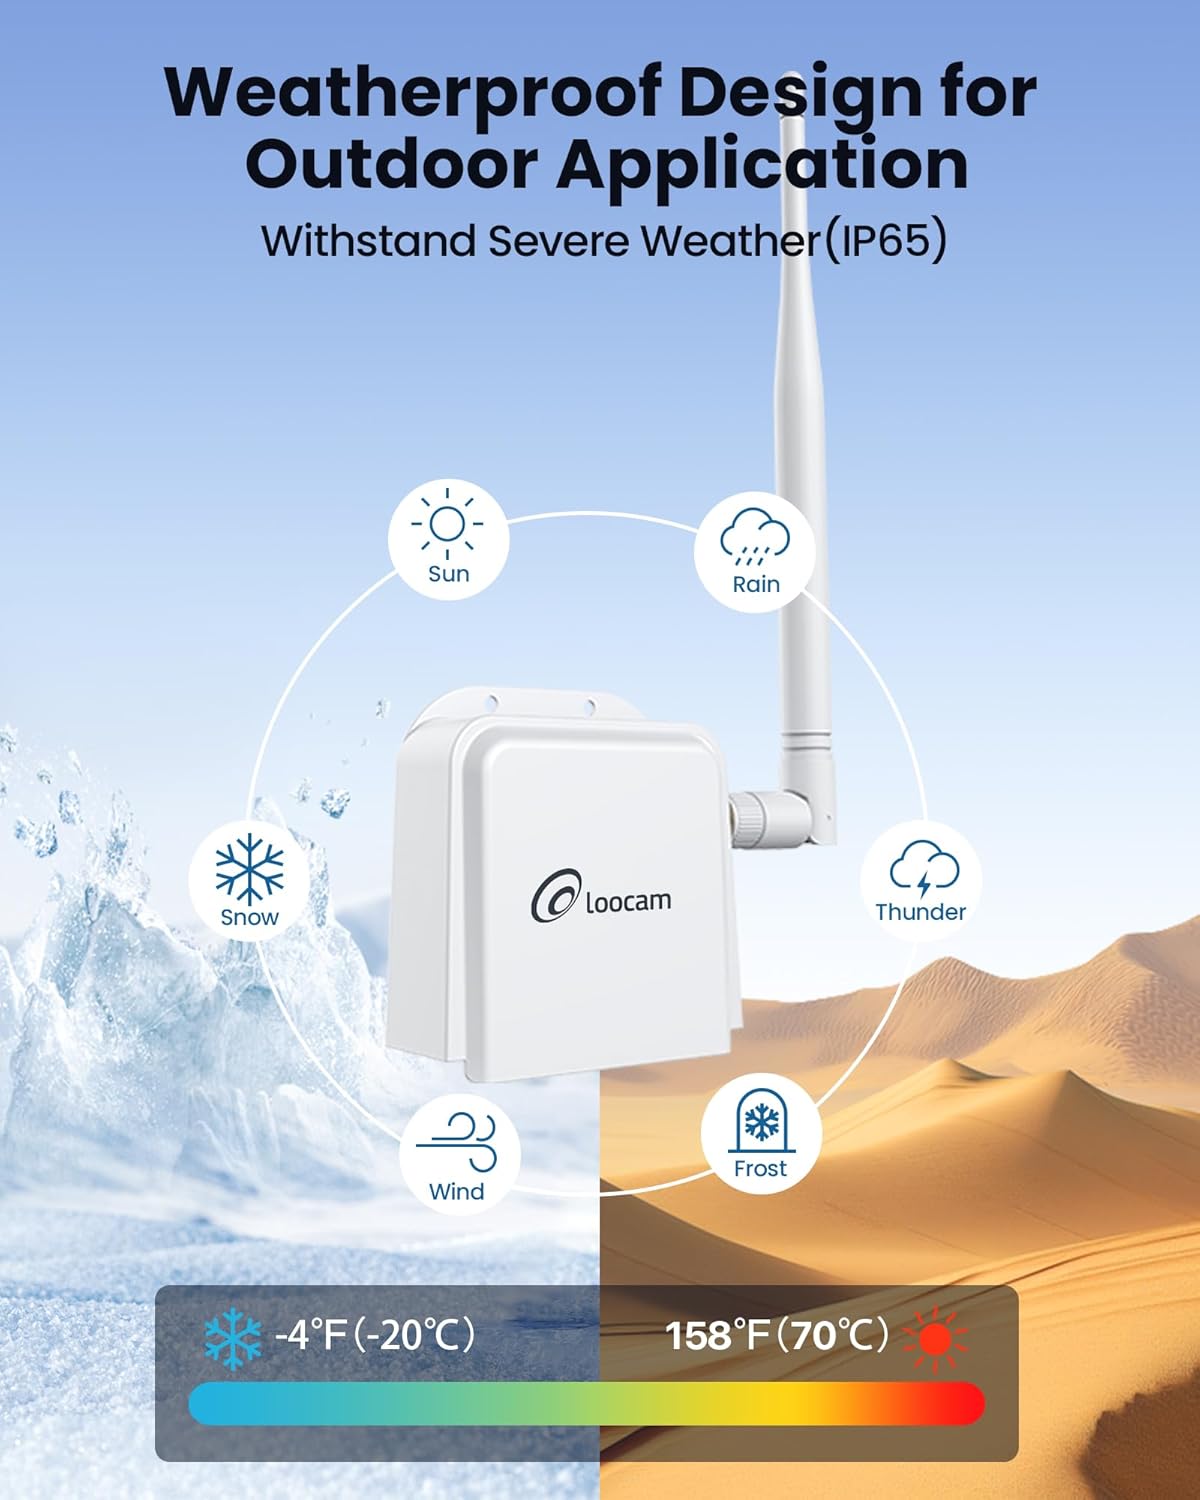
Figure 2.2: Wireless Bridge Unit Details (Ports and Indicators)
3. Configuració i instal·lació
The Loocam Wireless Bridge is designed for plug-and-play operation with automatic pairing. Follow these steps for initial setup.
3.1 Connecting to a PC (Example)
- Col·loca les antenes: Screw the provided antennas onto the TX and RX bridge units.
- Power On TX Unit: Connect the power adapter to the TX bridge unit and plug it into a power outlet.
- Connect TX to Router: Use one Ethernet cable to connect the TX bridge unit to a LAN port on your router.
- Power On RX Unit: Connect the power adapter to the RX bridge unit and plug it into a power outlet.
- Connect RX to PC: Use the second Ethernet cable to connect the RX bridge unit to your computer's Ethernet port (you may need a USB to Ethernet adapter for laptops without a built-in port).
- Verifica la connexió: Once both units are powered and connected, they will automatically pair. The computer connected to the RX unit should now be able to access the internet.

Figure 3.1: Basic PC Connection Diagram

Figure 3.2: Extending Network to a Second Building
3.2 Connecting to an NVR (Example)
The wireless bridge can also be used to extend network connectivity for IP cameras and Network Video Recorders (NVRs).
- Col·loca les antenes: Screw the provided antennas onto the TX and RX bridge units.
- Power On TX Unit: Connect the power adapter to the TX bridge unit and plug it into a power outlet.
- Connect TX to IP Camera: Use one Ethernet cable to connect the TX bridge unit to your IP camera.
- Power On RX Unit: Connect the power adapter to the RX bridge unit and plug it into a power outlet.
- Connect RX to NVR: Use the second Ethernet cable to connect the RX bridge unit to an available Ethernet port on your NVR.
- Verifica la connexió: The NVR should now detect the IP camera connected via the wireless bridge.

Figure 3.3: NVR Connection Diagram
3.3 Instal·lació física
The bridge units can be mounted to a wall or other suitable surface using the provided screws.
- Mark Positions: Hold the bridge unit against the desired mounting surface and mark the positions for the two screw holes.
- Forats: Perforeu forats pilot a les posicions marcades.
- Unitat segura: Align the bridge unit with the holes and secure it using the provided screws.

Figura 3.4: Passos d'instal·lació
3.4 Identifying TX and RX Units
The units are pre-paired. One unit acts as the Transmitter (TX) and the other as the Receiver (RX). You can identify them by observing the indicator lights after powering on:
- The RX light on the Receiver (RX) unit should be illuminated.
- The RX light on the Transmitter (TX) unit should be off.

Figure 3.5: TX and RX Identification
3.5 Guia de vídeo de configuració
For a visual guide on connecting the Loocam Wireless Bridge, please watch the official setup video below.
Video 3.1: How to Connect Loocam Wireless Bridge. This video demonstrates the step-by-step process of connecting the wireless bridge units to a router and a computer, as well as to an NVR and camera, showing the physical connections and power-on sequence.
4. Funcionament
The Loocam Wireless Bridge operates on a point-to-point principle, extending your network wirelessly.
- Banda de freqüència: Operates in the 902MHz-928MHz band, offering strong penetration capabilities.
- Distància de transmissió: Achieves up to 2000 feet wireless transmission distance in open areas.
- Wi-Fi HaLow Technology: Utilizes 802.11ah Wi-Fi HaLow for extended coverage and improved obstacle penetration (up to 350 feet through one wall).
- Velocitat de dades: Supports speeds up to 16Mbps. Note that Wi-Fi HaLow is optimized for range and penetration rather than high bandwidth.
- Aplicacions: Ideal for extending network coverage between buildings, for video surveillance systems, and for expanding Wi-Fi coverage in areas where traditional Wi-Fi signals are weak.

Figure 4.1: Ultra Long Range Transmission

Figure 4.2: 900MHz Band Features

Figure 4.3: Superior Obstacle Penetration

Figure 4.4: Extended Monitoring Range

Figure 4.5: Indoor & Outdoor Network Extension Coverage
5. Manteniment
The Loocam Wireless Bridge is designed for outdoor use with a weather-resistant (IP65) rating. To ensure longevity and optimal performance:
- Condicions ambientals: The device operates effectively in temperatures ranging from -5°F to 120°F (-20°C to 48°C). Avoid exposing the device to conditions outside this range for extended periods.
- Neteja: Periodically clean the exterior of the units with a soft, dry cloth to remove dust and debris. Do not use liquid cleaners or solvents.
- Integritat del cable: Regularly inspect all connected cables (power and Ethernet) for any signs of wear or damage. Replace damaged cables immediately.
- Posició de l'antena: Ensure antennas are securely attached and positioned for optimal signal strength.

Figure 5.1: Weatherproof Design
6. Solució De Problemes
If you encounter issues with your Loocam Wireless Bridge, refer to the following common problems and solutions:
| Problema | Causa possible | Solució |
|---|---|---|
| Sense connexió de xarxa |
|
|
| Velocitat de xarxa lenta |
|
|
| Connexió intermitent |
|
|
If the issue persists after trying these solutions, please contact Loocam customer support.
7. Especificacions
| Característica | Detall |
|---|---|
| Marca | Loocam |
| Model | B0BQ2R66S4 |
| Comunicació sense fils estàndard | 900 MHz Radio Frequency (Wi-Fi HaLow 802.11ah) |
| Velocitat de transferència de dades | Fins a 16 megabits per segon |
| Classe de banda de freqüència | Single-Band (902MHz-928MHz) |
| Característiques especials | Mode de punt d'accés, WPS |
| Tipus de connector | RJ45 |
| Dispositius compatibles | Personal Computer, NVR, IP Cameras, Network Switches |
| Interval | Up to 2000 feet (open areas), up to 350 feet (through one wall) |
| Resistència a la intempèrie | Classificació IP65 |
| Temperatura de funcionament | -5 °F a 120 °F (-20 °C a 48 °C) |
8. Garantia i Suport
Loocam is committed to providing high-quality products and excellent customer service.
- Garantia: Aquest producte ve amb una garantia de 1 anys.
- Garantia de devolució de diners: Enjoy a 30-day money-back guarantee and free returns.
- Suport tècnic: Hi ha disponible assistència tècnica de per vida.
- Assistència en línia: 24/7 online support is provided for any queries or assistance.
For further assistance, please visit the official Loocam weblloc o poseu-vos en contacte amb el seu equip d'atenció al client.