
Introducció
Thank you for choosing the Blackburn Grid 2'Fer Front and Rear Light Set. This manual provides essential information for the safe and efficient use of your new bicycle lights. The Grid 2'Fer is designed to enhance your visibility and safety during cycling, offering both white front light and red rear light capabilities with multiple modes and a rechargeable power source.
Què hi ha a la caixa
- One (1) Grid 2'Fer Front Light (175 Lumens)
- One (1) Grid 2'Fer Rear Light (55 Lumens)
- One (1) USB-A to USB-C charging cable

Image: The Blackburn Grid 2'Fer Front and Rear Light Set, showing both lights and the charging cable.
Configuració
Muntatge dels llums
The Grid 2'Fer lights feature a versatile mounting system for easy attachment to your bicycle. Both lights can be mounted using the integrated silicone strap or clip.
- Handlebar/Seatpost Mount:
Secure the light to your handlebar (front light) or seatpost (rear light) using the flexible silicone strap. Ensure the strap is pulled tight for a secure fit. The light should be positioned to provide maximum visibility without obstructing your view o controls.
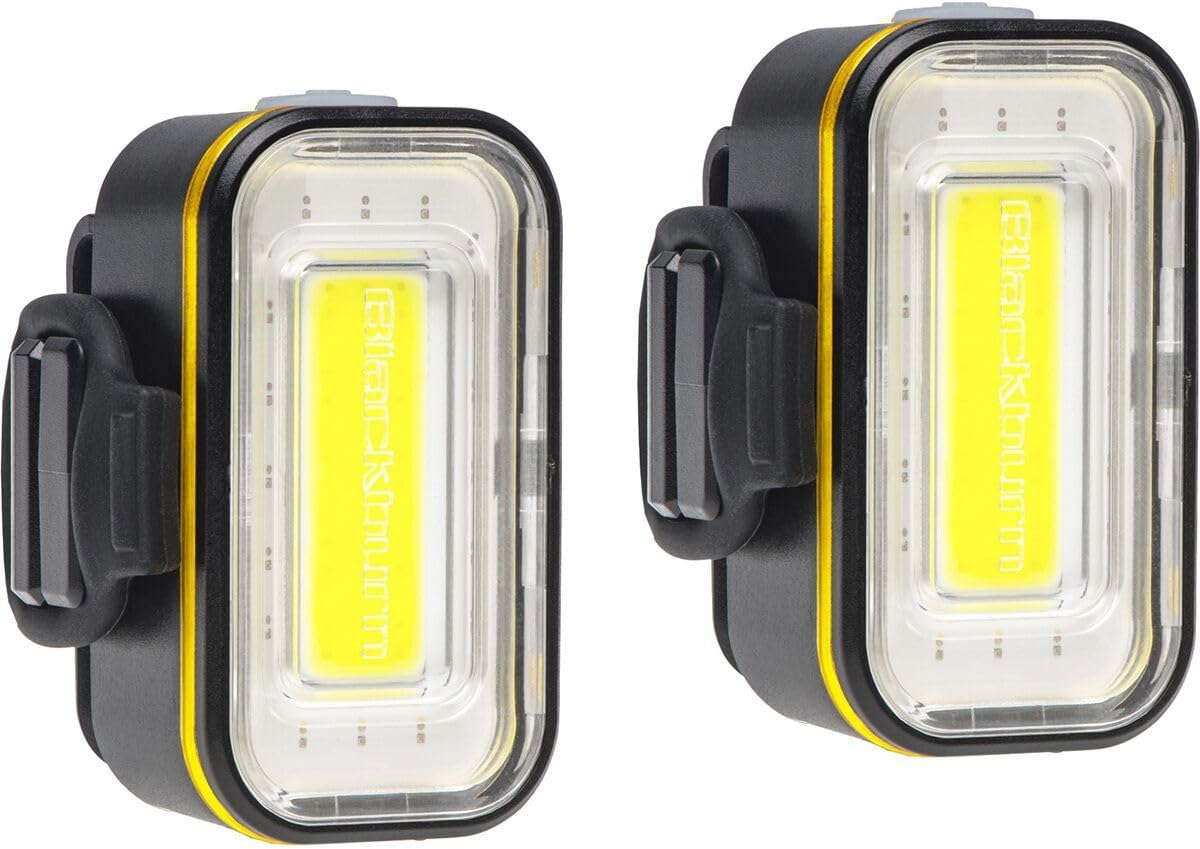
Imatge: Lateral view of the Blackburn Grid 2'Fer light showing the integrated silicone strap for mounting.
- Muntatge del clip:
For alternative mounting locations, such as bags or clothing, use the integrated clip. Ensure the clip is firmly attached to prevent the light from falling off during use.

Imatge: Part posterior view of the Blackburn Grid 2'Fer light showing the integrated clip for attachment to clothing or bags.
Càrrega inicial
Before first use, fully charge both lights. Refer to the "Charging" section for detailed instructions.
Instruccions de funcionament
Encès/Apagat
- Per encendre la llum ON, press and hold the power button for approximately 1 second.
- Per encendre la llum OFF, press and hold the power button for approximately 1 second.
Switching Between White and Red Light
The Grid 2'Fer lights can function as either a white front light or a red rear light.
- While the light is ON, quickly double-click the power button to switch between white and red light modes.

Image: The Blackburn Grid 2'Fer light illuminated with white light, suitable for front use.
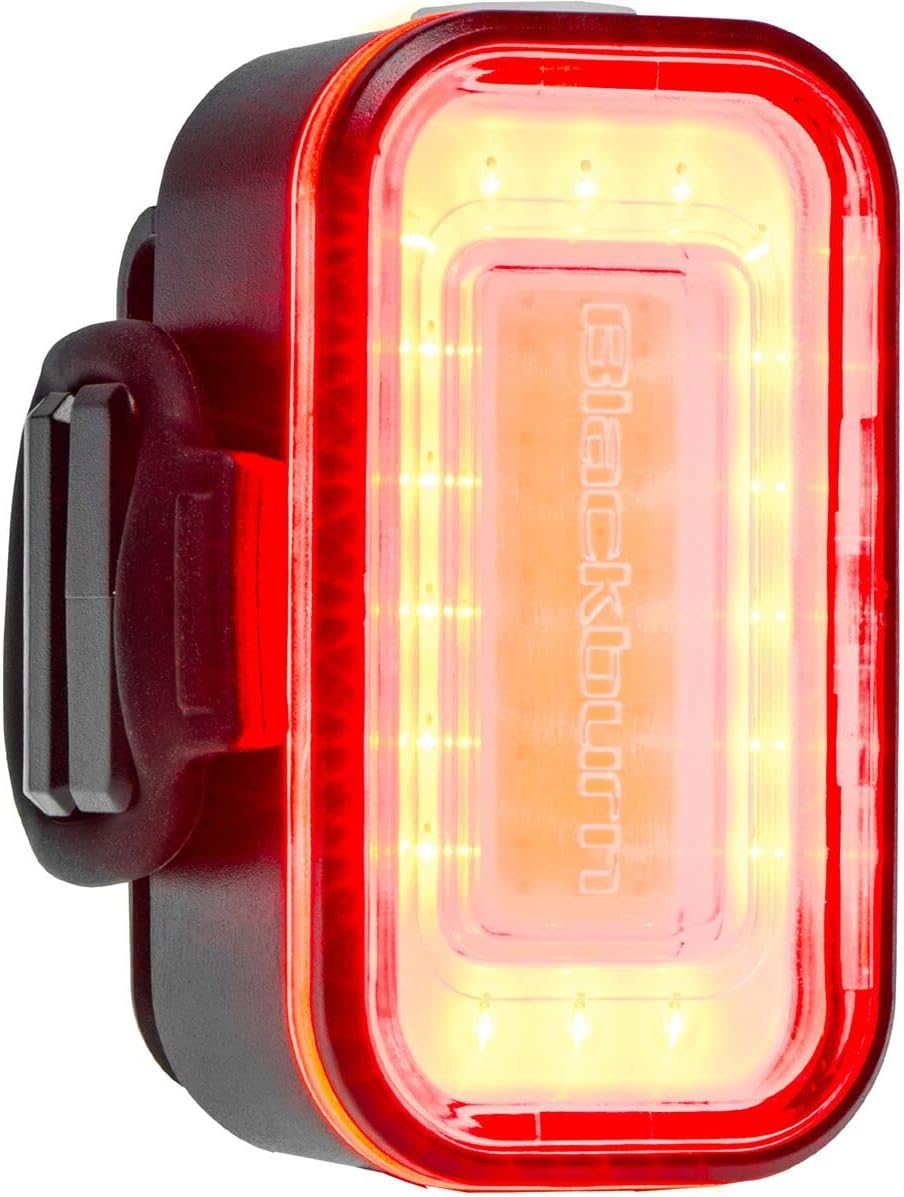
Image: The Blackburn Grid 2'Fer light illuminated with red light, suitable for rear use.
Canvi de modes de llum
Each light (white or red) offers four distinct modes:
- While the light is ON, single-click the power button to cycle through the available modes.
- Available modes typically include:
- Alta estable
- Baixa Estació
- Pols
- Strobe
- The light will remember the last mode used when turned off and on again within the same color setting.
Carregant
The Grid 2'Fer lights are equipped with a USB-C charging port for convenient recharging.
- Locate the USB-C charging port on the light. This is typically covered by a rubber flap to protect against water and dust.
- Open the rubber flap and insert the USB-C end of the provided charging cable into the light's port.
- Connect the USB-A end of the cable to a powered USB port (e.g., computer, wall adapter, power bank).
- The battery gauge LED (integrated into the power button) will indicate charging status:
- Verd: 100-50% de càrrega
- Taronja: 50-25% de càrrega
- Vermell: 25-0% charge (time to charge)
- Once fully charged, the LED indicator will change (refer to product-specific behavior, typically solid green or off). Disconnect the light from the charging cable and securely close the rubber flap to maintain water resistance.

Imatge: Part inferior view of the Blackburn Grid 2'Fer light, highlighting the USB-C charging port with its protective cover.

Image: The Blackburn Grid 2'Fer light connected via its USB-C cable to a laptop's USB-A port for charging.
Manteniment
Neteja
Per mantenir un rendiment i un aspecte òptims:
- Netegeu el cos de la llum amb un drap suauamp tela.
- Avoid using abrasive cleaners or solvents, as these can damage the casing o lent.
- Ensure the USB-C port cover is clean and properly sealed after charging or cleaning to maintain water resistance.
Emmagatzematge
Quan no s'utilitza durant períodes prolongats:
- Store the lights in a cool, dry place.
- Charge the lights periodically (e.g., every 3-6 months) to prevent deep discharge and prolong battery life.
Resolució de problemes
| Problema | Causa possible | Solució |
|---|---|---|
| La llum no s’encén. | La bateria està esgotada. | Carregueu el llum amb el cable USB-C proporcionat. |
| La llum no carrega. | Faulty cable or power source; USB-C port not fully inserted. | Try a different USB-C cable or power source. Ensure the cable is fully inserted into the light's port. |
| Light switches off unexpectedly. | Bateria baixa. | Recarrega la llum. |
| Light housing separates. | Impacte o defecte de fabricació. | Contact Blackburn customer support for assistance. |
Especificacions
| Característica | Detall |
|---|---|
| Marca | Blackburn |
| Número de model | 7149586 |
| Front Light Output | 175 lúmens |
| Rear Light Output | 55 lúmens |
| Font de llum | LED COB |
| Font d'alimentació | Funciona amb bateria (recarregable) |
| Port de càrrega | USB-C |
| Resistència a l'aigua | IP65 (protegit contra la pols i els dolls d'aigua) |
| Tipus de muntatge | Handlebar Mount / Clip Mount |
| Nombre de configuracions | 4 (per color mode) |
| Material | Plàstic |
| Estàndards complerts | Estàndard ANSI FL-1 |
Garantia i Suport
Informació de la garantia
Aquest producte ve amb un 2-Year Warranty Provision for Battery or Electrically Powered Products, Product Components, and Accessories for Such Products. Please retain your proof of purchase for warranty claims.
For detailed warranty terms and conditions, please refer to the official Blackburn weblloc o contacteu amb el servei d'atenció al client.
Atenció al client
If you encounter any issues or have questions not covered in this manual, please contact Blackburn customer support:
- Visit the official Blackburn weblloc web per a recursos de suport i informació de contacte.
- Refer to your product packaging for specific customer service contact details.