
1. Producte acabatview
The Winado WASHER-320 is a compact and portable twin tub washing machine designed for small living spaces such as apartments, dorms, and RVs. It features separate tubs for washing and spin-drying, allowing for efficient laundry processing.
- Disseny de banyera doble: Allows simultaneous washing and spin-drying.
- Capacitat: 9 lbs (wash), 6 lbs (spin).
- Built-in Gravity Drain: Facilitates easy water drainage.
- Motor potent: 1300 RPM for efficient cleaning.
- Control Timers: Up to 15 minutes for washing, up to 5 minutes for spin cycle.
- Modes de rentat: Gentle, Normal, and Drain.
2. Instruccions de seguretat
- Always ensure the machine is placed on a stable, flat surface to prevent tipping during operation.
- No submergiu la unitat principal a l'aigua.
- Keep the drain hose clear and unobstructed to ensure proper drainage.
- Desendolleu la màquina de la presa de corrent quan no la feu servir o abans de netejar-la o fer-ne el manteniment.
- Do not overload the wash or spin tubs beyond their specified capacities.
- Mantingueu els nens i les mascotes lluny de la màquina durant el funcionament.
- If the motor or drain pump overheats, allow 30-60 minutes for cooling before restarting.
3. Contingut del paquet
- Winado WASHER-320 Portable Twin Tub Washing Machine (1 unit)
- Water Inlet Hose (1 unit)
- Drain Hose (1 unit)
- Spin Cap (1 unit)
4. Components del producte
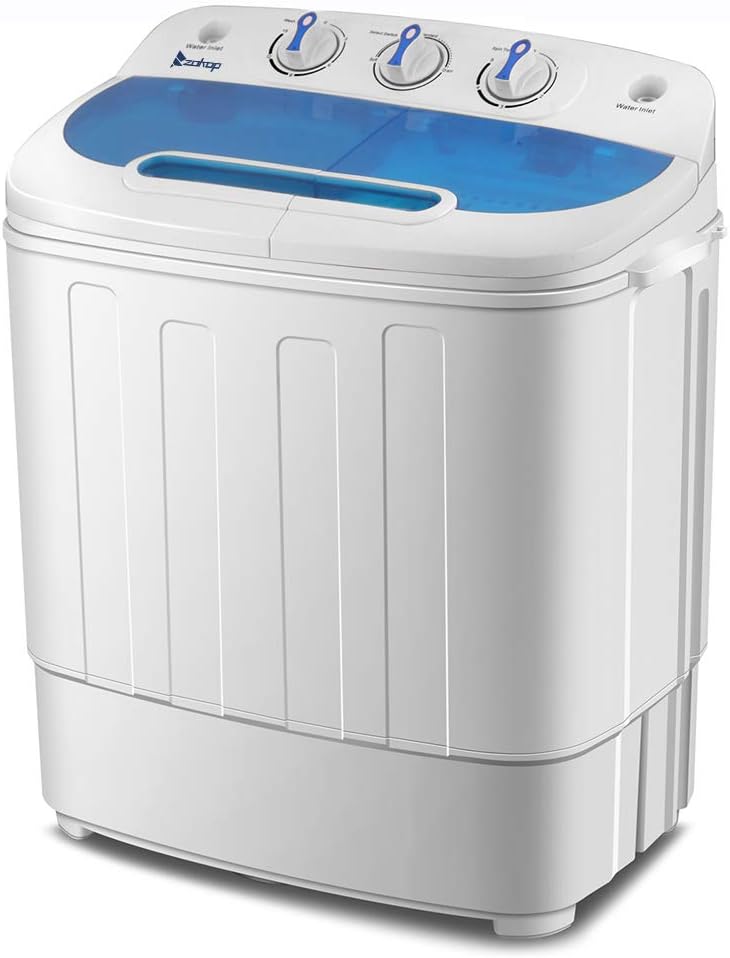


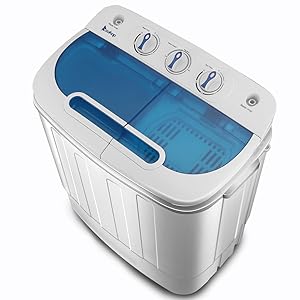
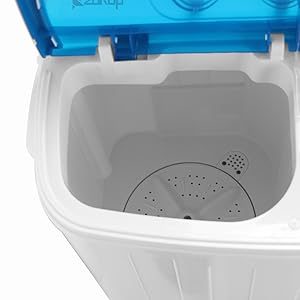
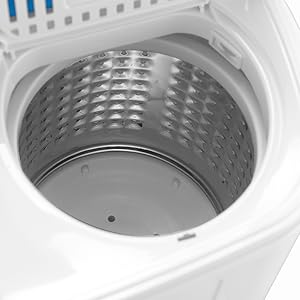
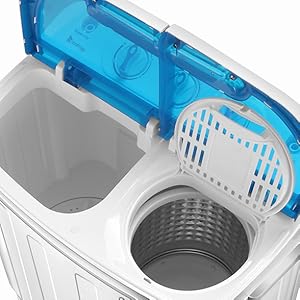
5. Configuració
- Col·locació: Position the washing machine on a firm, level surface. Ensure there is enough space around the unit for proper ventilation and operation.
- Connecteu l'entrada d'aigua: Attach the water inlet hose to a suitable faucet. The other end of the hose connects to the water inlet port on the left side of the control panel.
- Position Drain Hose: Place the drain hose in a sink, bathtub, or other suitable drainage area. Ensure the hose is not kinked or submerged in water during operation to prevent siphoning.
- Connexió d'alimentació: Connecteu el cable d'alimentació a una presa de corrent de 110 V amb connexió a terra.
6. Instruccions de funcionament
6.1. Washing Cycle
- Carregar roba: Open the lid of the wash tub and place clothes inside. Do not overload; ensure clothes can move freely.
- Afegeix detergent: Pour the recommended amount of laundry detergent directly into the wash tub.
- Omplir amb aigua: Turn on the faucet connected to the water inlet hose. Fill the wash tub to the desired water level.
- Configura el temporitzador de rentat: Rotate the 'Wash Timer' knob to select the desired wash time (up to 15 minutes).
- Seleccioneu el mode de rentat: Turn the 'Wash Selector' knob to 'Normal' for regular loads or 'Gentle' for delicate items. The machine will begin washing.
6.2. Escorregut d'aigua
- Once the wash cycle is complete, set the 'Wash Selector' knob to 'Drain'. The dirty water will begin to drain through the drain hose.
- Ensure the drain hose is positioned correctly to direct water to a suitable drain.
6.3. Spin Cycle
- Transferir roba: Move the washed clothes from the wash tub to the spin tub. Distribute them evenly to prevent imbalance.
- Place Spin Cap: Firmly press the white spin cap onto the clothes in the spin tub to prevent items from flying out during spinning.
- Configura el temporitzador de centrifugació: Rotate the 'Spin Timer' knob to select the desired spin time (up to 5 minutes). The spin cycle will begin.
- After the spin cycle, remove the clothes. They will be damp però significativament més sec que després del rentat.
7. Manteniment
7.1. Neteja de la màquina
- Netegeu l'exterior de la màquina amb un damp tela. No utilitzeu netejadors abrasius.
- Clean the interior of the wash and spin tubs regularly to prevent residue buildup.
- Periodically check and clean the lint filter, typically located at the bottom of the wash tub, to ensure efficient operation.
7.2. Emmagatzematge
- Before storing, ensure all water is drained from the machine and both tubs are dry.
- Emmagatzemar en un lloc fresc i sec, lluny de la llum solar directa i de temperatures extremes.
8. Solució De Problemes
| Problema | Causa possible | Solució |
|---|---|---|
| La màquina no arrenca | Cable d'alimentació no connectat; apagadatage; temporitzador no configurat. | Check power connection; verify power supply; set timer correctly. |
| L'aigua no drena | Drain hose kinked or blocked; drain selector not set to 'Drain'. | Straighten drain hose and clear any blockages; set selector to 'Drain'. |
| Vibració/soroll excessiu durant el gir | La roba està distribuïda de manera desigual a la cubeta de centrifugat; la màquina no està sobre una superfície plana. | Rearrange clothes evenly; ensure machine is on a stable, level surface. |
| Motor/pump overheats | Funcionament continu durant massa temps. | Unplug and allow 30-60 minutes for cooling before restarting. |
9. Especificacions
- Model: RANDADORA-320
- Marca: Winado
- Pes de l'article: 24.2 lliures
- Dimensions del producte: 23.23 x 13.98 x 26.57 polzades
- Capacitat de rentat: 9 lliures
- Capacitat de gir: 6 lliures
- Velocitat màxima de gir: 1300 RPM
- Tipus d'instal·lació: Autònom
- Tipus de material: Plàstic
- Voltage: 110 Volts
- Wattage: 550 watts
- Consola de control: Pom
- Característiques especials: Alta eficiència
10. Garantia i Suport
Winado products are manufactured to high-quality standards. For warranty information, technical support, or service inquiries, please refer to the contact details provided with your purchase or visit the official Winado weblloc web. Conserveu el comprovant de compra per a qualsevol reclamació de garantia.