
Introducció
This manual provides instructions for the proper installation, operation, and maintenance of your STRICH SMH-08A Guitar Wall Mount Hangers. Please read this manual thoroughly before installation and retain it for future reference.
Producte acabatview
The STRICH SMH-08A is a modular wall-mount system designed to securely display multiple string instruments. It features a durable aluminum rail and adjustable steel hangers with protective rubber covers.
Característiques principals:
- Disseny modular: Allows for flexible arrangement and expansion of hangers.
- Alta capacitat: Holds up to 8 guitars or other string instruments.
- Secure & Stable: Constructed from high-quality aluminum alloy rails and sturdy steel hangers with fixed clips.
- Instrument Protection: Soft rubber covers and removable rubber rings on hangers prevent scratches and damage.
- Estalvi d'espai: Wall-mounted design optimizes floor space.
- Penjadors ajustables: Hangers can rotate 360° to accommodate various instrument neck shapes.
Contingut del paquet
Verifiqueu que tots els components siguin presents abans de començar la instal·lació:
- Slatwall Rail sections (multi-part splice design)
- 8 Adjustable Hangers
- Tapes finals
- Fixed-Clips
- Cargols
- Ancoratges de guix

Image: All components included in the STRICH SMH-08A package.
Especificacions
| Número de model | SMH-08A |
| Marca | STRICH |
| Material | Aluminum Alloy (Rails), Steel (Hangers), Rubber (Protective Covers) |
| Color | Aluminum Painted Black |
| Amplada total | 80.5 polzades |
| Number of Hangers | 8 |
| Capacitat màxima de pes | 115 lliures (52.16 kg) |
| Tipus de muntatge | Muntatge de paret |

Image: Product dimensions and component sizes.
Informació de seguretat
- Ensure the mounting surface is structurally sound and capable of supporting the weight of the rack and all instruments.
- Utilitzeu les eines i els equips de seguretat adequats durant la instal·lació.
- No supereu la capacitat màxima de pes de 115 lliures.
- Drill holes accurately to prevent loosening of the wall rack. For drywall, use the provided 6mm (1/4") drill bit.
- If installing on concrete walls, it is recommended to add a solid wood panel as a base for extra strength.
- Ensure all screws are fully tightened to prevent dislodgement.
Configuració i instal·lació
Follow these steps carefully for secure installation:
Step 1: Assemble the Slatwall Rail Sections
Connect the multi-part rail sections using the included accessories. Press the round buckle to securely assemble each slide rail segment.

Image: Assembling the modular slide rails.
Pas 2: Marqueu les ubicacions de perforació
Hold the assembled rail against the wall at the desired height. Use a pencil to mark the locations of the pre-drilled holes on the wall. Ensure the rail is level.

Image: Marking the pre-drilled holes on the wall.
Pas 3: Perforar forats i inserir ancoratges
Using a drill with a 6mm (1/4") drill bit, carefully drill holes at the marked locations. For drywall, insert the provided drywall anchors into the drilled holes. Tap them gently with a hammer if needed, then screw them in until flush with the wall.

Image: Drilling holes for installation.
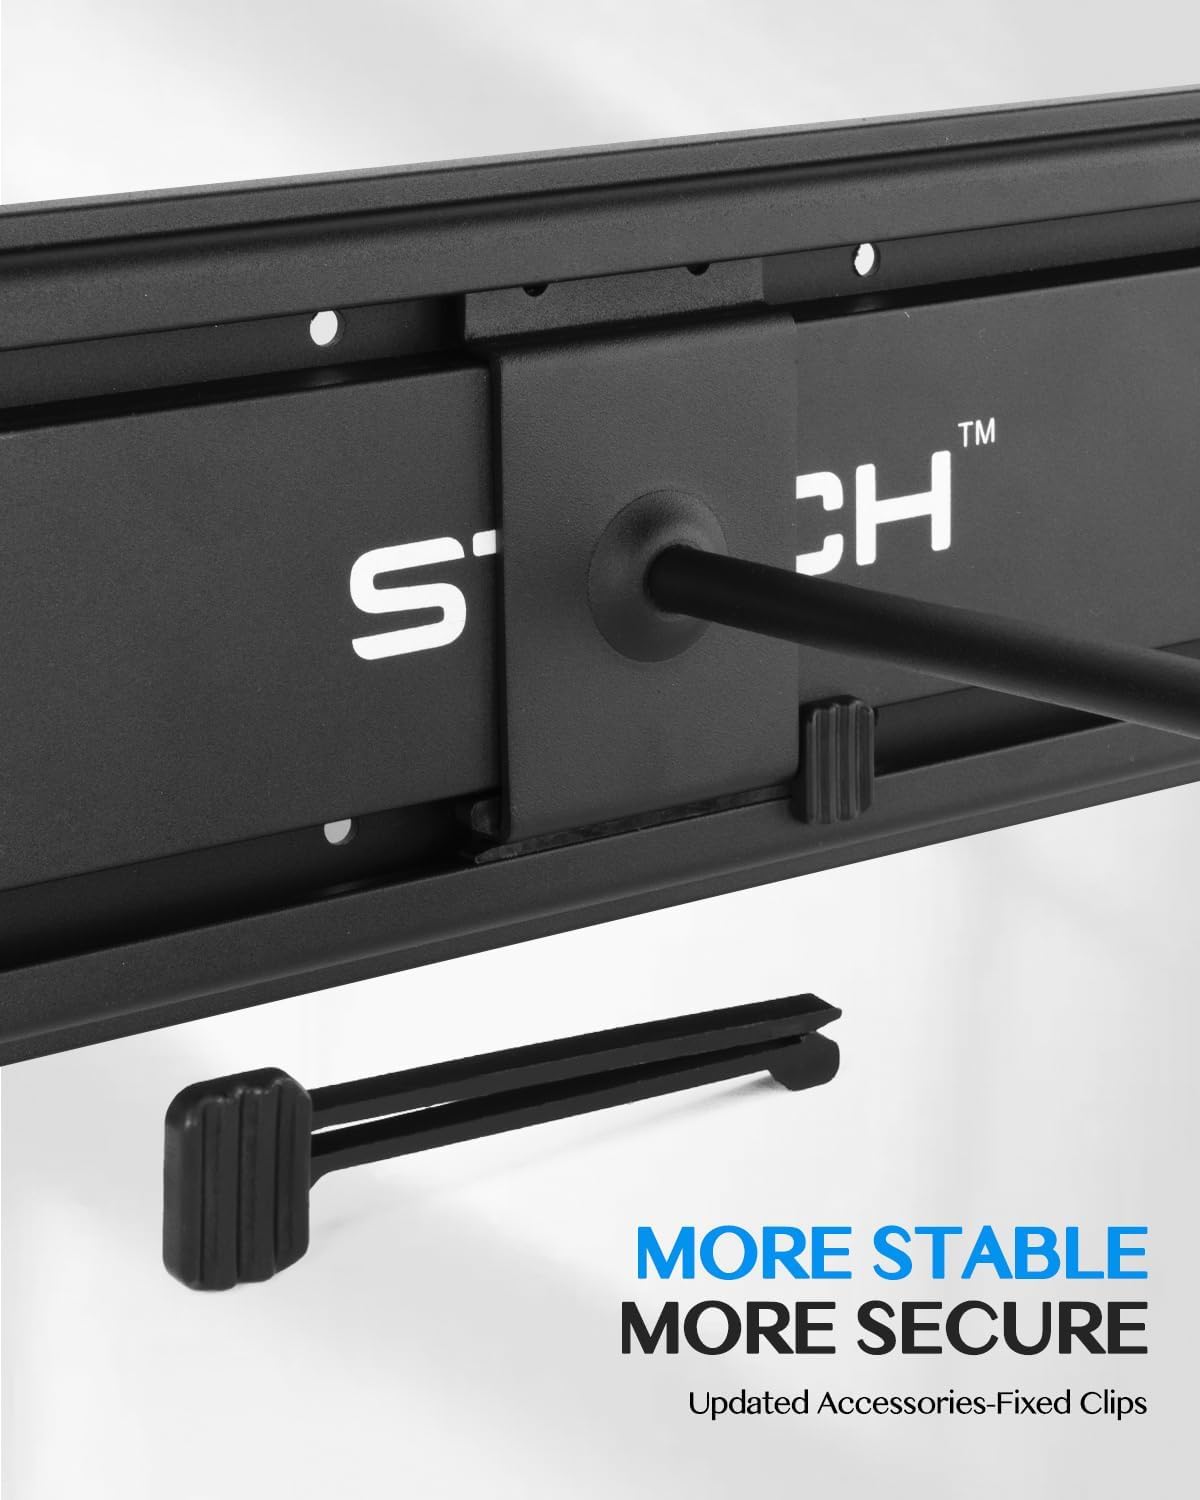
Image: Inserting a drywall anchor.
Nota important: Drilling too large may cause the wall rack to loosen. If installing on concrete, consider adding a wood strip behind the rail for a more secure base.
Step 4: Mount the Rail
Align the rail with the installed anchors and secure it to the wall using the provided screws. Ensure all screws are fully tightened. All pre-drilled holes must be screwed in; otherwise, the rack may not support the desired capacity and could dislodge.

Image: Securing the rail to the wall.
Step 5: Install Hangers and Fixed Clips
Slide the hangers into the rail. Attach the fixed clips to the bottom of each hanger to prevent them from sliding out or detaching when instruments are removed.

Image: Installing hangers and fixed clips.
Video d'instal·lació:
Video: Detailed guide on how to install the STRICH Guitar Wall Mount.
Instruccions de funcionament
Adjusting Hangers:
The hangers can be rotated 360 degrees to accommodate various headstock shapes and sizes of instruments such as acoustic guitars, electric guitars, bass guitars, ukuleles, violins, banjos, and mandolins. Gently rotate the hanger to the desired angle before placing your instrument.

Image: Adjustable hangers for various instrument types.
Placing Instruments:
Carefully place your instrument onto the hanger, ensuring the headstock rests securely within the padded arms. The soft rubber covers are designed to protect your instrument's finish from scratches.

Image: Guitars displayed on the wall mount.
Video: Demonstration of displaying guitars on the STRICH Wall Mount.
Manteniment
- Regularly inspect the wall mount and hangers for any signs of wear, damage, or loosening.
- Ensure all screws remain tight. Re-tighten if necessary.
- Clean the aluminum rails and steel hangers with a soft, dry cloth. Avoid abrasive cleaners.
- Check the rubber covers on the hangers for integrity. Replace if they show signs of significant wear to ensure continued instrument protection.
Resolució de problemes
Issue: Rack feels loose after installation.
- Possible causa 1: Drill holes were too large for the anchors.
- Solució 1: If possible, use larger anchors suitable for the hole size, or consider patching the holes and re-drilling. For drywall, ensure the 6mm (1/4") drill bit was used.
- Possible causa 2: Els cargols no estan completament apretats.
- Solució 2: Ensure all screws are tightened securely into the anchors and the wall.
- Possible causa 3: Wall material is not strong enough.
- Solució 3: If the wall is not sturdy (e.g., old plaster, thin drywall), consider mounting the rack onto wall studs or adding a solid wood backing board for reinforcement.
Issue: Hangers slide out of the rail.
- Possible causa: Fixed clips are not installed or are improperly installed.
- Solució: Ensure the fixed clips are correctly attached to the bottom of each hanger, preventing them from detaching from the rail.
Garantia i suport
STRICH provides a 12 mesos de garantia from the date of product receipt. We also offer a Política de devolució gratuïta de 30 dies.
For any questions, concerns, or assistance with installation or product issues, please contact STRICH customer service. We aim to provide a prompt response via email within 24 hours.
- Atenció al client: Refer to your purchase documentation or the STRICH brand store on Amazon for contact details.

Image: STRICH Customer Care information.