
1. Producte acabatview
The Dpofirs Dash Cam is a dual-channel car recording system designed to capture video footage from the front and rear of your vehicle. It features 1080P Full HD front recording, a 2-inch display, wide-angle lenses, loop recording, and G-sensor functionality for comprehensive vehicle monitoring.
Les característiques clau inclouen:
- Synchronized HD recording from front, interior, and rear cameras.
- Loop recording to ensure continuous recording by overwriting older files.
- 6-layer high transparency glass lens for clear image quality.
- Wide vision angles: 170° front, 110° cabin, and 110° rear.
- Wide Dynamic Range (WDR) image processing for optimal recording in various lighting conditions.
2. Contingut del paquet
Si us plau, verifiqueu que tots els elements que s'enumeren a continuació estiguin inclosos al vostre paquet:
- 1 x Dpofirs Dash Cam (Main Unit)
- 1 x posteriorview Camera with Cable
- 1 x Car Charger with Cable
- 1 x Suport de ventosa
- 2 x Screws (for rear camera mounting)
- 1 x Adhesive Tape (for rear camera mounting)
- 1 x Manual d'usuari
Note: A Micro SD memory card (up to 32GB) is required for recording and is not included in the package.

Image: Dpofirs Dash Cam main unit, rear camera, car charger, suction cup mount, screws, and adhesive tape.
3. Configuració i instal·lació
3.1 Inserció de la targeta de memòria
- Assegureu-vos que la càmera del salpicader estigui apagada.
- Locate the Micro SD card slot on the side of the main unit.
- Insert a Class 10 or higher Micro SD card (up to 32GB) into the slot until it clicks into place.
- Per treure-la, torneu a prémer suaument la targeta fins que surti.
3.2 Muntatge de la càmera frontal del salpicader
- Netegeu la zona del parabrisa on voleu muntar la càmera del salpicader.
- Attach the suction cup bracket to the dash cam.
- Press the suction cup firmly against the windshield, ensuring it does not obstruct your view.
- Ajusta l'angle de la càmera per garantir una visió clara view del camí per davant.

Imatge: Frontal view of the Dpofirs Dash Cam with its suction cup mount.
3.3 Instal·lació de la càmera posterior
- Identify a suitable location on your rear windshield or license plate area for the rear camera.
- Use the provided adhesive tape or screws to securely mount the rear camera.
- Connect the rear camera cable to the main dash cam unit. Route the cable neatly along the vehicle's interior trim to avoid interference.

Image: Dpofirs Dash Cam main unit and the rear camera, illustrating the dual camera setup.
3.4 Connexió de potència
- Connecteu el carregador del cotxe a la presa de corrent de 12 V del vostre vehicle (endoll de l'encenedor de cigarrets).
- Connect the other end of the car charger cable to the USB power input port on the dash cam.
- La càmera del salpicader s'encendrà automàticament i començarà a gravar quan s'activi el contacte del vehicle.
4. Instruccions de funcionament
4.1 Controls bàsics
The dash cam features several buttons for navigation and control:
- Botó d'encesa: Press and hold to turn the device on/off. Short press to toggle screen display.
- Botó de menú (M): Press to enter the menu settings. Press again to cycle through menu options.
- Botó D'acord: Confirm selections in the menu or start/stop recording.
- Botons amunt / avall: Navigate through menu options or adjust settings.

Imatge: Frontal view of the Dpofirs Dash Cam showing the display screen and control buttons (OK, M, Power, Up, Down).
4.2 Modes d'enregistrament
The dash cam supports various recording functionalities:
- Enregistrament en bucle: This feature automatically overwrites the oldest video files when the memory card is full, ensuring continuous recording without manual intervention. Video segments are typically recorded in 1, 3, or 5-minute intervals.
- Sensor G (bloqueig d'emergència): The built-in G-sensor detects sudden impacts or collisions. When triggered, the current video segment is automatically locked and saved to prevent it from being overwritten by loop recording.
- Monitor d'aparcament: When enabled, the dash cam will automatically start recording if it detects motion or impact while the vehicle is parked. This feature requires a constant power supply (e.g., hardwire kit, not included) to function continuously.

Image: Visual explanation of Loop Recording, Emergency Lock (G-Sensor), and Parking Monitor functions.

Image: Icons representing Gravity Sensor (G-Sensor) and Loop Recording features.
4.3 Configuració de la data i l'hora
- Premeu el botó Menú (M) botó per entrar al menú de configuració.
- Utilitza el Amunt/Avall buttons to navigate to the 'Date/Time' setting.
- Premeu OK per entrar a la configuració.
- Ús Amunt/Avall to adjust values and OK per passar al camp següent.
- Un cop configurat, premeu Menú (M) per sortir.
4.4 Reproducció de vídeo
- Stop recording by pressing the OK button if currently recording.
- Premeu el botó Mode button (often labeled 'M' or a specific mode button) to switch to playback mode.
- Utilitza el Amunt/Avall buttons to select the desired video file.
- Premeu OK per reproduir el vídeo seleccionat.
4.5 Understanding Camera Views

Image: Illustration of the comprehensive recording capabilities from the front, interior, and rear lenses.
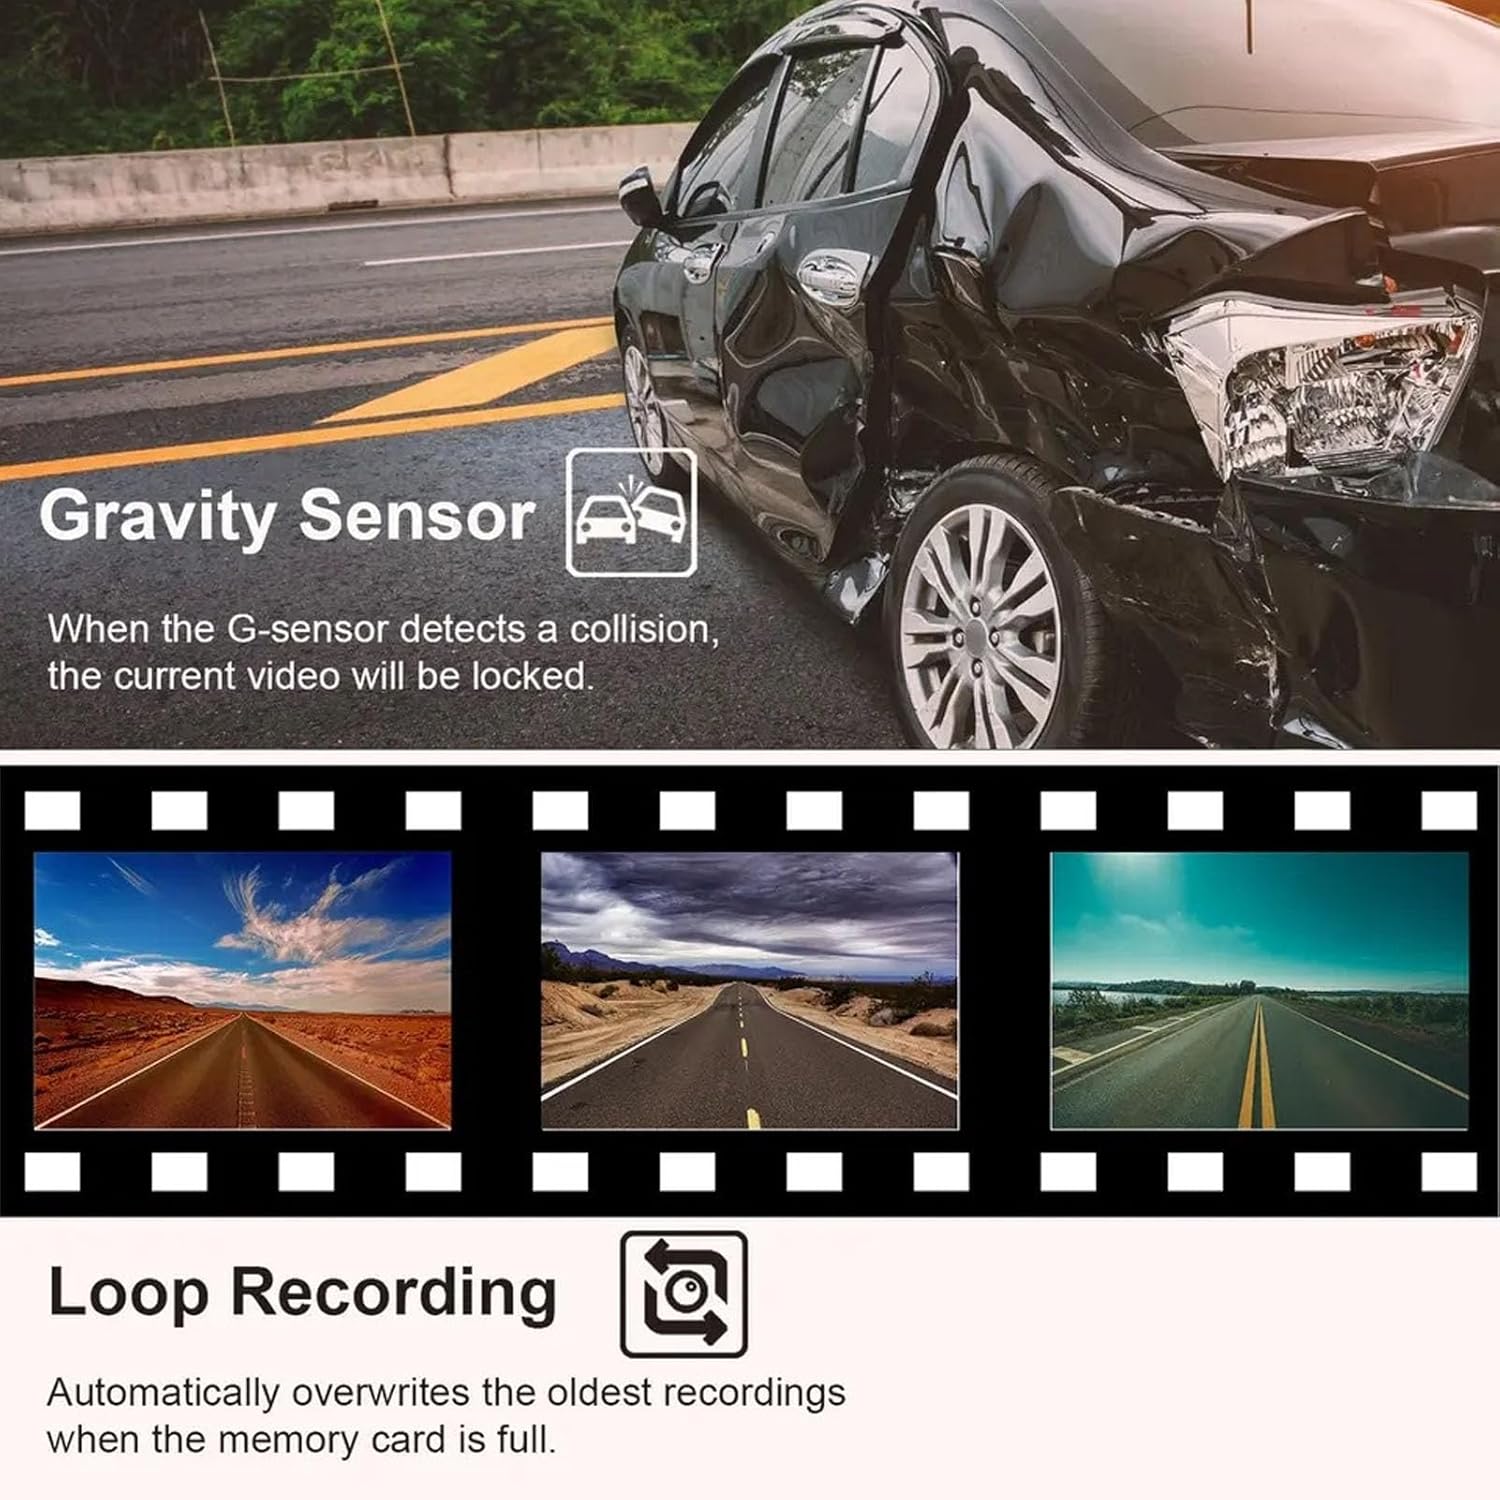
Image: Specific details on the 170° front (1080P), 110° inside (480P), and 110° rear (480P) camera views.
5. Manteniment
5.1 Cleaning the Lenses and Screen
- Use a soft, lint-free cloth to gently wipe the camera lenses and the display screen.
- Per a taques persistents, lleugerament dampen the cloth with lens cleaning solution. Avoid harsh chemicals.
- Ensure lenses are clean for optimal video quality.
5.2 Gestió de targetes de memòria
- It is recommended to format the Micro SD card periodically (e.g., once a month) to maintain optimal performance and prevent data corruption.
- To format, navigate to the 'Format' option in the dash cam's menu settings and confirm.
- Replace the memory card if you experience frequent recording errors or data loss.
6. Solució De Problemes
6.1 La càmera del salpicader no s'encén
- Assegureu-vos que el carregador del cotxe estigui ben connectat tant a la càmera del salpicader com a la presa de corrent de 12 V del vehicle.
- Check if the vehicle's 12V power outlet is functioning correctly (e.g., by testing with another device).
- Verify that the vehicle's ignition is on, as the dash cam typically powers on with the ignition.
6.2 Recording Stops or Fails
- Check if the Micro SD card is full. Format the card if necessary (back up important files primer).
- Ensure you are using a Class 10 or higher Micro SD card. Lower class cards may not support continuous recording.
- The memory card may be faulty. Try replacing it with a new, compatible card.
- Ensure loop recording is enabled in the settings.
6.3 Mala qualitat de vídeo
- Netegeu les lents de la càmera per eliminar la brutícia o les taques.
- Assegureu-vos que s'hagi tret la pel·lícula protectora de les lents.
- Check video resolution settings in the menu; ensure it is set to 1080P FHD for the front camera.
- Verify that the camera is securely mounted and not vibrating excessively.
7. Especificacions
| Main Control Model | 3292 |
| Sensor d'imatge | GC1054/0308 |
| Mostra | Pantalla a color de 2.0 polzades |
| Resolució de vídeo | Front: 1080P FHD; Interior/Rear: 480P |
| Vídeo File Format | AVI |
| Format fotogràfic | JPG |
| Detecció de moviment | Admet |
| Funció de gravació | Admet |
| Parking Wake Up | Admet |
| Temps Tag | Admet |
| Suport per a targetes de memòria | Micro SD, up to 32GB (Class 10 or higher recommended) |
| Tipus de bateria | Bateria de liti de polímer de 180 mAh integrada |
| Tecnologia de connectivitat | USB |
| Dimensions del paquet | 5.91 x 4.33 x 2.76 polzades |
8. Garantia i Suport
Informació de la garantia: Si us plau, consulteu la documentació de la vostra compra o la del venedor. website for specific warranty details and terms applicable to your Dpofirs Dash Cam.
Atenció al client: For technical assistance, troubleshooting not covered in this manual, or any other inquiries, please contact Dpofirs customer service through the retailer's platform or the official Dpofirs weblloc.