
Artillery Sidewinder X3 Plus
Manual d'usuari de la impressora 3D Artillery Sidewinder X3 Plus
Guia completa per a la instal·lació, el funcionament i el manteniment.
Producte acabatview
The Artillery Sidewinder X3 Plus is a high-performance 3D printer designed for both hobbyists and professionals, offering a large build volume and advanced features for efficient and precise 3D printing.

Figura 1: Davant view of the Artillery Sidewinder X3 Plus 3D Printer, showcasing its robust frame and integrated control panel.
Característiques clau
- Large Build Size: 300mm × 300mm × 400mm (11.8in × 11.8in × 15.7in) for greater creative freedom.
- Ultra-Quiet High-Speed Printing: Achieves speeds up to 300 mm/s with 0.1 mm precision.
- Upgraded 300°C High-Temperature Nozzle: Supports various filaments including PLA, TPU, PETG, ABS, and Nylon, with automatic nozzle cleaning.
- 49-Point Auto Bed Leveling: Ensures quick and accurate leveling of the build platform.
- Dual-Gear Direct Extruder: Provides powerful extrusion and smoother filament feeding for improved print quality.
- Resume Printing Function: Detects filament runout/breakage or power loss and resumes printing after recovery.
- Dual Z-axes & Dual Motors: Ensures stability and higher printing accuracy through coordinated movement.

Figura 2: Illustration demonstrating the large print volume of the Sidewinder X3 Plus, capable of accommodating substantial models.
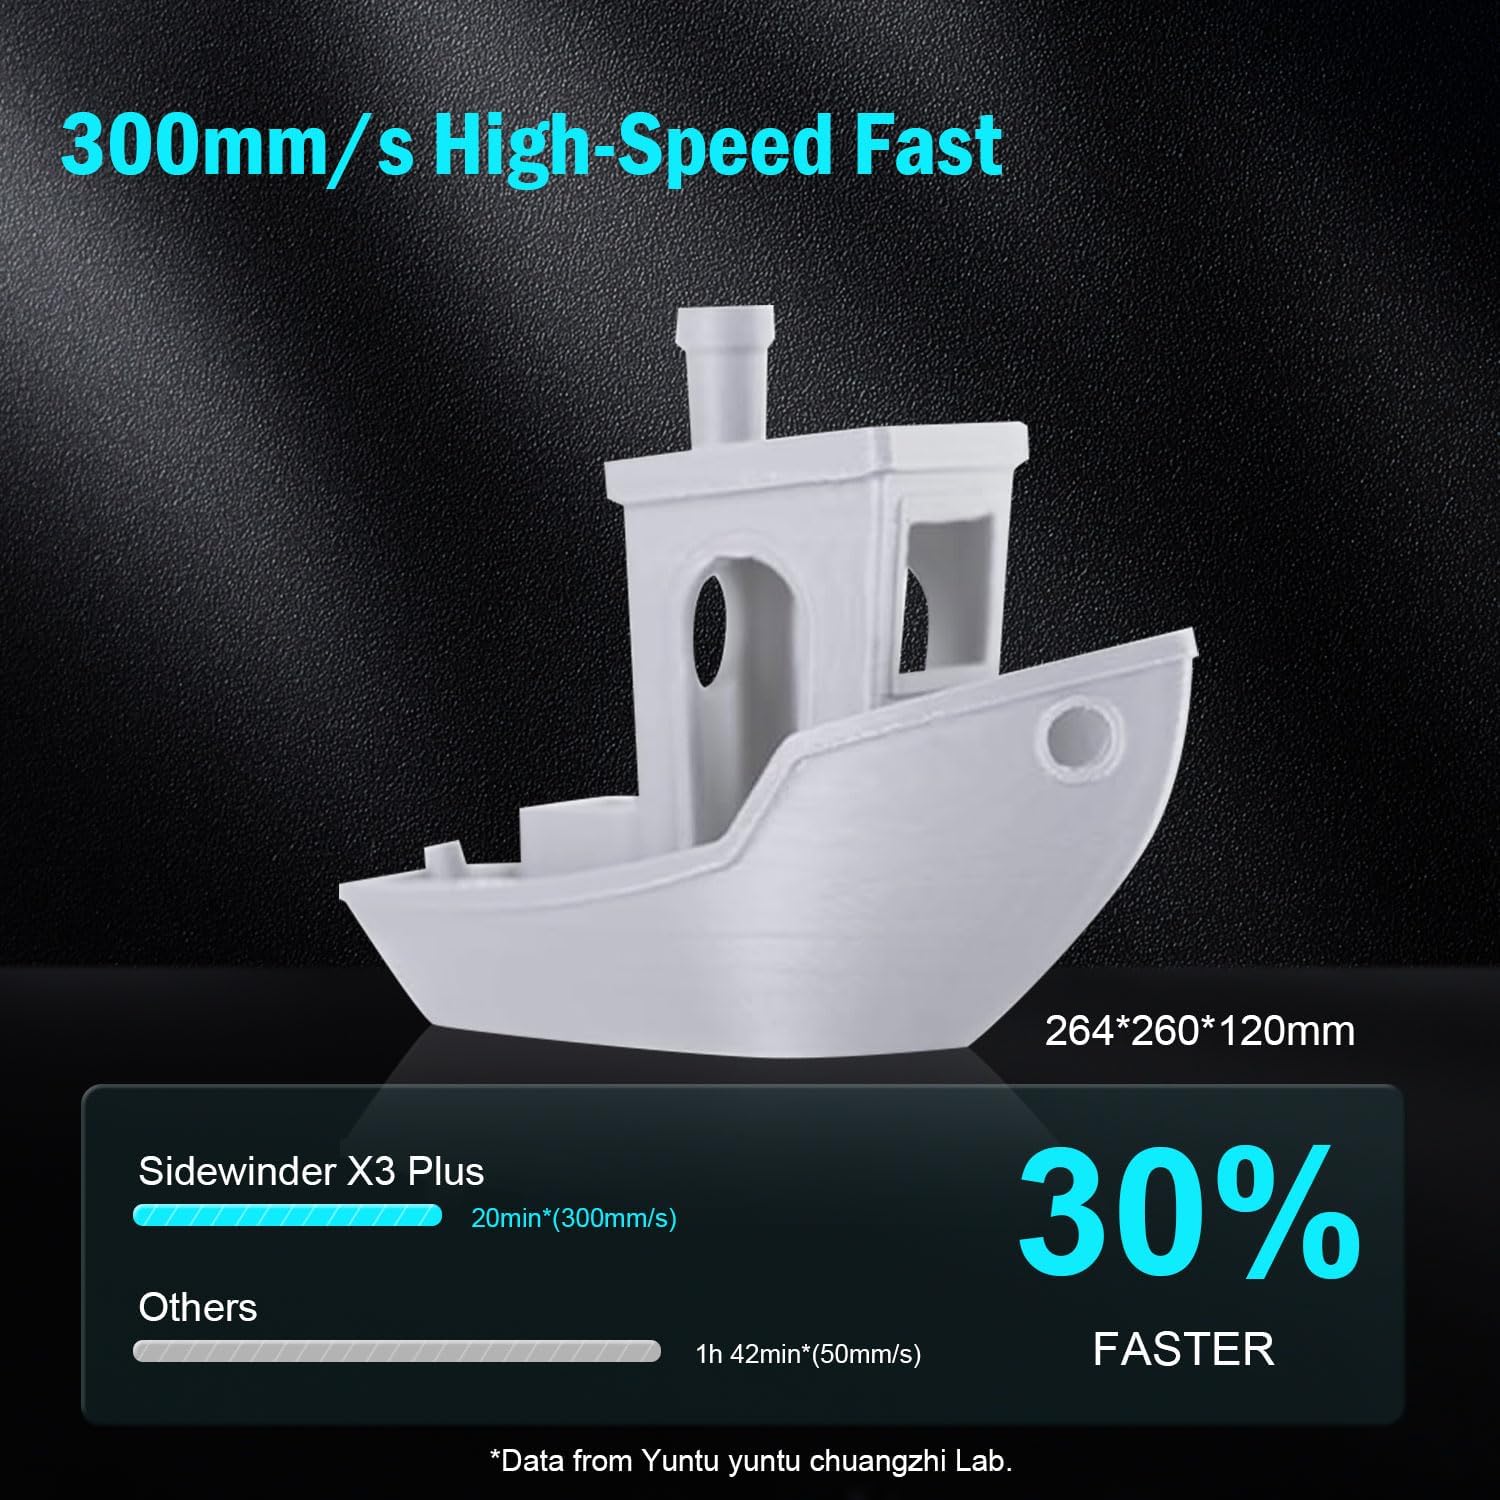
Figura 3: Visual representation of the Sidewinder X3 Plus's high-speed printing capability, showing a printed boat model.

Figura 4: Primer pla view of the all-metal hotend and automatic cleaning nozzle, highlighting its high-temperature capabilities.

Figura 5: Diagram illustrating the 49-point smart auto-leveling system on the print bed, simplifying the leveling process.
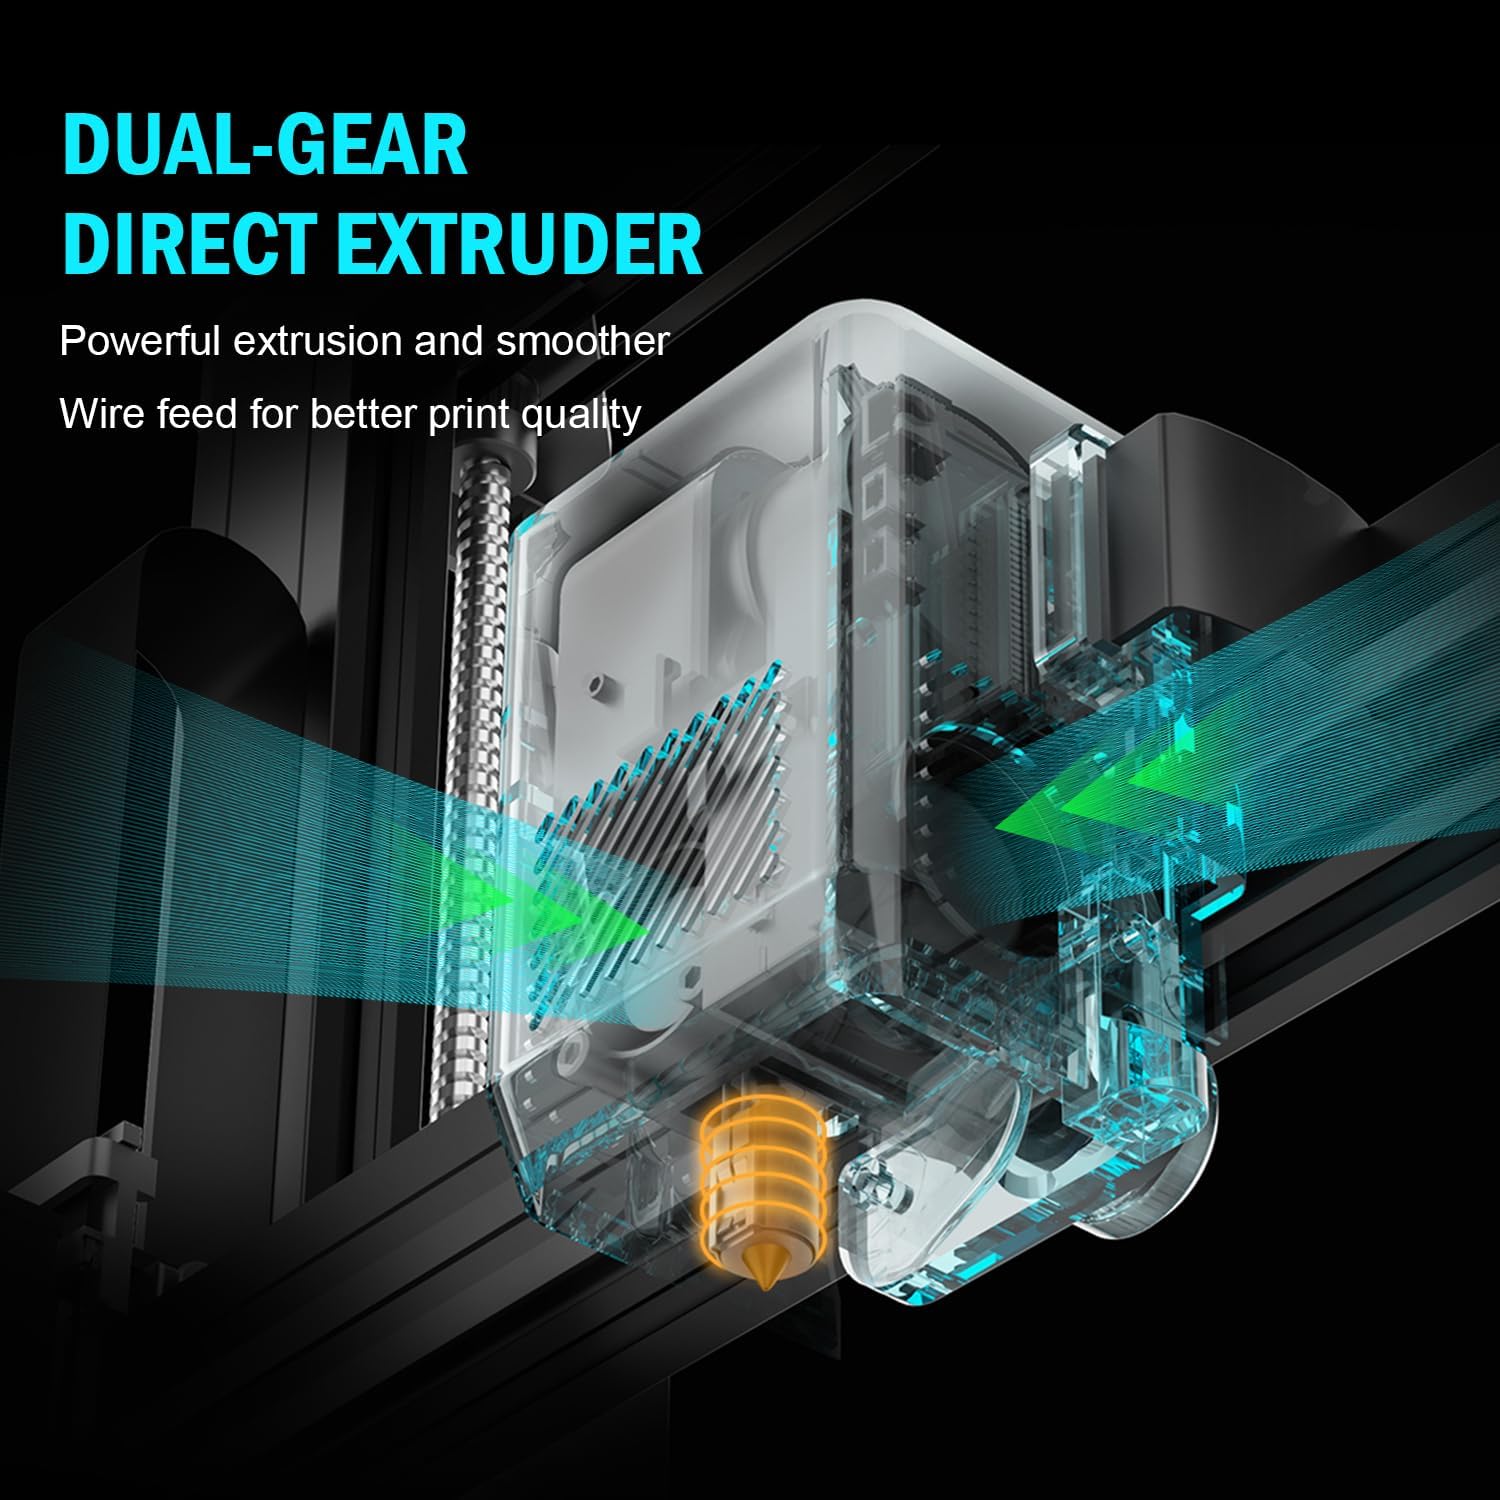
Figura 6: Interna view of the dual-gear direct extruder, showing the gears that ensure consistent filament flow.

Figura 7: Depiction of the dual Z-axes and dual motors system, highlighting their role in enhancing print stability and precision.
Guia de configuració
The Artillery Sidewinder X3 Plus is designed for quick assembly. Follow these general steps for initial setup:
- Desembalatge: Carefully remove all components from the packaging. Verify all parts listed in the packing list are present.
- Muntatge de la base: Place the printer base on a stable, level surface.
- Instal·lació de pòrtic: Attach the gantry (Z-axis frame) to the base. Ensure all screws are securely fastened.
- Connexions de cablejat: Connect all necessary cables, including power, motor, and sensor cables, according to the labels.
- Portafilaments: Mount the filament holder.
- Encesa inicial: Connecteu el cable d'alimentació i engegueu la impressora.
- Nivell automàtic: Perform the 49-point auto bed leveling procedure as prompted by the printer's interface. This is crucial for successful first prints.

Figura 8: Visual guide showing the four main steps for assembling the Artillery Sidewinder X3 Plus, indicating a straightforward setup process.
Instruccions de funcionament
S'està carregant el filament
- Ensure the hotend is preheated to the appropriate temperature for your filament type (e.g., 200°C for PLA).
- Introduïu el filament al forat d'entrada de l'extrusora.
- Push the filament until it is gripped by the extruder gears and begins to feed through the hotend.
- Confirm filament is extruding smoothly from the nozzle.
Iniciant una impressió
- Prepare your 3D model using slicing software (e.g., Cura, PrusaSlicer) and save it as a G-code file to a USB drive or SD card.
- Insert the USB drive/SD card into the printer's designated slot.
- Navigate the printer's touchscreen interface to select the desired G-code file.
- Confirm print settings and initiate the print. The printer will automatically preheat and begin printing.

Figura 9: Image showing the 4.3-inch touchscreen interface of the Sidewinder X3 Plus, demonstrating user interaction for print control.
Removing a Print
- Allow the print bed to cool down completely after the print finishes.
- Gently flex the PEI magnetic print platform to detach the printed object. Avoid using excessive force or sharp tools to prevent damage to the print surface.
Manteniment
Regular maintenance ensures optimal performance and longevity of your Artillery Sidewinder X3 Plus.
- Netegeu la base d'impressió: After each print, clean the print surface with isopropyl alcohol to remove any residue and ensure good adhesion for future prints.
- Neteja de broquets: The printer features an automatic cleaning nozzle. However, inspect the nozzle periodically for clogs or wear. If necessary, perform a cold pull or replace the nozzle.
- Lubricate Z-axis Lead Screws: Apply a small amount of lithium grease or similar lubricant to the Z-axis lead screws every few weeks, depending on usage, to ensure smooth vertical movement.
- Check Belts and Pulleys: Periodically inspect the X and Y axis belts for proper tension and wear. Ensure pulleys are clean and move freely.
- Actualitzacions de firmware: Check the official Artillery website for any available firmware updates to ensure your printer has the latest features and bug fixes.
Resolució de problemes comuns
| Problema | Causa possible | Solució |
|---|---|---|
| El filament no s'extrudeix | Clogged nozzle, tangled filament, incorrect temperature. | Clean the nozzle, check filament path, verify hotend temperature. |
| Poor bed adhesion | Unleveled bed, dirty print surface, incorrect bed temperature. | Perform auto-leveling, clean print bed with isopropyl alcohol, adjust bed temperature. |
| Canvi de capa | Loose belts, motor issues, print speed too high. | Check and tighten X/Y axis belts, inspect motor connections, reduce print speed. |
| Printer is excessively loud | Loose components, fan noise, worn bearings. | Inspect for loose screws, check fan operation, lubricate moving parts. |
| "Thermal runaway detected" error | Faulty thermistor, loose wiring to hotend/bed, heater cartridge issue. | Immediately power off the printer. Check all wiring connections to the hotend and heated bed. Contact support if issue persists. |
| "Error: home Y failed" or similar homing errors | Obstructed endstop switch, loose motor cable, faulty sensor. | Check for obstructions, ensure all motor and endstop cables are securely connected. Restart printer. |
Especificacions tècniques
| Característica | Detall |
|---|---|
| Dimensions del producte | 20 x 19.4 x 25.6 polzades (508 x 493 x 650 mm) |
| Pes de l'article | 36.6 lliures (16.6 kg) |
| Volum de construcció | 300 x 300 x 400 mm (11.8 x 11.8 x 15.7 polzades) |
| Velocitat d'impressió | Fins a 300 mm/s |
| Temperatura del broquet | Màxim 300 °C |
| Anivellament del llit | Anivellació automàtica del llit de 49 punts |
| Tipus d'extrusora | Dual-Gear Direct Extruder |
| Filaments compatibles | PLA, TPU, PETG, ABS, Nylon |
| Connectivitat | USB, targeta SD |
| Material | Metall |
| Color | Negre |
Garantia i Suport
For warranty information and technical support, please refer to the official Artillery weblloc web o contacteu directament amb el servei d'atenció al client. Conserveu el rebut de compra com a comprovant de compra per a reclamacions de garantia.
Fabricant: Artilleria
Oficial Weblloc: www.artillery3d.com (Nota: Això és un marcador de posició URL, consulteu el fabricant real weblloc de suport.)
Ask a question about this manual
Ask about setup, troubleshooting, compatibility, parts, safety, or missing instructions. Manuals+ will review the question and use this page’s manual context to help answer it.