
1. Introducció
The Xigmatek Hero II Air 3F is a mid-tower PC case designed for optimal airflow and component compatibility. It features a tempered glass side panel, support for various motherboard form factors, and pre-installed cooling fans. This manual provides detailed instructions for the installation of components, operation, maintenance, and troubleshooting of your PC case.
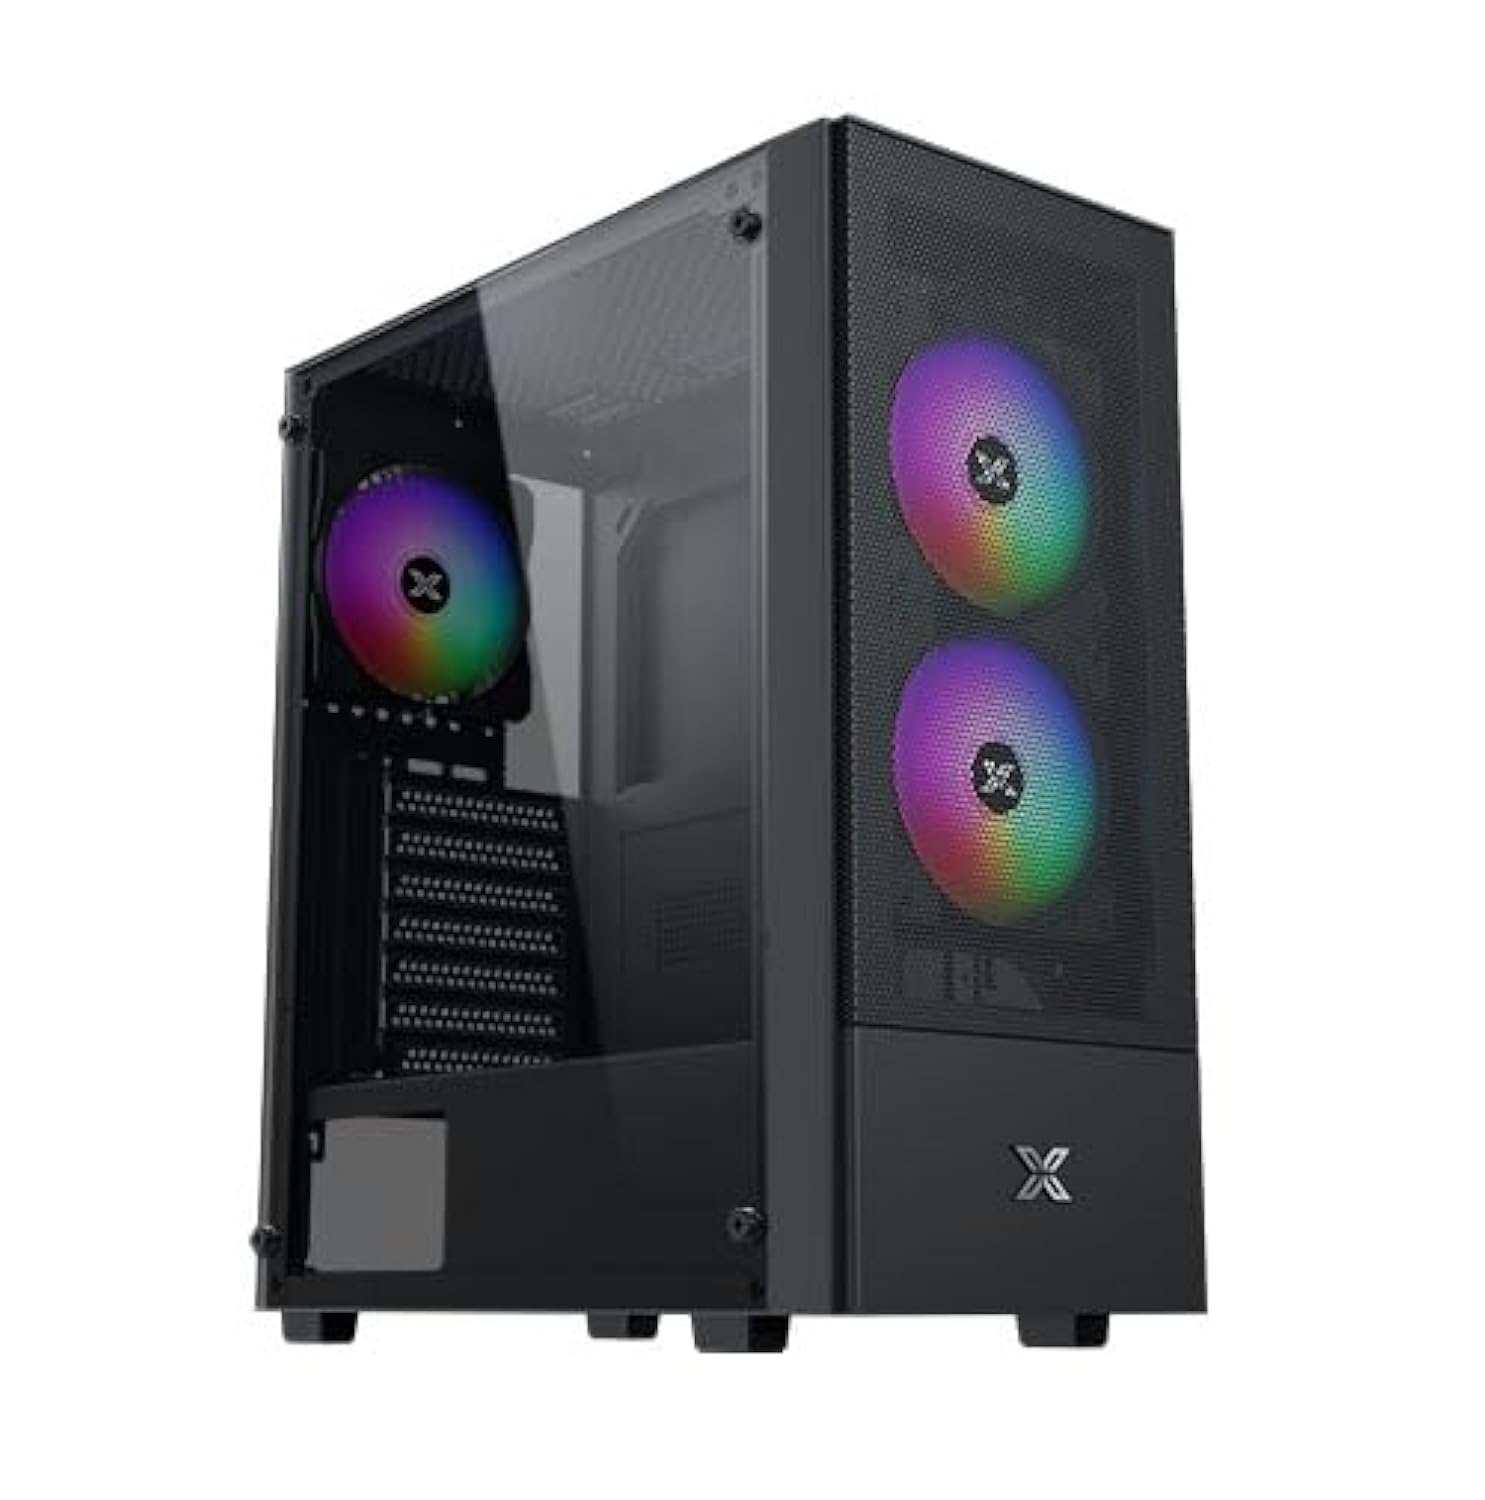
Figure 1: Xigmatek Hero II Air 3F Mid-Tower PC Case overview.
2. Informació de seguretat
Please read and understand all safety instructions before installing components into the PC case.
- Always disconnect the power supply from the wall outlet before performing any installation or maintenance.
- Porteu una polsera antiestàtica per evitar danys per descàrrega electrostàtica (ESD) als components sensibles.
- Handle components carefully to avoid physical damage.
- Mantingueu les peces petites i els cargols fora de l'abast dels nens.
- Assegureu-vos que hi hagi una ventilació adequada al voltant de la carcassa de l'ordinador per evitar el sobreescalfament.
- Do not operate the PC case with the side panel removed unless necessary for troubleshooting or maintenance.
3. Contingut del paquet
Verifiqueu que tots els elements siguin presents al paquet:
- Xigmatek Hero II Air 3F Mid-Tower PC Case
- Accessory box (containing screws, cable ties, and other small parts)
- 3 x 120mm fixed RGB fans (pre-installed)
- Manual d'usuari (aquest document)
4. Configuració i instal·lació de components
Follow these steps to install your PC components into the Xigmatek Hero II Air 3F case.
4.1 Instal·lació de la placa base
La caixa és compatible amb plaques base ATX, Micro-ATX i Mini-ITX.
- Traieu el panell lateral de vidre temperat desenroscant els cargols de polze.
- Instal·leu la protecció d'E/S (si no està preinstal·lada a la placa base) a l'obertura posterior de la carcassa.
- Align your motherboard with the standoffs inside the case. Ensure the standoffs match your motherboard's form factor.
- Fixeu la placa base amb els cargols proporcionats.
- Install the CPU cooler. The case supports CPU air coolers up to 165mm in height.

Figure 2: Component clearance for motherboard (ATX), CPU cooler (165mm), and graphics card (340mm).
4.2 Instal·lació de la unitat d'emmagatzematge
The case offers multiple storage options:
- HDD Cage: Supports 2 x 3.5" HDDs or 2 x 2.5" SSDs in a combo cage located at the bottom.
- Panell MB: Supports 2 x 2.5" SSDs mounted behind the motherboard tray.
- For 3.5" HDDs or 2.5" SSDs in the cage, slide the drive into the bay and secure with screws.
- For 2.5" SSDs behind the motherboard tray, mount the SSDs directly onto the designated spots using screws.

Figure 3: Locations for SSDs (behind motherboard tray) and HDD/SSD combo cage.
4.3 Instal·lació de la unitat d'alimentació (PSU).
The case supports standard PS2 ATX PSUs up to 165mm in length.
- Locate the PSU mounting bracket at the rear bottom of the case.
- Slide the PSU into the designated compartment from the rear of the case.
- Secure the PSU with screws from the outside of the case.
4.4 Instal·lació de la targeta gràfica (GPU)
The case accommodates graphics cards up to 340mm in length.
- Traieu les cobertes de les ranures d'expansió necessàries de la part posterior de la carcassa.
- Insert the graphics card into the appropriate PCIe slot on your motherboard.
- Fixeu la targeta gràfica a la carcassa amb cargols.
4.5 Fan and Liquid Cooling Installation
The Hero II Air 3F comes with three pre-installed 120mm fixed RGB fans. Additional fan and liquid cooling support is available:
- Davant: 3 x 120mm fans (pre-installed)
- A dalt: 2 x 120mm or 2 x 140mm fans
- posterior: 1 x 120mm fan (pre-installed)
- Liquid Cooling Radiator Support: Front 360mm, Top 240mm, Rear 120mm.
- Mount additional fans or radiators to the designated locations using the appropriate screws.
- Ensure proper airflow direction for optimal cooling (intake at front, exhaust at rear/top).

Figure 4: Illustration of superior airflow design with front intake and rear exhaust.
4.6 Gestió de cables
The case provides space behind the motherboard tray and cutouts for efficient cable routing.
- Route power cables and data cables through the designated cutouts to the back of the motherboard tray.
- Use cable ties (provided in the accessory box) to bundle and secure cables, ensuring a clean interior and unobstructed airflow.
5. Funcionament de la carcassa de l'ordinador
Once all components are installed and cables are connected, you can operate your PC.
5.1 Ports d'E/S frontals
The top-mounted I/O panel provides convenient access to essential ports and controls:
- Botó d'encesa: Per encendre/apagar el sistema.
- Botó de restabliment: Per reiniciar el sistema.
- Ports USB 2.0 (x2): Per connectar dispositius USB 2.0.
- Port USB 3.0 (x1): Per connectar dispositius USB 3.0.
- HD Audio Jack: Per connectar auriculars i micròfons.
- Interruptor LED: To control the lighting of the pre-installed RGB fans.

Figure 5: Diagram of the top-mounted I/O ports including Power, Reset, USB 2.0, USB 3.0, HD Audio, and LED Switch.
5.2 Fan Operation and RGB Control
The pre-installed fans provide cooling for your system. The LED Switch on the I/O panel allows you to cycle through different lighting modes for the fixed RGB fans. Note that the pre-installed fans use Molex connectors for power.
6. Manteniment
Un manteniment regular ajuda a garantir un rendiment òptim i una llarga vida útil dels components del teu PC.
- Neteja de pols: Periodically clean dust filters and the interior of the case using compressed air or a soft brush. Dust accumulation can impede airflow and lead to overheating.
- Comprovació de la gestió de cables: Assegureu-vos que els cables estiguin ben organitzats i que no obstrueixin el flux d'aire.
- Inspecció del ventilador: Check fans for any obstructions or unusual noises.
7. Solució De Problemes
Aquesta secció tracta problemes comuns que podeu trobar.
- Els ventiladors no giren o l'RGB no s'il·lumina:
- Ensure all fan power connectors (Molex) are securely connected to the power supply.
- Verify that the LED Switch cable from the I/O panel is correctly connected to the fan controller or motherboard header (if applicable). Note that the pre-installed fans have fixed RGB and are controlled by the LED switch.
- El sistema no s'encén:
- Comproveu totes les connexions d'alimentació, inclosos els cables d'alimentació ATX de 24 pins, CPU de 8 pins i GPU.
- Ensure the power button cable from the I/O panel is correctly connected to the motherboard's front panel header.
- Verifiqueu que l'interruptor de la font d'alimentació estigui en la posició "ON".
- Poor airflow or high temperatures:
- Check for dust buildup on fans and filters and clean them.
- Ensure fans are oriented correctly for optimal intake and exhaust.
- Verify that no cables are obstructing airflow paths.
8. Especificacions
Detailed specifications for the Xigmatek Hero II Air 3F PC Case.

Figure 6: Official specifications table for the Hero II Air 3F.
| Característica | Especificació |
|---|---|
| Nom del producte | Hero II Air 3F |
| Material | Aliatge d'acer |
| Dimensions (L x A x A) | 390 x 195 x 450 mm |
| Drive Bays | HDD Cage: 2 x 3.5" & 2.5" combo; MB Panel: 2 x 2.5" SSD |
| Ranures d'expansió | 7 Standard Slots |
| Suport de la placa base | ATX, M-ATX, Mini ITX |
| Suport d'alimentació | Standard PS2 ATX PSU (Max 165mm length) |
| Suport dels fans | Top: 2 x 120mm or 2 x 140mm; Front: 3 x 120mm; Rear: 1 x 120mm |
| Suport de refrigeració líquida | Front: 360mm; Top: 240mm; Rear: 120mm |
| Panell d'E/S | 1 x USB 3.0, 2 x USB 2.0, HD Audio, LED Switch |
| Alçada del refrigerador de la CPU | Màxim 165 mm |
| Longitud de la targeta VGA | Màxim 340 mm |
| Longitud de la PSU | Màxim 165 mm |
| Ventiladors preinstal·lats | 3 x 120mm Fixed RGB Fans |
| Característiques | Tempered glass side panel, advanced cooling system, easy cable management |
9. Informació de la garantia
The Xigmatek Hero II Air 3F PC Case comes with a 2 any de garantia from the date of purchase. This warranty covers manufacturing defects and material faults under normal use. It does not cover damage caused by misuse, accident, modification, or unauthorized repair. Please retain your proof of purchase for warranty claims.
10. Suport
For further assistance, technical support, or warranty inquiries, please contact Xigmatek customer service through their official weblloc web o el vostre distribuïdor local.


