
Introducció
This manual provides detailed instructions for the setup, operation, and maintenance of your Tacens NOVAX 2NOVAX Ultra-Compact Micro-ATX PC Case. Designed for efficiency and durability, this all-metal mini-tower case offers a compact footprint with ample internal capacity for your computing needs.
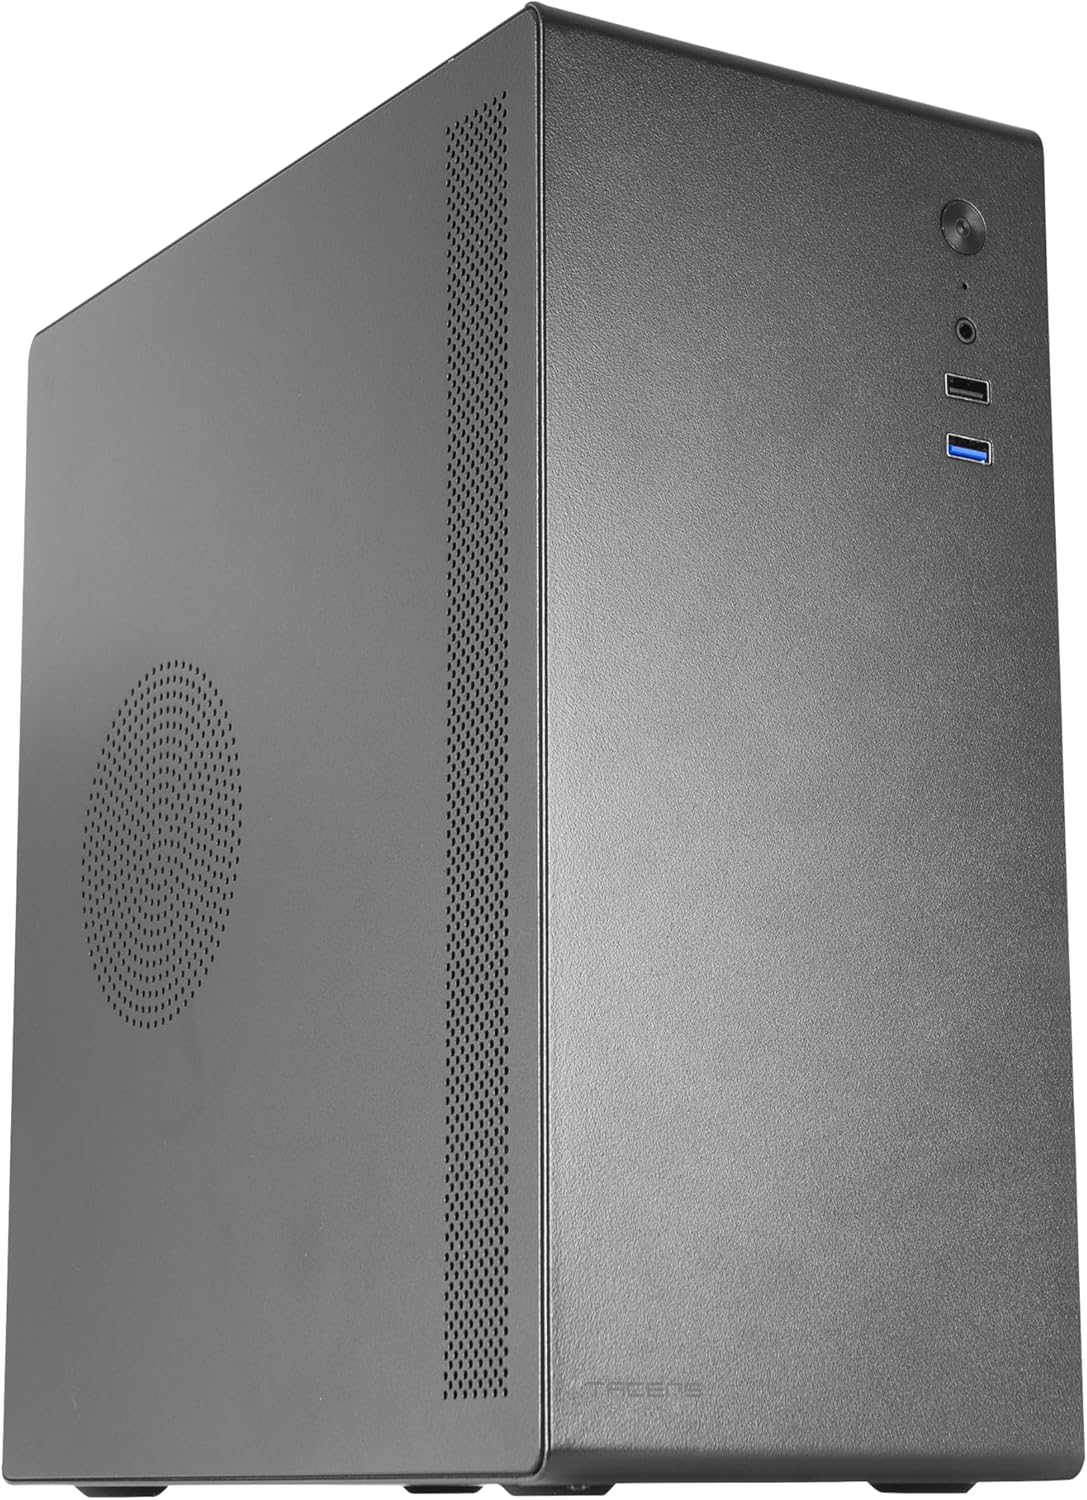
Figura 1: Frontal esquerre view of the Tacens NOVAX 2NOVAX PC Case.
Característiques clau
- Full Metallic Structure: The NOVAX compact case features a solid metal construction, ensuring continuous protection and robust security for your system.
- Optimized Cooling Capacity: An integrated 80mm fan at the rear ensures additional air circulation to keep components cool.
- Wide Internal Capacity: Supports MicroATX and Mini-ITX motherboards, accommodates up to two 3.5" HDDs and two 2.5" SSDs, and graphics cards up to 250mm wide. Features 4 expansion slots.
- Maximum Connectivity: Includes one USB 3.0 port, one USB 2.0 port, and HD audio input combined with microphone on the front panel.
- Disseny compacte: Sleek and minimalist mini-tower design, available in black.
Configuració i instal·lació
Follow these steps to install your PC components into the NOVAX 2NOVAX case.
1. Preparació del cas
Before installing components, ensure the case is placed on a stable, flat surface. Remove the side panels by unscrewing the thumb screws at the rear of the case and sliding the panels off.
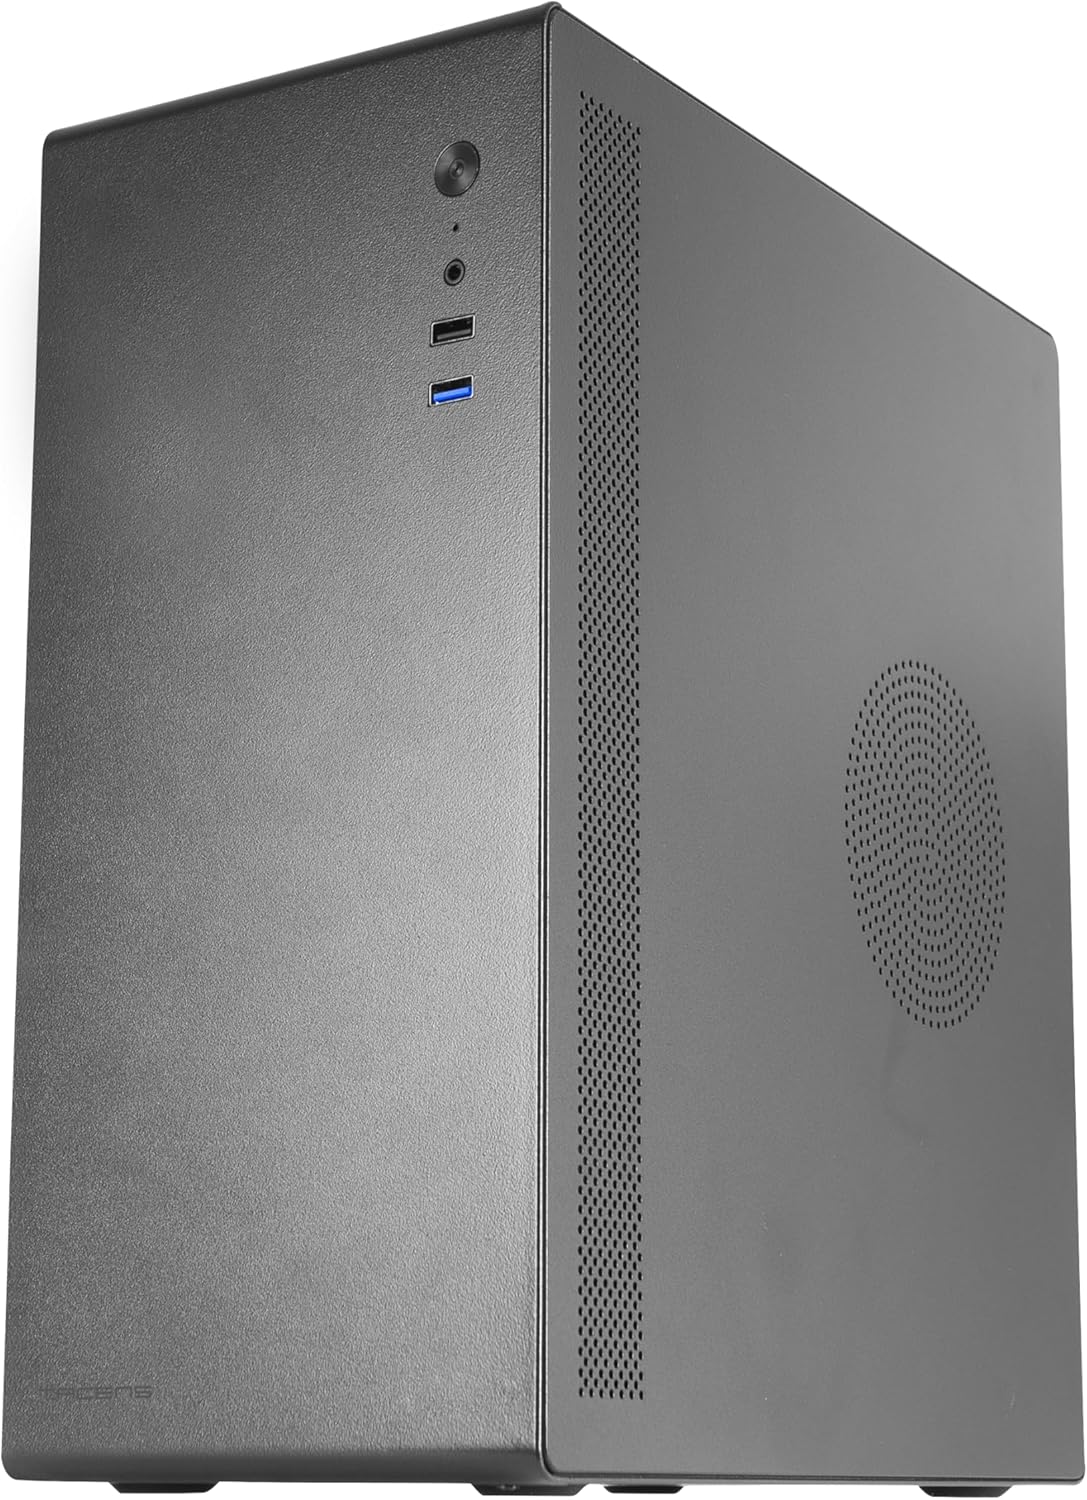
Figura 2: posterior view of the case with the side panel removed, showing internal layout.
2. Instal·lació de la placa base
The NOVAX case supports MicroATX and Mini-ITX motherboards. Align your motherboard with the pre-mounted standoffs inside the case. Secure the motherboard using the provided screws.
Video 1: This video demonstrates the installation process of a Micro-ATX motherboard and other components into a similar compact PC case. Note that specific component models may vary.
3. Instal·lació de la targeta gràfica (GPU)
Install your graphics card into the appropriate PCIe slot on your motherboard. The case can accommodate graphics cards up to 250mm in length. Secure the GPU with the provided screws.
4. Instal·lació de la unitat
The case provides mounting points for two 3.5" HDDs and two 2.5" SSDs. Secure your storage drives using the designated bays and screws.

Figura 3: Intern view highlighting the 80mm rear fan mount and potential drive installation areas.
5. Instal·lació de la font d'alimentació (PSU)
The case supports standard ATX power supplies, which are mounted at the bottom. Ensure proper cable management to maintain optimal airflow.
Video 2: This video illustrates the assembly of a mini PC case, including the installation of a power supply and other components. It provides a visual guide for component placement.
6. Fan Configuration
The case includes one 80mm rear fan for exhaust. Additional fan mounts are available for enhanced cooling. Ensure fans are oriented correctly for optimal airflow (intake/exhaust).

Figure 4: Top-down internal view of the case, showing the layout for components and potential fan placements.
7. Connectivitat del panell frontal
Connect the front panel cables (USB 3.0, USB 2.0, HD Audio, Power, Reset) to the corresponding headers on your motherboard. The front panel features:
- 1 port USB 3.0
- 1 port USB 2.0
- HD Audio (Headphone/Microphone combo jack)
- Botó d'engegada
- Botó de restabliment

Figure 5: Close-up of the front I/O panel, showing USB ports, audio jacks, and power/reset buttons.
Instruccions de funcionament
Once all components are securely installed and connected, replace the side panels and connect your peripherals (monitor, keyboard, mouse) and power cable.
- Connecteu el cable d'alimentació a la font d'alimentació i a una presa de corrent.
- Press the power button on the front panel to turn on your PC.
- Use the front USB ports for convenient connection of external devices.
- The HD audio ports allow for easy connection of headphones and microphones.
Manteniment
Un manteniment regular ajuda a garantir un rendiment òptim i una llarga vida útil dels components del teu PC.
- Neteja de pols: Periodically clean dust from the case's ventilation areas and internal components using compressed air or a soft brush.
- Gestió de cables: Ensure internal cables are neatly routed to prevent obstruction of airflow.
- Comprovació del ventilador: Inspect the 80mm rear fan and any additional fans for dust buildup or unusual noises.
Resolució de problemes
Si teniu problemes, tingueu en compte els passos habituals següents per resoldre'ls:
- Sense energia: Check all power connections, including the PSU cable, motherboard power, and CPU power. Ensure the PSU switch is in the 'ON' position.
- Sense pantalla: Verify that your monitor is correctly connected to the graphics card (or integrated graphics) and that the monitor is powered on. Reseat the graphics card if necessary.
- Sobreescalfament: Ensure all fans are spinning correctly and that there is no excessive dust buildup blocking airflow. Check CPU cooler installation.
- Els ports USB no funcionen: Confirm that the front panel USB cables are securely connected to the motherboard headers.
Especificacions
| Característica | Detall |
|---|---|
| Marca | Tacens |
| Nom del model | 2NOVAX |
| Tipus de cas | Mini-torre |
| Compatibilitat amb la placa base | Micro ATX, Mini ITX |
| Material | Metall |
| Color | Negre |
| Pes de l'article | 4.62 lliures |
| Dimensions del producte (LxWxH) | 14.02 x 6.54 x 10.83 polzades |
| Nombre de ports USB 3.0 | 1 |
| Nombre de ports USB 2.0 | 1 |
| Rear Fan Included | 1x 80 mm |
| Tipus de muntatge de la font d'alimentació | Muntatge inferior |
| Mètode de refrigeració | Aire |
| Longitud màxima de la GPU | 250 mm |
| Drive Bays | 2 discs durs de 3.5", 2 discs SSD de 2.5" |
| Ranures d'expansió | 4 |
Garantia i Suport
For warranty information and technical support, please refer to the official Tacens weblloc web o poseu-vos en contacte amb el servei d'atenció al client. Conserveu el comprovant de compra per a reclamacions de garantia.