
Armor All 3pc Emergency Kit
Armor All 3-Piece Roadside Emergency Kit User Manual
Model: 3pc Emergency Kit
Introducció
This manual provides essential instructions for the safe and effective use of your Armor All 3-Piece Roadside Emergency Kit. This kit is designed to assist in common roadside situations and includes a storage bag, 12-gauge 6.5 ft battery cables, and a flashlight. Please read this manual thoroughly before using the kit components.

Image: The complete Armor All 3-Piece Roadside Emergency Kit, showcasing the compact storage bag, the 12-gauge booster cables, and the bright orange flashlight.
Informació de seguretat
Always prioritize safety when using any emergency equipment. Failure to follow these instructions may result in injury or damage to property.
- Keep the kit out of reach of children.
- Wear appropriate personal protective equipment, such as gloves and eye protection, when handling battery cables.
- Ensure vehicles are turned off and parking brakes are engaged before attempting to jump-start.
- Avoid contact between positive and negative cable clamps to prevent short circuits.
- Do not use the battery cables if they are damaged or frayed.
- No intenteu arrencar amb ajuda d'una bateria congelada.
- Consult your vehicle's owner's manual for specific jump-starting procedures and precautions.
Contingut del paquet
Your Armor All 3-Piece Roadside Emergency Kit includes the following items:
- 1 x bossa d'emmagatzematge
- 1 x 12-Gauge 6.5 ft Battery Cable Set
- 1 x Flashlight (AA batteries may be included or required)

Imatge: Un cop mésview of the kit's contents, clearly labeling the 12-gauge booster cables, the super bright flashlight, and the compact carrying case.
Configuració
Flashlight Battery Installation
- Desenrosqueu la tapa de la cua de la llanterna.
- Insert the required AA batteries (typically 2 or 3, check flashlight for markings) according to the polarity indicators (+/-).
- Torneu a enroscar la tapa de la cua de manera segura.
- Test the flashlight by pressing the power button.
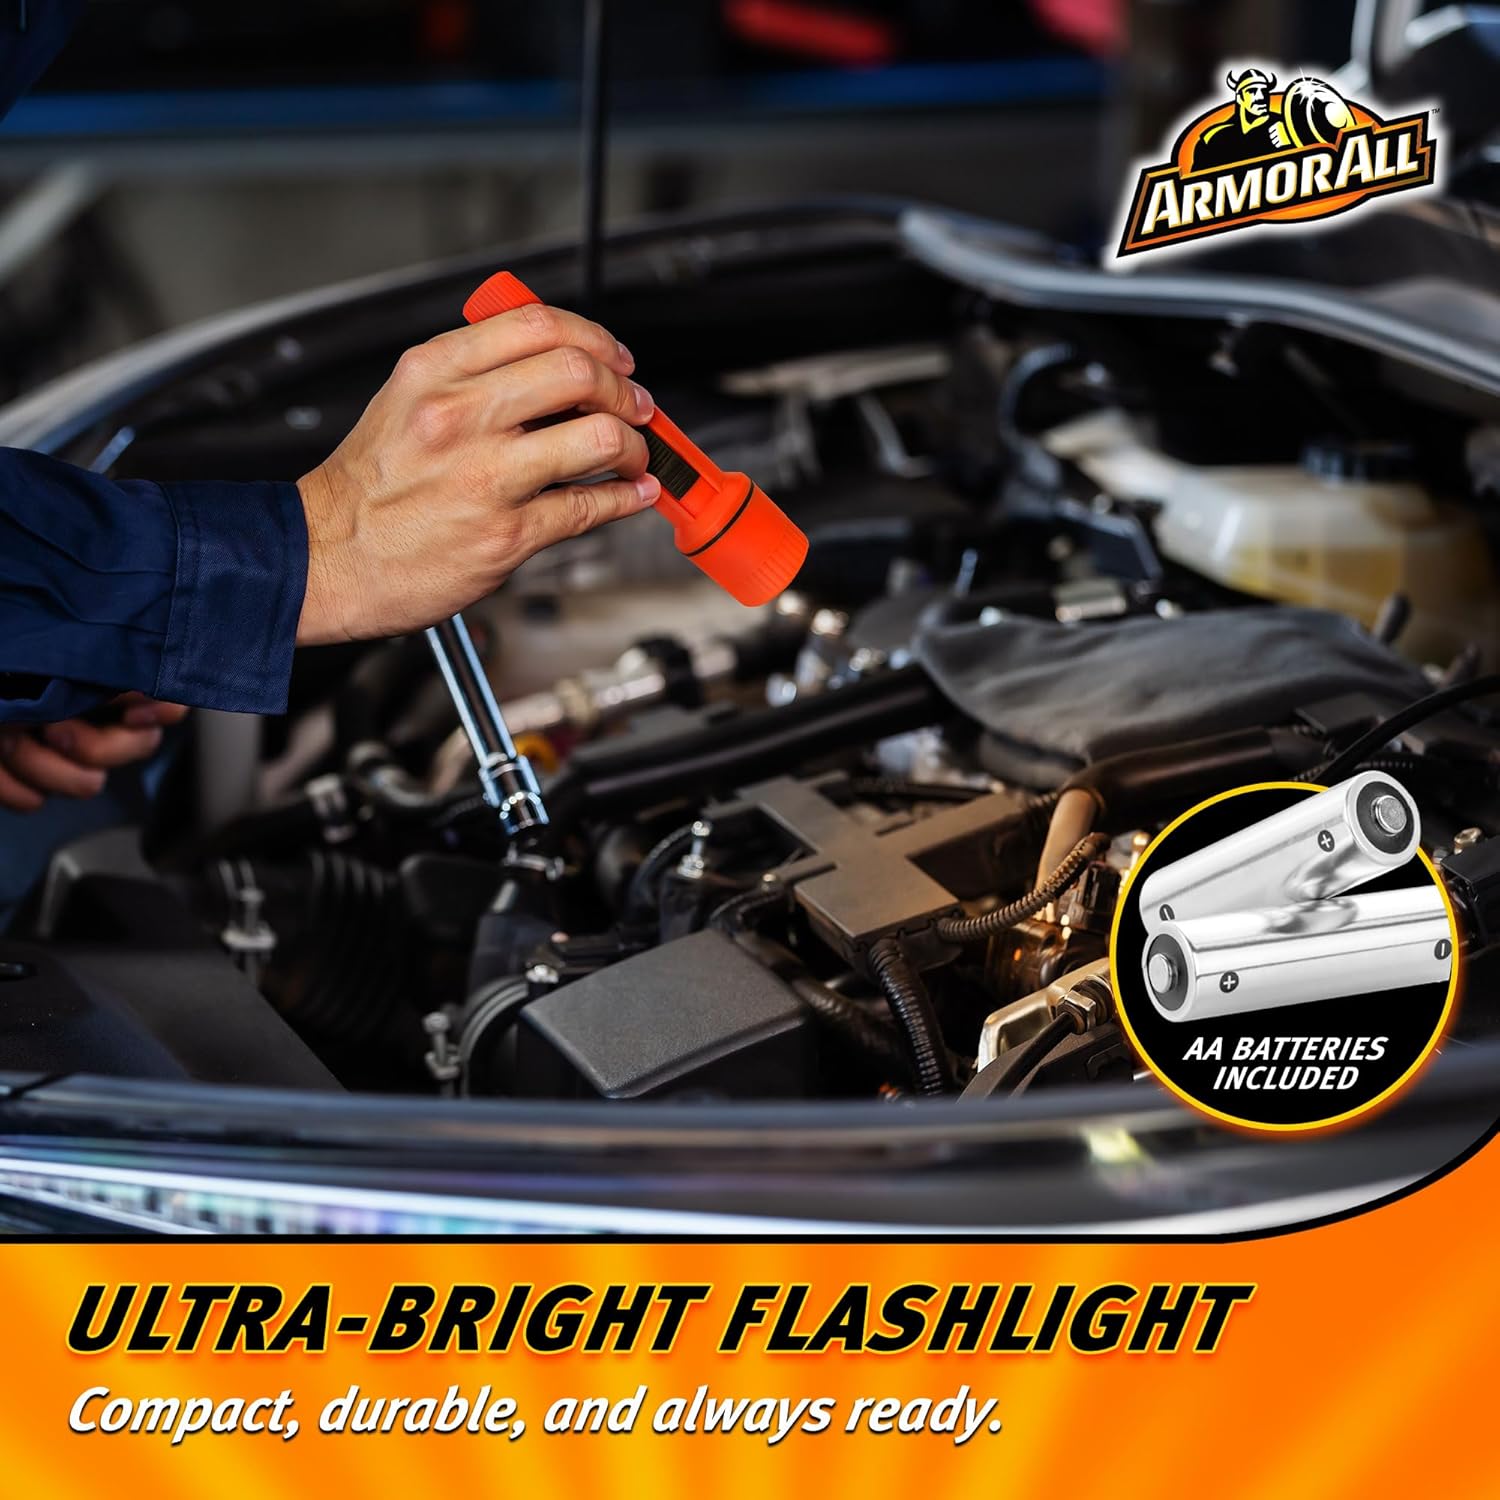
Image: The flashlight in use, illuminating an engine bay, with an illustration of AA batteries indicating power source.
Storing Components in the Bag
The storage bag is designed for compact and organized storage of your emergency kit components.
- Fold the battery cables neatly to fit into their designated elastic strap or compartment within the bag.
- Secure the flashlight in its elastic strap or pocket.
- Close the bag securely using the hook-and-loop fasteners.
- Store the kit in an easily accessible location in your vehicle, such as the trunk or under a seat.

Image: The compact carrying case opened, revealing the organized storage of the booster cables and flashlight, held in place by elastic bands.
Instruccions de funcionament
Utilitzant la llanterna
To turn the flashlight on or off, slide the switch located on the side of the flashlight body. Ensure fresh batteries are installed for optimal brightness.
Using the Battery Cables (Jump Starting)
Precaucions de seguretat importants:
- Ensure both vehicles are turned off and in Park (automatic) or Neutral (manual) with the parking brake engaged.
- Do not allow the red (positive) and black (negative) clamps tocar-se.
- Keep clear of moving engine parts (fans, belts, etc.).
- Do not lean over batteries while connecting cables.
Jump Starting Procedure:
- Position the assisting vehicle close enough to the disabled vehicle so the cables can reach both batteries, but ensure the vehicles are not touching.
- Turn off both vehicles' engines and all accessories (lights, radio, etc.).
- Connecteu-ne un RED (positive) clamp al terminal positiu (+) de la bateria morta.
- Connecta l'altre. RED (positive) clamp al terminal positiu (+) de la assisting vehicle's battery.
- Connecteu-ne un BLACK (negative) clamp al terminal negatiu (-). de la assisting vehicle's battery.
- Connecteu la resta BLACK (negative) clamp to an unpainted metal surface on the engine block or chassis of the disabled vehicle, away from the battery and fuel lines. This provides a ground connection.
- Start the engine of the assisting vehicle and let it run for 5-10 minutes to charge the dead battery.
- Attempt to start the disabled vehicle. If it doesn't start, wait a few more minutes and try again.
- Once the disabled vehicle starts, disconnect the cables in the ordre invers of connection:
- Desconnecteu el BLACK (negative) clamp from the disabled vehicle's engine block/chassis.
- Desconnecteu el BLACK (negative) clamp from the assisting vehicle's battery.
- Desconnecteu el RED (positive) clamp from the assisting vehicle's battery.
- Desconnecteu el RED (positive) clamp from the disabled vehicle's battery.
- Allow the disabled vehicle to run for at least 20-30 minutes to recharge its battery.

Imatge: Un primer pla view of hands properly connecting the red and black booster cable clamps to a car battery, illustrating the jump-starting process.
Manteniment
- Cables de la bateria: After each use, inspect cables for any signs of damage, fraying, or corrosion. Clean clamps if necessary. Neatly coil the cables before storing them in the bag to prevent tangling and damage.
- Llanterna: If the flashlight is not used for extended periods, remove the batteries to prevent leakage and corrosion. Replace batteries as needed.
- Bossa d'emmagatzematge: Keep the storage bag clean and dry. Periodically check that all components are present and in good condition.

Image: A person carrying the compact Armor All emergency kit bag, demonstrating its portability and ease of transport.
Resolució de problemes
| Problema | Causa possible | Solució |
|---|---|---|
| La llanterna no s'encén. | Piles gastades o incorrectament inserides. | Comproveu la polaritat de la bateria. Substituïu-la per piles AA noves. |
| Vehicle does not start after jump-starting attempt. | Incorrect cable connection; severely discharged battery; vehicle mechanical issue. | Review jump-starting procedure. Ensure all connections are secure and correct. Allow more charging time. If still unsuccessful, seek professional assistance. |
| Cables spark excessively during connection. | Incorrect connection order; short circuit. | Immediately disconnect cables. Review and strictly follow the jump-starting procedure, especially the connection order. Ensure clamps do not touch each other. |
Especificacions
- Model: 3pc Emergency Kit
- Número de model de l'article: 3AAEM0863B1G7
- Cables de la bateria: 12 Gauge, 6.5 feet (1.95 meters) length
- Llanterna: Requires AA batteries (not always included)
- Kit Weight: Aproximadament 1.85 lliures (0.84 kg)
- Dimensions del paquet: Aproximadament 7.87 x 5.55 x 2.75 polzades (20 x 14.1 x 7 cm)
- Fabricant: Grup de Tecnologia Lifeworks
- Marca: Armadura Tot
Garantia i Suport
For warranty information or product support, please refer to the packaging or contact the manufacturer directly. Keep your purchase receipt for warranty claims.
Fabricant: Grup de Tecnologia Lifeworks
For further assistance, visit the official Armor All weblloc o poseu-vos en contacte amb el seu servei d'atenció al client.
Ask a question about this manual
Ask about setup, troubleshooting, compatibility, parts, safety, or missing instructions. Manuals+ will review the question and use this page’s manual context to help answer it.