
1. Introducció
This manual provides detailed instructions for the installation, operation, and maintenance of your ELUSH 100A MPPT Solar Charge Controller. This advanced controller is designed to efficiently manage power from your solar panels to your battery bank, ensuring optimal charging and system protection. It automatically recognizes 12V, 24V, 36V, and 48V systems and features dual USB 5V charging ports.
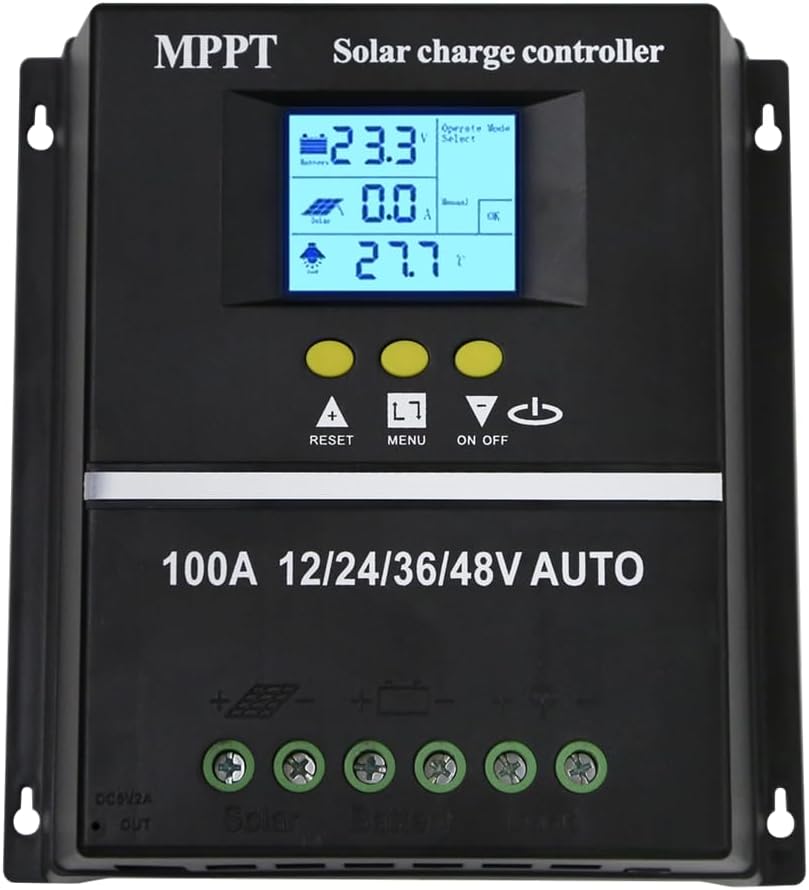
Figura 1.1: Frontal view of the ELUSH 100A MPPT Solar Charge Controller.
2. Instruccions de seguretat
Si us plau, llegiu atentament totes les instruccions abans de la instal·lació i el funcionament. Si no seguiu aquestes instruccions, podeu patir danys a la unitat, lesions personals o danys materials.
- Assegureu-vos que totes les connexions siguin segures i correctes abans d'encendre el sistema.
- Do not disassemble or attempt to repair the controller yourself. Contact qualified personnel for service.
- Instal·leu el controlador en una zona ben ventilada, allunyada de materials inflamables i de la llum solar directa.
- The controller provides comprehensive voltage protection, including safeguards against battery over-voltage, over-current, power failure, overcharge, deep discharge, reverse connection, and overheating.
- Device Startup Reminder: When connecting the equipment, first connect the rechargeable battery and ensure it has power. After successful startup, then connect the solar panel. This sequence ensures proper operation.
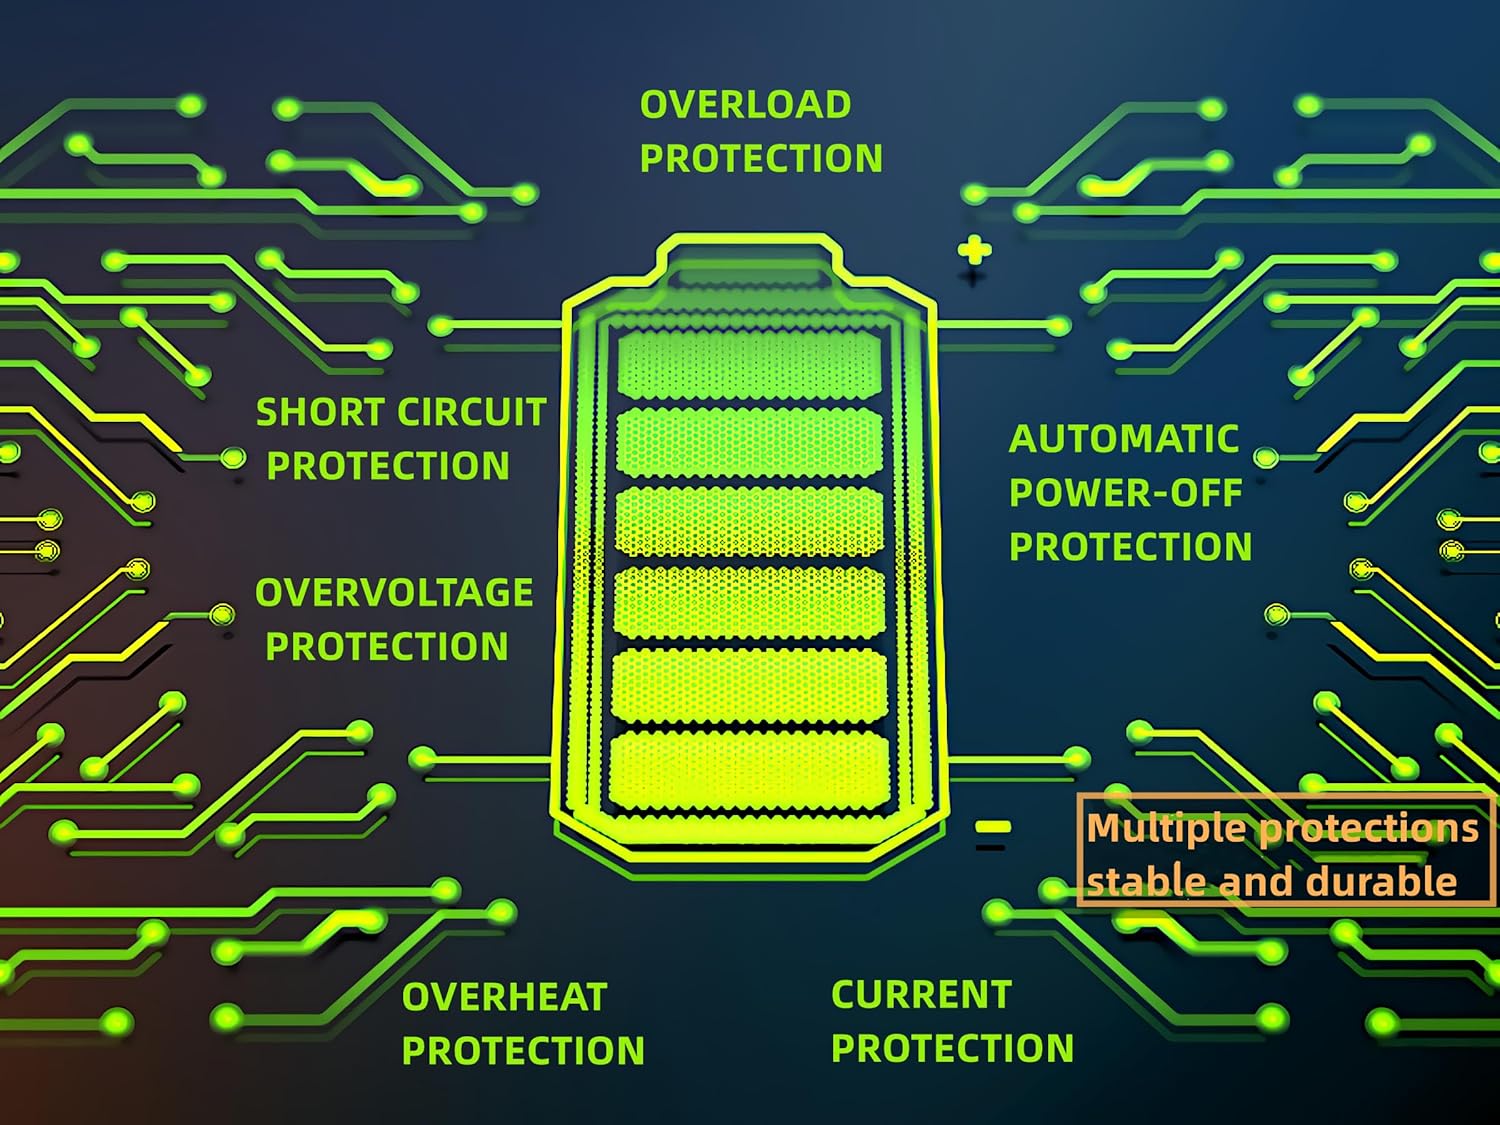
Figure 2.1: Built-in protection features for enhanced safety and durability.
3. Característiques del producte
The ELUSH MPPT Solar Charge Controller offers a range of features designed for efficient and reliable solar power management:
- Superior MPPT Technology: Equipped with an advanced Maximum Power Point Tracking algorithm, ensuring tracking efficiency of no less than 99.5% for enhanced energy utilization.
- Automatic System Recognition: Automatically recognizes 12V, 24V, 36V, and 48V battery systems.
- Modes de funcionament versàtils: Features seven operating modes including charging mode, light control mode, light control + time delay control mode, universal control mode, manual control mode, and timing control mode.
- Multi-function LCD Display: Dynamically displays operational data such as working mode, battery voltage, corrent de càrrega fotovoltaica, corrent de descàrrega de la bateria, temperatura de funcionament del producte i temps de retard.
- Ports USB dobles: Includes dual USB 5V charging ports for convenient device charging.
- Àmplia compatibilitat de bateries: Compatible with various battery types, including Sealed, GEL, Flooded, and LifePO4.
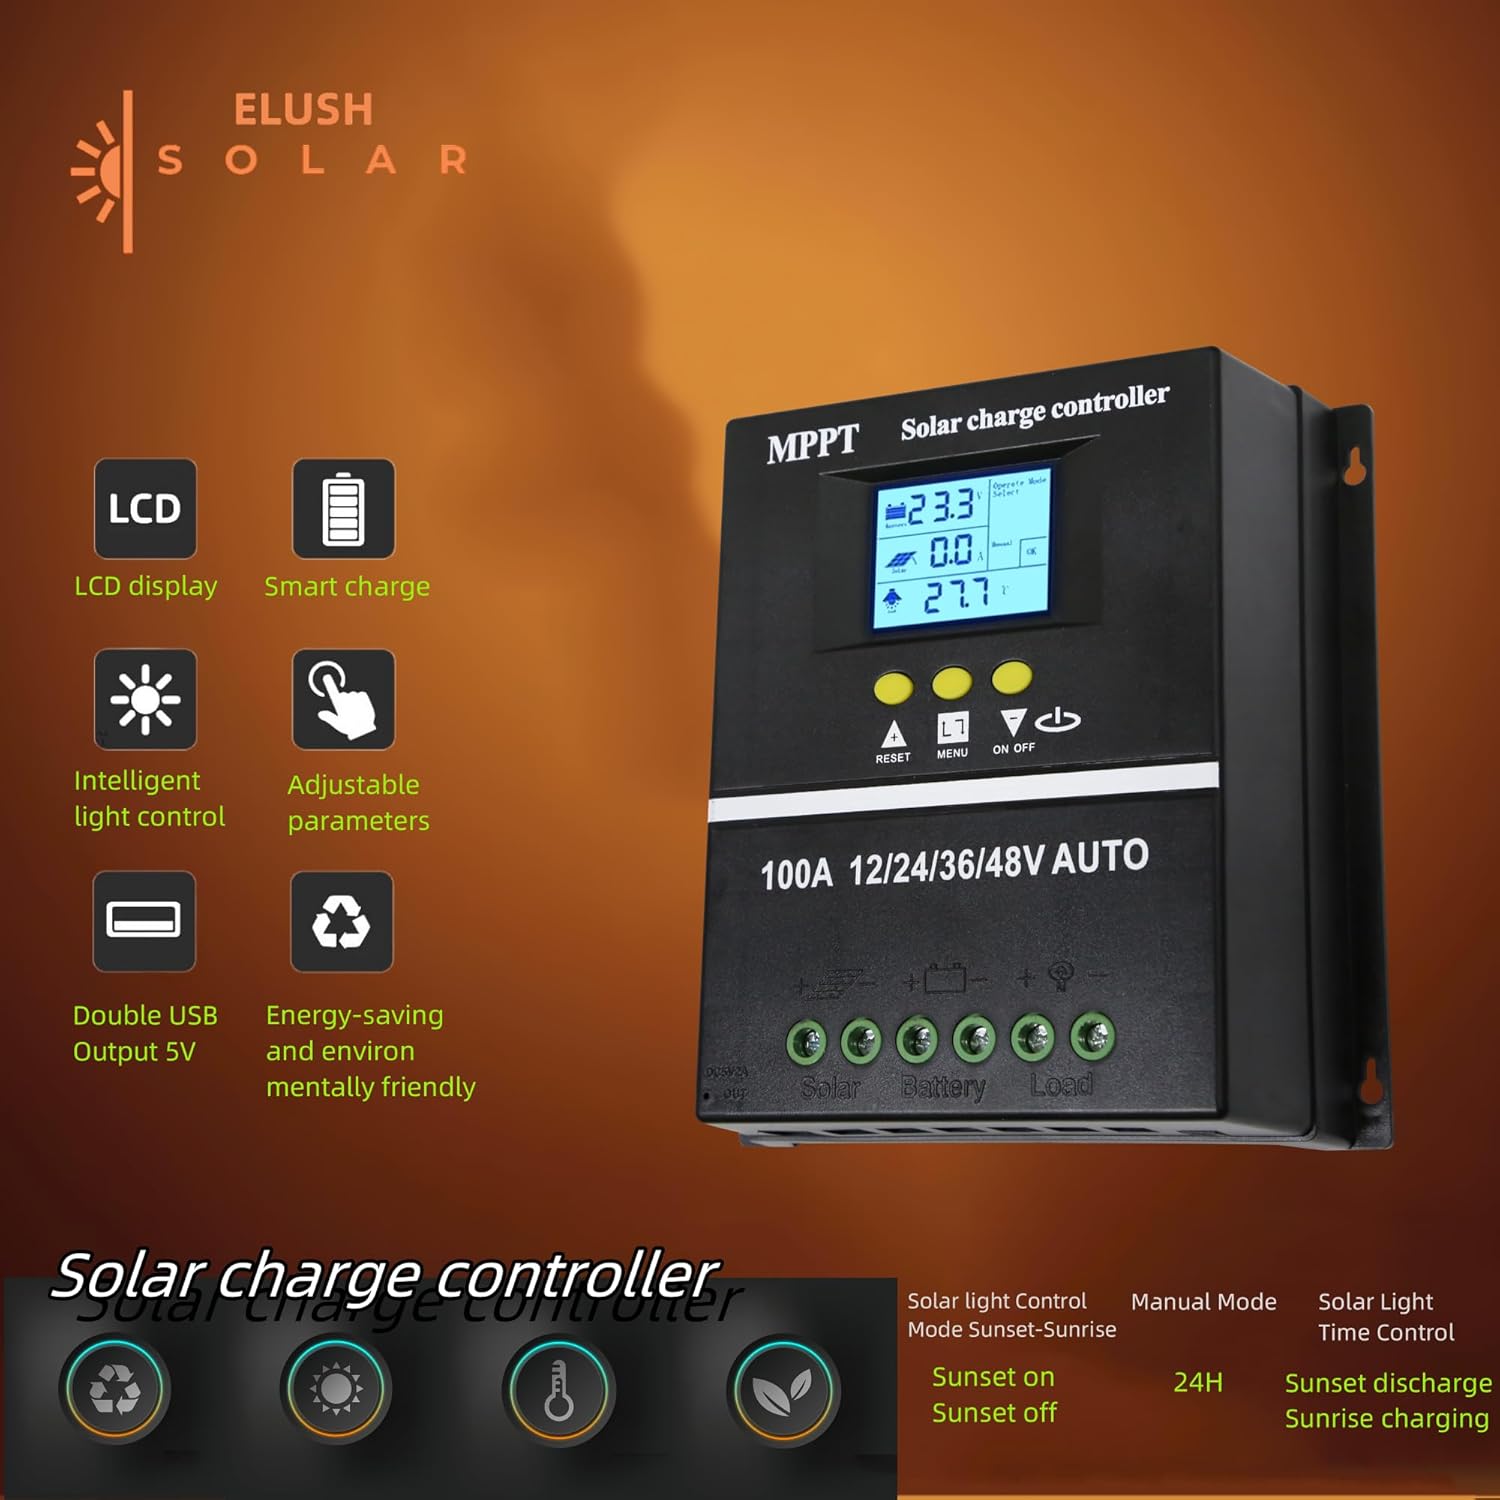
Figure 3.1: Key features of the ELUSH Solar Charge Controller.

Figura 3.2: Detallada view of connection ports and heat dissipation design.
4. Configuració i instal·lació
Segueix aquests passos per a una instal·lació correcta del teu controlador de càrrega solar:
- Prepareu la ubicació de muntatge: Choose a dry, well-ventilated area, protected from direct sunlight and moisture. Ensure there is enough space around the controller for proper heat dissipation.
- Connecteu la bateria: First, connect the positive and negative terminals of your battery to the corresponding battery terminals on the controller. Ensure the battery has sufficient charge to power the controller's display.
- Connecteu els panells solars: Next, connect the positive and negative terminals of your solar panel array to the corresponding solar panel terminals on the controller.
- Connecteu la càrrega (opcional): If you are connecting a DC load directly to the controller, connect its positive and negative terminals to the load terminals on the controller.
- Verifica les connexions: Double-check all connections to ensure they are secure and correctly polarized.

Figure 4.1: Typical connection diagram for the solar charge controller.
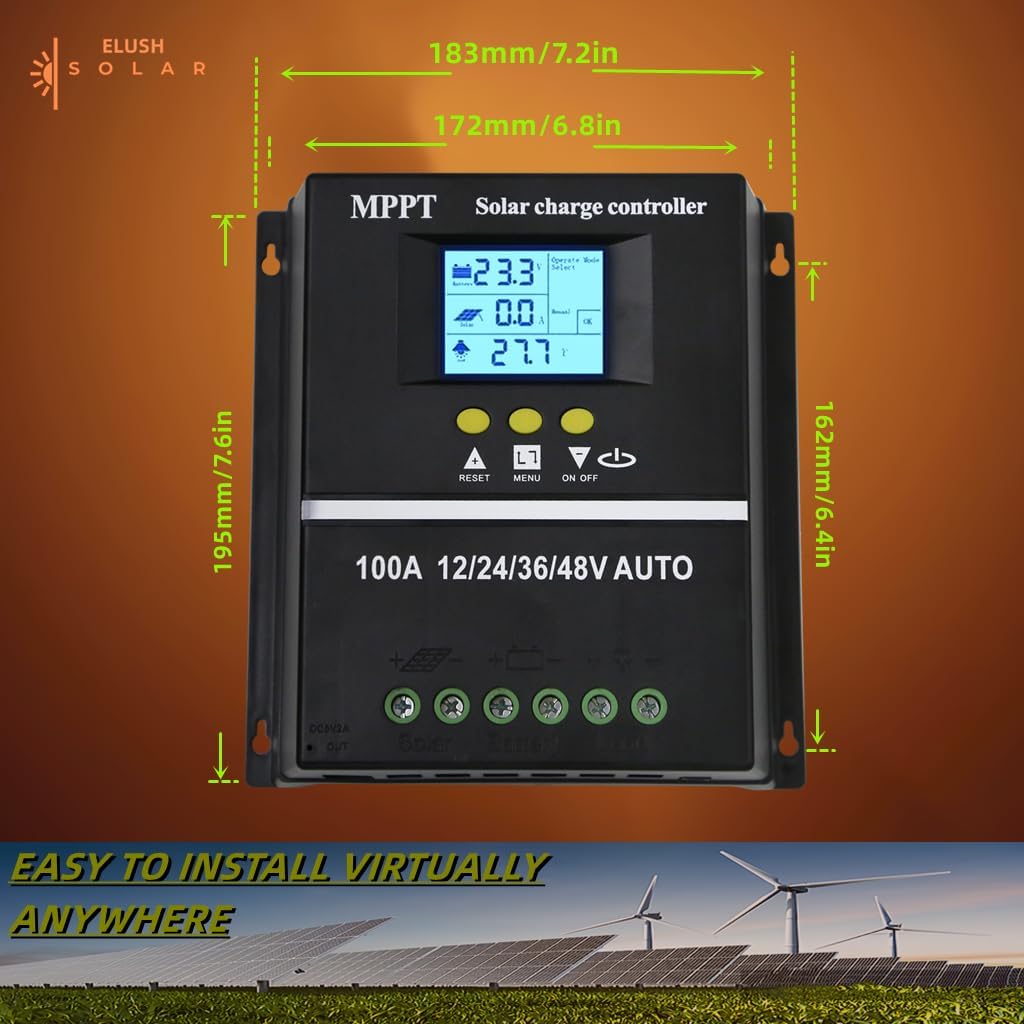
Figura 4.2: Dimensions del producte per a la planificació de la instal·lació.
5. Instruccions de funcionament
The controller's LCD display provides real-time information and allows for configuration of various settings.
Pantalla LCD i botons 5.1
The LCD dynamically displays operational data. Use the buttons below the screen to navigate menus and adjust settings:
- RESET: Resets certain parameters or enters settings mode.
- MENÚ: Navigates through different display screens and settings.
- Fletxes AMUNT/AVALL: Adjust values or select options within menus.
- ON/OFF: Controls the DC load output.
5.2 modes de càrrega
The controller supports a rapid, efficient, and safe battery charging algorithm with four stages:
- Càrrega massiva: Inicial stage where the battery receives maximum current.
- Augment de la càrrega: Charges the battery to a higher voltage to ensure full charge.
- Càrrega del flotador: Manté la bateria a un volum constanttage to prevent overcharging.
- Càrrec d'igualtat: Sobrecarrega periòdicament la bateria per equilibrar el volum de les cel·lestages (for certain battery types).

Figura 5.1: Quatretage battery charging process.
5.3 Selecció del tipus de bateria
The controller is compatible with Sealed, GEL, Flooded, and LifePO4 batteries. Ensure you select the correct battery type in the settings for optimal charging and battery longevity.

Figura 5.2: Tipus de bateries compatibles.
5.4 Escenaris d'aplicació
The ELUSH MPPT Solar Charge Controller is suitable for various applications, including:
- Residential solar power systems
- RV and marine solar setups
- Off-grid cabins and remote power solutions
- Portable solar power kits
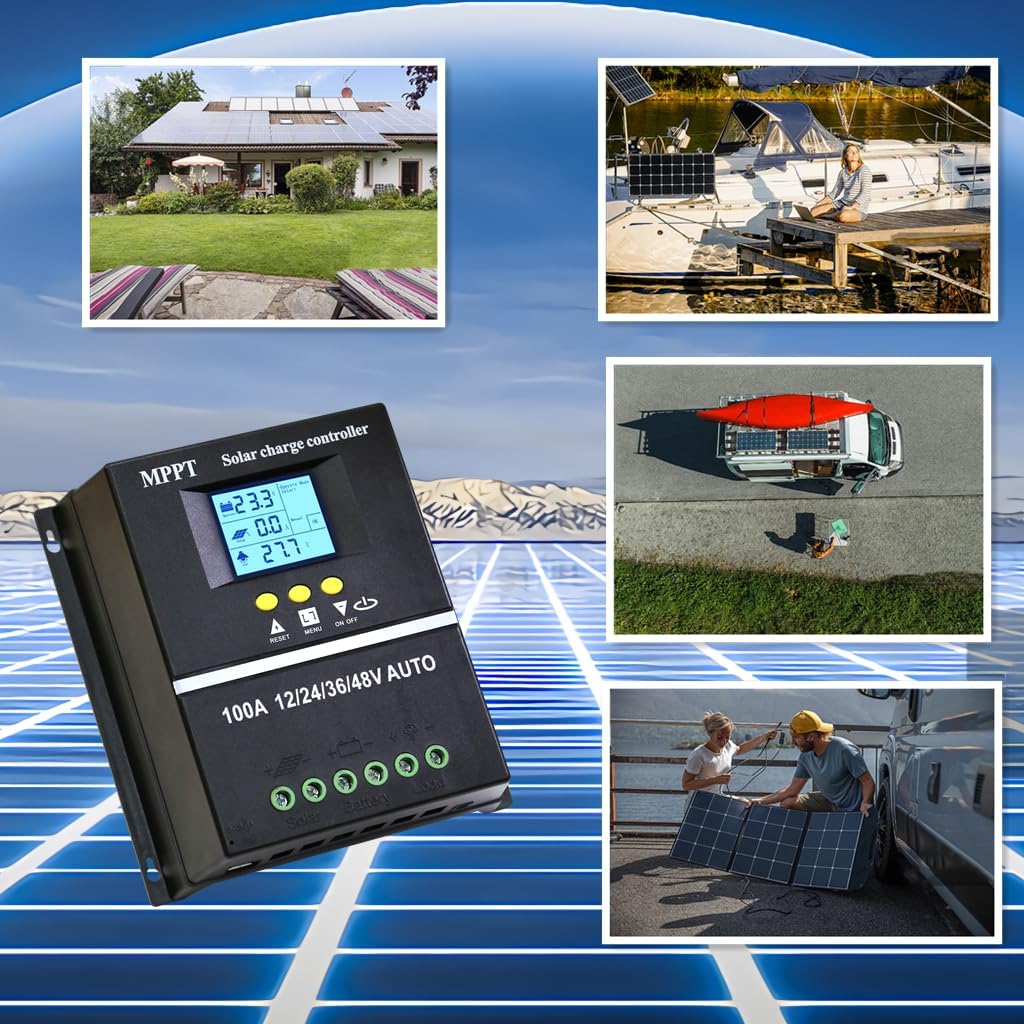
Figure 5.3: Diverse application scenarios for the solar charge controller.
6. Manteniment
Un manteniment regular garanteix la longevitat i el rendiment òptim del vostre controlador de càrrega solar:
- Neteja: Keep the controller clean and free from dust and debris. Use a dry, soft cloth for cleaning.
- Connexions: Comproveu periòdicament totes les connexions del cablejat per assegurar-vos que estiguin ben ajustades i sense corrosió. Les connexions soltes poden provocar pèrdues de corrent o sobreescalfament.
- Ventilació: Ensure the installation area remains well-ventilated to prevent overheating, especially during peak operation.
- Actualitzacions de firmware: Comproveu el del fabricant weblloc web per a qualsevol actualització de firmware disponible per assegurar-vos que el controlador tingui les darreres funcions i correccions d'errors.
7. Solució De Problemes
Si teniu problemes amb el controlador de càrrega solar, consulteu els següents problemes i solucions habituals:
| Problema | Causa possible | Solució |
|---|---|---|
| Controller not powering on / No display | Battery not connected or insufficient battery voltage. | Ensure battery is connected first and has adequate charge (minimum 9V for 12V systems). Charge battery externally if completely depleted. |
| No solar charging current | Solar panels not connected, insufficient sunlight, or panel issues. | Check solar panel connections. Ensure panels are receiving direct sunlight. Verify panel voltage. |
| La bateria no es carrega completament | Incorrect battery type setting, insufficient solar input, or battery degradation. | Verify battery type setting on the controller. Increase solar panel capacity if needed. Test battery health. |
| La càrrega no funciona | Load output disabled, overload, or low battery voltage. | Check load output setting (ON/OFF button). Reduce load if overloaded. Charge battery. |
| Sobreescalfament | Poor ventilation or excessive load/charging current. | Ensure adequate airflow around the controller. Reduce load or check for short circuits. |
8. Especificacions
Detailed technical specifications for the ELUSH 100A MPPT Solar Charge Controller:
| Paràmetre | Valor |
|---|---|
| Voltage | 12V/24V/36V/48V Automàtic |
| Corrent de càrrega | 100A |
| Max Solar Input (Voc) | 15-25V (12V Battery); 30-50V (24V Battery); 45-75V (36V Battery); 60-100V (48V Battery) |
| Potència màxima d'entrada fotovoltaica | 1200W (12V Battery); 2400W (24V Battery); 3600W (36V Battery); 4800W (48V Battery) |
| Port USB | DC 5V/1.5A x 2 USB |
| Temperatura de funcionament | -25 °C ~ 55 °C |
| Fabricant | ELUSH |
| Pes de l'article | 1.79 lliures |
| Dimensions del paquet | 8.11 x 8.03 x 2.91 polzades |

Figure 8.1: Detailed specifications of the 100A model.
9. Garantia i Suport
ELUSH offers a 1-year warranty for this product. For technical support or any issues you may encounter, please feel free to contact our team. Our engineers are available to provide advice and solutions.
Per a més informació i productes, visiteu la ELUSH Store.