
1. Introducció
This manual provides essential information for the safe and efficient operation, setup, and maintenance of your OMTech 90W CO2 Laser Engraver. This machine is designed for precision engraving and cutting of various non-metallic materials, featuring autofocus, a 20"x28" work area, and integration with LightBurn software. Please read this manual thoroughly before operating the equipment.

Image 1.1: The OMTech 90W CO2 Laser Engraver with its accompanying water chiller and LightBurn software logo, showcasing el sistema complet.
2. Informació de seguretat
WARNING: This product contains a Class 2 laser. Improper use can result in serious injury.
- Protecció ocular: Always wear appropriate laser safety glasses when operating or observing the laser. The machine features a flame-resistant window for safe observation, but direct exposure to the laser beam must be avoided.
- Ventilació: Ensure adequate ventilation is in place to remove fumes and particulate matter generated during engraving and cutting. Connect the exhaust system properly.
- Seguretat contra incendis: Keep a fire extinguisher nearby. Never leave the machine unattended during operation. Certain materials are highly flammable.
- Seguretat elèctrica: Ensure the machine is properly grounded. Do not operate with damaged power cords or in wet conditions.
- Compatibilitat de materials: Only engrave or cut materials specified as safe for CO2 lasers. Avoid materials that produce toxic fumes or are highly reflective.

Image 2.1: The flame-resistant window allows for safe observation of the engraving process, protecting users from direct laser exposure.
3. Contingut del paquet
Verifiqueu que tots els components siguin presents en desembalar:
- OMTech 90W CO2 Laser Engraver
- Water Chiller (CW-5200 Industrial Chiller)
- LightBurn Software License
- Honeycomb Workbed
- Aluminum Blade Workbed
- Air Assist Compressor
- Exhaust Fan and Ducting
- Cable d'alimentació
- Cable USB
- Water Hoses and Clamps
- Tool Kit and Accessories
4. Configuració
4.1 Desembalatge i col·locació
- Traieu amb cura el gravador làser i tots els accessoris de l'embalatge.
- Place the machine on a stable, level surface capable of supporting its weight (approximately 258 lbs).
- Ensure adequate clearance around the machine for ventilation and access.
4.2 Water Chiller Connection
The included CW-5200 water chiller is crucial for maintaining the laser tube's temperature and extending its lifespan.
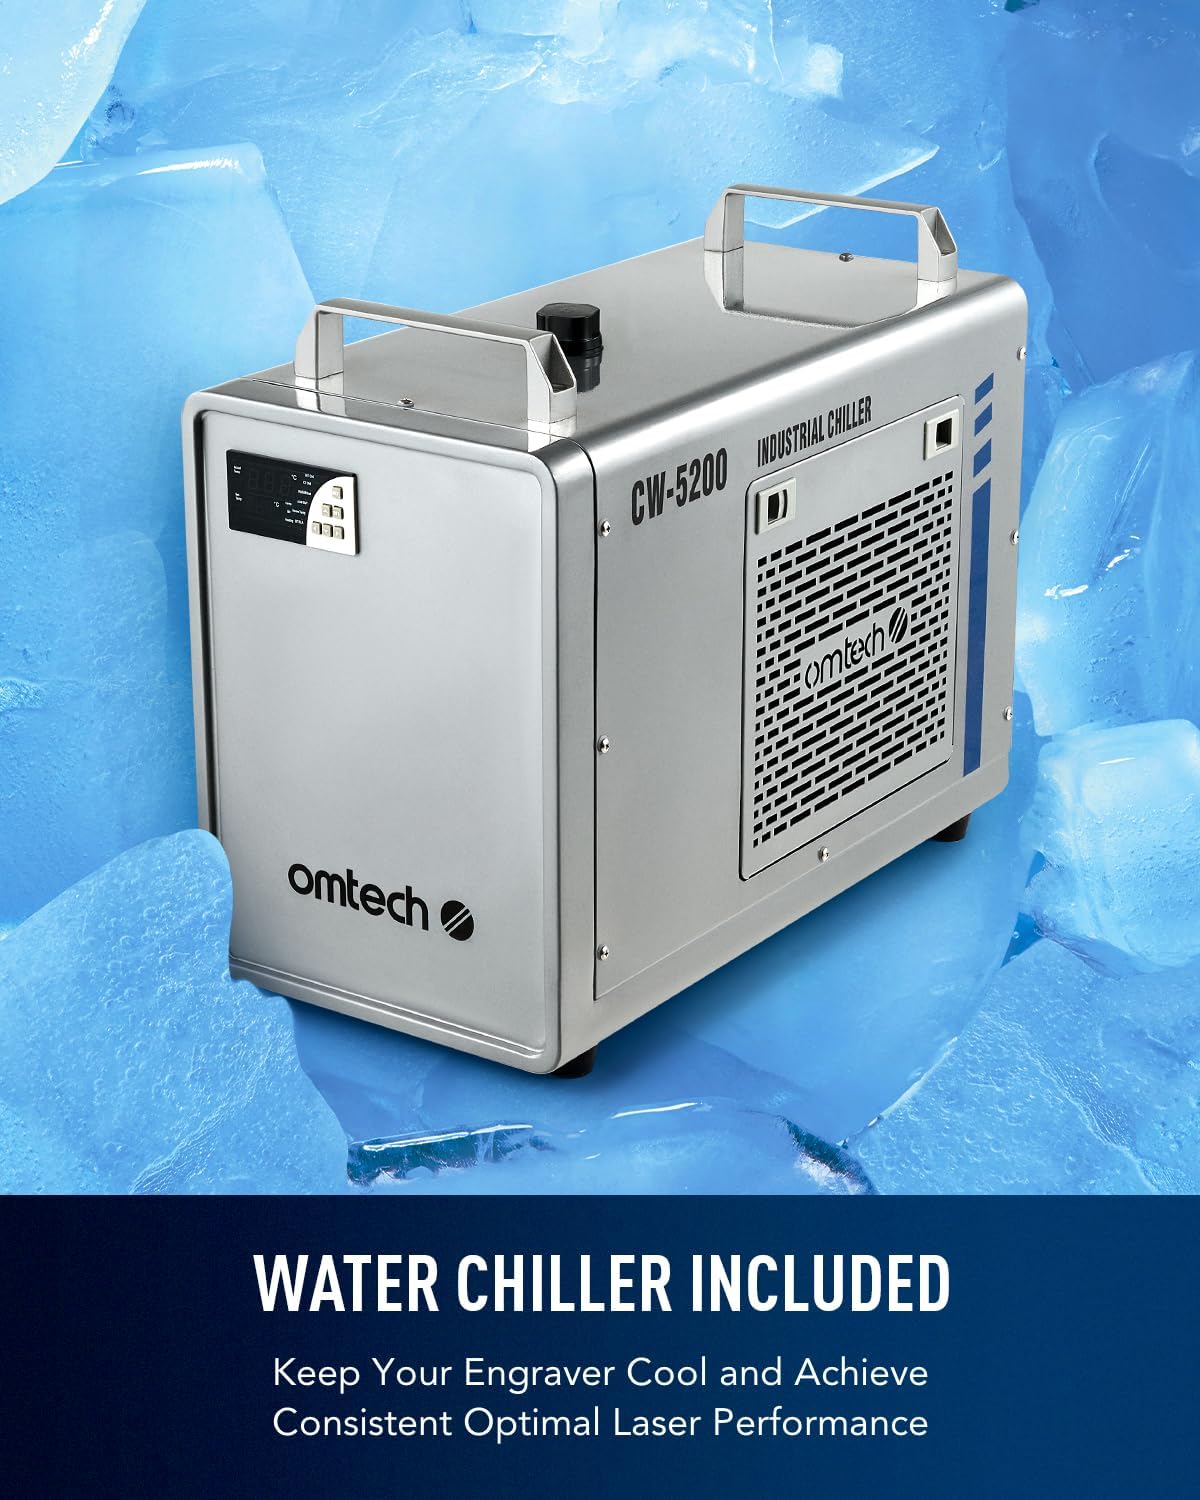
Image 4.1: The CW-5200 industrial water chiller, essential for cooling the laser tube during operation.
- Fill the water chiller reservoir with distilled water (approximately 6-7 liters). Do not use tap water.
- Connect the chiller's inlet and outlet ports to the corresponding ports on the laser engraver using the provided hoses and clamps. Ensure a secure, leak-free connection.
- Power on the chiller and allow it to circulate water and stabilize temperature before operating the laser.
4.3 Air Assist and Exhaust System
- Connect the air assist compressor to the designated port on the laser engraver.
- Attach the exhaust fan and ducting to the machine's exhaust port. Route the ducting to an outdoor vent or a suitable filtration system to safely remove fumes.
4.4 Electrical and Data Connections
- Connect the main power cable to a grounded electrical outlet.
- Connect the laser engraver to your computer via USB or Ethernet cable.
- Install the LightBurn software on your computer using the provided license key.
5. Instruccions de funcionament
5.1 Encès
- Ensure the water chiller is running and circulating water.
- Turn on the main power switch on the laser engraver.
- The digital control panel will initialize.

Image 5.1: The digital control panel offers intuitive operation and compatibility with various design software, including LightBurn.
5.2 Material Loading and Autofocus
- Place your material onto the desired workbed (honeycomb for cutting, blade for engraving). The machine includes both a honeycomb and an aluminum blade bed.
- Tanqueu la tapa de la màquina.
- Utilize the autofocus feature by pressing the designated button on the control panel or through LightBurn. The laser head will automatically adjust to the correct focal distance for your material.

Image 5.2: The rapid autofocus system eliminates manual adjustments, ensuring precise focal distance with a single button press.
5.3 Using LightBurn Software
- Open LightBurn and import or create your design.
- Set appropriate laser parameters (speed, power, number of passes) based on your material and desired outcome. Refer to material test guides for optimal settings.
- Position your design on the virtual work area to match your material placement.
- Send the job to the laser engraver.

Image 5.3: The LightBurn software interface, providing comprehensive control over design, settings, and job execution.
5.4 Procés de gravat i tall
- Initiate the job from the control panel or LightBurn.
- Monitor the process through the flame-resistant window.
- The machine operates at speeds up to 600 mm/s, significantly boosting productivity.

Image 5.4: The laser head moving rapidly across a workpiece, demonstrating the 600 mm/s engraving speed.
5.5 Using Four-Way Pass-Through Doors
For larger or longer materials that exceed the 20"x28" work area, utilize the four-way pass-through doors.

Image 5.5: The four-way pass-through design allows for processing materials longer than the workbed, enhancing versatility.
6. Manteniment
Un manteniment regular garanteix un rendiment òptim i allarga la vida útil del vostre gravador làser.
- Lens and Mirror Cleaning: Periodically clean the optical lenses and mirrors with specialized lens cleaning solution and wipes to maintain laser beam quality.
- Water Chiller Maintenance: Change the distilled water in the chiller every 1-3 months, depending on usage. Monitor water temperature to ensure it remains within the recommended range.
- Workbed Cleaning: Remove debris and residue from the honeycomb and blade workbeds regularly to prevent buildup and ensure proper material support.
- Broquet d'assistència d'aire: Check and clean the air assist nozzle to ensure a clear path for compressed air, which helps prevent flare-ups and keeps the lens clean.
- Laser Tube Care: The Yongli H2 tube has a lifespan of up to 8,000 hours. Consistent use at lower power settings can extend its life. Handle with care during any inspection or replacement.

Image 6.1: The high-performance Yongli H2 laser tube, designed for efficiency and longevity.
7. Solució De Problemes
7.1 Problemes comuns i solucions
| Problema | Causa possible | Solució |
|---|---|---|
| El làser no dispara | Water chiller alarm, lid open, emergency stop engaged, power settings too low | Check chiller status, ensure lid is closed, disengage emergency stop, verify power settings in software. |
| Mala qualitat de gravat/tall | Incorrect focus, dirty optics, wrong power/speed settings, material issues | Perform autofocus, clean lenses/mirrors, adjust power/speed, ensure material is flat and suitable. |
| La màquina no es connecta a l'ordinador | Loose USB/Ethernet cable, driver issues, incorrect software settings | Check cable connections, reinstall drivers, verify communication settings in LightBurn. |
| Alarma del refrigerador d'aigua | Low water level, high water temperature, pump malfunction | Check water level and refill with distilled water, ensure proper ventilation for chiller, contact support if pump issue persists. |
8. Especificacions
| Característica | Detall |
|---|---|
| Marca | OMTech |
| Model | 90W AF |
| Potència làser | 90W CO2 (Yongli H2 Tube) |
| Àrea de treball | 20" x 28" (500 x 700 mm) |
| Màx. Velocitat de gravat | 600 mm/s (23.6 ips) |
| Màx. Profunditat de gravat | 0.4" (10 mm) on non-metallic materials |
| Enfocament automàtic | Sí |
| Workbeds | Honeycomb and Aluminum Blade |
| Pass-Through | De quatre direccions |
| Compatibilitat de programari | LightBurn (included), RDWorks, CorelDRAW, AutoCAD |
| Connectivitat | USB, Ethernet, USB Flash Drive (Offline) |
| Pes de l'article | 258 lliures (117 kg) |
| Dimensions del producte | 59.1 x 34.3 x 35.4 polzades (150 x 87 x 90 cm) |
| Classe làser | Class 2, 0.827 mW output power |

Imatge 8.1: acabatview of the OMTech 90W CO2 Laser Engraver's key specifications and features.
9. Garantia i Suport
OMTech provides comprehensive customer support for its products.
- Assistència postvenda: 7 days a week, 24 hours a day.
- Telèfon: +1 (949) 438-4949
- Suport per correu electrònic: SUPPORT@OMTECHLASER.COM
- Suport tècnic: TECHSUPPORT@OMTLASER.COM
For the most current warranty information, please refer to the official OMTech weblloc o contacteu directament amb el servei d'atenció al client.


