
1. Introducció
This manual provides instructions for the setup, operation, and maintenance of the Teradek Link AX Wi-Fi Router/Access Point, Gold Mount. The Link AX is designed to expand production networking capabilities with a ruggedized, set-ready aluminum chassis and Wi-Fi 6 (802.11AX) technology. It supports multiple workflow scenarios, including connecting multiple cameras and devices to a local production streaming network, facilitating camera-to-cloud workflows, and enabling simultaneous control over multiple cameras.
2. Producte acabatview
Familiarize yourself with the components and ports of your Teradek Link AX device.
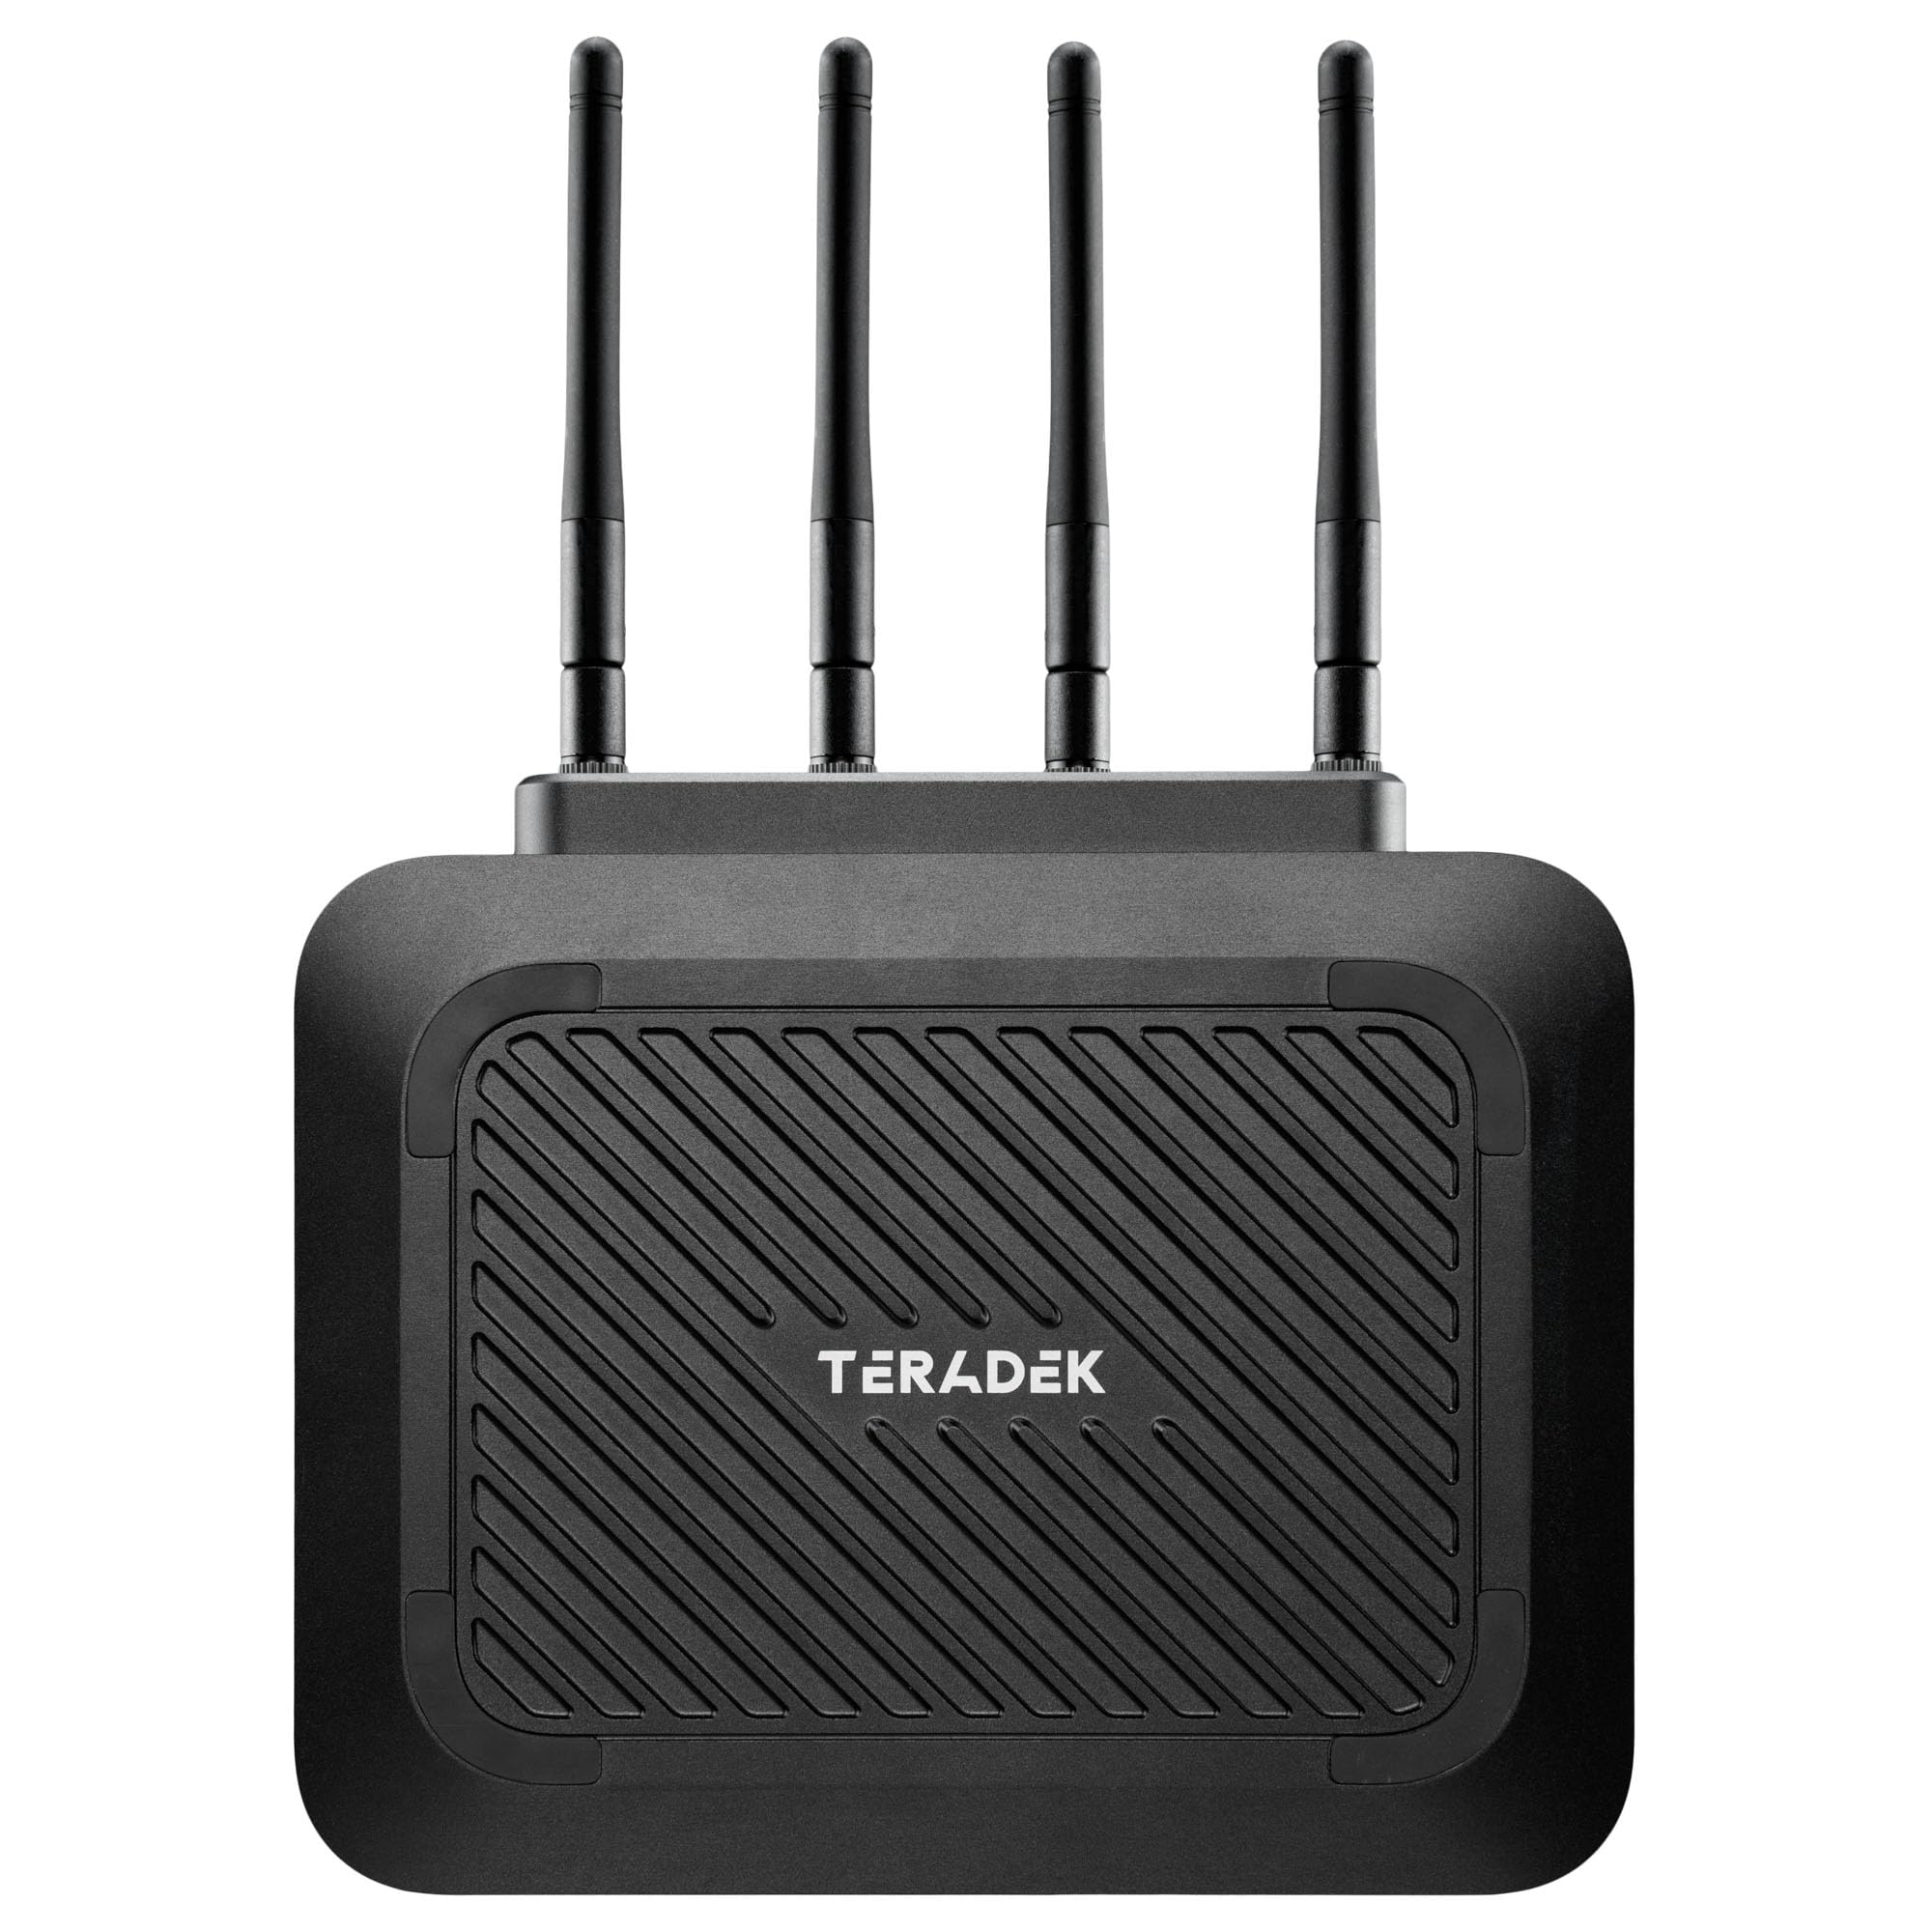
Figura 2.1: Davant view of the Teradek Link AX Wi-Fi Router/Access Point with four external antennas attached.

Figura 2.2: lateral view of the Link AX device, highlighting the ventilation grilles for heat dissipation.

Figura 2.3: A dalt view displaying the four antenna connectors where the external antennas are attached.

Figura 2.4: Rear panel of the Link AX, featuring multiple Ethernet ports (LAN and WAN), DC power input, a USB port, and reset/reboot buttons.

Figura 2.5: Enrere view of the Link AX, showing the integrated Gold Mount battery plate for power and mounting options.
3. Configuració
3.1 Desembalatge i inspecció inicial
Carefully remove the Link AX from its packaging. Inspect the device for any signs of damage. Ensure all components are present: the Link AX unit, antennas, and power supply.
3.2 Connectar antenes
- Locate the four antenna connectors on the top of the Link AX unit (refer to Figure 2.3).
- Screw each antenna clockwise onto its respective connector until finger-tight. Do not overtighten.
- Adjust the antennas for optimal signal reception, typically in an upright position.
3.3 Alimentació del dispositiu
The Link AX can be powered via its DC input or through the integrated Gold Mount plate.
- Potència CC: Connect the provided power adapter to the 12-28V DC input port on the rear panel (refer to Figure 2.4). Plug the adapter into a suitable power outlet.
- Muntatge d'or: Attach a compatible Gold Mount battery to the Gold Mount plate on the back of the device (refer to Figure 2.5). Ensure the battery is securely latched.
The device will power on automatically once connected to a power source.
3.4 Connexions de xarxa
- Connexió WAN: To use the Link AX as a router, connect an Ethernet cable from your internet source (e.g., modem) to the WAN port on the rear panel.
- Connexions LAN: Connect your wired devices (e.g., computers, switches) to the numbered LAN ports (1-4) on the rear panel using Ethernet cables.
4. Instruccions de funcionament
4.1 Basic Wi-Fi Operation
Upon powering on, the Link AX will broadcast its default Wi-Fi network(s). The default SSID and password are typically found on a label on the device or in accompanying documentation.
- On your wireless device (e.g., laptop, smartphone), search for available Wi-Fi networks.
- Select the Link AX's SSID.
- Introduïu la contrasenya Wi-Fi predeterminada quan se us demani.
4.2 Mode de punt d'accés
The Link AX can function as an Access Point (AP) to extend an existing wired network wirelessly. In AP mode, the device provides Wi-Fi connectivity without performing routing functions. Configuration for AP mode is typically done via the device's web interfície o una aplicació mòbil dedicada.
4.3 Funcionalitat WPS
The Link AX supports Wi-Fi Protected Setup (WPS) for easy connection of compatible devices without entering the password manually. To use WPS:
- Press the WPS button on the Link AX (if available, refer to device diagram for location).
- En dos minuts, activeu el WPS al dispositiu client.
- Els dispositius es connectaran automàticament.
4.4 Advanced Configuration (App Control)
For advanced settings, such as changing SSID, password, network modes, or monitoring, use the dedicated Teradek app. The app allows for comprehensive control and management of the Link AX device.
- Download the Teradek app from your device's app store.
- Connect your mobile device to the Link AX Wi-Fi network.
- Follow the in-app instructions to discover and configure your Link AX.
4.5 Compatibility with Node and Serv Devices
The Link AX is compatible with Teradek Node and Serv devices, enabling enhanced production workflows. Refer to the documentation for your specific Node or Serv device for integration instructions.
5. Manteniment
5.1 Neteja
To maintain optimal performance, keep the Link AX clean. Use a soft, dry cloth to wipe the exterior. Do not use liquid cleaners or solvents. Ensure ventilation grilles are free from dust and obstructions.
5.2 actualitzacions de microprogramari
Periodically check for firmware updates via the Teradek app or the official Teradek website. Firmware updates can provide new features, performance improvements, and security enhancements. Follow the provided instructions carefully when performing updates.
5.3 Consideracions ambientals
Operate the Link AX within its specified temperature and humidity ranges. Avoid exposing the device to extreme temperatures, direct sunlight, or moisture. Ensure adequate airflow around the device to prevent overheating.
6. Solució De Problemes
If you encounter issues with your Link AX, refer to the following common solutions:
6.1 Sense poder
- Verify that the power adapter is securely connected to both the Link AX and a working power outlet.
- If using a Gold Mount battery, ensure it is charged and properly attached.
6.2 Sense connexió Wi-Fi
- Check that the Link AX is powered on and its Wi-Fi indicator lights are active.
- Ensure your client device is within range of the Wi-Fi signal.
- Verify that you are connecting to the correct SSID and entering the correct password.
- Try rebooting the Link AX by pressing the 'Reboot' button on the rear panel, or by disconnecting and reconnecting power.
6.3 Velocitat d'Internet lenta
- Ensure your WAN connection (from modem/internet source) is stable and performing correctly.
- Comproveu si hi ha interferències d'altres dispositius sense fil.
- Confirm that the antennas are properly attached and oriented.
6.4 Restabliment dels valors predeterminats de fàbrica
If issues persist, you may need to perform a factory reset. This will erase all custom settings and restore the device to its original factory configuration.
- With the device powered on, use a paperclip or similar pointed object to press and hold the 'Reset' button on the rear panel for approximately 10 seconds.
- Release the button. The device will reboot with factory default settings.
7. Especificacions
| Característica | Detall |
|---|---|
| Marca | Teradek |
| Nom del model | Link AX |
| Número de model | 10-0065-G |
| Característica especial | Mode de punt d'accés, WPS |
| Classe de banda de freqüència | Doble banda |
| Comunicació sense fils estàndard | 802.11ax (Wi-Fi 6) |
| Dispositius compatibles | Ordinador personal |
| Tecnologia de connectivitat | Ethernet, Wi-Fi |
| Color | Negre |
| Tipus d'antena | Extern (4 antenes) |
| Pes de l'article | 4.6 lliures |
| Protocol de seguretat | WPS, WPA3 |
| Nombre de Ports | 5 (1 WAN, 4 LAN) |
| Mètode de control | App Control, Push Button |
| LAN Port Bandwidth | 2500 Mbps |
| Maximum Upstream Data Transfer Rate | 2500 megabits per segon |
| Cobertura | Dispositius múltiples |
| UPC | 818264029022 |
8. Garantia i Suport
8.1 Informació de la garantia
The Teradek Link AX Wi-Fi Router/Access Point comes with a standard manufacturer's warranty. For detailed information regarding warranty terms, duration, and coverage, please refer to the warranty card included with your product or visit the official Teradek weblloc.
8.2 Suport tècnic
If you require technical assistance or have questions not covered in this manual, please contact Teradek customer support. Support resources, including FAQs, software downloads, and contact information, are available on the official Teradek weblloc: