
1. Introducció
This manual provides detailed instructions for the VGEBY USB Programming Cable. This cable is designed to facilitate the adjustment of wheel diameter settings and the release of speed limits on compatible Bafang mid-drive motors. Proper use ensures accurate speed readings and optimized motor performance.
2. Producte acabatview i Compatibilitat
The VGEBY USB Programming Cable is a specialized tool for configuring specific parameters of your electric bicycle's mid-drive motor.
Característiques principals:
- Configuració del diàmetre de la roda: Allows precise adjustment of the wheel diameter to ensure accurate speed display.
- Speed Limit Release: Enables modification of the motor's speed limit settings.
- Connexió fàcil: Designed for straightforward connection to your motor and display unit.
- Corrects Displayed Speed: Resolves issues with inaccurate speed readings caused by mismatched motor settings.
Motors compatibles:
This programming cable is specifically designed for CAN protocol motors, including:
- M400/G330 (CAN)
- M500/G520
- M510/G522
- M600/G521
- M620/G510 (CAN)
- M420/G332
- M800/G530
It is also compatible with other motors featuring a 5-pin triangle plug.

Image 1: The VGEBY USB Programming Cable, showing the USB connector and the two motor connectors.

Image 2: The VGEBY USB Programming Cable alongside its protective storage box.
3. Instruccions de configuració
Follow these steps to correctly connect the programming cable to your motor system:
- Connect the Motor: Ensure your electric motor is securely connected to its power source and is powered on.
- Connect Motor to Instrument: Connect the motor to the main line of your instrument (display unit).
- Connect Programming Cable: Attach the interfaces at both ends of the programming cable to the motor and the display screen respectively. The cable has two motor-side connectors and one USB connector.
- Connectar USB: Plug the USB end of the programming cable into a USB interface on your computer or the display screen, if it has a compatible port.
- Verifica la connexió: The programming line indicator light will illuminate, confirming a successful connection.
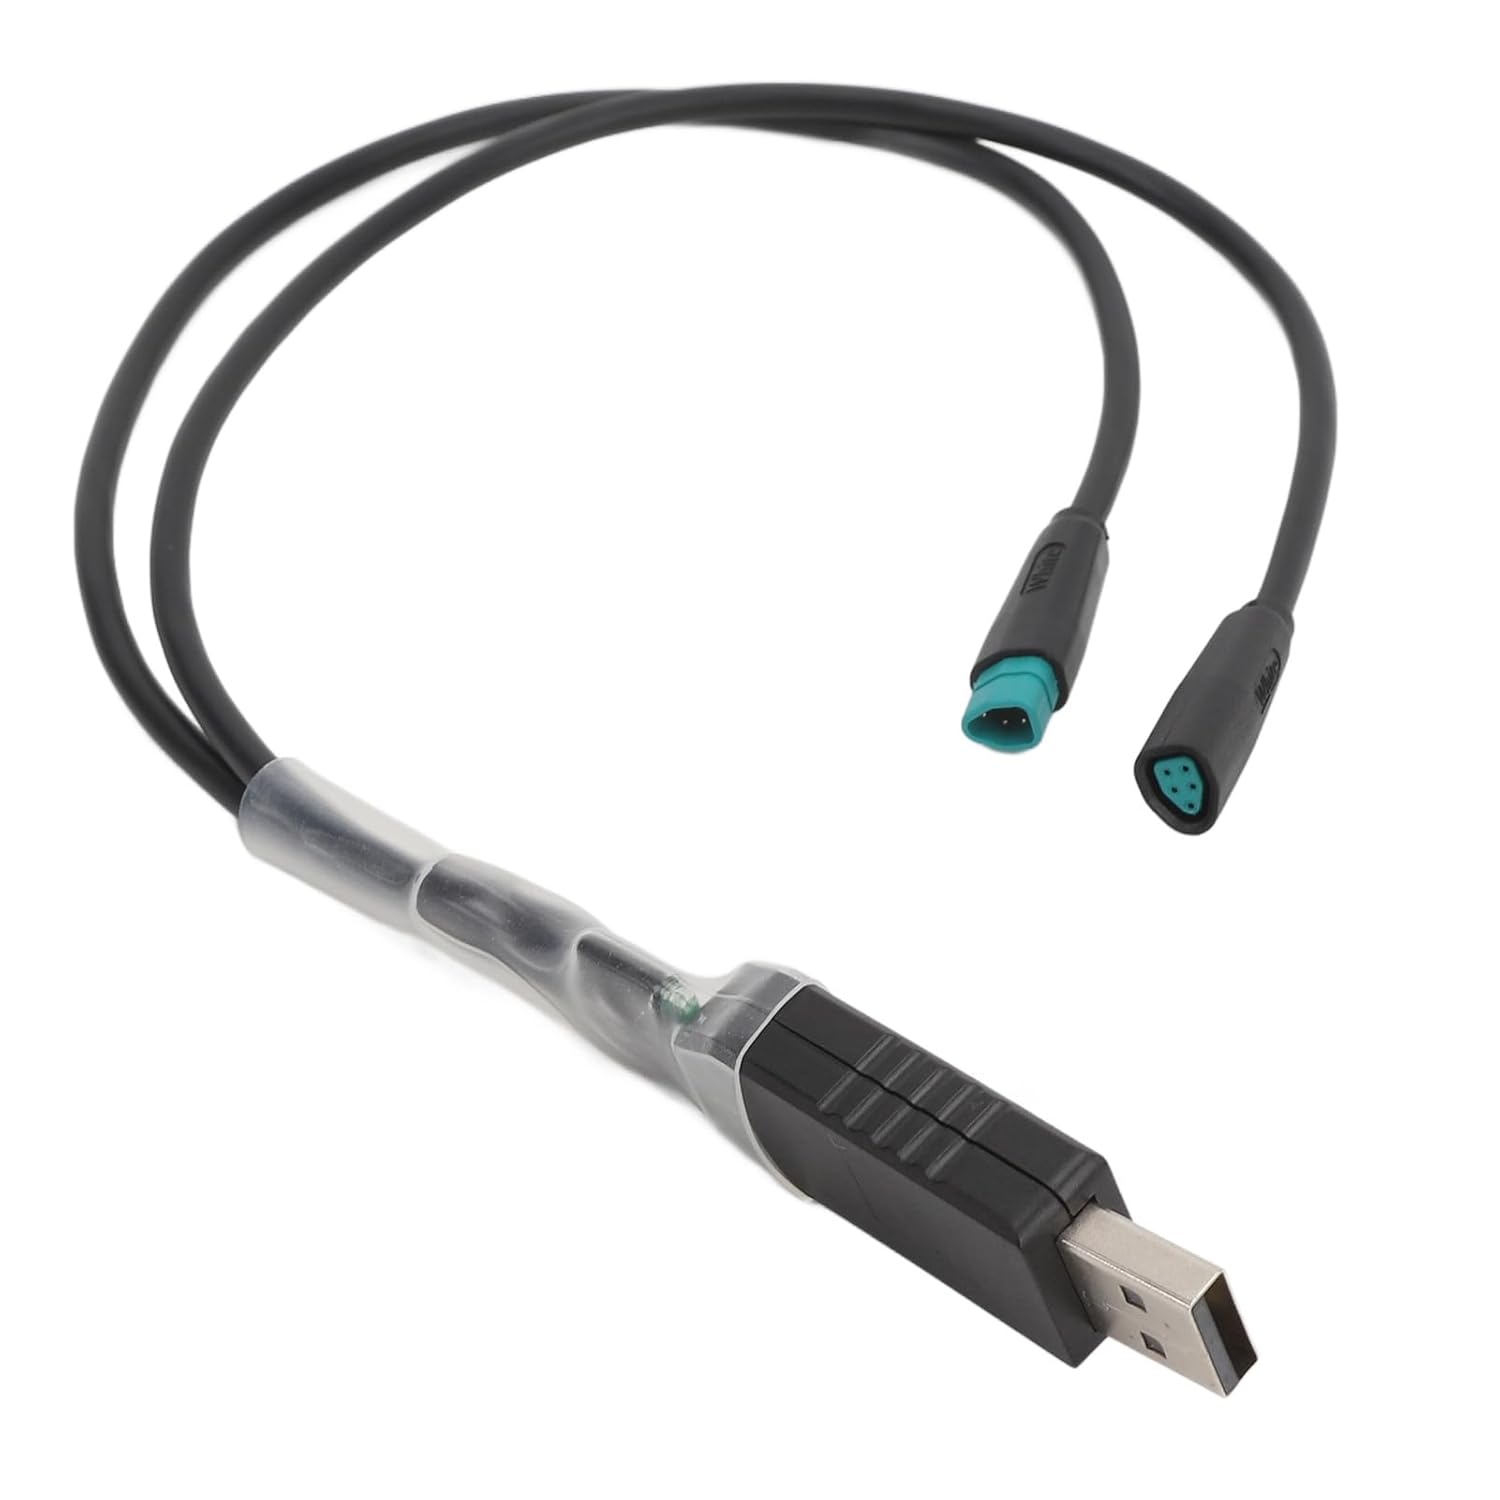
Imatge 3: Un primer pla view of the two motor-side connectors of the programming cable, showing their distinct shapes.

Image 4: Another detailed view of the programming cable's connectors, highlighting the 5-pin triangle plug design.
4. Operating Instructions: Wheel Diameter and Speed Setting
The programming cable features a button that allows you to cycle through various pre-set wheel diameter and speed limit configurations. The number of presses corresponds to a specific setting.

Image 5: The VGEBY USB Programming Cable, showing the small white button on the USB housing used for setting adjustments.

Image 6: A close-up of the white button located on the USB connector housing of the programming cable.
Programming Line Button Functions:
| Nombre de premses | Diàmetre de la roda | Límit de velocitat | Circumference (approx.) |
|---|---|---|---|
| 1 cop | 29 polzades | 60 KM/H | 2330 mm |
| 2 vegades | 27.5 polzades | 60 KM/H | 2240 mm |
| 3 vegades | 26 polzades | 60 KM/H | 2100 mm |
| 4 vegades | 20 polzades | 60 KM/H | 1550 mm |
| 5 vegades | 27.5 polzades | 25 KM/H | 2240 mm |
To apply a setting, ensure the cable is connected as described in the Setup section, then press the button on the USB housing the corresponding number of times. The motor system will then adopt the selected configuration.
5. Solució De Problemes
Incorrect Displayed Speed:
If your display unit shows erroneous speed readings, it is often due to a mismatch between the wheel diameter setting on your motor and the actual wheel size. Use this USB programming cable to correct these discrepancies.
- Verify the actual diameter of your bicycle's wheel.
- Consulteu el
Ask a question about this manual
Ask about setup, troubleshooting, compatibility, parts, safety, or missing instructions. Manuals+ will review the question and use this page’s manual context to help answer it.