
1. Introducció
This manual provides detailed instructions for the installation, operation, and maintenance of your Garosa Battery Voltage Meter. This device is designed to accurately monitor battery capacity and voltage, featuring a clear LED digital display for various battery types including Lithium and Lead-Acid batteries.
2. Informació de seguretat
- Always ensure the power supply is disconnected before installation or maintenance to prevent electrical shock.
- No supereu el volum màxim d'entradatage de 120V DC.
- Manipuleu el dispositiu amb cura per evitar danys físics.
- Keep the device away from moisture, extreme temperatures, and corrosive environments.
- Ensure proper wiring connections as indicated in the setup section to prevent damage to the meter or battery.
3. Contingut del paquet
El paquet inclou:
- 1 x Garosa Battery Voltage Mesurador
4. Producte acabatview
The Garosa Battery Voltage Meter is a compact and stable device designed for accurate battery monitoring. It features a high-definition LED screen for clear display of voltage and battery capacity percentage.
Característiques principals:
- High-definition LED Screen: Provides a clear and bright display from all viewangles d'ajust.
- Accurate Remaining Capacity: Directly displays battery capacity sign and percentage.
- Battery Capacity Monitor: Tracks battery capacity and voltage.
- Àmplia compatibilitat: Suitable for various applications including cars, motorcycles, scooters, bikes, power banks, and test equipment.
- Compacte i portàtil: Designed for ease of use and high measurement accuracy.
Identificació de components:

Figura 4.1: Frontal view of the Garosa Battery Voltage Meter displaying voltage (p. ex., 51.3 V).

Figura 4.2: Frontal view of the Garosa Battery Voltage Meter displaying battery percentage (per exemple, 86%).

Figura 4.3: posterior view of the meter, showing the wiring terminals and battery type selection switches.
5. Configuració i instal·lació
Follow these steps for proper installation of the battery voltagmetre:
- Muntatge: The meter has a size of approximately 47x27x16mm (1.9x1.1x0.6in) and a mounting hole size of approximately 45.5x26.5mm (1.8x1.0in). Ensure you have an appropriate cutout for flush mounting.
- Cablejat:
- Connecteu el fil vermell to the positive (+) terminal of the battery or power source.
- Connecteu el filferro negre to the negative (-) terminal of the battery or power source.
- Ensure connections are secure and insulated to prevent short circuits.
- Selecció del tipus de bateria: Refer to the labels on the back of the meter (Figure 4.3) to select the correct battery type and voltage range using the internal switches. Options typically include 12V, 24V, 48V, 60V, 72V, 96V for Lithium or Lead-Acid batteries. Incorrect selection may lead to inaccurate readings.
- Encès: Once wired correctly, the meter will power on and display the current voltage and battery capacity.

Figura 5.1: Intern view of the meter, showing the circuit board and components. This view is for reference and not for user modification.
6. Instruccions de funcionament
The Garosa Battery Voltage Meter operates automatically once connected to a power source within its specified voltage gamma.
- Modes de visualització: The meter typically cycles between displaying the current voltage (V) and the battery capacity percentage (%). Some models may have a button on the side (refer to Figure 6.1) to manually switch between these display modes or to adjust settings.
- Lectura de la pantalla:
- The large digital numbers indicate the voltage o percentatgetage.
- The battery icon graphically represents the charge level, with green segments indicating remaining capacity and red indicating depleted capacity.
- Seguiment: Continuously monitor the display to keep track of your battery's charge status and voltage. This helps in preventing over-discharge or over-charge, extending battery life.
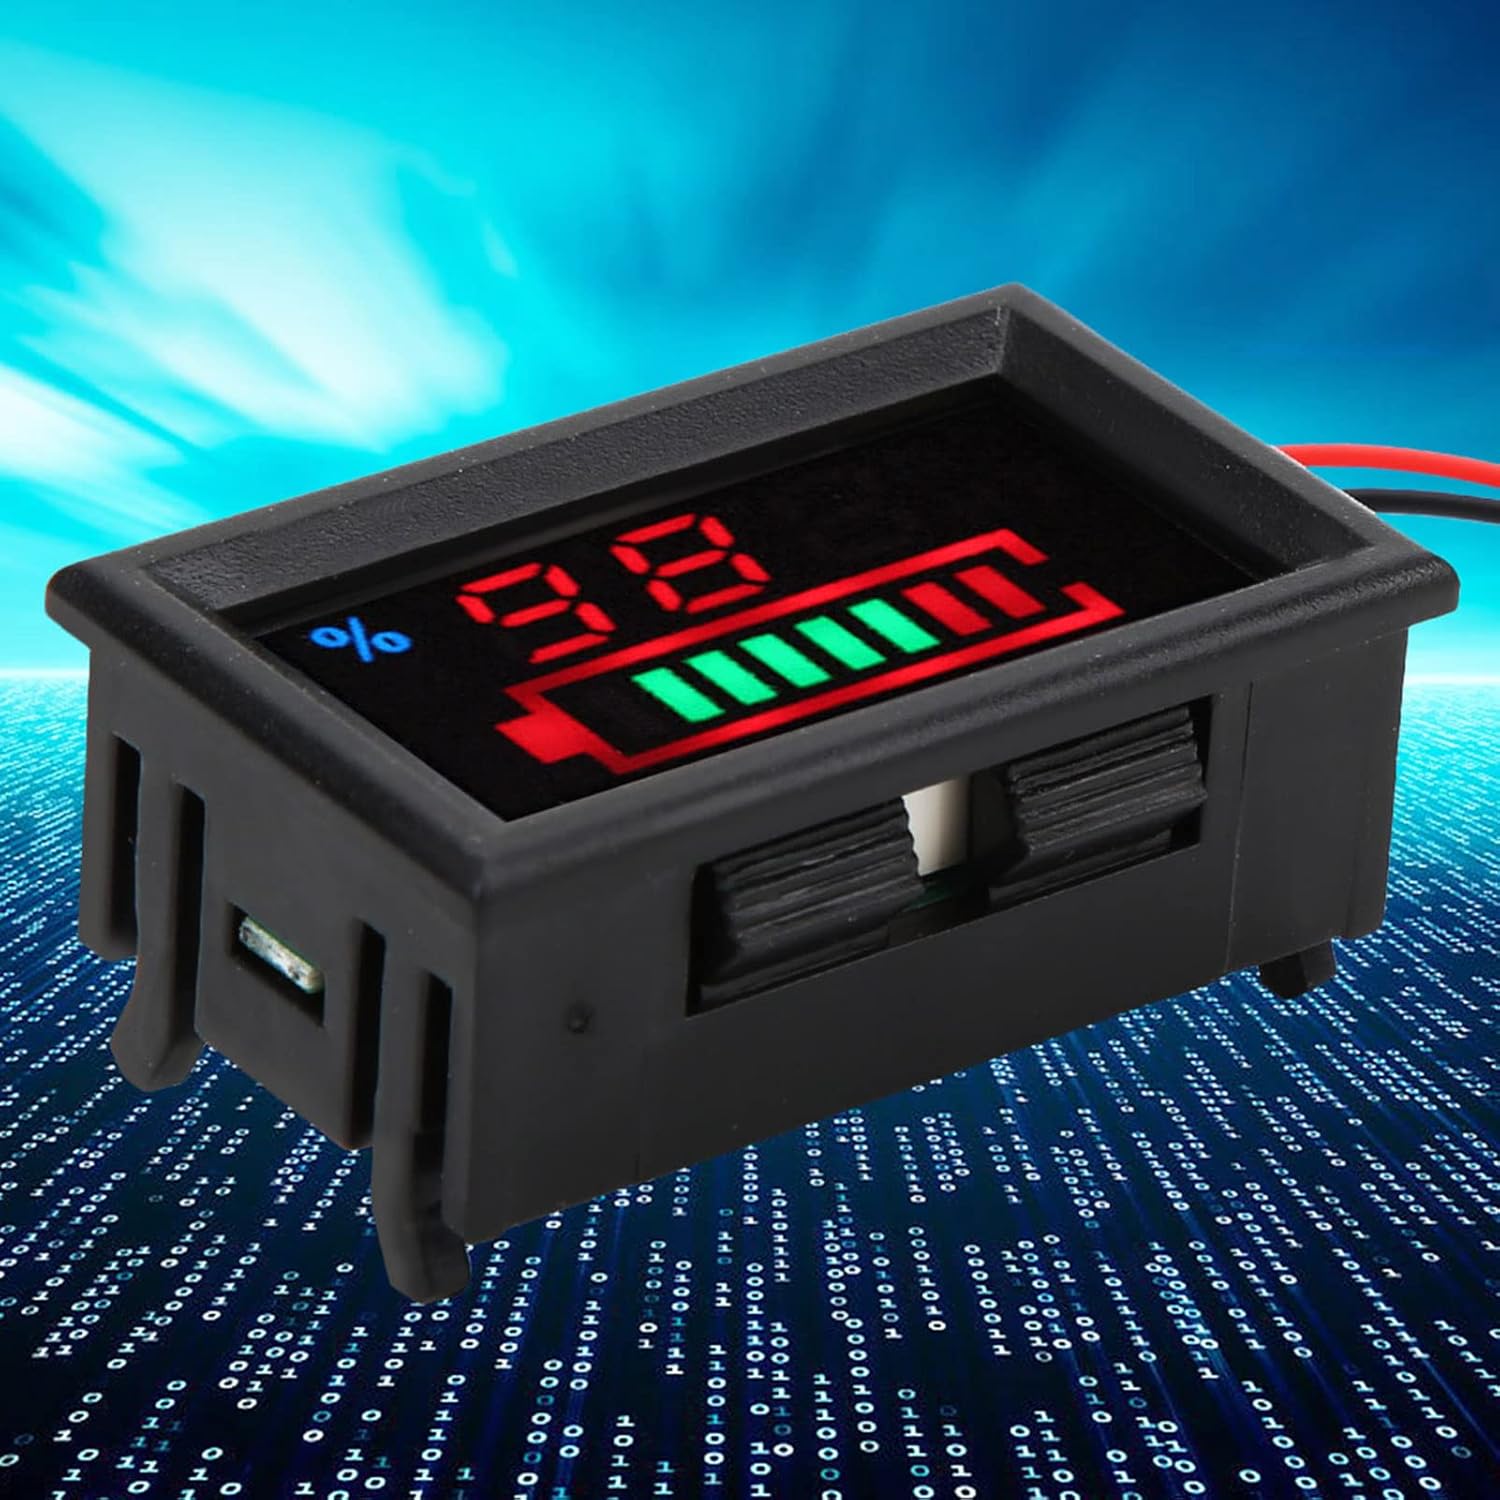
Figura 6.1: lateral view of the meter, potentially showing a button for display mode selection or calibration.
7. Manteniment
To ensure the longevity and accurate performance of your Garosa Battery Voltage Meter, follow these maintenance guidelines:
- Neteja: Feu servir un drap suau i sec per netejar la pantalla iasing. No utilitzeu productes de neteja abrasius ni dissolvents.
- Condicions ambientals: Operate and store the meter within the specified working temperature of -10℃ to +65℃ and avoid high humidity (no condensation).
- Comprovació de la connexió: Inspeccioneu periòdicament les connexions del cablejat per assegurar-vos que estiguin ben fixades i sense corrosió.
- Evitar l'impacte: Protect the device from drops or strong impacts.
8. Solució De Problemes
| Problema | Causa possible | Solució |
|---|---|---|
| No hi ha cap pantalla ni el mesurador s'encén. | Incorrect wiring, no power supply, or voltage outside operating range. |
|
| Vol inexactetage or capacity reading. | Incorrect battery type selection, faulty wiring, or meter malfunction. |
|
| La pantalla està tènue o parpelleja. | Vol d'entrada baixtage or unstable power supply. |
|
9. Especificacions
| Paràmetre | Valor |
|---|---|
| Tipus d'element | Monitor de bateria |
| Battery Type (Optional) | Lithium Battery, Lead-Acid Battery |
| Voltage (Opcional) | 12V, 24V, 48V, 60V, 72V, 96V |
| Material | ABS |
| Color | Com es mostra a les imatges |
| Mida | Aprox. 47 x 27 x 16 mm / 1.9 x 1.1 x 0.6 polzades |
| Forat de muntatge | Approx. 45.5x26.5mm / 1.8x1.0in |
| Pes | Aprox. 15 g / 0.5 oz |
| Voltage Interval de mesura | DC 8~120 V (wide range) |
| Volum d'entrada màximtage | 120 V |
| Minimum Resolution Below 100 V | 0.1 V |
| Minimum Resolution of 100 V | 1 V |
| Resolució energètica | 1% |
| Corrent de treball | < 15 mA |
| Visualització de la pantalla | LED |
| Taxa de mesura | > 500 mS / time |
| Voltage Precisió de la mesura | 1% |
| Longitud del cable | > 150mm / 5.91in |
| Subministrament mínim Voltage | + 8 V |
| Volum de subministrament màximtage | + 120 V |
| Temperatura de treball | -10 ℃ ~ +65 ℃ |
| Humitat de treball | (sense condensació) |
10. Informació de la garantia
Garosa products are manufactured to high-quality standards. This product is covered by a standard limited warranty against defects in materials and workmanship from the date of purchase. Please retain your proof of purchase for warranty claims. The warranty does not cover damage caused by improper installation, misuse, unauthorized modifications, or natural disasters.
11. Suport
For technical assistance, troubleshooting, or warranty inquiries, please contact Garosa customer support through your retailer or the official Garosa website. Please have your product model number (Garosa7q5fcr94ae-15) and purchase details ready when contacting support.