
1. Introducció
This manual provides detailed instructions for the safe installation, operation, and maintenance of your TWIG Farmhouse Chandelier 6-Light fixture. Designed for dining rooms and kitchen islands, this fixture combines vintage solid wood, matte black metal, and clear cylinder glass shades to create a warm and elegant lighting atmosphere. Please read this manual thoroughly before beginning installation or use.
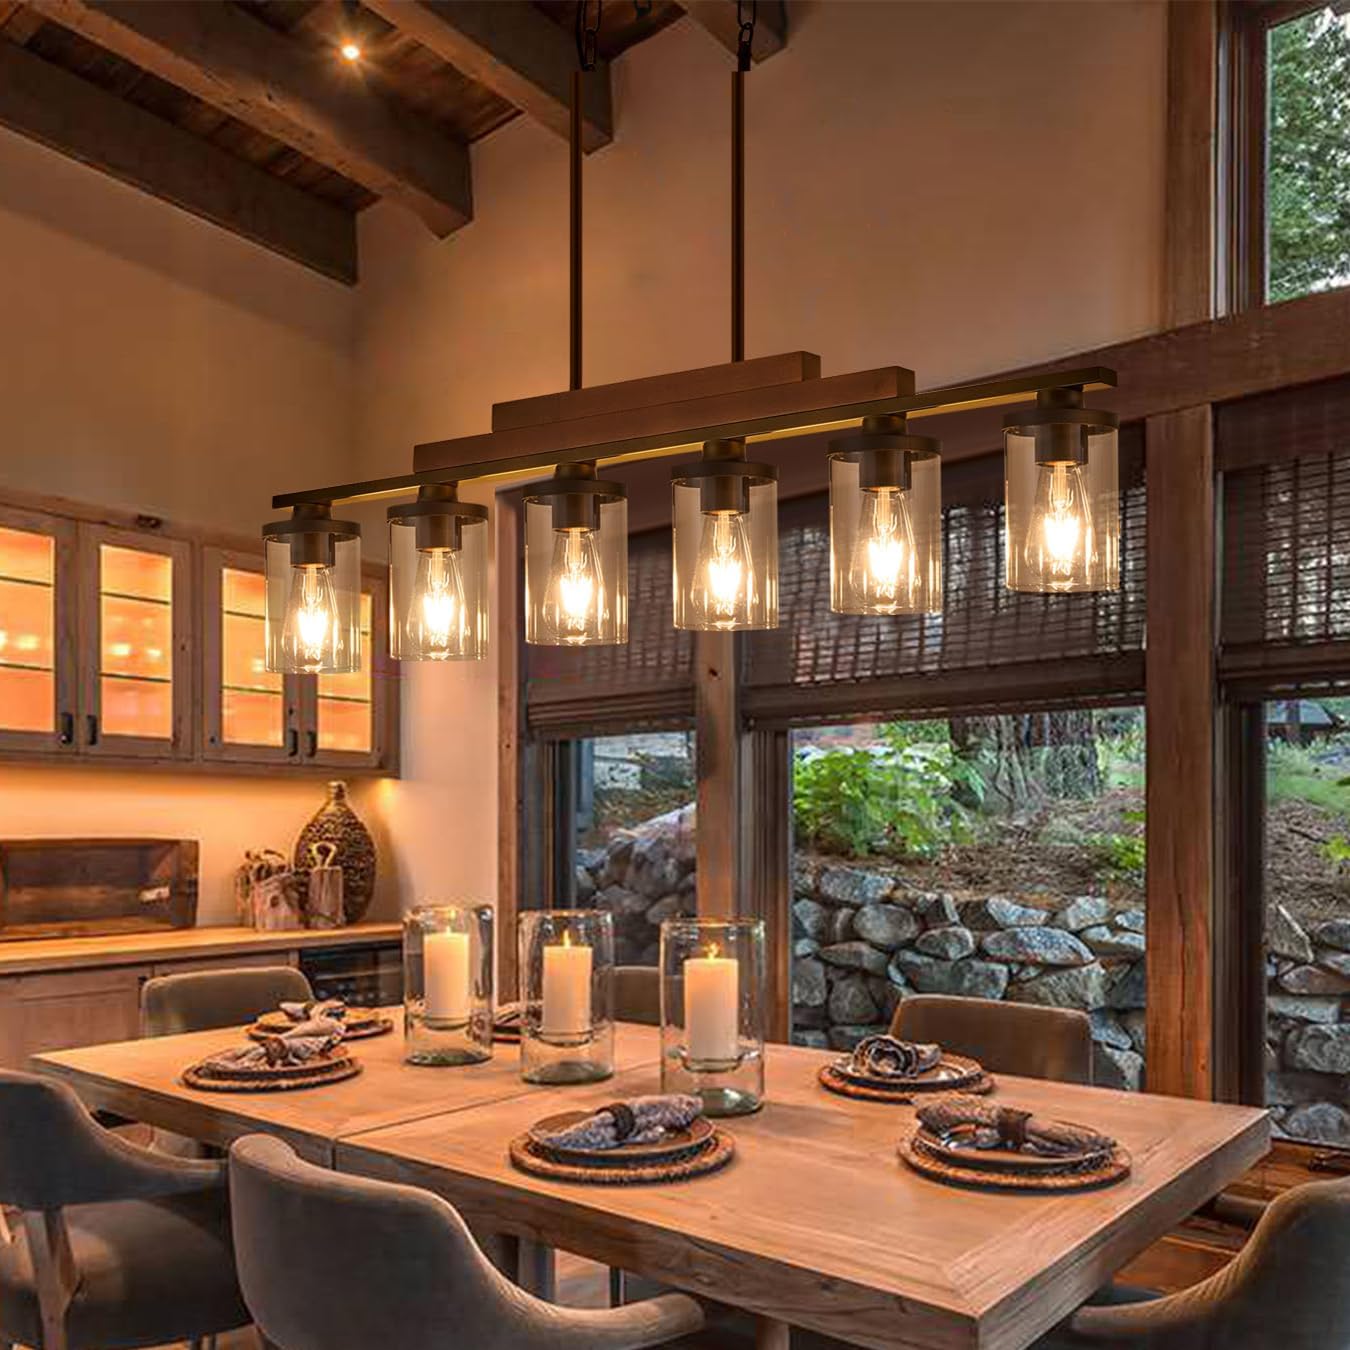
Image 1.1: The TWIG Farmhouse Chandelier 6-Light fixture installed above a dining table, showcasing its rustic design with wood accents and clear glass shades.
2. Informació de seguretat
- ADVERTIMENT: Risc de descàrrega elèctrica. Desconnecteu l'alimentació a l'interruptor o a la caixa de fusibles abans de la instal·lació o el manteniment.
- Totes les connexions elèctriques han de complir els codis locals, les ordenances o el Codi Elèctric Nacional (NEC). Consulteu un electricista qualificat si no esteu familiaritzat amb les instal·lacions de cablejat elèctric correctes.
- No supereu la potència recomanadatage for bulbs (E26 base, maximum 60W, 40W recommended).
- Manipuleu els components de vidre amb cura per evitar que es trenquin.
- Ensure the fixture is securely mounted to a structural element of the ceiling.
- Keep flammable materials away from light bulbs.
- The product is handmade and may have a slight odor upon unboxing due to environmental protective coatings. It is recommended to ventilate the product in an open area for a period before installation.
3. Contingut del paquet
Carefully unpack all components and inspect for any damage. Retain all packaging materials until you are satisfied with the product. The fixture is 95% pre-assembled for ease of installation.
- Chandelier main body (pre-assembled with wood beam, metal frame, and glass shades)
- Adjustable suspension rods (various lengths)
- Ceiling canopy with mounting hardware
- Connectors de cable
- Manual d'instruccions
- Note: Bulbs are not included.
4. Especificacions
| Marca | branca |
| Número de model | 2024072304 |
| Dimensions (L x W x Max H) | 42 cm de llargada x 5 cm d'amplada x 46 cm d'alçada |
| Interval d'alçada ajustable | Minimum 23", Maximum 45.7" (as per diagram) |
| Material | Vidre, metall, fusta |
| Color | Matte Black (Metal), Clear (Glass), Wood (Antique Painted) |
| Nombre de llums | 6 |
| Base del bulb | E26 |
| Max Wattage per Bulb | 60W (40W recommended) |
| Voltage | 120 Volts |
| Tipus d'instal·lació | Muntatge semi encastat |
| Ús interior/exterior | Interior |

Image 4.1: Detailed dimensions of the chandelier and its adjustable suspension rods, indicating a maximum height of 45.7 inches and a minimum of 23 inches.
5. Configuració i instal·lació
The fixture is 95% assembled. Only a simple assembly and electrical installation are required.
- Pas 1: prepareu-vos per a la instal·lació
- Apagueu l'alimentació a l'interruptor o a la caixa de fusibles.
- Ensure the mounting surface is structurally sound to support the fixture's weight.
- Pas 2: Fixeu el suport de muntatge
- Fixeu el suport de muntatge a la caixa de connexions del sostre amb els cargols proporcionats.
- Step 3: Adjust Suspension Rods
- Determine the desired hanging height. The fixture's height can be adjusted from 23 inches to 45.7 inches using the provided rods.
- Attach the appropriate length of suspension rods to the chandelier body and the ceiling canopy.
- Pas 4: Connexió elèctrica
- Connect the fixture's wires to the house wiring:
- Connecteu el cable negre (en directe) del dispositiu al cable negre de la caixa de connexions.
- Connecteu el cable blanc (neutre) del dispositiu al cable blanc de la caixa de connexions.
- Connect the ground wire from the fixture to the ground wire from the junction box (or to the green ground screw on the mounting bracket).
- Secure connections with wire connectors.
- Connect the fixture's wires to the house wiring:
- Pas 5: Muntar el dispositiu
- Carefully lift the chandelier and attach the ceiling canopy to the mounting bracket, securing it with the decorative nuts.
- Pas 6: instal·leu les bombetes
- Screw E26 base bulbs (not included) into each socket. Do not exceed 60W per bulb; 40W is recommended.

Image 5.1: Installation diagram for the TWIG Farmhouse Chandelier, detailing steps from preparing the electrical box to mounting the fixture.
6. Instruccions de funcionament
Once installed and bulbs are in place, restore power at the circuit breaker. The chandelier operates via a standard wall switch (toggle switch type). If connected to a dimmer switch, ensure the bulbs are compatible with dimming functionality.
- Tipus de bombeta: Supports any E26 screw bulbs. Filament, LED, incandescent, and halogen bulbs are compatible.
- Wat recomanattage: 40W per bulb for optimal performance and longevity. Maximum 60W.
7. Manteniment
- Neteja: Disconnect power before cleaning. Use a soft, dry cloth to wipe the metal and wood components. For glass shades, a slightly damp cloth can be used, followed by a dry cloth to prevent water spots. Do not use abrasive cleaners or solvents.
- Substitució de bombetes: Ensure power is off before replacing bulbs. Allow bulbs to cool completely before handling. Screw in new E26 base bulbs, ensuring they do not exceed 60W.
- Substitució de la pantalla de vidre: In case of damage, replacement glass shades (3.94" diameter, 5.51" height) can be purchased separately.
8. Solució De Problemes
| Problema | Causa possible | Solució |
|---|---|---|
| La llum no s’encén. |
|
|
| Llums intermitents. |
|
|
| Fixture smells after installation. |
|
|
9. Atenció al client
For any questions, concerns, or assistance with your TWIG Farmhouse Chandelier, please contact our customer support team. We are committed to providing timely responses and solutions.
- Contacte: Please refer to the contact information provided with your purchase or visit the official TWIG weblloc.
- Temps de resposta: We aim to respond to all inquiries within 24 hours.