
1. Introducció
This manual provides detailed instructions for the installation, operation, and maintenance of your TOPBULL 20A MPPT Solar Charge Controller. This intelligent regulator is designed to efficiently manage power flow from your solar panels to your battery bank, ensuring optimal charging and system protection. It is compatible with 12V and 24V systems and various battery types including FLD, LiFePO4, SLD, GEL, and AGM.
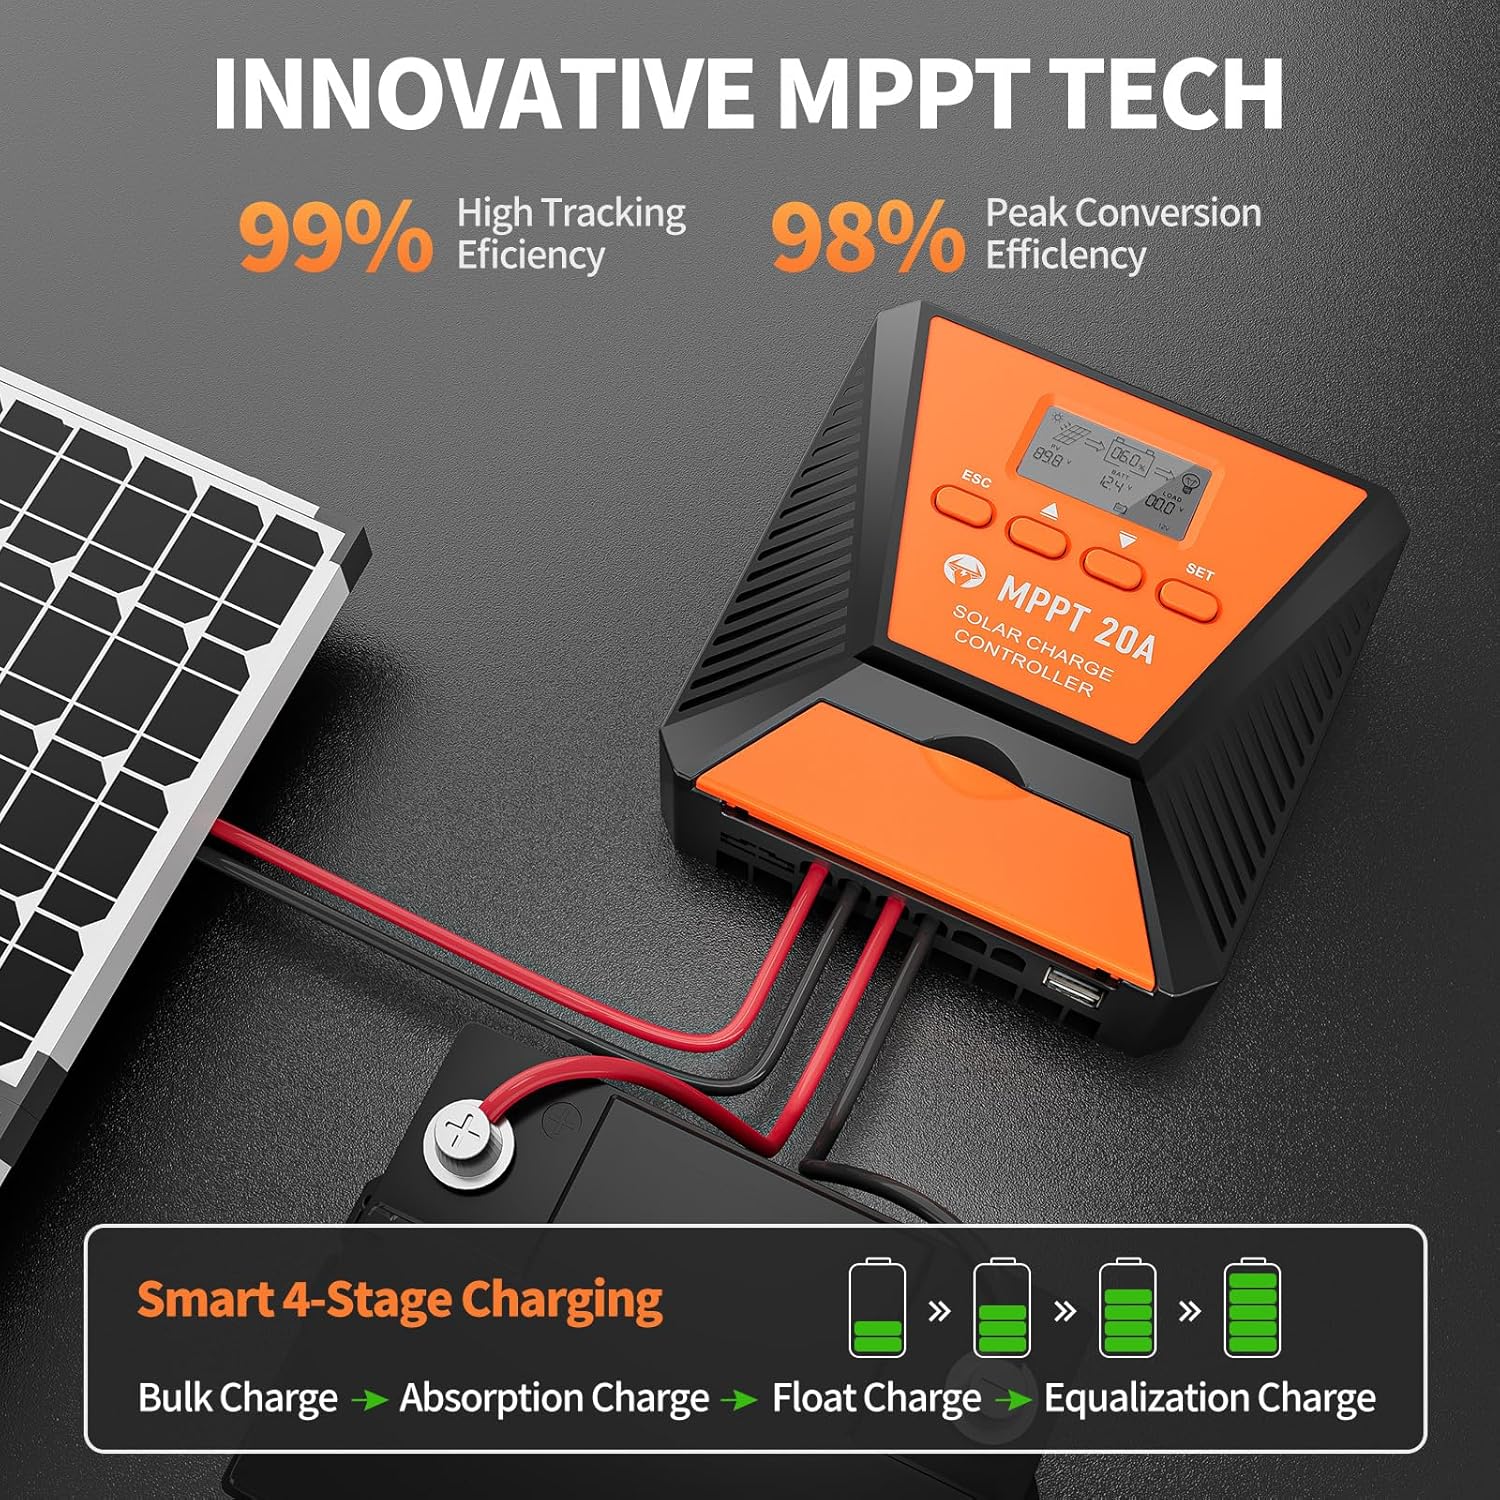
Image 1.1: The TOPBULL 20A MPPT Solar Charge Controller demonstrating its high tracking and conversion efficiency, along with a smart 4-stage charging process (Bulk, Absorption, Float, Equalization Charge).
2. Informació de seguretat
Please read all safety instructions carefully before installation and operation. Failure to follow these instructions may result in personal injury or damage to the controller or other components.
- Ensure all connections are tight and correct polarity is observed to prevent damage.
- Do not disassemble or attempt to repair the controller yourself. Contact qualified personnel for service.
- Instal·leu el controlador en una zona ben ventilada, allunyada de materials inflamables i de la llum solar directa.
- Utilitzeu l'equip de protecció individual (EPI) adequat, com ara ulleres i guants de seguretat, durant la instal·lació.
- Disconnect all power sources (solar panel and battery) before installing or wiring the controller.
3. Característiques del producte
The TOPBULL 20A MPPT Solar Charge Controller offers advanced features for reliable solar power management:
- 99% Tracking Efficiency: Advanced Maximum Power Point Tracking (MPPT) technology ensures maximum power harvest from solar panels, even in varying light conditions.
- Alta eficiència de conversió: Peak conversion efficiency up to 98%.
- Multiple Electronic Protections: Includes protection against reverse polarity, battery overcharge, battery overdischarge, overload, short-circuit, TVS lightning, over-power, over-temperature, and reverse current.
- Volum automàtictage Reconeixement: Detecta automàticament el volum del sistema de 12 V o 24 V CCtage.
- Àmplia compatibilitat de bateries: Compatible with FLD, LiFePO4, SLD, GEL, and AGM deep cycle batteries. Supports 0V Li-ion battery charging (activation).
- Pantalla LCD: Provides real-time system operation information, customizable parameters, error codes, and user modes.
- Ports USB dobles: Equipped with two USB ports for charging electronic devices.
- Excel·lent dissipació de calor: Features a metal casing and dual high-speed intelligent fans for effective cooling.
- Compensació de temperatura: Automatically adjusts charging and discharging parameters based on temperature to extend battery life.

Image 3.1: The controller's 9 intelligent protection features, including reverse polarity, overcharging, over-discharging, overload, short-circuiting, TVS lightning, overpower, reverse current, and over-temperature protection.
4. Configuració i instal·lació
Follow these steps for proper installation of your solar charge controller.
4.1 Contingut del paquet
Abans de començar, assegureu-vos que hi hagi tots els components:
- TOPBULL 20A MPPT Solar Charge Controller
- Cargols de muntatge
- Manual d'usuari (aquest document)

Image 4.1: Package contents including the controller and mounting screws.
4.2 Instruccions de cablejat
Connect the components in the following order to ensure safety and proper operation:
- Connecteu la bateria: Connect the battery to the controller's battery terminals. Ensure correct polarity (positive to positive, negative to negative). The controller will automatically detect the system voltage (12V o 24V).
- Connecteu el panell solar: Connect the solar panel to the controller's solar panel terminals. Ensure correct polarity.
- Connecteu la càrrega de CC (opcional): If using a DC load directly from the controller, connect it to the load terminals.
Important: Always connect the battery first, then the solar panel, and finally the load. Disconnect in the reverse order.

Image 4.2: Connection diagram for the solar charge controller, showing inputs from the solar panel and outputs to the battery bank, inverter (for AC load), and direct DC load.
4.3 Muntatge
Mount the controller vertically on a flat surface using the provided mounting screws. Ensure adequate airflow around the unit for optimal heat dissipation.
5. Funcionament
The controller features an LCD display and four buttons for easy operation and monitoring.
5.1 Pantalla LCD acabadaview
The LCD displays various system parameters and operational status. Refer to the diagram below for an explanation of the display elements.

Imatge 5.1: Detallada view of the LCD display showing battery percentage, solar panel charging status, discharge indication, load indication, parameter display, setting, load timing indication, fault indication, battery type, and system voltage.
5.2 Funcions dels botons
The four buttons (ESC, Up, Down, SET) are used for navigation and parameter adjustment.
- Botó ESC: Used to switch the load (manual control) and exit setup menus.
- Botó amunt: Navigates up through main interface pages to view parameters; increases values in setting mode.
- Botó avall: Navigates down through main interface pages to view parameters; decreases values in setting mode.
- Botó SET: Enters setting mode, confirms selections, and saves changes. If no key operation occurs for 10 seconds in setting mode, it will automatically exit without saving.
5.3 Parameter Setting Stage
Per ajustar els paràmetres:
- Press the "ESC" button until the desired value flashes.
- Press the "Up" or "Down" button to adjust the value.
- Press the "SET" button to confirm and save the new value.
5.4 modes de treball
The controller supports three primary working modes for load control:
- Lighting Time Control Mode (1H-23H): Automatically turns the load on or off based on sunlight intensity and a set timer.
- Normal Off Mode (0H): The load remains off. This mode is useful for specific loads or during system debugging.
- Normal ON Mode (24H): The load remains continuously on. This mode is suitable for loads requiring a 24-hour power supply.

Image 5.2: Explanation of the three load working modes: Lighting time control (1H-23H), Normal Off (0H), and Normal ON (24H).
6. Manteniment
Un manteniment regular garanteix la longevitat i el rendiment òptim del vostre controlador de càrrega solar.
- Inspeccionar connexions: Periodically check all wiring connections for tightness and corrosion. Tighten any loose connections.
- Netegeu el controlador: Keep the controller clean and free from dust and debris. Use a dry cloth to wipe the exterior. Ensure ventilation openings are not blocked.
- Comproveu l'estat de la bateria: Monitor de vol de la bateriatage and condition regularly. Ensure batteries are properly maintained according to their manufacturer's guidelines.
- Control ambiental: Ensure the installation environment remains within the recommended temperature and humidity ranges.
7. Solució De Problemes
This section addresses common issues you might encounter with your solar charge controller.
7.1 Problemes comuns i solucions
| Problema | Causa possible | Solució |
|---|---|---|
| Controller not turning on/LCD blank | Bateria no connectada o de baix volumtage; polaritat inversa. | Comproveu les connexions de la bateria i el voltage. Ensure correct polarity. Charge battery if voltage és massa baixa. |
| Sense càrrega des del panell solar | Solar panel not connected; low sunlight; solar panel fault; reverse polarity. | Check solar panel connections and polarity. Ensure sufficient sunlight. Test solar panel output. |
| La càrrega no funciona | Load disconnected; overload; short-circuit; incorrect load mode setting. | Check load connections. Reduce load. Check for short-circuits. Verify load working mode in settings. |
| La bateria no es carrega completament | Insufficient solar input; incorrect battery type setting; battery degradation. | Increase solar panel capacity or improve sun exposure. Verify battery type setting. Test battery health. |
If the problem persists after attempting these solutions, please contact TOPBULL technical support.
8. Especificacions
Key technical specifications for the TOPBULL 20A MPPT Solar Charge Controller:
- Model: 20A
- Volum del sistematage: Reconeixement automàtic de 12V / 24V
- Màx. Volum d’entrada PVtage: 50VDC
- Max. Solar Input Power: 240W (12V system), 480W (24V system)
- Eficiència del seguiment: ≥99%
- Màxima eficiència de conversió: Fins al 98%
- Tipus de visualització: LCD
- Dimensions del producte: 5.27" de llargada x 5.27" d'amplada x 2.12" d'alçada (13.39 x 13.39 x 5.38 cm)
- Pes de l'article: 1.28 lliures (0.58 kg)
- Tipus de bateries compatibles: FLD, LiFePO4, SLD, GEL, AGM
- Components inclosos: Cargols de muntatge

Image 8.1: Maximum PV input voltage and power ratings for 12V and 24V systems.
9. Garantia i Suport
TOPBULL is committed to providing high-quality products and customer satisfaction.
9.1 Suport tècnic
If you have any questions, require assistance with installation, operation, or troubleshooting, please do not hesitate to contact TOPBULL technical support. Our team is dedicated to meeting your needs and providing professional assistance.
Contact information can typically be found on the product packaging or the official TOPBULL weblloc.