
Introducció
This manual provides comprehensive instructions for the GIGABYTE Z890 AORUS Elite WIFI7 Motherboard. Designed to support Intel Core Ultra (Series 2) processors, this motherboard features a robust 16+1+2 phase VRM, supports DDR5 memory up to 8800MHz (OC), and includes advanced connectivity options like PCIe 5.0, Wi-Fi 7, and 2.5GbE LAN. Please read this manual thoroughly before installation and operation to ensure proper setup and optimal performance.
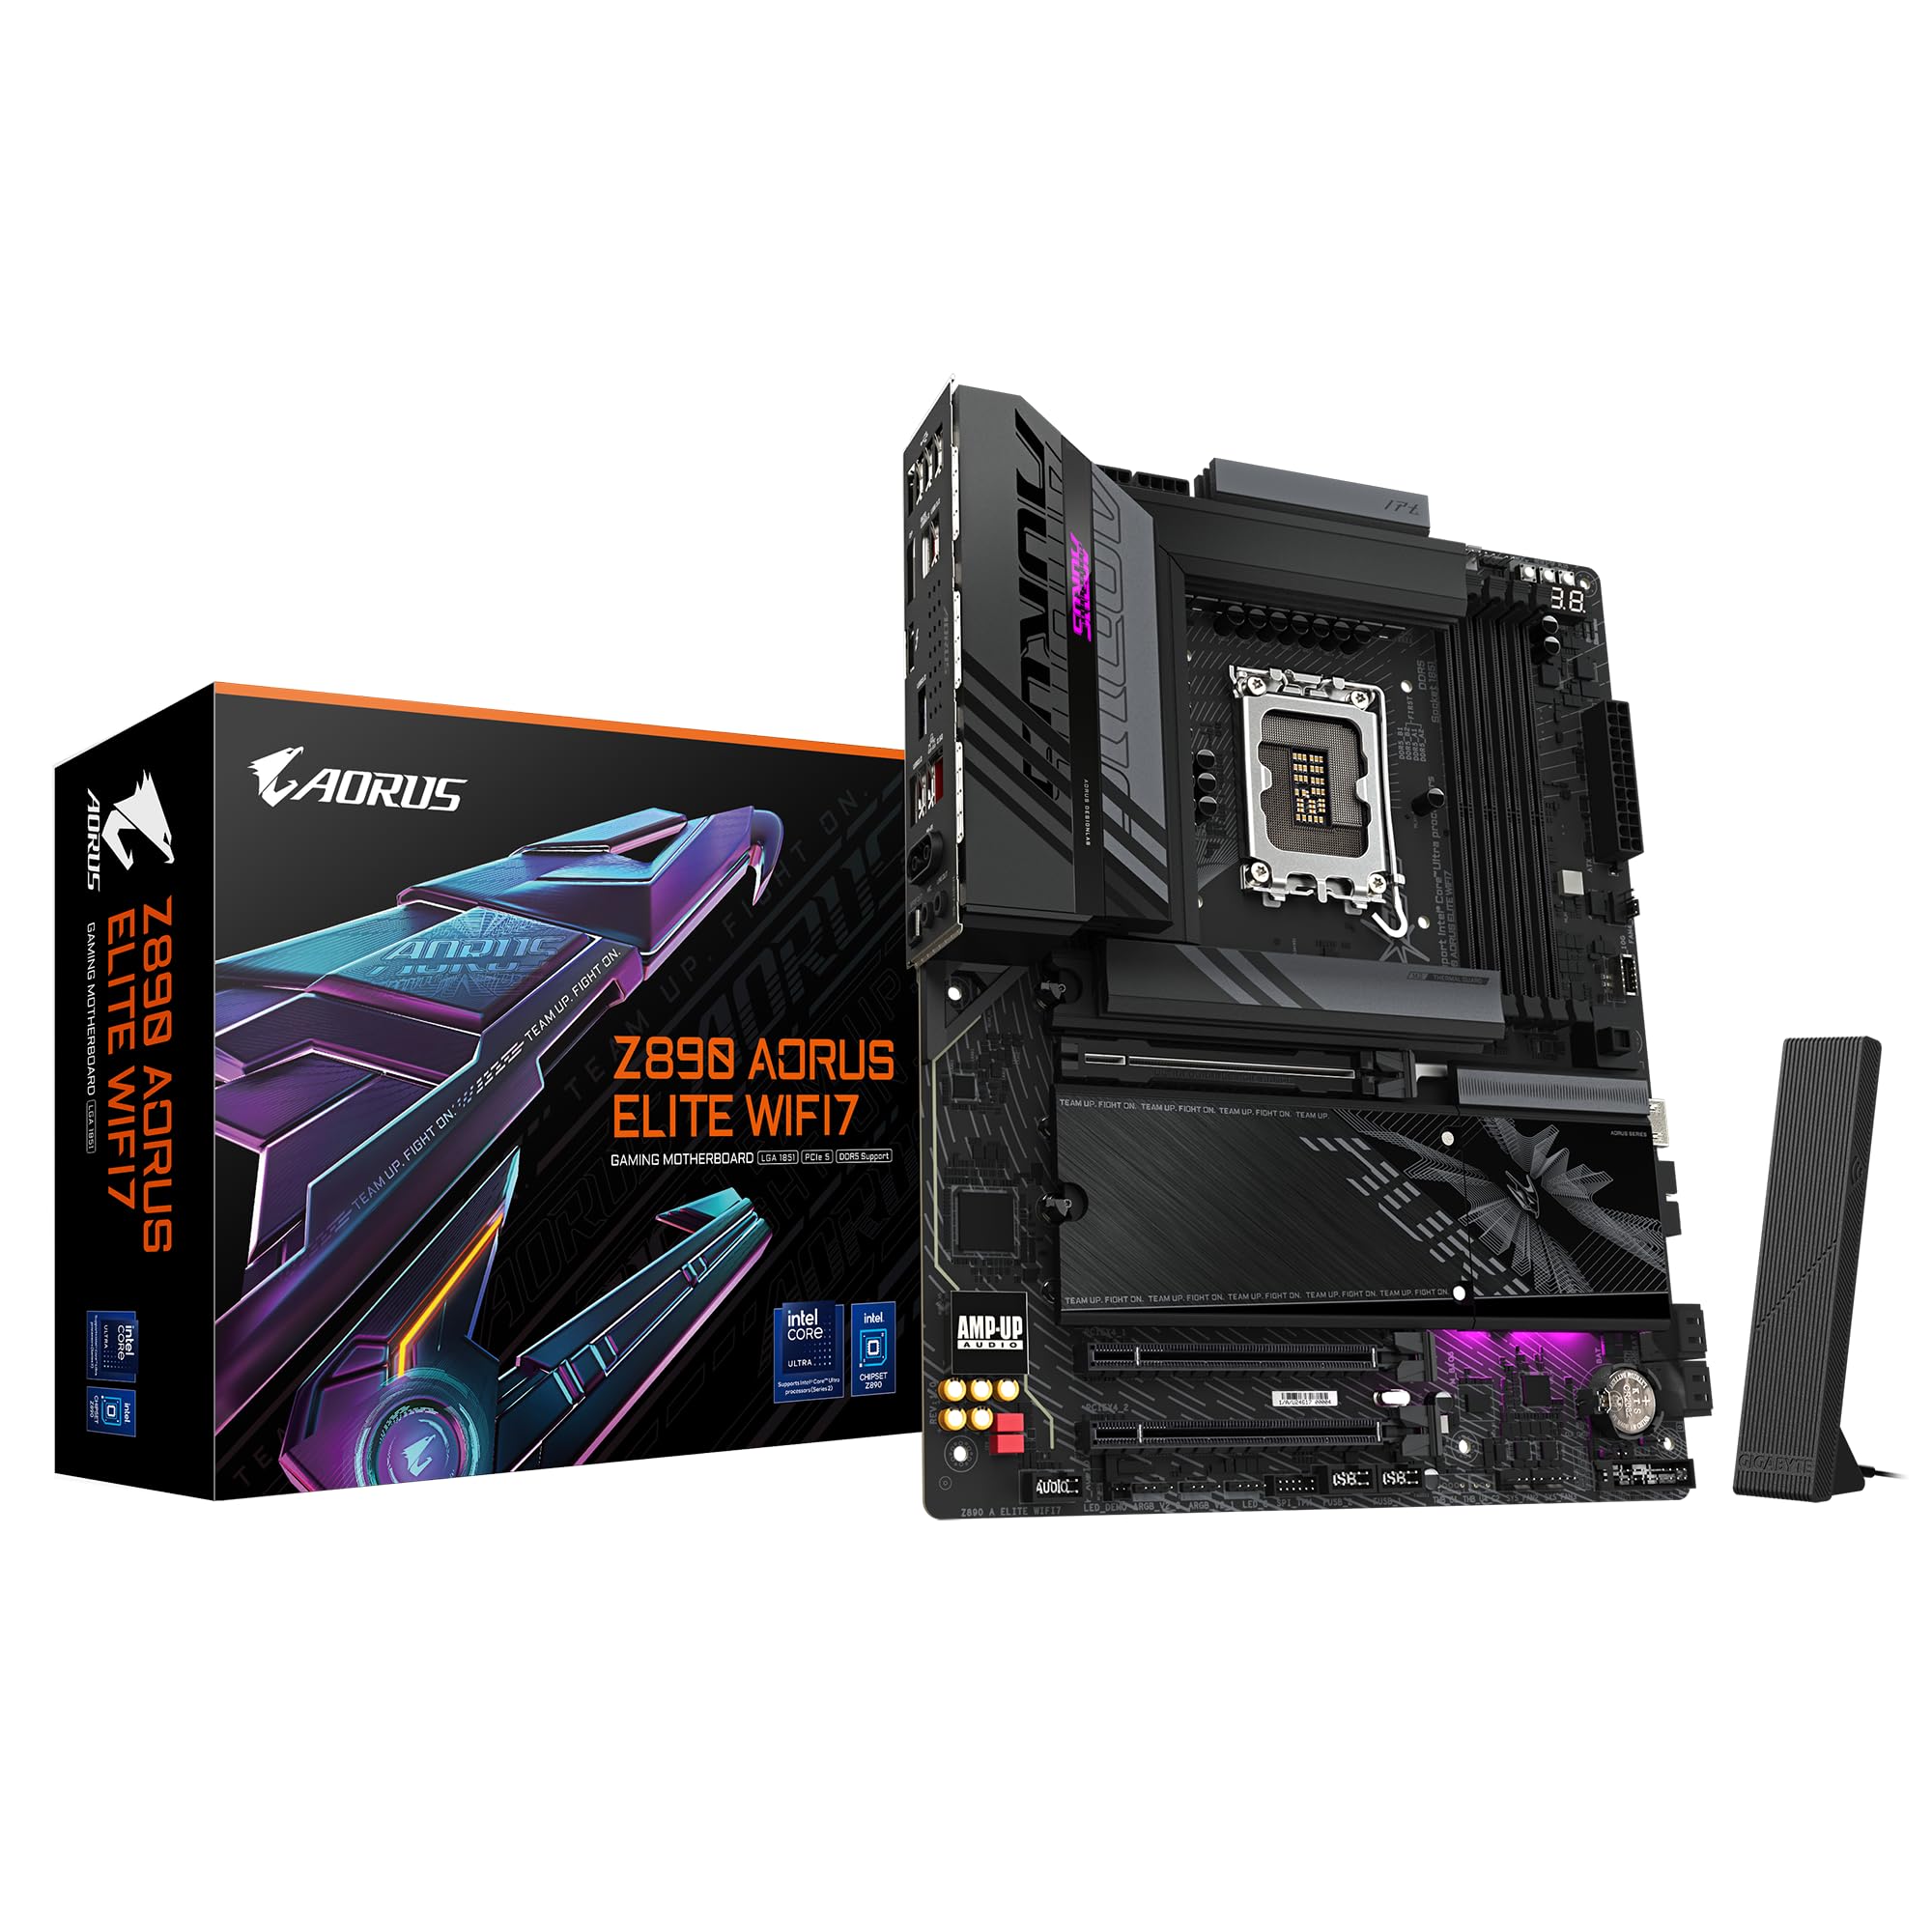
Figura 1: Mésview of the GIGABYTE Z890 AORUS Elite WIFI7 Motherboard.
1. Configuració i instal·lació
1.1. Preparació del sistema
Before beginning installation, ensure your power supply is disconnected. Gather all necessary components including the CPU, RAM, storage devices, and graphics card.
1.2. Instal·lació de la CPU (sòcol LGA 1851)
- Localitza el sòcol de la CPU LGA 1851 a la placa base.
- Obriu la palanca del sòcol de la CPU i retireu la coberta protectora.
- Alineeu amb cura la CPU amb el sòcol, assegurant-vos que la marca triangular de la CPU coincideixi amb la marca del sòcol.
- Gently place the CPU into the socket without applying force.
- Tanqueu la palanca del sòcol per fixar la CPU.
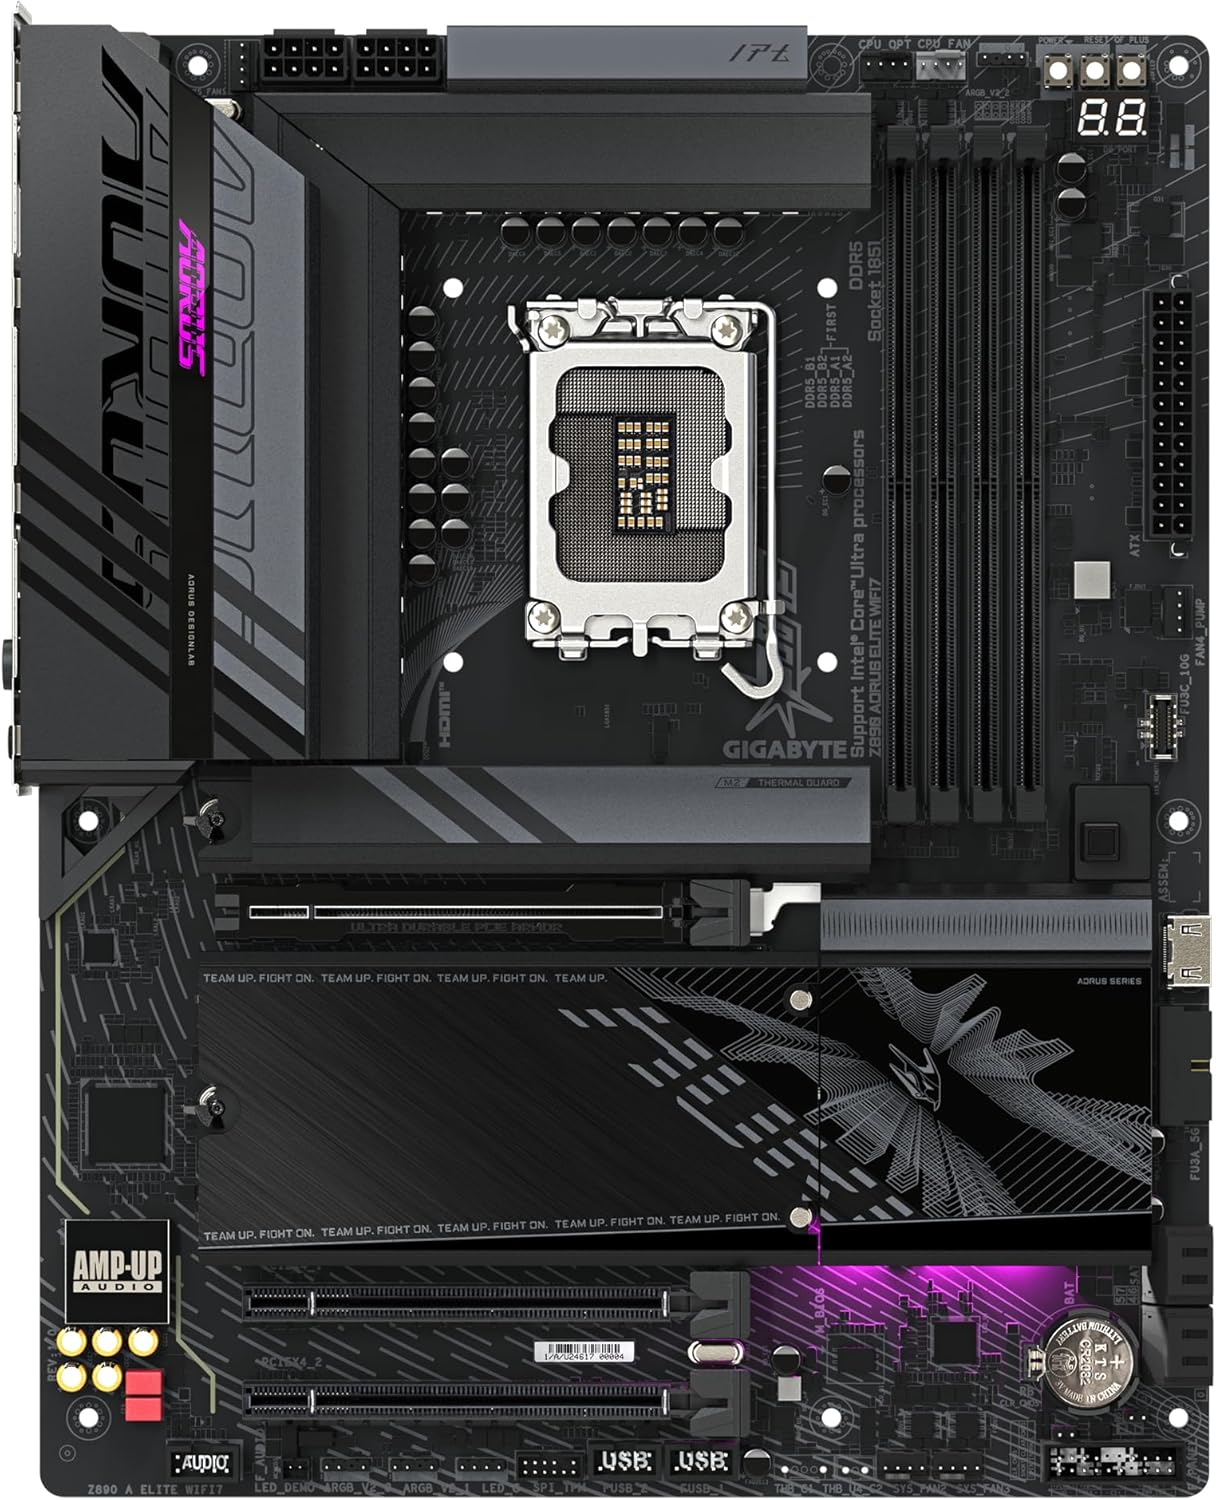
Figura 2: De dalt a baix view highlighting the CPU socket area.
1.3. Instal·lació de RAM (DDR5)
This motherboard supports DDR5 memory modules. It features four DIMM slots, supporting up to 256GB of RAM at speeds up to 8800MHz (OC).
- Obriu els clips dels dos extrems de la ranura DIMM.
- Alineeu l'osca del mòdul de memòria DDR5 amb la clau de la ranura DIMM.
- Introduïu el mòdul de memòria fermament a la ranura fins que els clips encaixin al seu lloc.

Figure 3: Close-up of the DDR5 memory slots.
1.4. Instal·lació del dispositiu d'emmagatzematge
The motherboard supports M.2 SSDs with EZ-Latch Plus design and SATA 3 devices.
1.4.1. Instal·lació d'un SSD M.2
- Locate the M.2 slots, often covered by heatsinks.
- Remove the M.2 heatsink and locate the EZ-Latch Plus mechanism.
- Inseriu l'SSD M.2 a la ranura en angle.
- Push down the SSD and secure it with the EZ-Latch Plus without screws.
- Reattach the M.2 heatsink for optimal thermal performance.

Figure 4: Illustration of the EZ DIY features, including M.2 EZ-Latch Plus.
1.4.2. Instal·lació de dispositius SATA
Connect SATA data cables from your storage devices (HDDs, SSDs) to the SATA 3 ports on the motherboard. Connect power cables from your power supply to the devices.
1.5. Instal·lació de la targeta PCIe
The motherboard features one PCIe 5.0 x16 slot and three PCIe 4.0 slots.
- Align your graphics card or other PCIe expansion card with the desired slot.
- Press firmly until the card is seated correctly and the retention clip engages.
- Fixeu la targeta al xassís amb un cargol.
1.6. Connexions d'alimentació
Connect the 24-pin ATX main power connector and the 8-pin (or 4+4-pin) CPU power connector from your power supply to the corresponding ports on the motherboard.
1.7. Panell frontal i connexions d'E/S
Connect your chassis' front panel connectors (power button, reset button, USB ports, audio jacks) to the appropriate headers on the motherboard. Ensure all external peripherals are connected to the rear I/O panel, including USB devices, Ethernet cable, and display cables.

Figure 5: Rear I/O panel with various connectivity options including USB, LAN, and Wi-Fi 7 antenna connectors.
2. Instruccions de funcionament
2.1. Arrencada inicial i configuració de la BIOS/UEFI
After completing hardware installation, connect your display, keyboard, and mouse. Power on your system. Press the DEL key during startup to enter the BIOS/UEFI setup utility. Here you can configure boot order, system time, and advanced settings.
2.2. Instal·lació del controlador
After installing your operating system, install the latest drivers for your motherboard chipset, audio, LAN, Wi-Fi, and other components. These can typically be found on the GIGABYTE official weblloc web per al model específic de la placa base.
2.3. System Monitoring and Fan Control
The GIGABYTE Smart Fan 6 utility allows for precise control over system fans and temperature monitoring. This software can be downloaded from the GIGABYTE website and installed within your operating system.
2.4. Overclocking Features
The Z890 AORUS Elite WIFI7 supports AI Overclocking and XMP profiles for DDR5 memory. These features can be configured within the BIOS/UEFI to enhance system performance. Refer to the detailed BIOS manual on the GIGABYTE website for advanced overclocking guides.
3. Manteniment
3.1. Keeping Your System Clean
Regularly clean your computer's interior to prevent dust buildup, which can lead to overheating and reduced performance. Use compressed air to clear dust from fans, heatsinks, and vents. Ensure the system is powered off and unplugged before cleaning.
3.2. Actualitzacions de la BIOS/UEFI
GIGABYTE periodically releases BIOS/UEFI updates to improve system stability, compatibility, and performance. It is recommended to keep your BIOS updated to the latest stable version. Always follow the instructions provided by GIGABYTE carefully when performing a BIOS update to avoid system damage.
3.3. Actualitzacions de controladors
Ensure all system drivers (chipset, graphics, audio, network) are kept up-to-date. Visit the GIGABYTE support page and your component manufacturers' websites for the latest driver versions.
4. Solució De Problemes
If you encounter issues with your GIGABYTE Z890 AORUS Elite WIFI7 Motherboard, consider the following common troubleshooting steps:
- Sense alimentació/Sense arrencada: Ensure all power cables (24-pin ATX, 8-pin CPU) are securely connected. Verify the power supply is functioning correctly. Check front panel connections.
- Sense pantalla: Confirm your monitor is connected to the graphics card (or integrated graphics if applicable) and powered on. Reseat the graphics card and RAM modules.
- Inestabilitat/Avaries del sistema: This can often be resolved by updating the BIOS/UEFI and all system drivers. Check RAM compatibility and run memory diagnostic tools. Ensure adequate cooling.
- Component no detectat: Reseat the component (CPU, RAM, SSD, PCIe card). Check BIOS settings to ensure the component is enabled.
- Problemes de connectivitat de xarxa: Verify Ethernet cable connection or Wi-Fi antenna installation. Update network drivers. Check router/modem status.
For more detailed troubleshooting or persistent issues, refer to the comprehensive manual available on the GIGABYTE support weblloc web o poseu-vos en contacte amb el suport tècnic de GIGABYTE.
5. Especificacions

Figure 6: Key features and design elements of the motherboard.
| Característica | Detall |
|---|---|
| Marca | GIGABYTE |
| Socket de CPU | LGA 1851 |
| Dispositius compatibles | Ordinador personal |
| Tecnologia de memòria RAM | DDR5 |
| Processadors compatibles | Intel Core Ultra (Series 2) |
| Tipus de xipset | Intel Z890 |
| Velocitat de rellotge de memòria | 8800 MHz |
| Plataforma | Windows |
| Nom del model | Z890 A ELITE WIFI7 |
| Model de CPU | Intel Core Ultra 7 |
| Max RAM Size | 256 GB |
| Tipus de connector d'alimentació principal | 24 pins |
| Interfície de la targeta gràfica | PCI-Express x16 |
| Available Memory Slots | 4 |
| Nombre de Ports | 16 |
| Supported System Bus Standard | SATA 3 |
| Total SATA Ports | 4 |
| Ports USB totals | 9 |
| Ports Ethernet totals | 1 |
| Ports HDMI totals | 1 |
| Total PCIe Ports | 1 (PCIe 5.0 x16) |
| Pes de l'article | 2230 grams |
| Dimensions de l'article (L x A x A) | 24.4 L x 30.5 W x 3.5 H centímetres |
| País d'origen | Xina |
6. Informació de la garantia
La placa base GIGABYTE Z890 AORUS Elite WIFI7 inclou un 3 any de garantia. This warranty covers defects in materials and workmanship under normal use. For specific terms, conditions, and warranty claim procedures, please refer to the official GIGABYTE weblloc web o poseu-vos en contacte amb el vostre punt de venda.
7. Suport i Recursos
For further assistance, detailed documentation, driver downloads, and BIOS updates, please visit the official GIGABYTE support weblloc:
- Oficial de GIGABYTE Weblloc: www.gigabyte.com
- Pàgina d'assistència del producte: Cerca "Z890 AORUS Elite WIFI7" on the GIGABYTE support portal.
No hi havia vídeos oficials de productes del venedor disponibles per incrustar en aquest manual.